Crochet Kids Hat Pattern for Toddlers (Free)
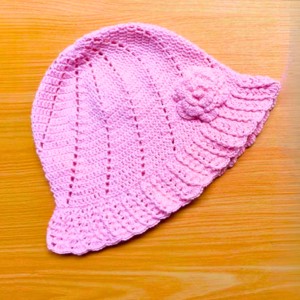
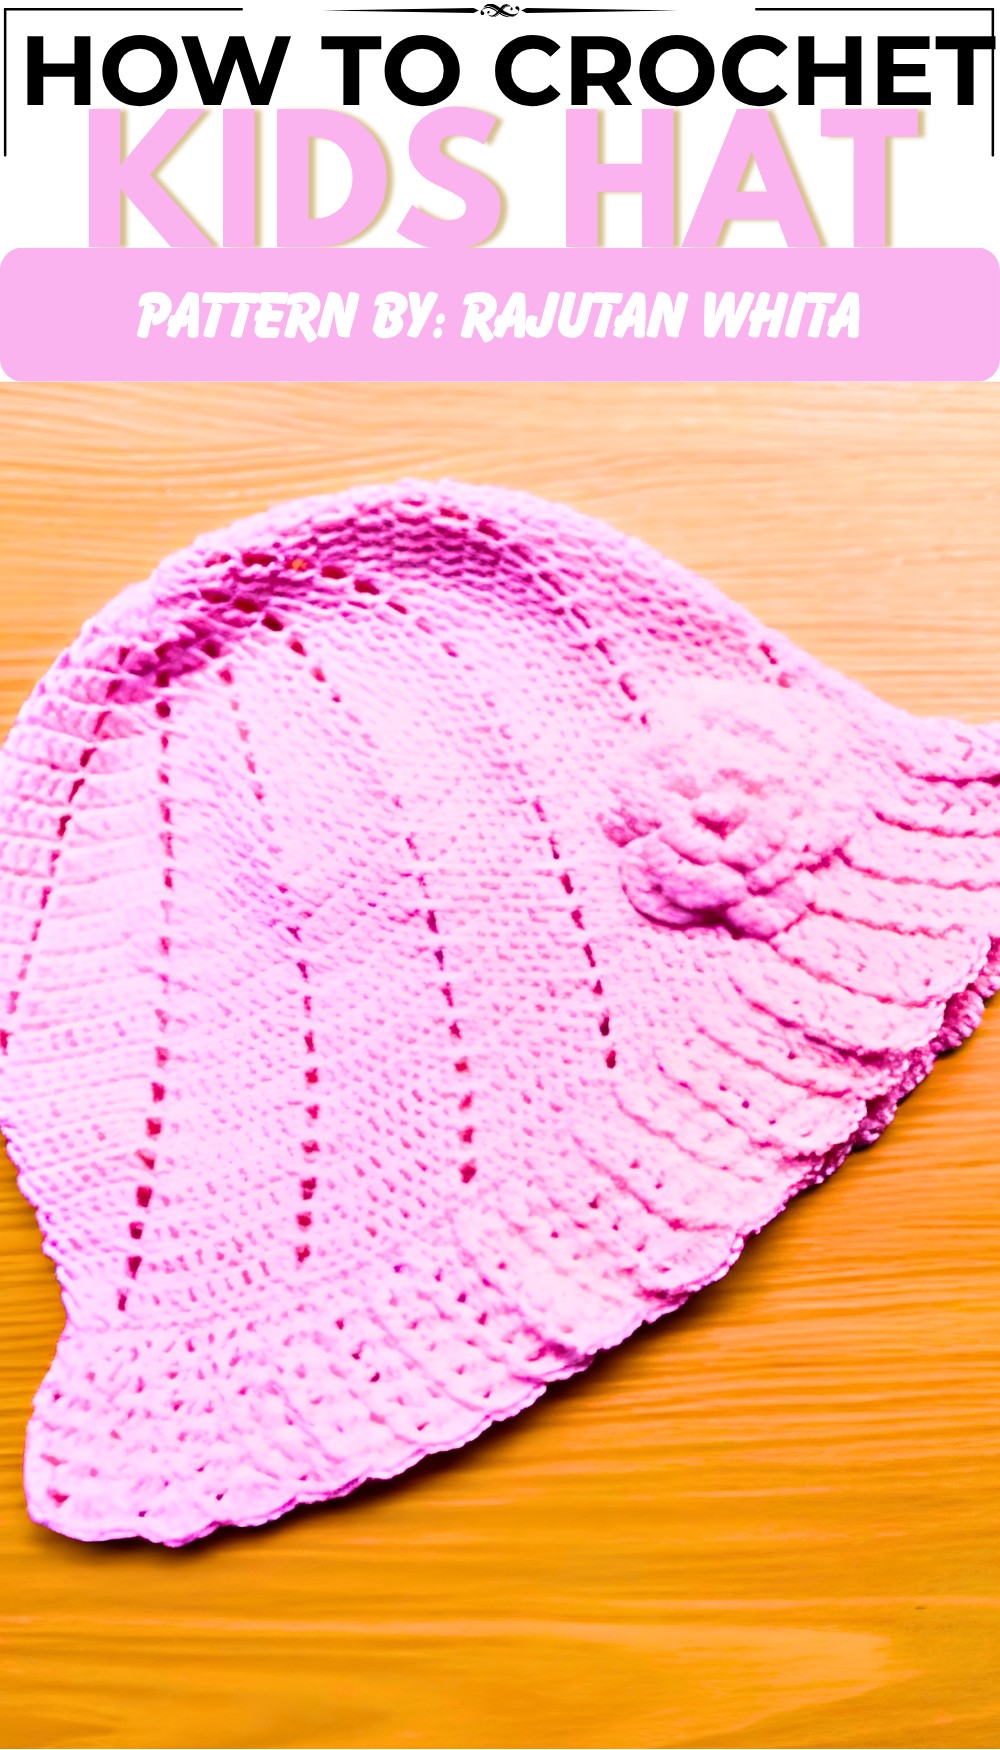
Shield children gently from cold days while using this free crochet kids hat pattern that offers soft texture and charming design elements for everyday.
Keeping little heads warm and cozy is what handmade hats do best. With this Free Crochet Kids Hat Pattern, you can make a super cute and playful accessory that children will absolutely love to wear. It’s a quick and joyful project that turns simple yarn into a piece of wearable fun for any child in your life.
This isn’t just a regular hat; it looks like a cute little cat! The design features two sweet, triangular ears that stand up right on top, giving it a playful and fun look that kids adore. It’s shaped like a classic beanie, so it fits snugly and comfortably on a child’s head, covering their ears to keep them toasty.
Kids Hat Crochet Pattern (Free + Quick Make)
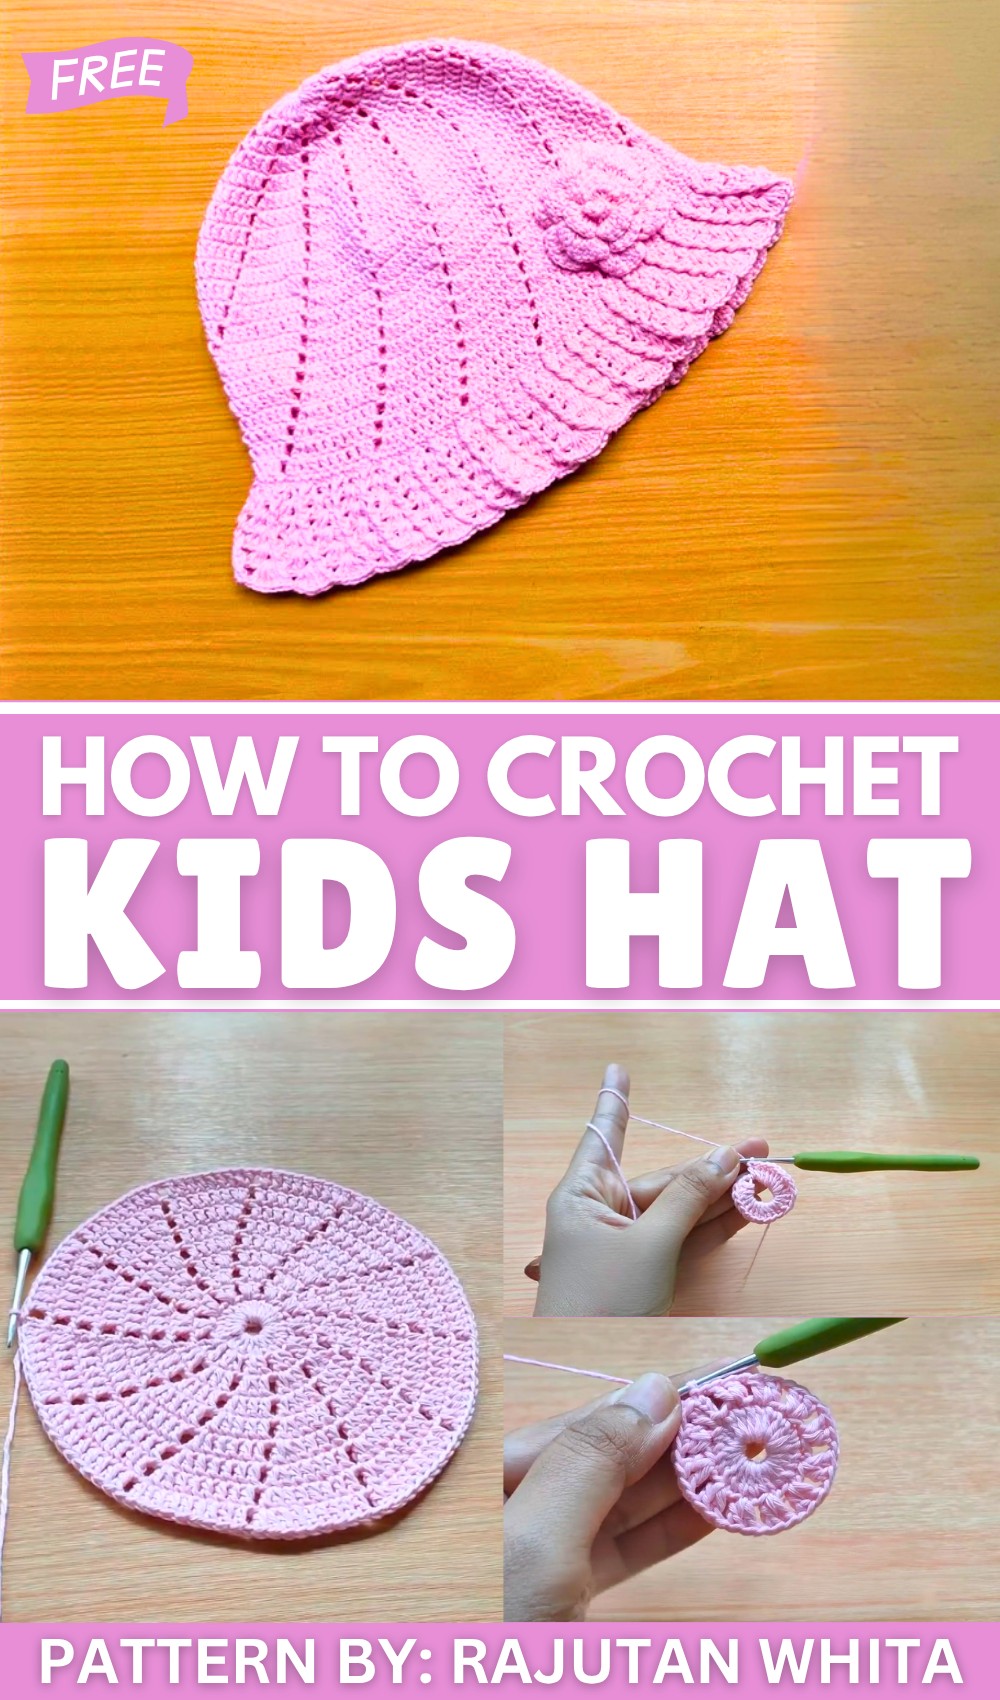
The simple crochet stitches create a wonderfully soft and squishy feel, making the hat gentle enough for sensitive skin. The whole look is just so charming, and you can even add little embroidered whiskers for extra personality.
This adorable hat is perfect for keeping your little one warm during chilly walks to school or fun afternoons at the playground. It’s a go-to accessory for fall and winter days, but it’s also cute enough for imaginative play and dress-up games inside.
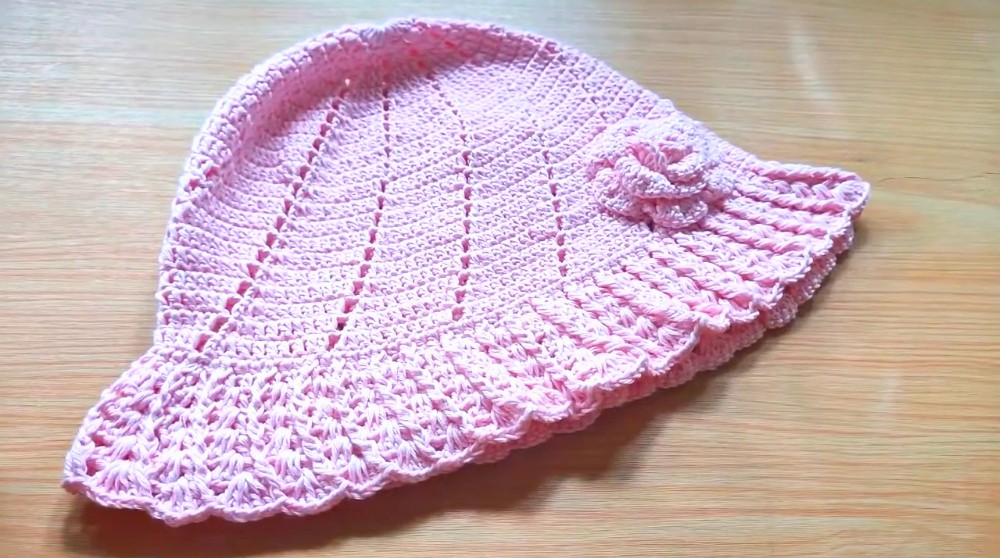
About The Channel: The talented maker at Rajutan Whita shares a clear guide that makes this project easy and enjoyable. It’s a wonderful handmade gift for birthdays, holidays, or just as a special surprise. Any child would be so excited to receive a special cat hat made just for them, full of love and care.
Easy Crochet Hat Pattern for 2-Year-Old Children
This step-by-step crochet pattern will guide you to make a soft, comfy hat for a 2-year-old child. You’ll start by making the top (crown) with increasing rounds, then work down to the hat body, finishing with a pretty textured brim. The instructions are simple and suitable for beginners who know basic crochet stitches. Enjoy making a cute hat perfect for everyday wear or gifts!
Quick Overview
- Start with a magic ring and crochet the crown increasing every round to shape the dome.
- Make the body by working rounds with controlled decreases for fit.
- Add a half double crochet round at the base to finish the edge.
- Crochet a textured brim using front post double crochet (FPDC) stitches and increases for flare.
- Final size fits an average 2-year-old with a crown diameter ~13.5 cm and height ~10 cm.
Important Notes
- Use a stitch marker to mark round starts—it helps with counting stitches.
- Maintain consistent tension for a nice, even hat shape.
- Front post stitches create a ribbed texture on the brim.
- Sew in yarn ends carefully for a neat finish and comfortable wear.
- Check measurements as you crochet to match size. Adjust hook or yarn weight to fit.
Skill Level
Easy for beginners who:
- Can make chains and basic stitches (dc, hdc, sl st).
- Are comfortable working in the round.
- Are willing to learn the magic ring and front post double crochet stitches.
- Understand increases and decreases.
Materials Needed
- Soft cotton yarn (lightweight recommended)
- 2.0 mm (size 3) crochet hook
- Scissors
- Measuring tape
- Stitch marker (optional)
Size Details
- Fits about a 2-year-old child’s head (approximate crown diameter: 13.5 cm)
- Hat height about 10 cm (not including brim)
- Brim adds 2–3 cm of flare and texture
Stitches Used & Abbreviations
| Abbreviation | Full Name | Description |
|---|---|---|
| ch | chain | Yarn over, pull through the loop on hook |
| dc | double crochet | Yarn over, insert hook, pull up a loop, yarn over, pull through 2 loops twice |
| hdc | half double crochet | Yarn over, insert hook, pull up loop, yarn over, pull through all 3 loops |
| sl st | slip stitch | Insert hook, yarn over, pull through hook and loop together |
| fpdc | front post double crochet | Yarn over, insert hook around the post of the stitch (from front to back), yarn over, pull through loops |
| dc2tog | double crochet two together | Crochet two stitches together to decrease |
Special Techniques
Magic Ring:
Creates a tight center to start working in a circle. Wrap yarn in a loop, insert hook to pull up a loop inside the ring, and crochet the stitches inside. Pull ring to close the center tightly.
Front Post Double Crochet (FPDC):
Instead of inserting the hook in the top loops of the stitch, go around the post of the stitch from front to back and back to front, then yarn over and complete a double crochet as usual. This makes a raised stitch, adding texture.
Double Crochet Decrease (dc2tog):
Partially complete one double crochet in one stitch but stop before the last yarn over. Then double crochet the next stitch similarly and finish both stitches together with one yarn over pull through all loops. This decreases stitch count by one.
The Pattern Instructions Step by Step
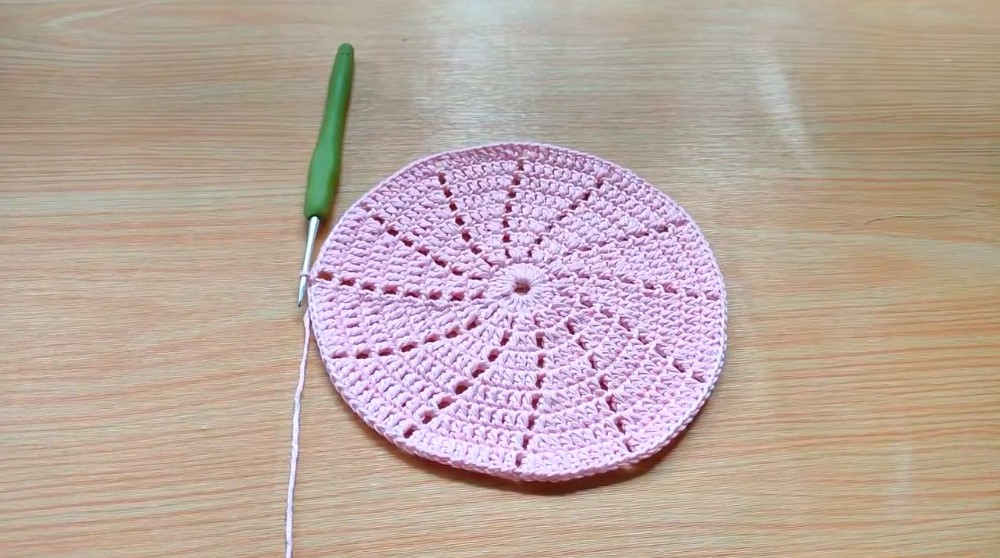
1. Crown Construction (Increasing Rounds)
- Make a magic ring.
- Work 24 double crochet (dc) stitches into this ring. Close the round with a slip stitch (sl st).
Round 2:
- Chain 3 (counts as first dc).
- In the same stitch work 1 more dc (increase).
- Chain 1, skip next stitch.
- Repeat around: 2 dc in next stitch, chain 1, skip 1 stitch.
- Close round with sl st.
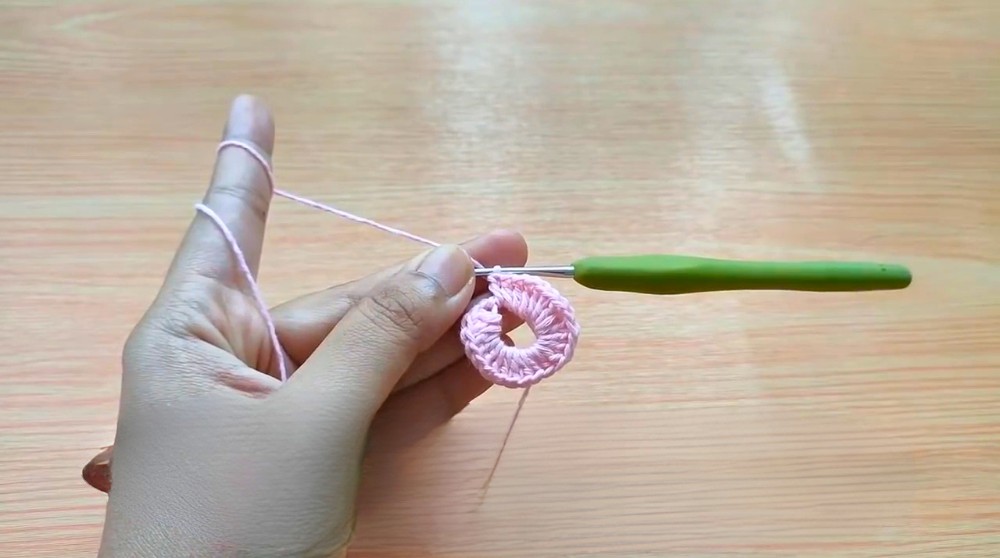
Round 3:
- Chain 3.
- 2 dc in next stitch (increase).
- 1 dc in next dc stitch.
- Chain 1.
- Repeat this pattern to end of round.
- Join with sl st.
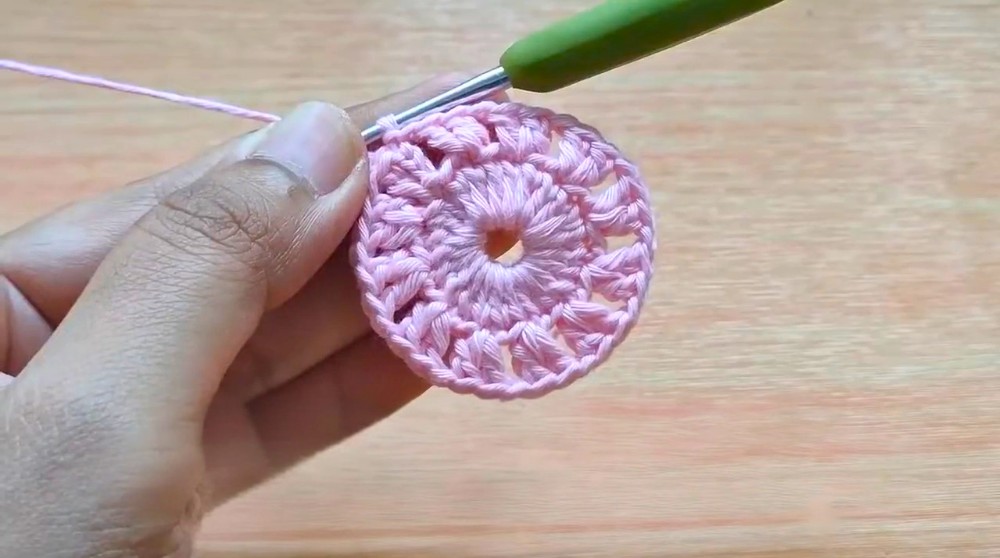
Round 4:
- Chain 3.
- 2 dc in next stitch.
- 1 dc in next 2 dc stitches.
- Chain 1.
- Repeat.
- Join round.
Round 5:
- Chain 3.
- 2 dc in next stitch.
- 1 dc in next 3 stitches.
- Chain 1.
- Repeat and join.
Rounds 6 to 9:
- Continue this pattern, increasing the number of single dc stitches between increases by 1 each round.
- For example, round 6: 2 dc, dc in next 4 stitches, chain 1, repeat.
- Stop when the diameter reaches about 13.5 cm.
2. Hat Height
Rounds 10 to 12:
- Chain 3 to start.
- Work 2 dc into the next stitch (increase).
- Then dc in each stitch across the row, except the last two stitches, which you will join together with a dc decrease (dc2tog).
- Chain 1, repeat this pattern for each round.
- Stop when the hat reaches about 10 cm in height.
Base Finish:
- Work one round of half double crochet (hdc) evenly around the hat base.
- This completes the edge neatly and adds some firmness.
3. Hat Brim
Round 1:
- Chain 3.
- 1 dc in the next stitch.
- 1 front post double crochet (fpdc) in the third stitch.
- Repeat alternating dc and fpdc all around.
- Join round.
Rounds 2–3:
- Work 2 dc in the space between stitches to widen the brim gently.
- Work 1 dc in each dc stitch and 1 fpdc in each fpdc stitch to maintain ribbed texture.
- Join rounds.
Rounds 4–5:
- Start the round from the gap between the 3rd and 4th dc stitches.
- Make 3 dc stitches in that space for more widening.
- Continue to alternate regular dc and fpdc stitches.
- Join rounds.
Round 6:
- Again, start in the space between 3rd and 4th dc.
- Make 4 dc in that space for the last round of increases.
- Finish with established pattern of dc and fpdc.
- Join round and finish off.
Assembly and Finished Size
- Weave in all loose ends carefully inside the hat for a neat finish.
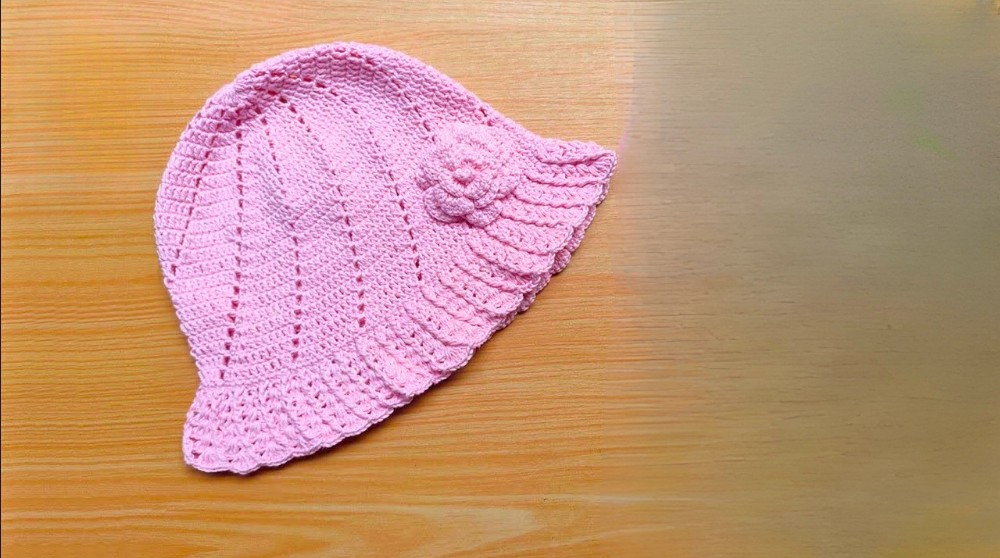
- The finished hat should measure about 13.5 cm in diameter and approximately 10 cm tall, excluding the brim.
- The brim adds a lovely texture and flares out enough to soften the edges and make wearing comfortable.
- Use gentle blocking if you want to smooth the shape.
Final Words
This crochet hat is a great project for beginners who want to practice working in rounds with increases and decreases. The use of simple stitches combined with the textured front post double crochet brim gives a beautiful look while being easy to achieve. Take your time with each round, and don’t forget to check your measurements as you go.