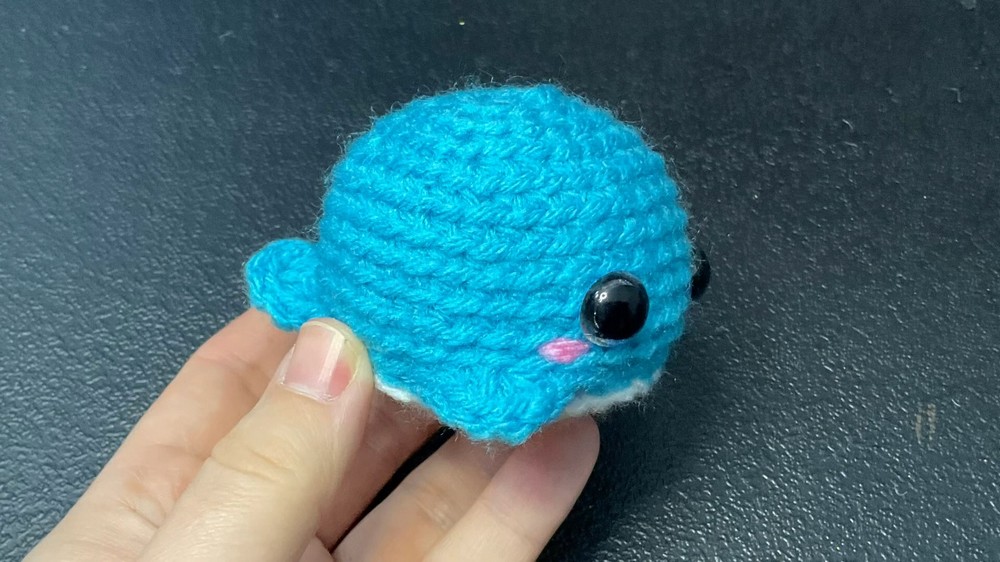
How to Crochet Mini Amigurumi Whale for Beginners

Learn how to crochet a simple and adorable mini amigurumi whale with a step-by-step tutorial for beginners. Using a 4mm hook, colorful threads, safety eyes, and basic crochet techniques like magic rings, single crochet, and increases, the video provides step-by-step instructions for crocheting the body, fins, and cheeks of the whale.
The tutorial also includes tips for adding eyes and assembling the whale securely. Perfect for beginners, it’s an engaging project requiring minimal materials. So, follow through with us for the complete tutorial.

Materials Needed
-
4 mm crochet hook
-
Amigurumi eyes
-
Scissors
-
Stitch marker
-
Stitch counter
-
4 mm blue yarn
-
4 mm pink yarn (for cheeks)
-
4 mm white yarn
-
Amigurumi stuffing
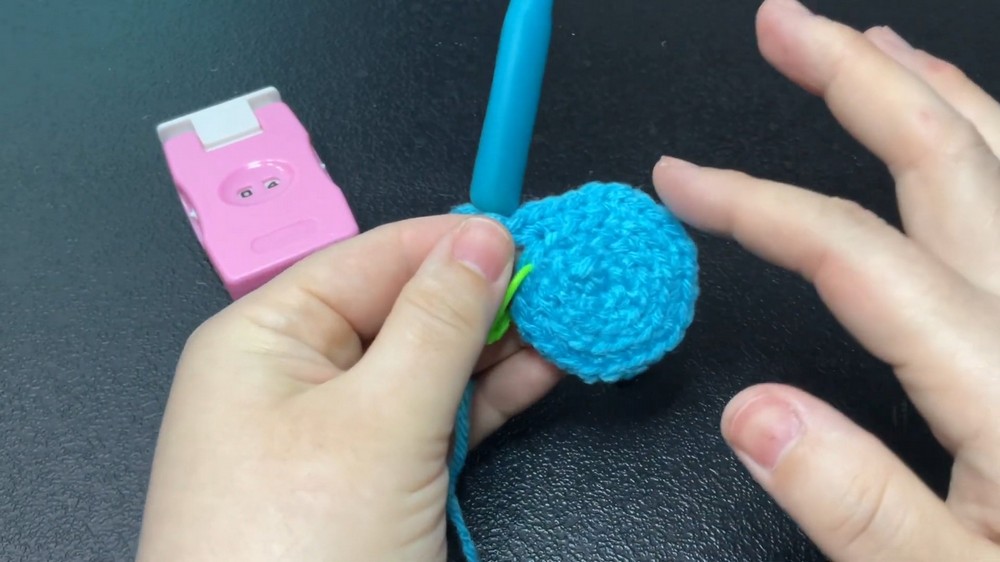
Whale Body Construction
The tutorial begins with creating the main body of the whale using blue yarn.
-
Magic Ring and First Row: The process starts with a magic ring, followed by a chain stitch and single crochet stitches into the ring. The first stitch is marked, and the round is closed with a slip stitch.
-
Subsequent Rows (Increases):
-
Row 2: Increase by making two single crochet stitches in each stitch.
-
Row 3: The sequence is one single crochet, followed by an increase (two single crochet in the same stitch), repeated around.
-
Row 4: The sequence is two single crochet stitches (one in each space), followed by an increase, repeated around.
-
Row 5: The sequence is three single crochet stitches (one in each space), followed by an increase, repeated around.
-
-
Straight Rows (No Increases): Rows 6 through 11 are worked by making one single crochet stitch in each stitch around, maintaining the stitch count.
Adding Details to the Whale Body
-
Side Fins: In the first space of the next row, four half-double crochet stitches are made into the front loop only to create the first side fin.
-
Body Section between Fins: Eight normal single crochet stitches are then worked in the subsequent spaces.
-
Tail Fin: The tail fin is created in the next stitch by making one single crochet, followed by four double crochet stitches, and then another single crochet, all in the same stitch. The second part of the tail fin is made in the following stitch using the same sequence.
-
Second Body Section between Fins: Eight single crochet stitches are worked after the tail fin.
-
Second Side Fin: Four half-double crochet stitches are made in the next space to form the second side fin.
-
Remaining Body Stitches: The remaining stitches until the first fin are worked as single crochet stitches. The round is then joined with a slip stitch, and the yarn is cut.
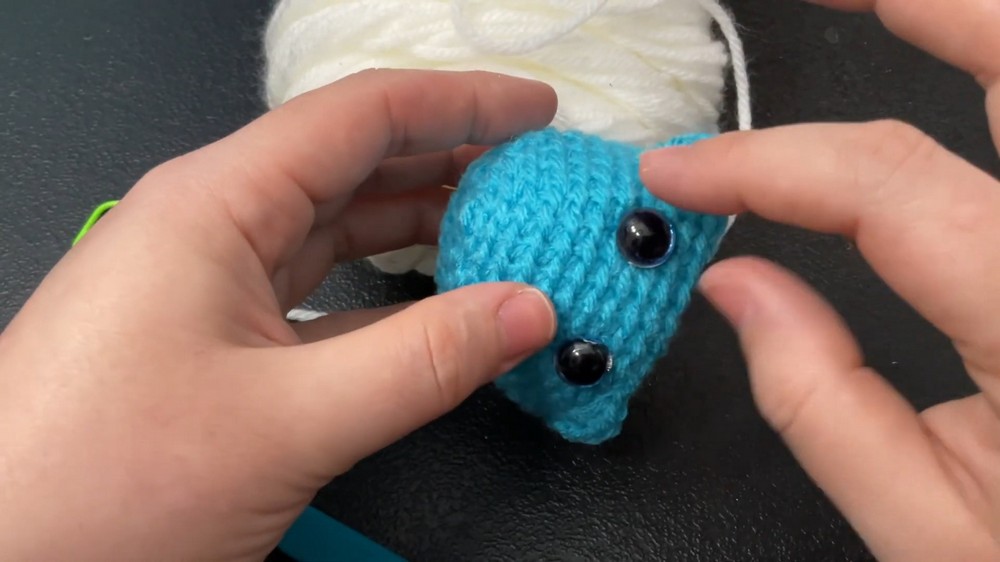
Attaching Eyes and Cheeks
-
Eye Placement: The safety eyes are placed on the third row from where the side fins begin.
-
Cheeks: Pink yarn and a tapestry needle are used to embroider the cheeks. The yarn is passed through specific points near the eyes to create the cheek shape, and then secured with a knot inside the whale.
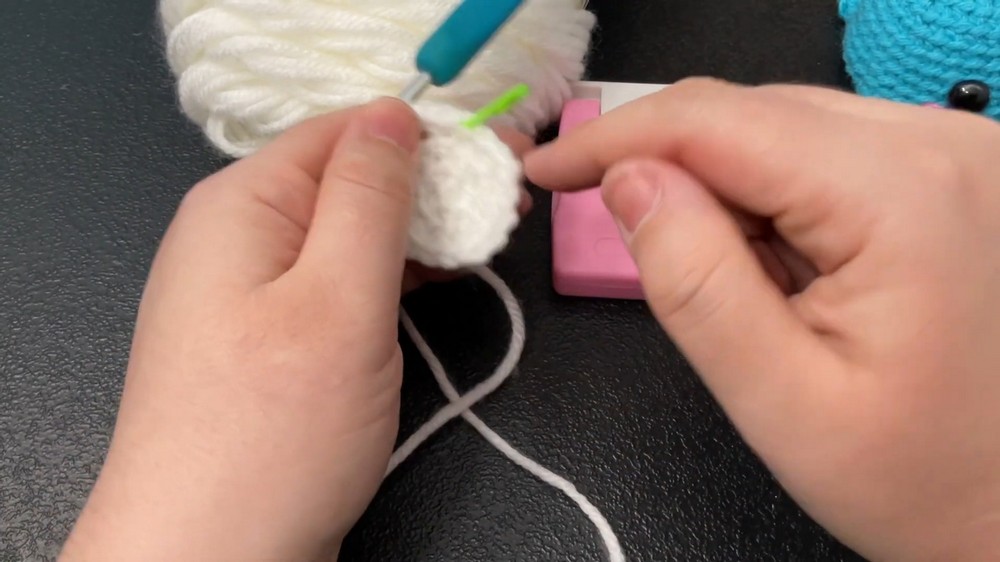
Whale Belly Construction
The belly of the whale is made with white yarn.
-
Magic Ring and First Row: Similar to the body, a magic ring is made, followed by a chain stitch and single crochet stitches.
-
Subsequent Rows (Increases):
-
Row 2: Increase by making two single crochet stitches in each stitch.
-
Row 3: The sequence is one single crochet, followed by an increase, repeated around.
-
Row 4: The sequence is two single crochet stitches (one in each space), followed by an increase, repeated around.
-
Row 5: The sequence is three single crochet stitches (one in each space), followed by an increase, repeated around.
-
-
Final Row (No Increases): Row 6 is worked by making one single crochet stitch in each stitch around. The round is closed with a slip stitch, and a long tail of yarn is left for sewing.
Assembling and Finishing
-
-
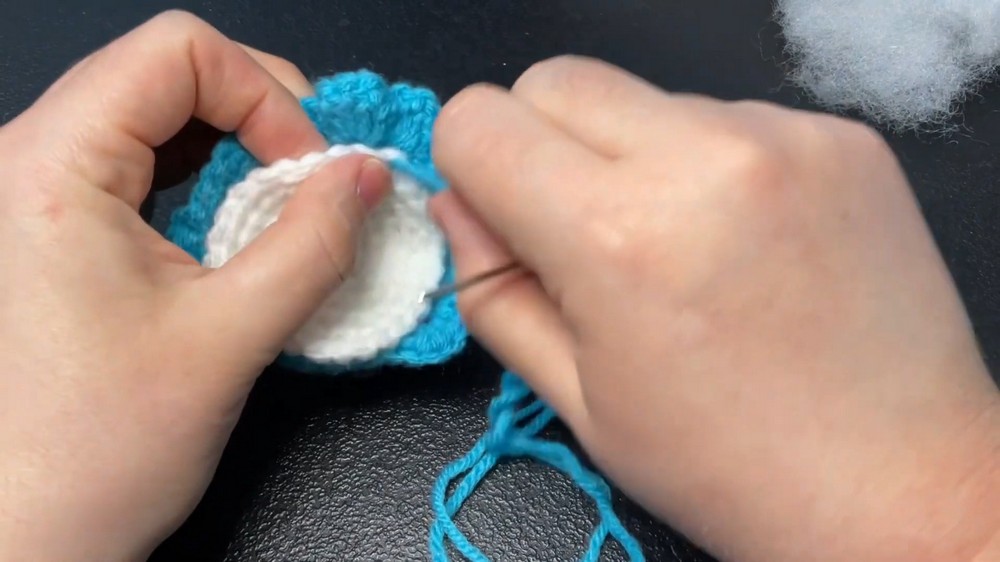
Sewing the Belly: The belly is sewn to the main body of the whale using yarn that matches the body color (blue in this case) to ensure a clean finish. The stitches are taken from underneath the fins to avoid damaging them.
-
Stuffing: Before completely closing the belly, the whale is stuffed with amigurumi filling.
-
Final Closure: The remaining opening is sewn shut, the yarn is cut, and the tail is hidden inside the whale.
-
Shaping: The final step involves gently shaping the whale with hands to distribute the stuffing evenly and achieve the desired form.
-