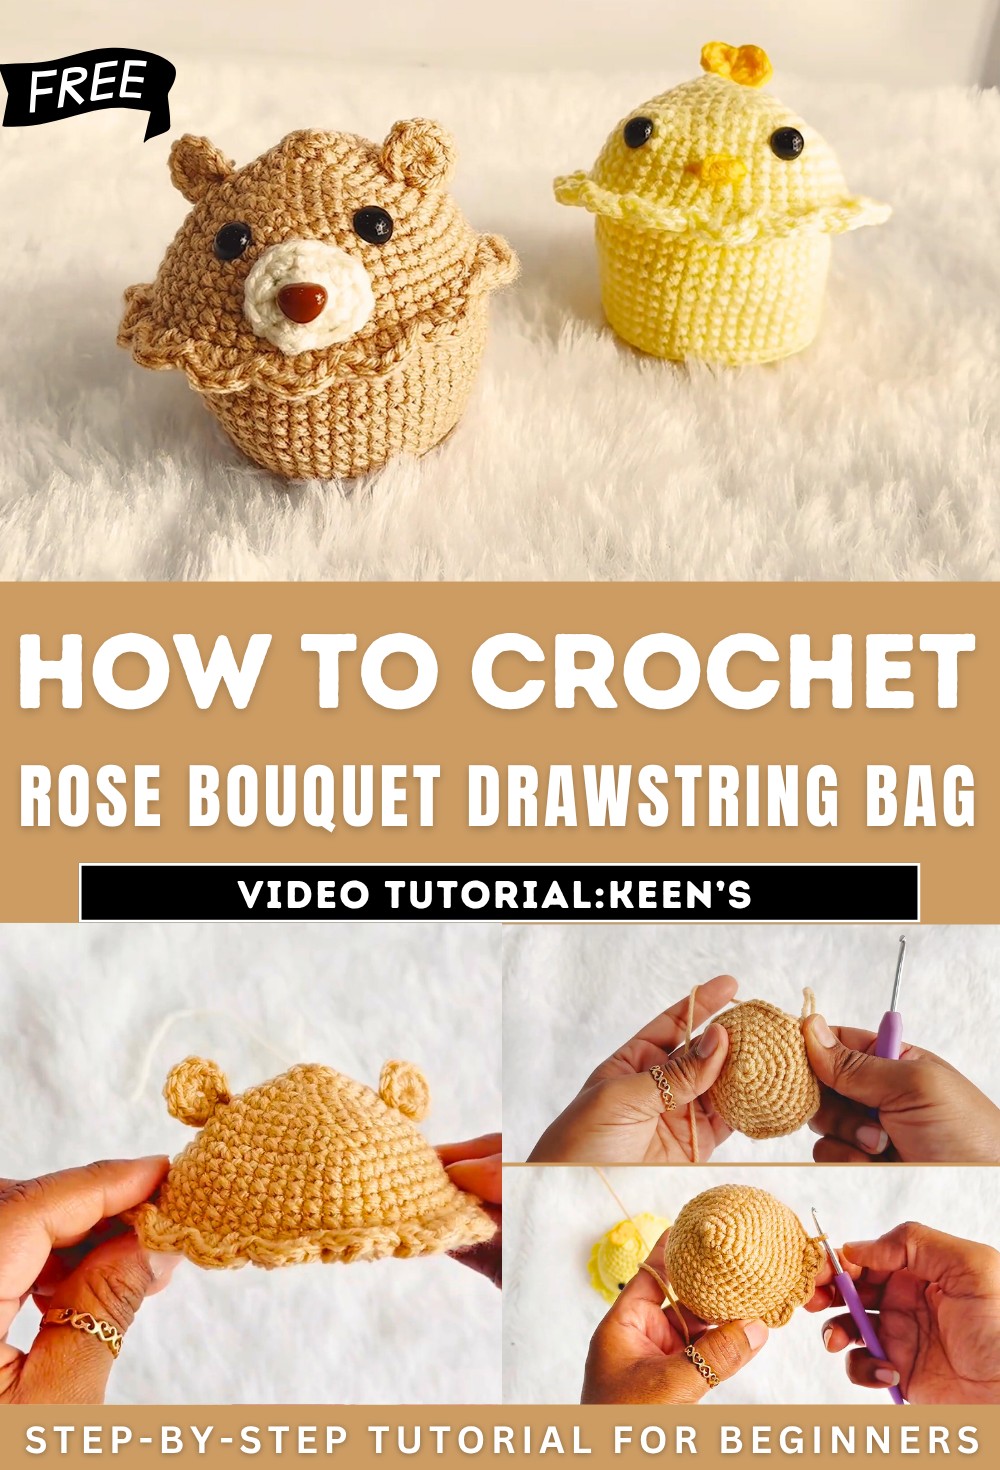
How to Crochet Mini Animal Storage Baskets for Kids
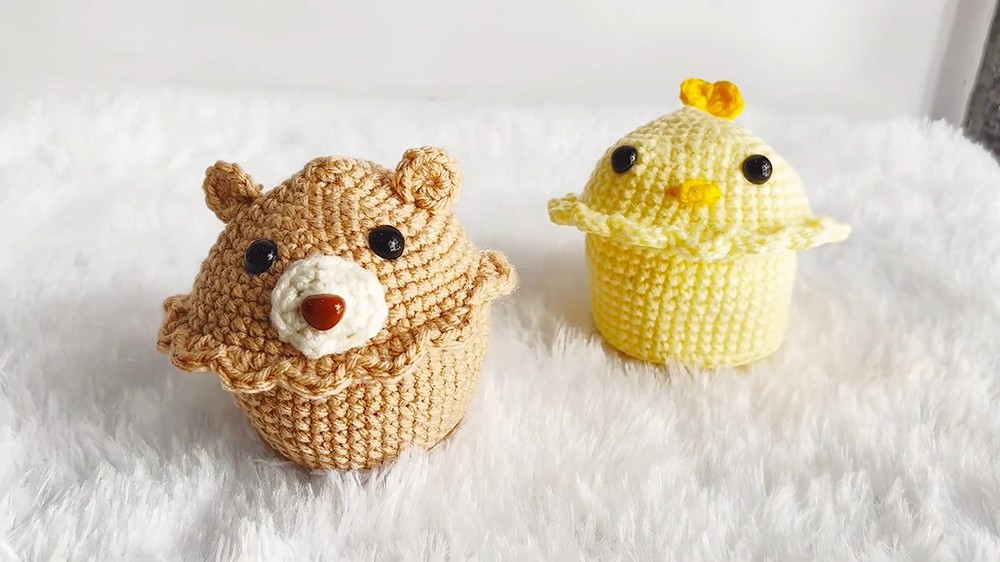
In this post, learn how to crochet adorable animal storage baskets with charming frills, ears, and a nose design. Using 8-ply Ganga Alicia yarn and a 3.5mm hook, the tutor teaches the step-by-step process, including creating a magic ring, building the base with single crochets, and adding details like teddy bear ears and safety eyes. This beginner-friendly project is perfect for creative storage or decor. Tuskin’s clear instructions make it easy to craft these cute baskets at home.
Crochet Mini Storage Basket Tutorial
Tuskin, the creator of the video, introduces the project – creating adorable animal baskets with ears, frills, and facial features. She discusses the versatility of the baskets, suitable for storage or decoration. You can crochet both the chick and bear baskets perfect for storing your crochet hooks and kids’ pencils.
Materials Required
- Yarn: 8-ply Ganga Alicia yarn is recommended. Tuskin mentions that this yarn is easily accessible in India through platforms like Amazon or embroidery stores, such as Pradhan Embroidery.
- Hook: A 3.5 mm crochet hook is used for the basket’s construction.
- Accessories: 10 mm safety noses and eyes are used to enhance the animal features.
- Additional Tools: Scissors and a sewing needle for finishing and assembly.
What is the best yarn for crocheting these baskets?
The best yarn for crocheting these baskets is a sturdy and durable material that can hold its shape while allowing flexibility for intricate designs. For this project, Tuskin recommends using 8-ply Ganga Alicia yarn, which is soft, lightweight, and provides excellent stitch definition.
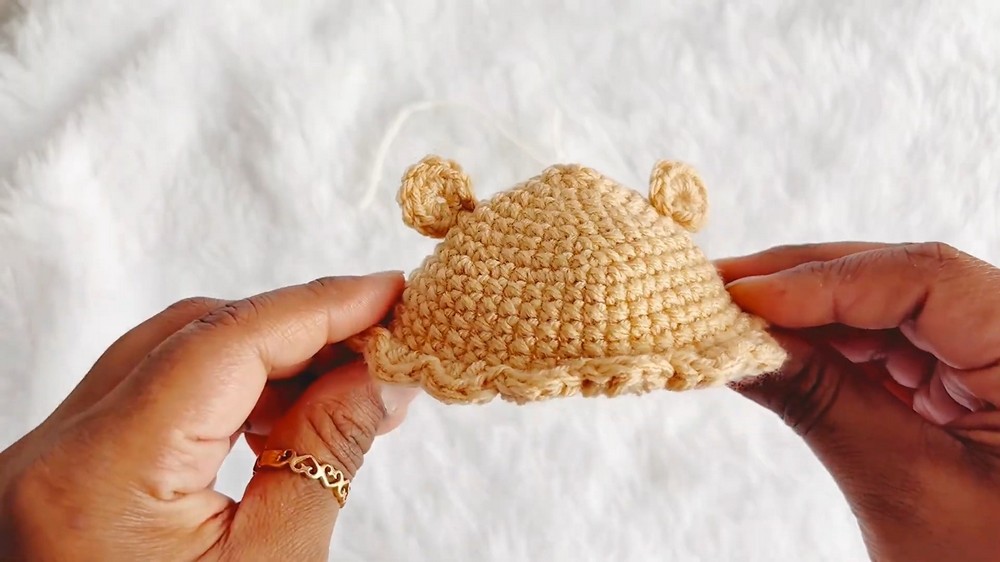
Creating the Basket Cap (Top of the Basket)
-
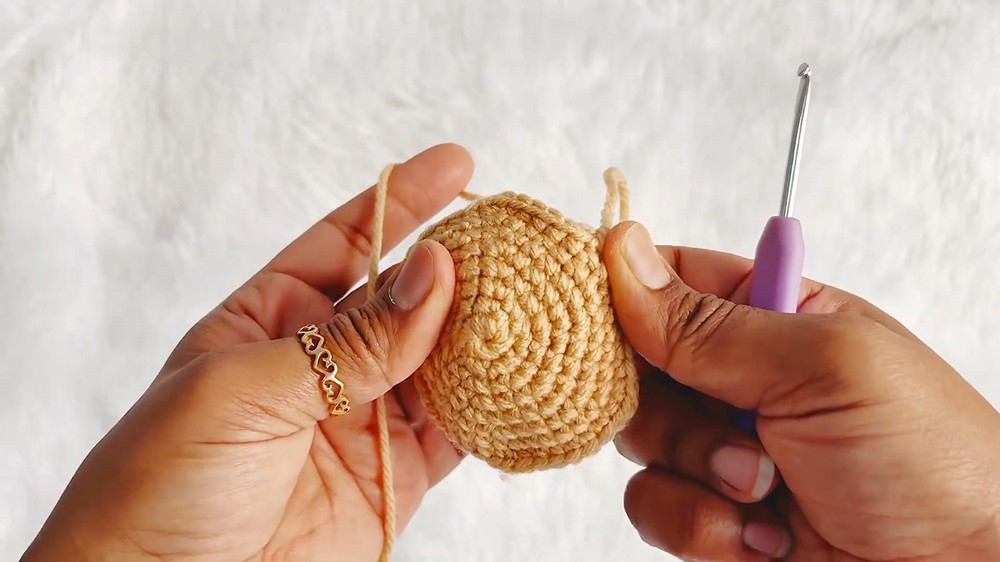
Foundation:
- The cap begins with a magic ring to form the base, followed by single crochets.
- Rows are built with incremental increases to form a circular base.
-
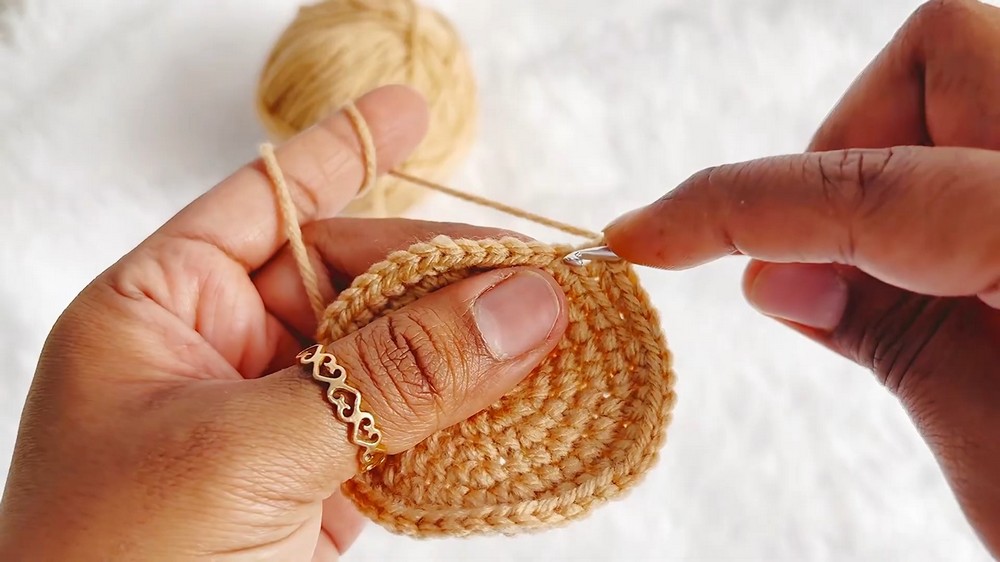
Adding Frills:
- After completing the base, decorative frills are added in one of the upper rows.
- Frills are made by alternating slip stitches, half-double crochets, and double crochets on the same stitches.
- This step gives the basket cap its unique charm and appeal.
-
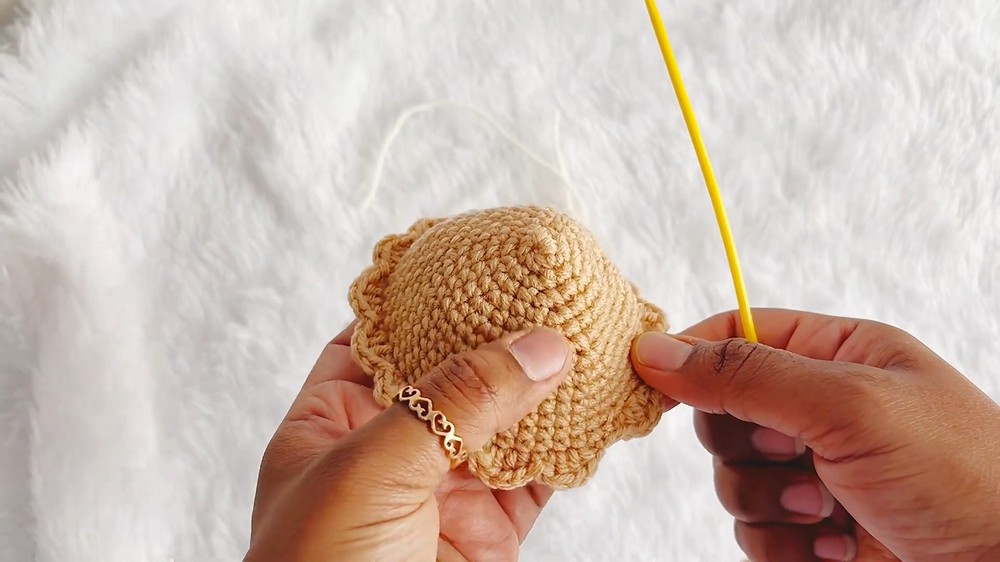
Securing the Ends:
- Once the cap is complete, the yarn ends are secured by tucking them inside to prevent the stitches from unraveling.
Creating the Animal Features
-
Ears:
- The ears are made separately using a magic ring and single crochet rows.
- Long yarn tails are left after creating the ears to make sewing easier during assembly.
- Two ears are required to complete the basket.
-
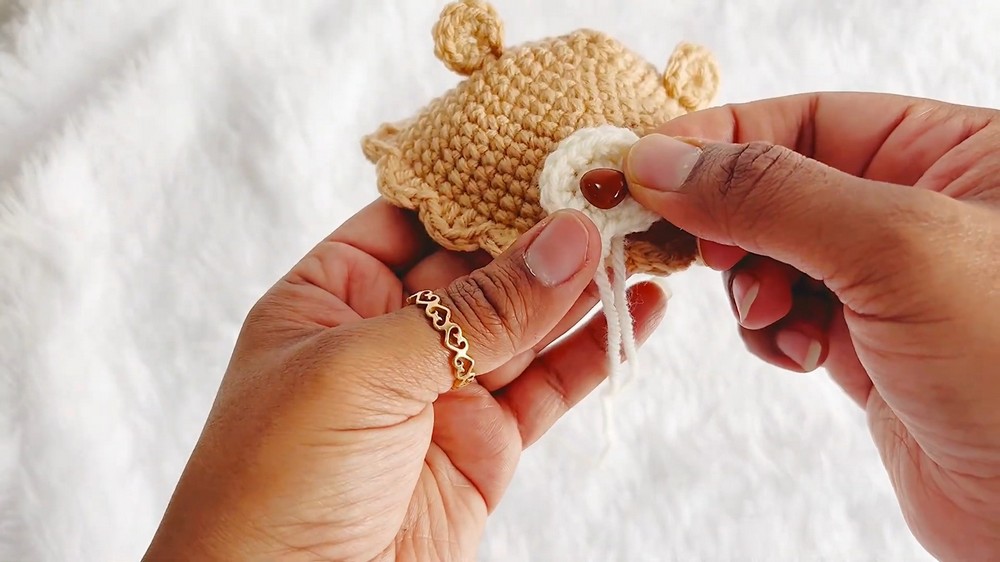
Nose:
- The nose is crocheted using a cream-colored yarn.
- It is also made with a magic ring, followed by incremental rows of single crochets and increases.
- The nose is left with a long tail for easy sewing.

-
Assembling the Head:
- The ears are sewn into specific rows of the basket cap (e.g., between rows 5 and 7).
- The safety nose is inserted, followed by sewing the crocheted nose onto the basket cap’s center.
- Safety eyes are placed between designated rows (7 and 8), spaced evenly around the nose.
Creating the Basket Base
-
Foundation:
- The base begins with a magic ring and rows of single crochet.
-
Defining the Base’s Shape:
- Specific rows are worked in the back loops to create a defined edge that separates the basket’s base from its sides.
- Single crochets are worked evenly in rows to build the desired height for the basket’s sides.
Final Assembly
- The completed basket cap (with ears, nose, and eyes) is attached to the base.
- Care is taken to align all parts uniformly for a polished design.