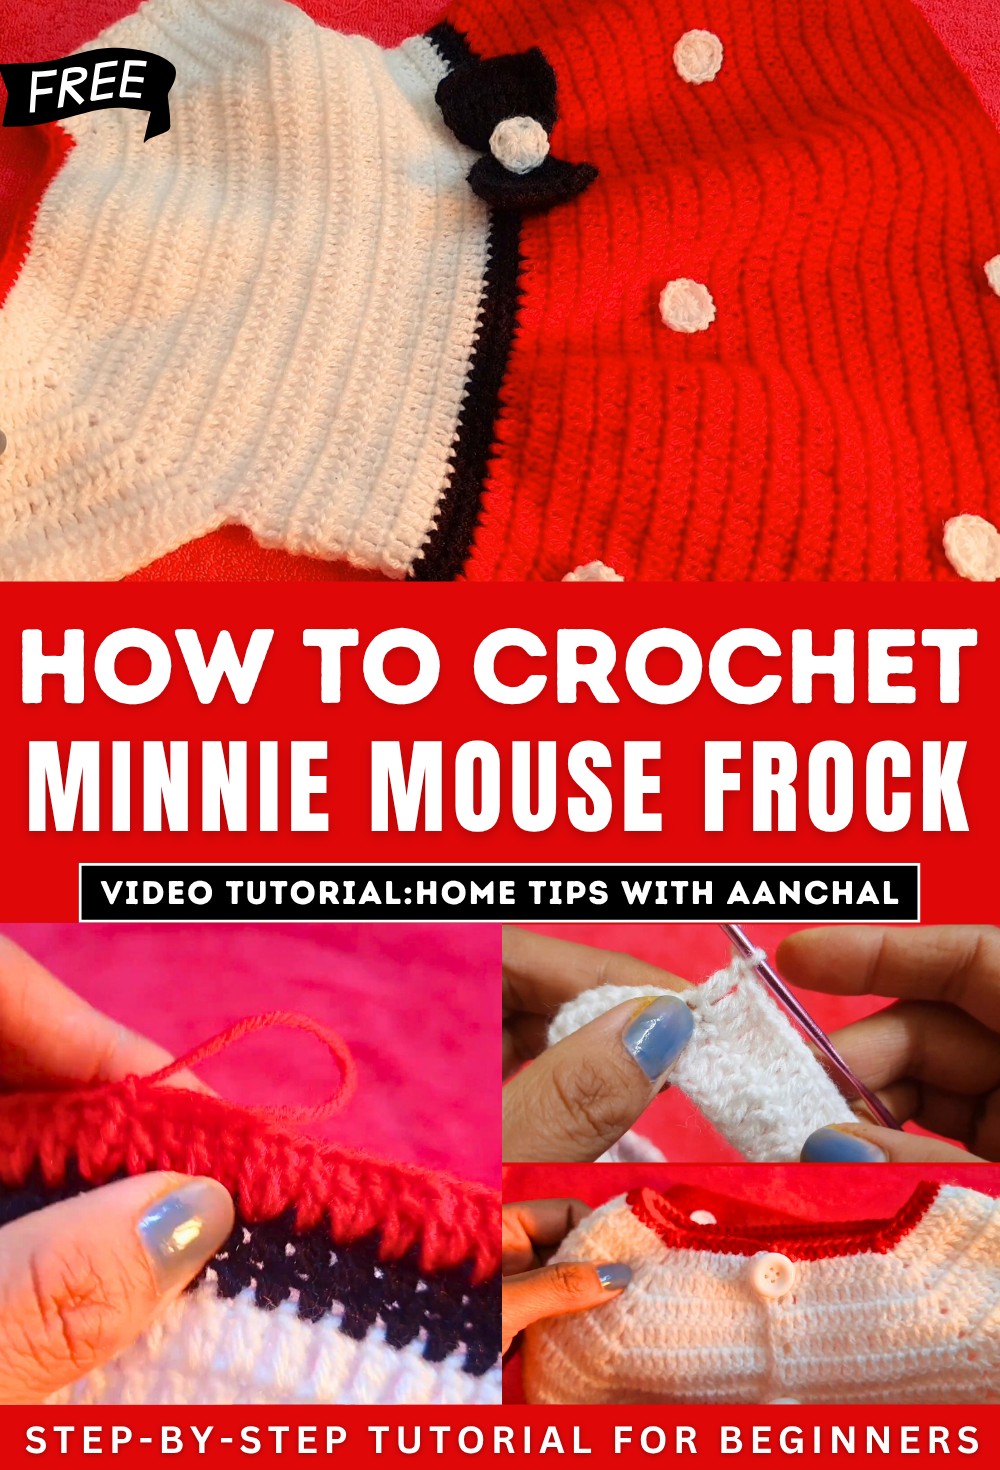
How to Crochet Minnie Mouse Frock for Cosplays
Learn how to crochet a beautiful Minnie mouse frock for a 3 to 4-year-old child using simple techniques perfect for beginners. It covers every step, from making chains to creating double crochets, V-stitches, and frills for the skirt portion. The frock can be adjusted for different sizes by adding extra rows. The tutorial also includes tips for making sleeves, adding decorative circles, and finishing with buttons at the back. It’s a clear and easy guide for beginner crocheters.
Minnie Mouse Crochet Frock Tutorial
This video provides a step-by-step guide to creating a crochet frock designed for a 3-4-year-old child. The design is versatile and can be adjusted for different sizes. Below is a detailed summary, organized into key sections:
Materials Used
- Crochet hook size: 3.5 mm.
- White, black, and red yarn for different sections of the frock.
- Additional materials for decorative elements like buttons and small crocheted circles.
Starting the Base
- The tutorial begins by creating chains for the base. The number of chains varies depending on the size of the child.
- The instructions emphasize avoiding overly tight or loose chains for smooth and consistent work.
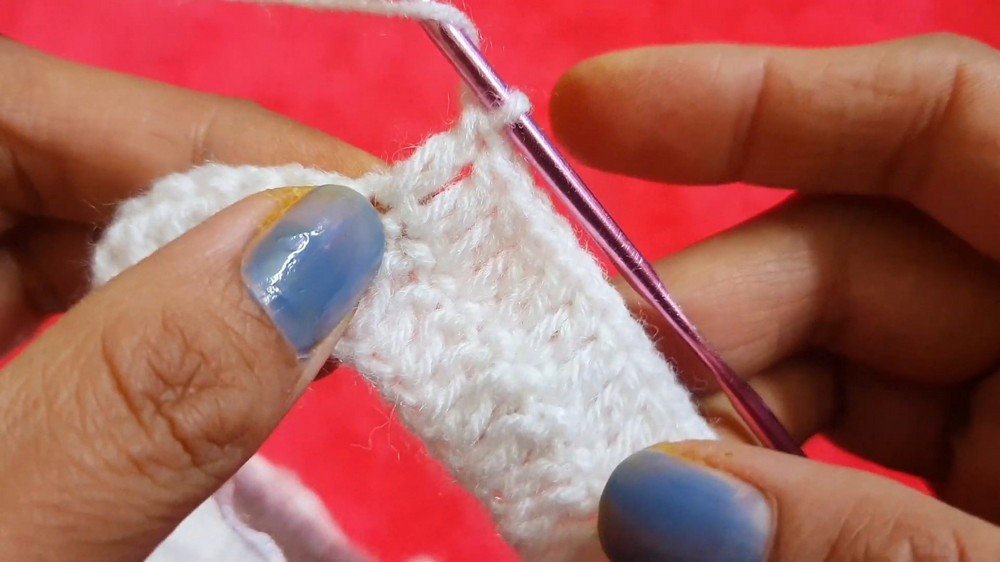
- Double crochets are used to build the foundational rows, forming the structure for the frock’s back, sleeves, and front parts.
Forming the Upper Part
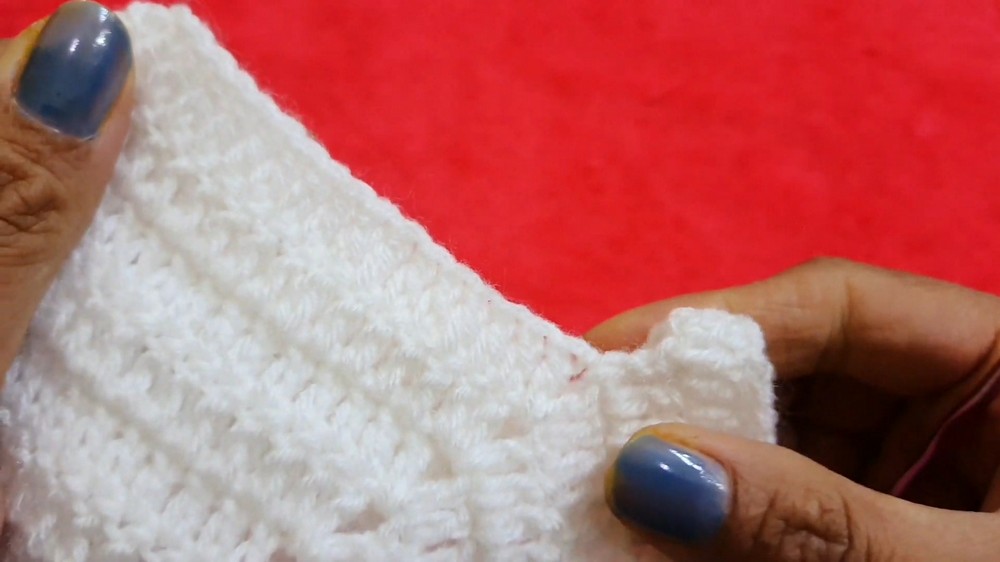
- The initial rows focus on creating “V stitches” at strategic points to shape the neckline, sleeves, and body.
- Sleeves are created by setting aside specific chains for their formation and joining them with the body section.
- Adjustments can be made for larger sizes by adding extra rows.
Joining Sleeves
- Sleeves are joined using chains, ensuring they are not tight while maintaining flexibility.
- The process includes creating separate sleeve parts and connecting them to the main frock structure.
- Options are provided to customize the sleeves, allowing for long or short sleeve designs.
Creating the Upper Body
- Rows of double crochets are added to form the upper body, which serves as the base for the frock’s skirt.
- After completing these rows, the tutorial transitions to adding decorative elements and preparing for the frock skirt.
Adding Color Transitions and Frills
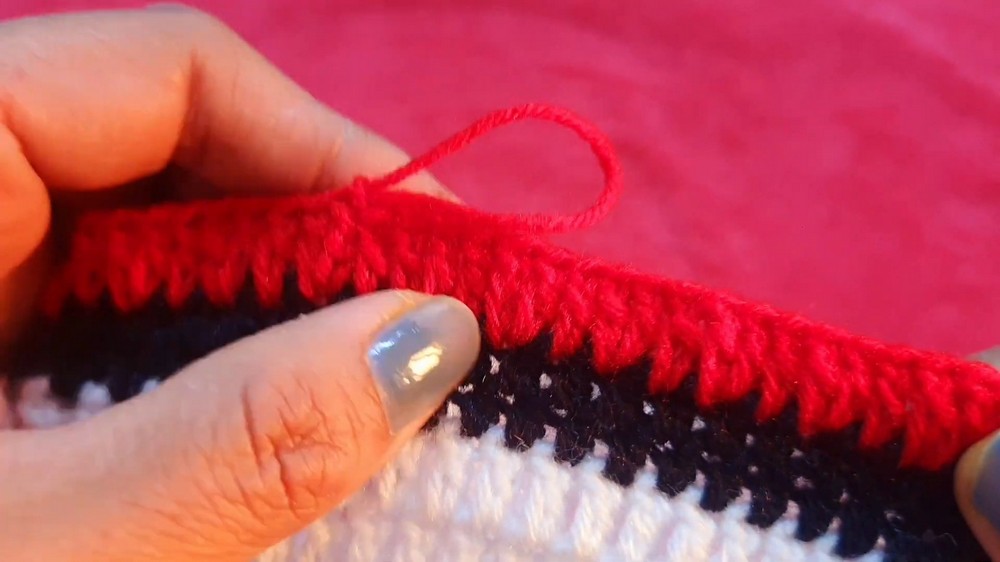
- Black yarn is used to add a contrast layer to the upper part. Two rows of half double crochets are created here.
- Red yarn is introduced for the skirt portion, starting from where the black yarn ends.
- The skirt is worked in increasing double crochet patterns to achieve a frilled, flowing effect. This creates a decorative girth and volume for the skirt part.
Adjusting Length
- The skirt length can be extended according to preference. The tutorial demonstrates making 18-19 rows for the skirt, with the final row completed in half double crochet for a neat finish.
- Viewers are advised to stick to the same pattern for additional rows to ensure consistency in the design.
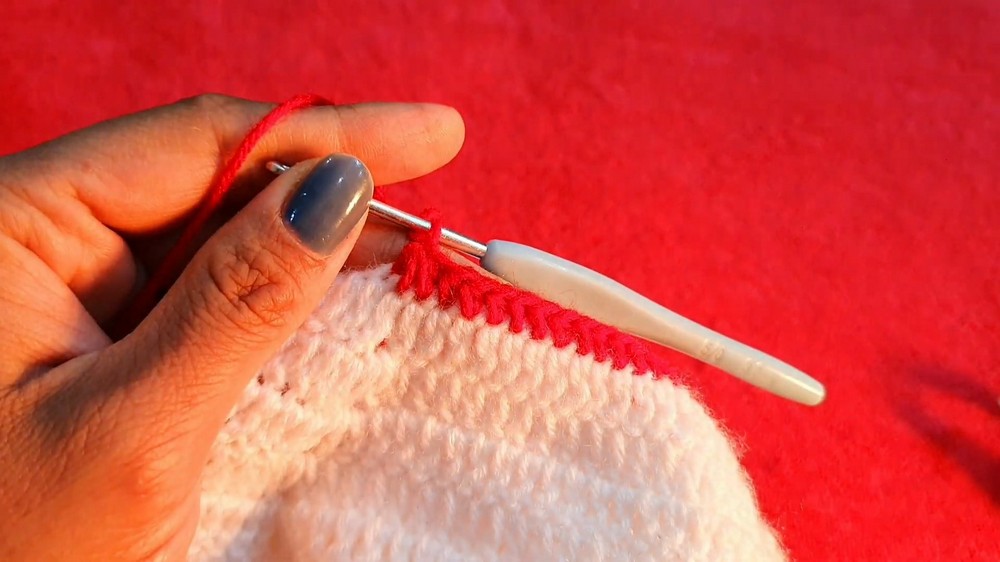
Creating the Neckline
- Red yarn is used to form a polished neck portion.
- Half double crochets are worked around the neckline, ensuring smooth edges.
- Special attention is given to corners, where stitches are grouped and shaped to avoid an open or jagged appearance.
Decorative Additions
- Small white crochet circles are made as embellishments for the frock.
- Each circle is attached carefully to the frock using thread, without requiring separate joints.
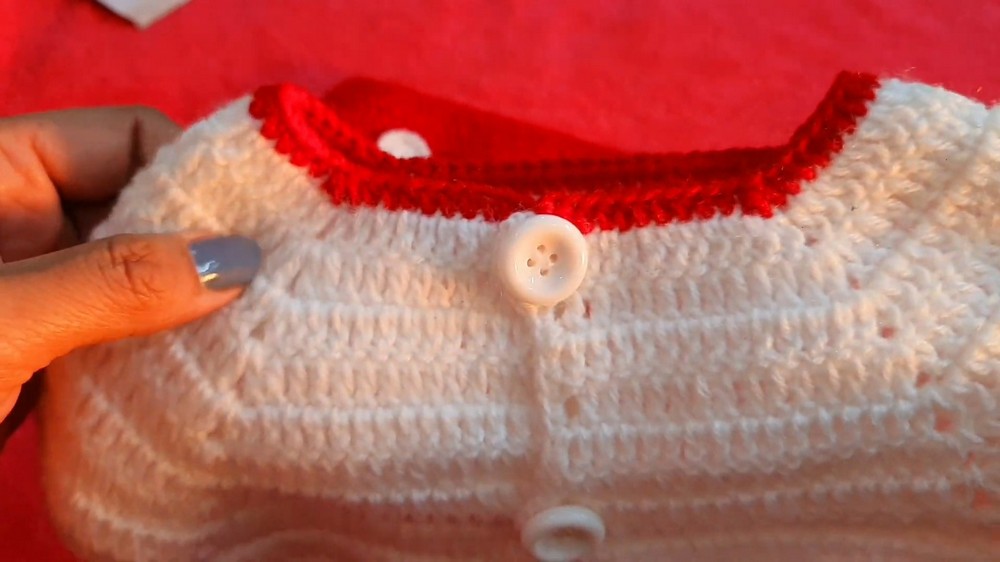
- Buttons are added on the back for closure, completing the frock’s look.
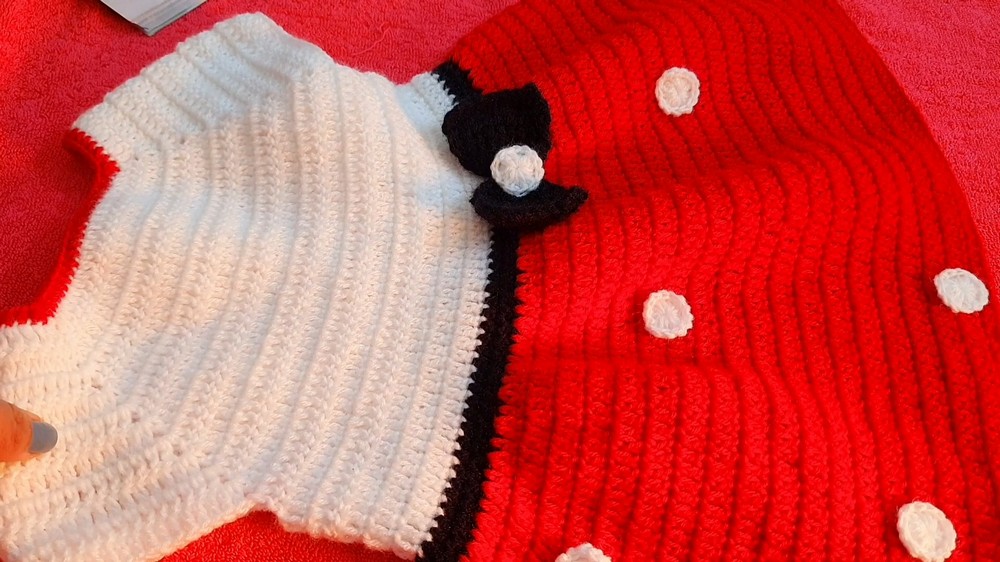
Final Touch
- The completed frock is well-structured with decorative elements like circles and a bow (tutorial for the bow is linked).