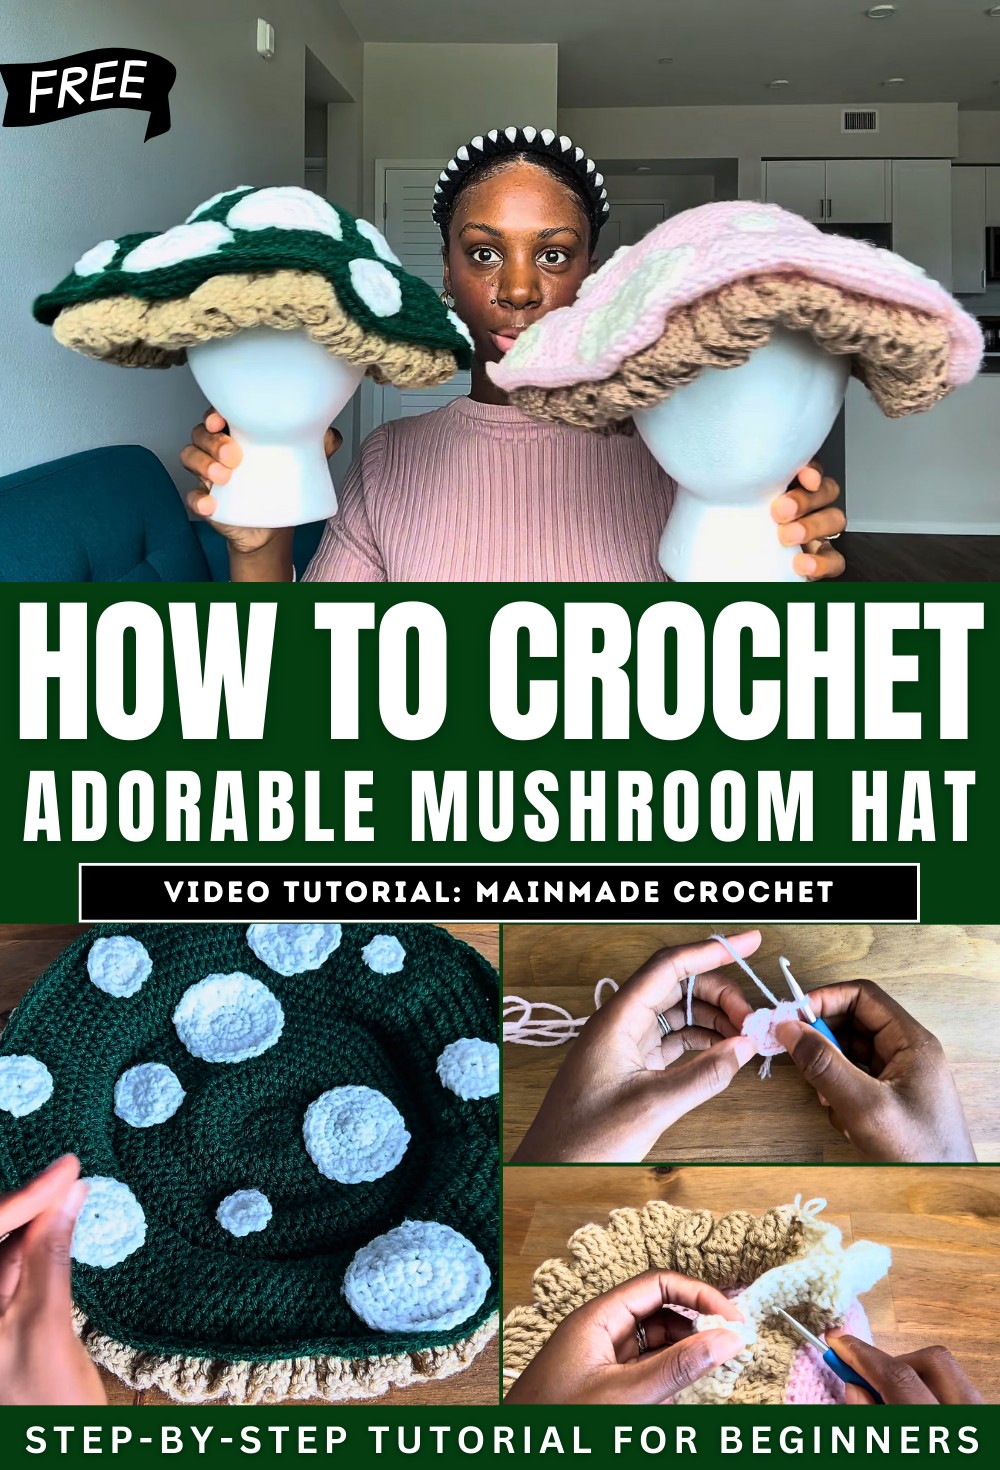
How to Crochet Mushroom Hat with Step-By-Step Tutorial
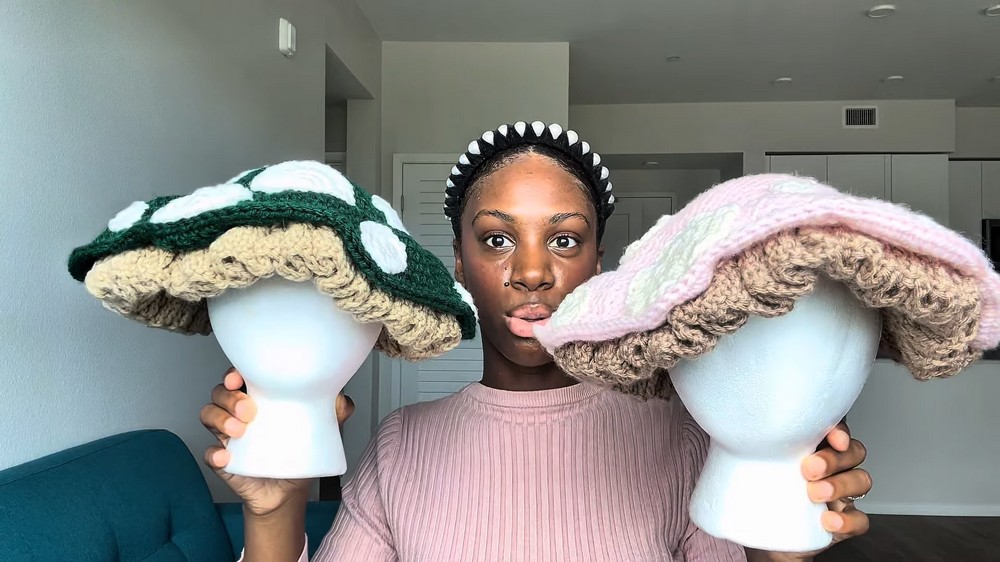
With a step-by-step tutorial, learn how to crochet a whimsical mushroom cap, complete with a base, ruffles, and spots. Using weight 4 yarn in three colors, a 5mm hook, scissors, and a yarn needle, the instructor outlines the project step-by-step. The pattern begins by crocheting the cap’s base, including strategically increasing rounds and working into front loops for texture. Ruffles are added using treble crochet clusters, either joined as you go or sewn on later.
Finally, spots of varying sizes are made and sewn onto the hat to complete the design. The tutorial offers guidance on customization and troubleshooting throughout the process. So, follow through with us for the complete tutorial.
Crochet Tutorial: Mushroom Cap Hat
This crochet tutorial guides viewers through the process of creating a whimsical mushroom cap hat using weight 4 yarn, a 5mm hook, scissors, and a yarn needle. The tutorial breaks down the design into three main components: the base of the hat, the ruffles, and the decorative spots. Below is a detailed summary of the steps and process shared in the video.
Materials Needed
- Yarn: Three colors of weight 4 yarn:
- 100g for the base (e.g., green)
- 150g for the ruffles
- 50g for the spots
- Hook: 5mm crochet hook.
- Other Materials: Scissors and a yarn needle are essential for cutting and attaching.
Step 1: The Mushroom Hat Base
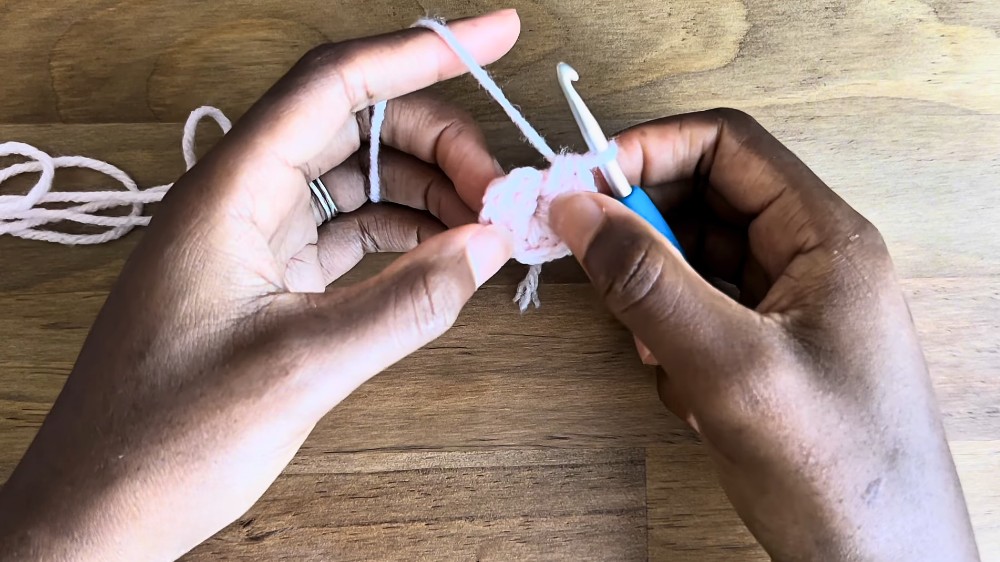
- Foundation Round:
- The project begins with a slip knot and a circle foundation that forms the top of the hat.
- Building the Circle:
- Each round involves increases separated by regular stitches to create an expanding circular shape. The number of regular stitches between increases grows with each round. The instructor also explains how to follow a consistent formula to ensure proportional spacing.
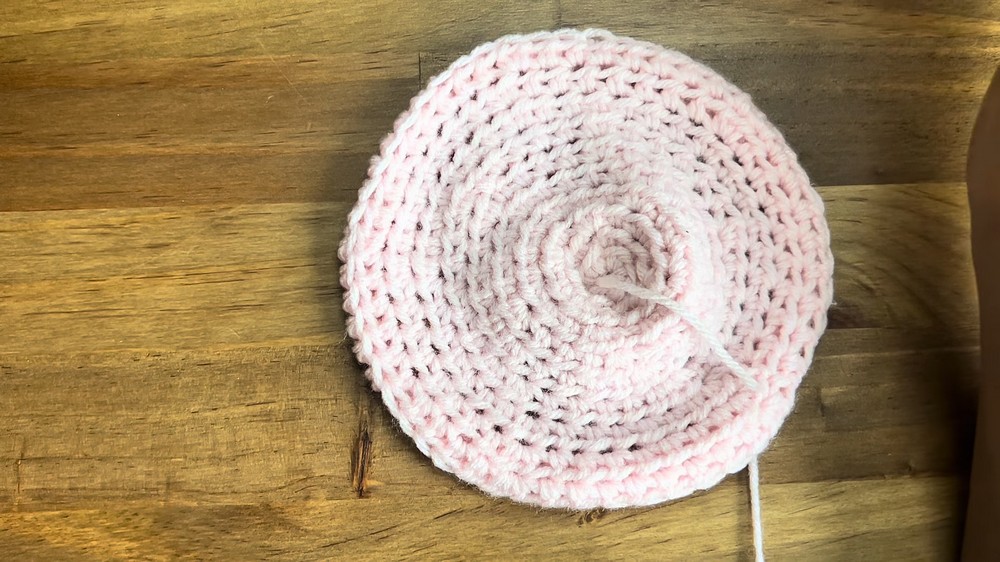
- Front Loop Rounds:
- Certain rounds are worked into the front loops only, leaving the back loops untouched. These back loops are used later to attach the ruffles.
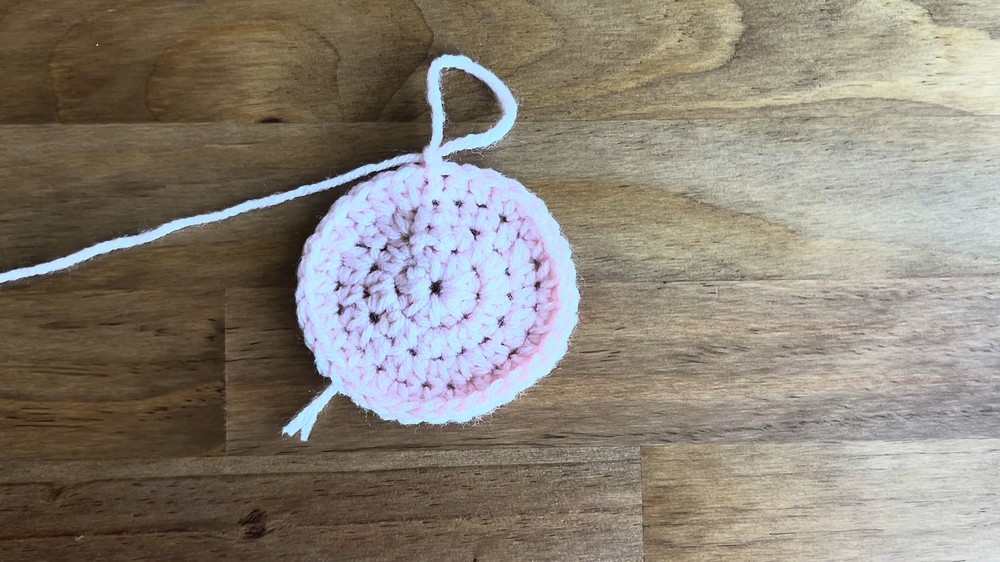
- Shaping the Hat:
- After completing the increasing rounds, the design transitions into rounds without increases to give the hat depth.
- Finishing the Base:
- Once the base is complete, the instructor demonstrates how to tie off the yarn and weave in the ends.
Step 2: Adding Ruffles
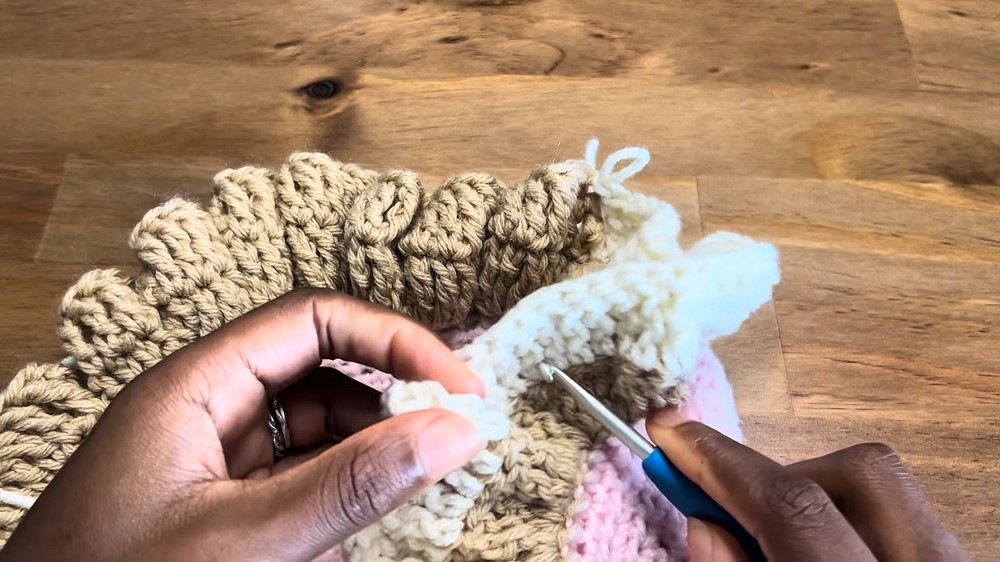
- Attaching Ruffles to the Back Loops:
- The ruffles are attached to the raised back loops from earlier rounds. The ruffle yarn is joined in these loops, and single crochet stitches are added in preparation for the next round.
- Creating Ruffle Texture:
- Treble crochet clusters are worked into each stitch to form the ruffled texture.
- Methods for Joining Ruffles:
- Join-as-You-Go Method: Ruffles are connected to the main hat directly during the crochet process by slip stitching into identified loops from a higher round.
- Sewing Method: Alternatively, the ruffles can be crocheted separately and hand-sewn to the base for better control and placement. The tutorial demonstrates both methods for flexibility.
- Final Ruffle Rows:
- A final round completes the ruffle layer, with all edges finished off and yarn tails woven in.
Step 3: Adding Spots
- Making Spots:
- The spots are crocheted following the same method as the base of the hat, starting with a small foundation circle. The instructor recommends varying the number of rounds and stitches to achieve spots of different sizes.
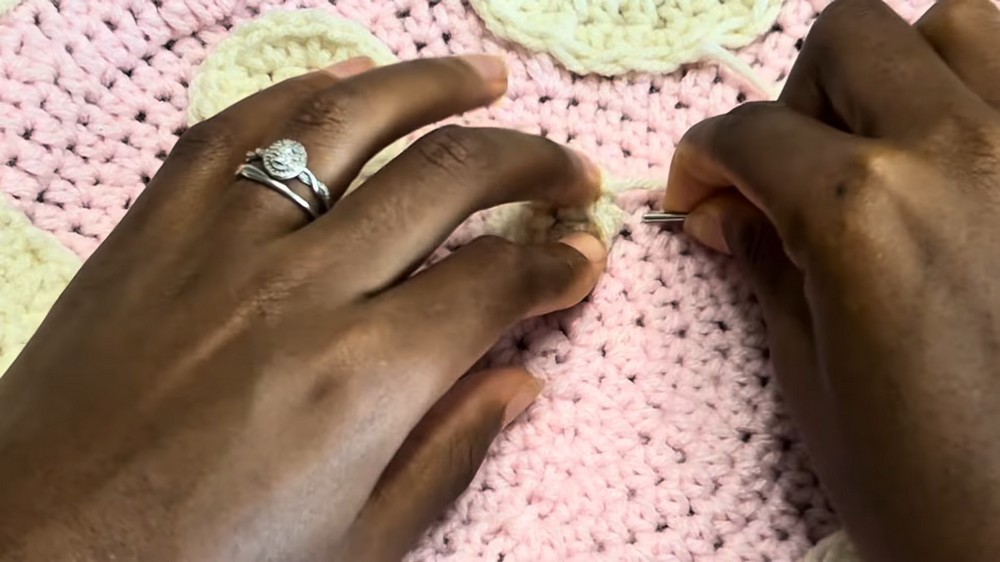
- Attaching Spots:
- Using a yarn needle, the decorative spots are sewn onto the top of the hat. Strategic placement of different-sized spots is encouraged for a balanced look.
Personalization and Tips
- The project allows for customization with colors, spot sizes, and ruffle-texture techniques.
- Following the provided counting tips ensures the design remains proportional and circular.
- The instructor highlights common pitfalls and troubleshooting techniques throughout the process.
Conclusion
The final product is a charming and intricate mushroom cap perfect for costumes, gifts, or whimsical wear. The tutorial provides clear explanations and offers multiple methods to accommodate crocheters of varying skill levels. Viewers are invited to experiment with their designs and ask questions if they encounter challenges.