How to Crochet Mushroom Jewelry Stand for Beginners
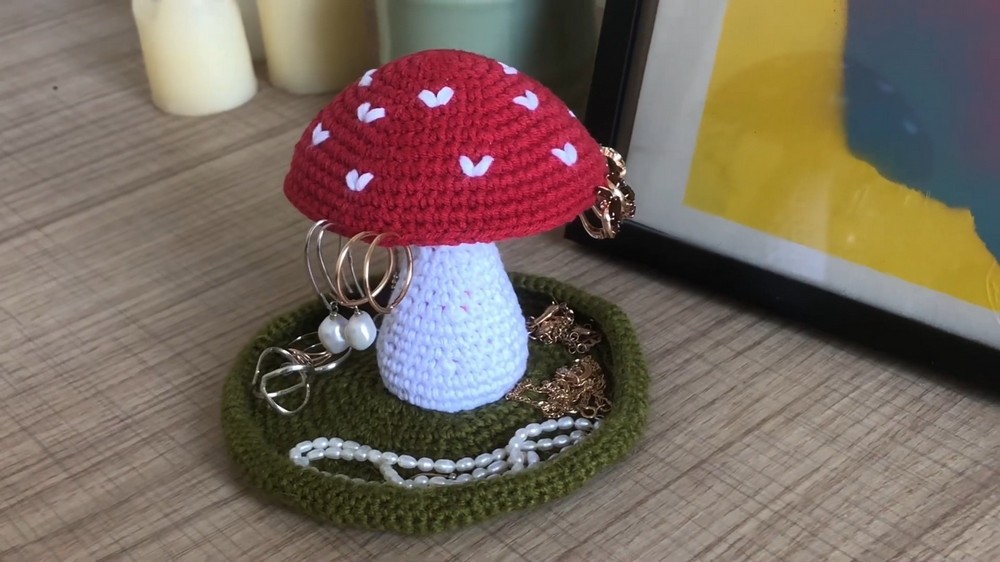
Learn how to crochet a mushroom jewelry holder that can be used as a stand with a step-by-step tutorial for beginners. It covers the materials needed, including a wide-eyed needle. The tutorial details crocheting the hat with increases and offsetting stitches, embroidering spots, and crocheting the stem with increases and decreases.
It also explains assembling the mushroom by sewing the stem to the hat, stuffing it, and finally crocheting and attaching a base. So, follow through with us for the complete tutorial.

Introduction and Materials
-
Project Goal: Learn to crochet a mushroom that can function as a jewelry stand.
-
Materials Needed:
-
Yarn: Preferably 50g per 200m (specific type not mentioned, but implies a certain weight/thickness).
-
Crochet Hook: A 2.5mm crochet hook.
-
Needle: A wide-eyed needle (for weaving in ends and assembly).
-
Marker: A stitch marker (for keeping track of rounds).
-
Stuffing: Thread scraps or other suitable filler material for stuffing.
-
II. Crocheting the Hat
-
Starting Point: Begin with a magic ring.
-
Initial Stitches: Crochet a specific number of single crochets into the magic ring.
-
Increasing Rows: Increase stitches by a specific amount in each subsequent row. The pattern involves increasing the distance between increases by one stitch in each row.
-
Shape Correction: To avoid a hexagonal shape, the creator instructs on offsetting the increases in some rows.
-
Curling Effect: After achieving the desired diameter (e.g., 7.5 cm), crochet a few rows without increases to make the hat naturally curl, giving it the mushroom cap shape.
-
Finishing Hat: Finish with a slip stitch and leave a long tail for sewing.
III. Embroidering Spots on the Hat
-
Yarn: Use white yarn, folded in half, for embroidery.
-
Spot Design: Create heart-shaped or V-shaped spots on the hat.
-
Securing Embroidery: Secure the embroidery with a knot on the inside of the hat.
IV. Crocheting the Stem
-
Starting Point: Begin the stem similarly to the hat, with a magic ring.
-
Initial Stitches: Crochet a specific number of single crochets into the magic ring.
-
Increasing Rows: Continue with increases for several rows, following a similar pattern to the hat, until reaching a specific number of stitches.
-
Straight Rows: Crochet a few rows without increases to create a straight section of the stem.
-
Decrease Rows: Introduce decrease rows, alternating with straight rows, to shape the stem, making it narrower in the middle.
-
Increasing Again (Bottom): Start increasing again to form the bottom part of the hat, matching its diameter to the top part where it will connect to the cap.
-
Stuffing: Stuff the stem with filler material as you crochet or before closing.

V. Assembling the Mushroom
-
Sewing Stem to Hat: Sew the stem to the hat using the long yarn tail left from the hat. Leave a gap to allow for stuffing the hat.
-
Attaching New Thread: If yarn runs out during sewing, attach a new thread by laying both ends along the edge and crocheting over them.
-
Stuffing Hat: Stuff the hat with filler material.
-
Finishing Sewing: Finish sewing the pieces together to securely attach the stem and hat.

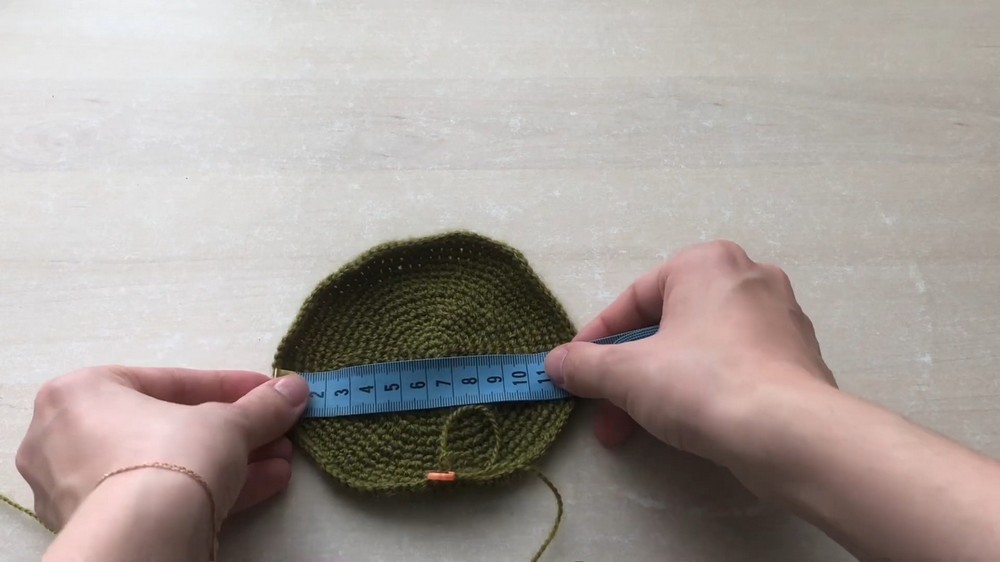
VI. Crocheting the Base
-
Base Shape: Crochet a flat circle for the base, similar to how the hat was started, but with more increase rows to achieve a larger diameter (e.g., 12 cm).
-
Border: Add a few straight rows to create a small border around the edge of the base.

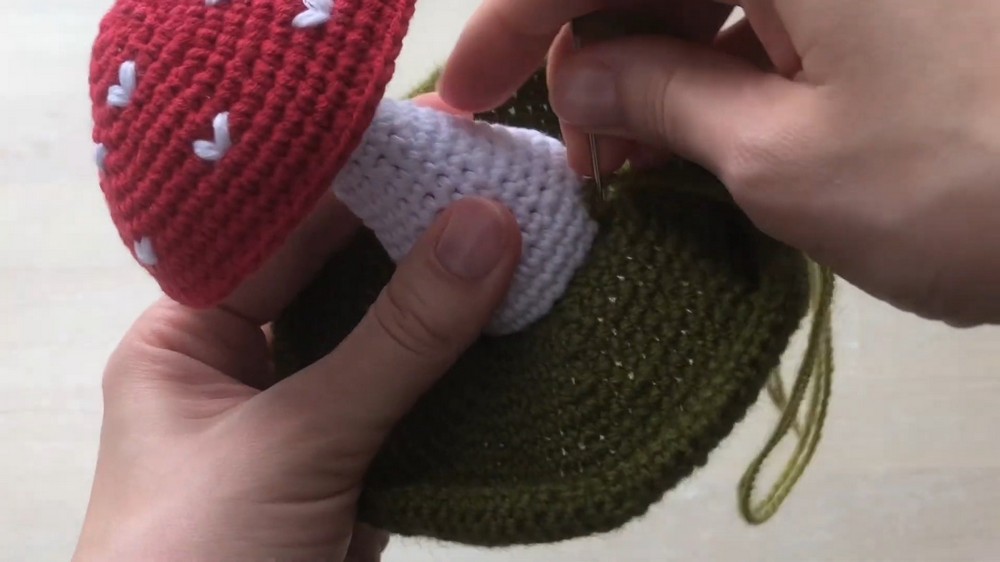
VII. Attaching the Mushroom to the Base
-
Sewing Method: Use a needle and yarn to sew the stem of the mushroom to the crocheted base. This is done by going through one stitch on the stem and one on the base alternately.
-
Securing: Secure the thread with a knot and hide any excess yarn for a clean finish.