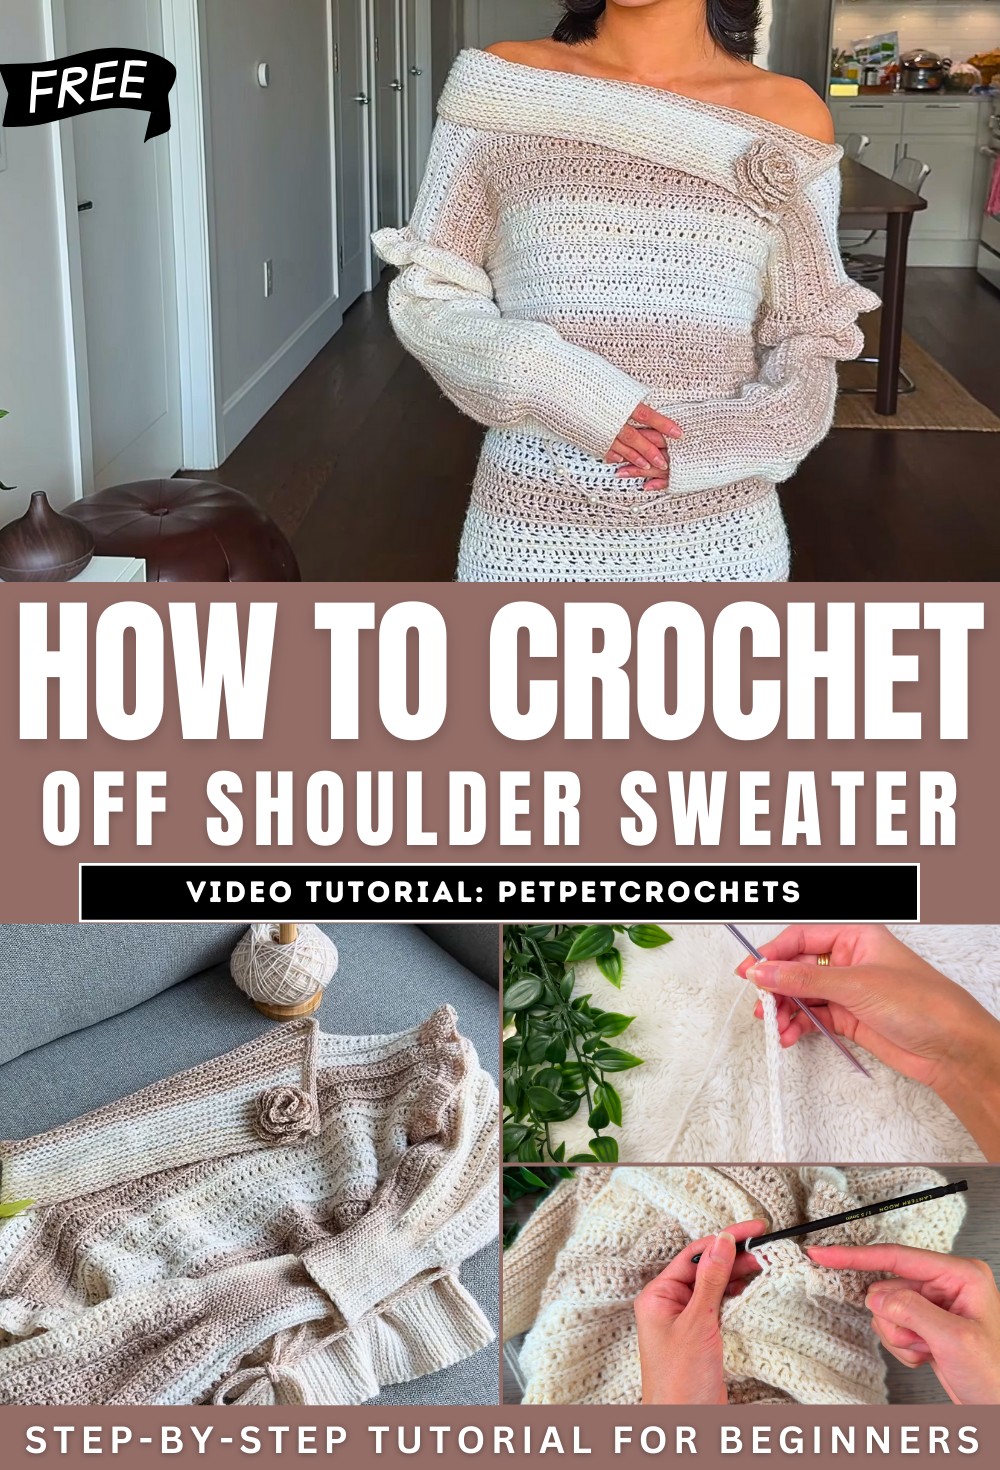
How to Crochet Off-Shoulder Sweater for Ladies

In this post, you’ll learn how to crochet the pullover sweater pattern, which features a stylish off-the-shoulder design, ribbed details, and optional ruffles on the sleeves. Using a simple structure of rectangles for the base and a seamless integration of the sleeves, the tutor will provide step-by-step instructions to create a cozy yet chic sweater.
The ribbed fold-over neckline and cuffs add a unique touch, and optional floral embellishments complete the look. Perfect for winter or spring, this customizable project combines comfort and elegance. So, follow through with us for the complete tutorial.
Crochet Pullover Sweater Tutorial
This tutorial by Pepet Crochets demonstrates how to crochet a stylish and cozy off-the-shoulder pullover sweater. The sweater features an open neckline with a ribbed, fold-over section, ribbed cuffs, and a ribbed bottom. The design also includes optional decorative elements like a crocheted flower and sleeve ruffles. The sweater is made primarily from basic panels and is versatile enough to customize to your measurements.

Materials Needed
- Size 4 mm crochet hook (and 5.5 mm for optional ruffles).
- Yarn appropriate for the hook size.
- Stitch markers for easier alignment and precision.
- A measuring tape for customized sizing.

Sweater Creation Steps
1. Front and Back Panels
- Take body measurements, including shoulder width, sleeve drop, and desired sweater length.
- Crochet two identical rectangular panels using a combination of rows: half-double crochets, single crochets, and post stitches to create a textured look.
- End each panel with a ribbed section, crocheted using back-loop-only slip stitches, for added elasticity and style.

2. Sleeves
- Crochet the sleeves as a single piece, incorporating a ribbed cuff directly into the design.
- The sleeves follow the same textured pattern as the main panels for consistency.
- Ensure the sleeve width comfortably wraps around the widest part of your arm for a snug but flexible fit.
3. Assembling the Sweater
a. Seaming Panels
- Seam the front and back panels together at the shoulders, leaving an opening for the neckline.
- Use a simple single crochet technique to attach the panels securely and evenly.

b. Attaching Sleeves
- Align the mid-point of the sleeve with the shoulder seam of the sweater.
- Seam the sleeves to the main body using single crochet while making sure the assembly is aligned.
- Once the sleeves are attached, close each sleeve by seaming down the length.
c. Closing the Sides
- Seam the sides of the front and back panels together, working from the underarm area to the bottom ribbing.

4. Ribbed Neckline
- Add the ribbed fold-over section to the neckline using single crochet stitches.
- Decide on the placement for the open shoulder section (left or right side) and crochet the ribbing around it for a clean finish.
- For added detail, you can slip stitch along the edge to give the neckline a polished, professional appearance.

Optional Design Details
Ruffle Sleeves
- Add decorative ruffles around the arm seam for style and to hide any visible stitching.
- Use increases and double crochet rows to create the ruffled effect.
Belt and Flower
- Create an optional belt using an iCord knitting tool or by crocheting manually.
- Add a small crochet flower to the neckline or any other area for a playful touch.
- The sweater’s design combines comfort, warmth, and fashion, making it perfect for both winter and spring.
- It’s highly customizable—adjust the measurements, ribbing size, and additional elements to suit your style.
- This beginner-friendly pattern encourages creativity with its versatile components.