How to Crochet Peony Bonnet for Ladies (Tutorial for Beginners)

With a detailed, beginner-friendly tutorial, learn how to crochet the elegant Peony Bonnet for girls. The project involves crocheting 16 peony granny squares, learning how to join them seamlessly with slip stitches, and adding a ribbed neck border for a snug fit. Using light to medium-weight yarn and a 4mm crochet hook, the bonnet is customizable to fit adult head sizes (54-58 cm or 21-23 in).
The tutorial also highlights creating a bow tie and border to complete the design. With clear instructions and tips, this tutorial ensures a fun and creative process, resulting in a stylish, crochet accessory. So, follow through with us for the complete tutorial.

Peony Bonnet Crochet Tutorial
The tutorial on crocheting a Peony Bonnet is beginner-friendly and includes detailed instructions for creating a bonnet that fits adult head sizes of 54-58 cm (21-23 inches). The project incorporates techniques like granny squares, joining stitches, ribbing, and a bow tie, making it enjoyable and rewarding for crocheters.
Materials Needed
- Yarn: Choose either #3 light worsted DK yarn or #4 medium worsted Aran yarn.
- Hook: A 4 mm crochet hook is recommended.
- Additional Tools: Sharp scissors and a darning needle for weaving in ends.

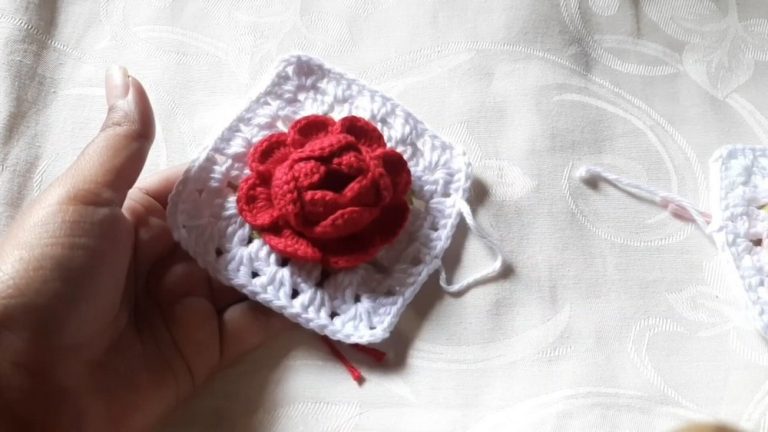
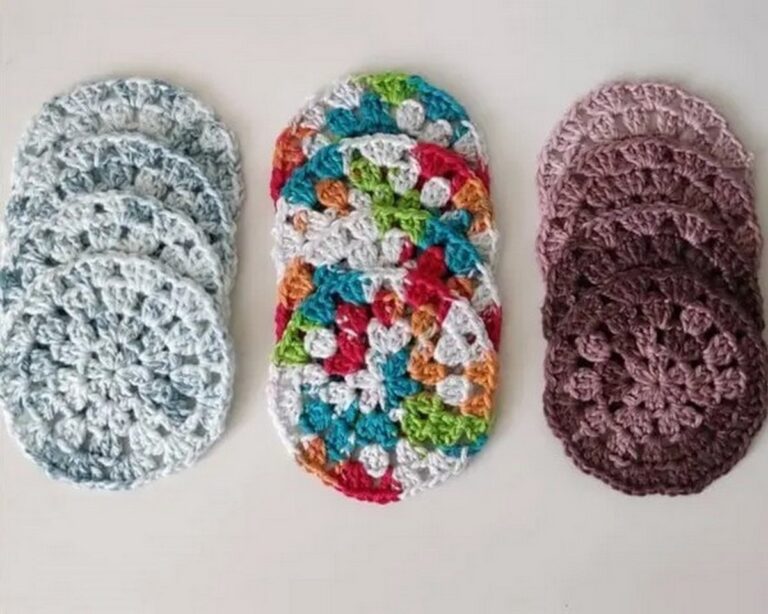
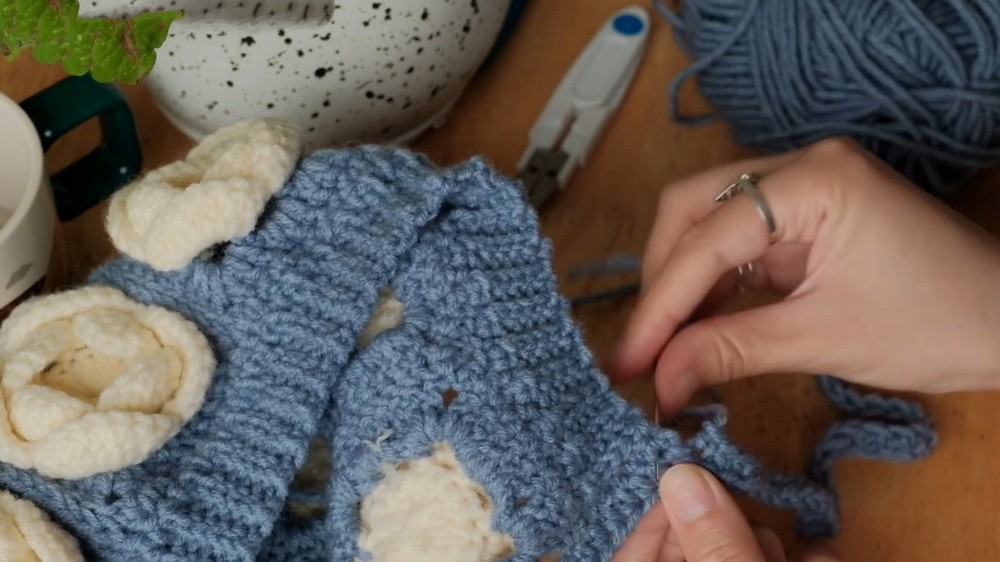
Step 1: Making Peony Granny Squares
To begin the bonnet, the tutorial introduces the peony granny square technique. A separate step-by-step video is referenced for learning how to make the squares for anyone unfamiliar with granny square construction.
- Squares Needed: You will crochet a total of 16 peony granny squares.
- Once all squares are made, you will proceed to join them.

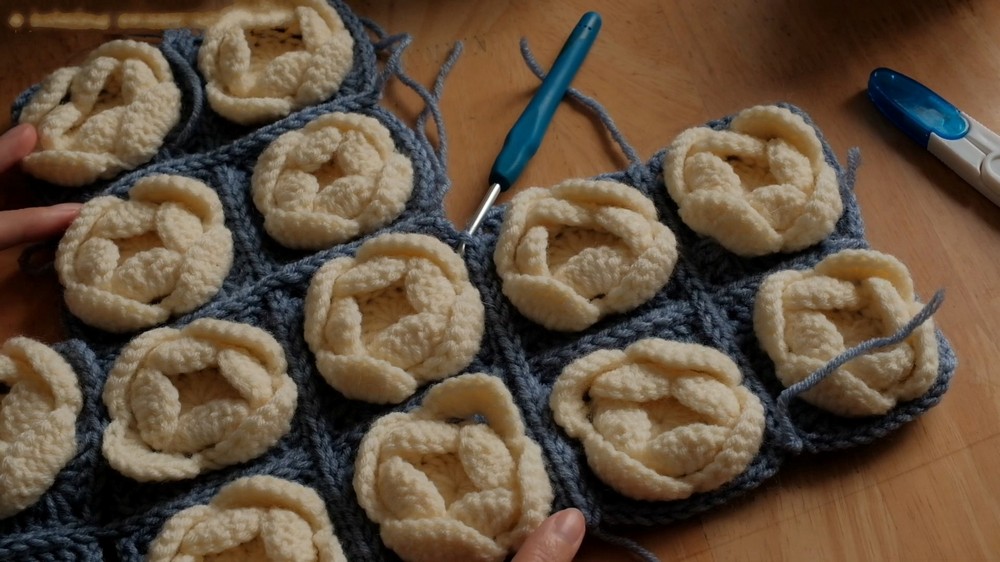
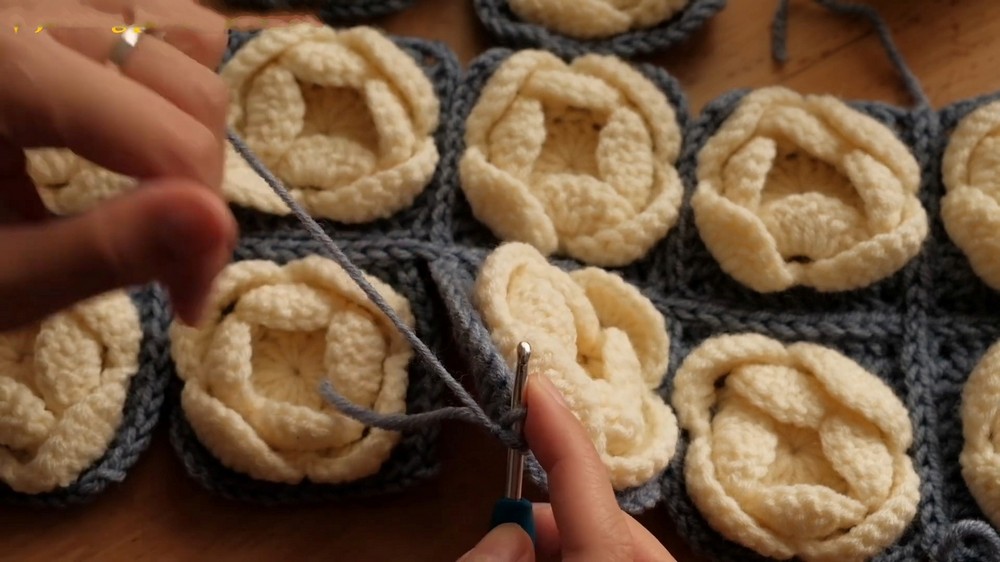
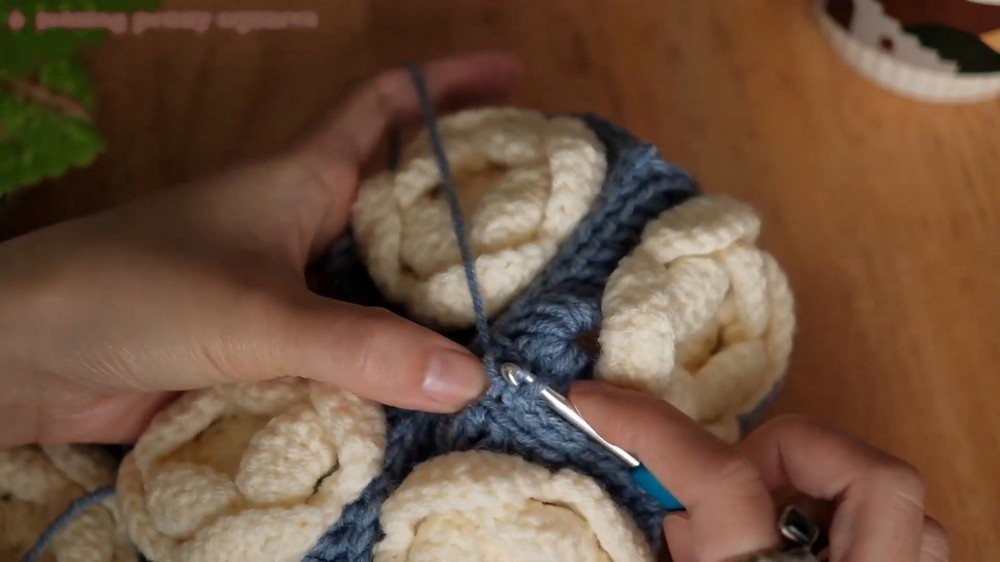
Step 2: Joining Peony Granny Squares
The tutorial provides a detailed guide on arranging the granny squares and joining them to form the bonnet’s base. The joining is done using slip stitches by connecting the half stitches along the edges of adjacent squares.
- Horizontal Joining: Squares are joined side-by-side to create rows.
- Vertical Joining: Once rows are complete, vertical connections are added to unify the structure.
- Intersection Lines: Special attention is given to intersections between rows, ensuring seamless connections.
This step emphasizes precision when joining half stitches and adjusting the alignment for clean connections, resulting in a polished appearance.
Step 3: Adding Ribbing
After joining all the squares, ribbing is crocheted to provide structure and ensure the bonnet fits snugly.
- Preparation Row: The edges of the connected squares are refined with single crochet stitches as a preparation row. This step helps even out stitch heights around the border.
- Ribbing Technique: Using a back-loop-only slip stitch method, ribbing rows are worked along the bottom edge of the bonnet. The result is a stretchy and textured band that keeps the bonnet comfortably in place.
Step 4: Making the Bow Tie & Border
The bow tie strap is added next:
- Bow Tie: Long straps are crocheted using single crochet stitches worked into the back loops of the chain. The straps are attached seamlessly to the ribbing edges.
- Border: Half double crochet stitches are worked along the edges of the bonnet for a clean and finished look. Double crochets are used in areas requiring height adjustment to maintain consistency.
Final Touches
The tutorial concludes with seamless finishing techniques using a darning needle to weave in loose ends and secure knots. The visible joins are minimized for a polished appearance.
Key Takeaways
The Peony Bonnet Crochet Tutorial provides an enjoyable way to experiment with granny squares, slip stitches, ribbing, and bow ties. The final product is a unique and fashionable bonnet that sits comfortably on the head.