How to Crochet Plush Stingray for Beginners
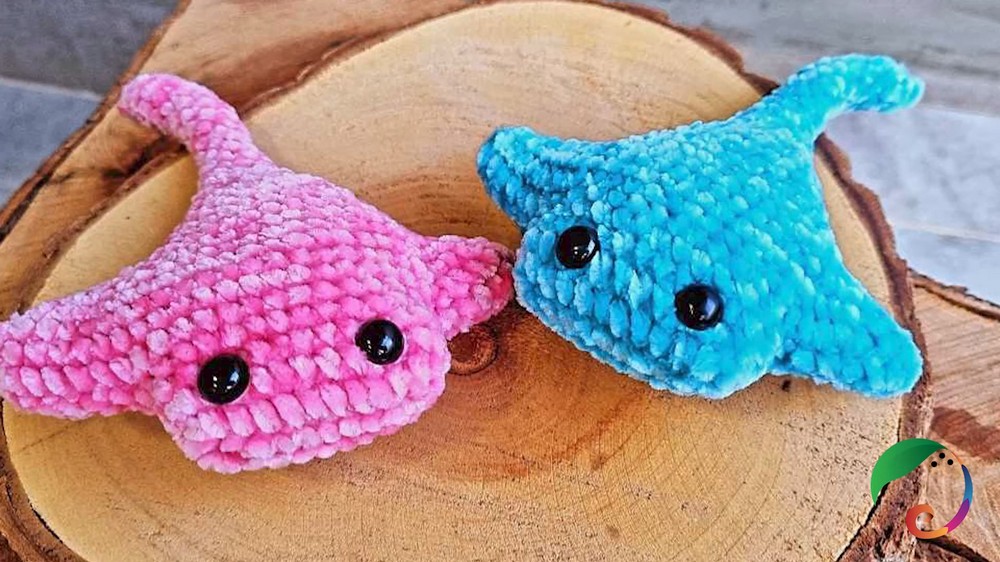
Learn how to crochet a cute kawaii stingray using plush amigurumi yarn with a step-by-step tutorial for beginners. Perfect for keychains or mobiles, this project is beginner-friendly, although working with plush yarn requires patience due to less visible stitches. With materials like pink amigurumi yarn, a 3.0mm crochet hook, 10mm safety eyes, fiberfill stuffing, and scissors, Priscila guides you step-by-step through the process.
She also offers tips for assembly, detailing, and creative customization to bring your stingray to life. So, follow through with us for the complete tutorial.
Kawaii Stingray Crochet Tutorial

In this tutorial, Priscila Yamaguchi shares how to crochet a kawaii stingray using plush amigurumi yarn. Designed to serve as keychains or decorative mobiles, the project is simple enough for beginners, although working with plush yarn may require extra patience due to the less visible stitches. Below is a summarized breakdown of her crochet process and assembly guide.
Materials Needed
To create the stingray, you’ll need the following materials:
- Pink plush amigurumi yarn
- Size 3.0mm crochet hook
- 10mm safety eyes
- Scissors
- Stitch marker
- Fiberfill stuffing
These essential tools and materials will help you bring the stingray to life. Priscila suggests creativity and encourages using different thread types, if preferred.
Creating the Body
- Foundation Chain: Begin by making the base of the stingray’s body with a chain.
- Shaping the Body: The body shape is created over several rows by alternating increases and decreases to give the stingray its rounded, flat appearance.
- Structuring the Edges: Pay attention to shaping details, ensuring smooth curves as you work along the edges of the stingray’s body.

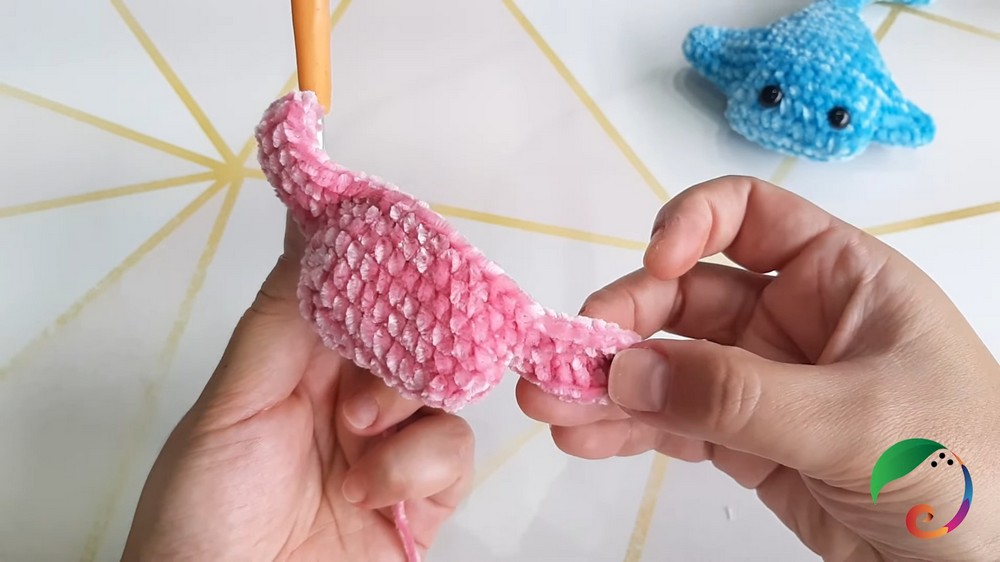
Making the Fins
- Chain Work: The fins of the stingray are developed by chaining and working back on the stitches.
- Attaching to the Body: Once completed, crochet the fins directly onto the edges of the stingray’s body to ensure seamless integration.
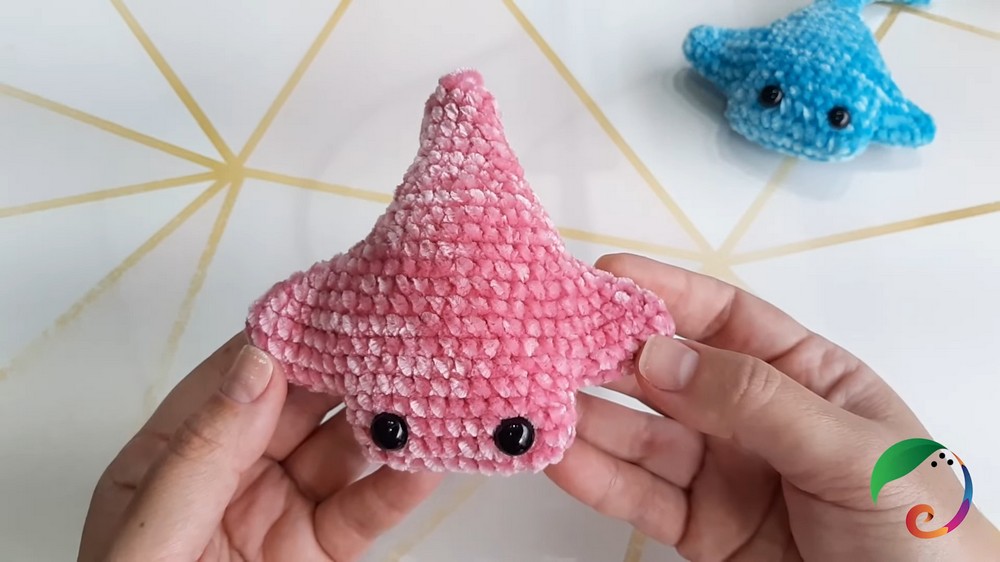
Adding the Eyes
- Positioning: To position the eyes, place them between the second and third rows of the stingray’s body, leaving approximately six stitches between them.
- Safety Locks: Use safety locks for the eyes to ensure they stay securely in place after assembly.
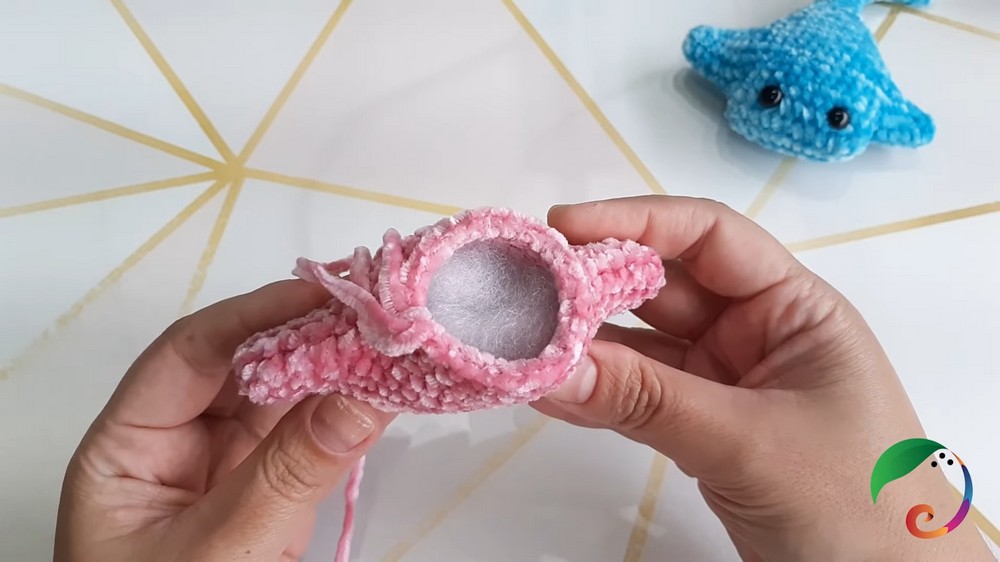
Stuffing and Closing the Body
- Fiberfill: Add stuffing to the stingray’s body once the rows are complete to give it shape and slight puffiness.
- Closing: Follow finishing rows to decrease the remaining stitches, ensuring a sturdy, clean closure.
Adding the Tail
- Tail Design: The stingray’s tail is created using simple stitches, worked in multiple rows to achieve the length and taper.
- Attachment: Attach the tail securely at the base of the stingray once all other components are complete.
Final Touches
- Detailing: Ensure the design is symmetrical and check all connections (fins, tail, eyes) for stability.
- Customization: Priscila encourages creativity, suggesting ways to personalize the design (e.g., changing colors or adding features).