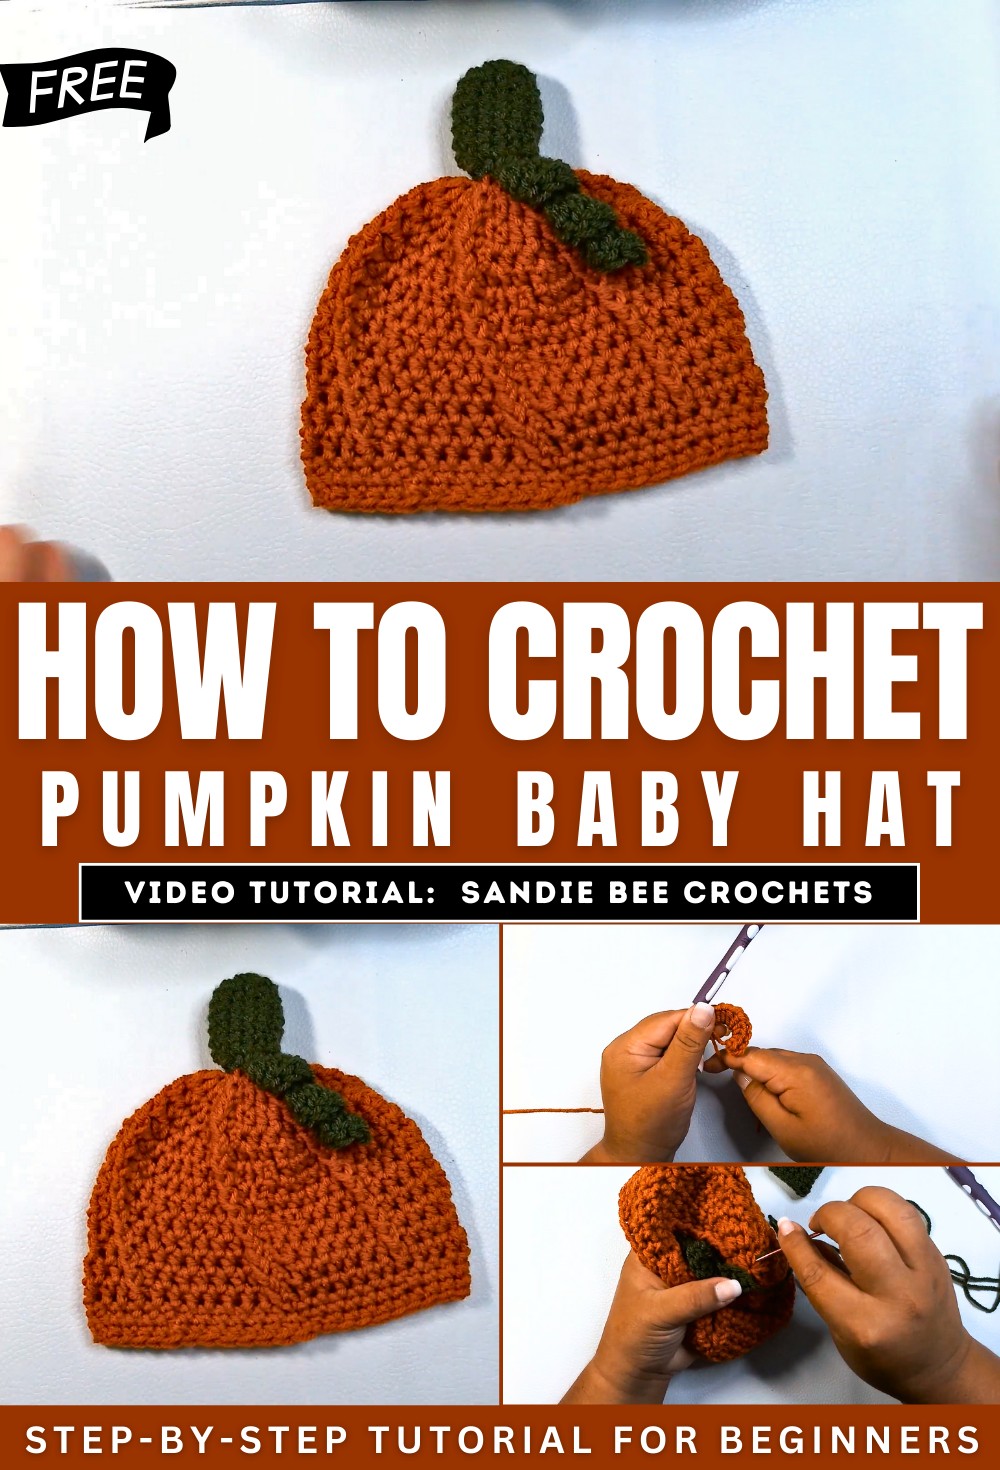
How To Crochet Pumpkin Baby Hat for 0-6 Months
This tutorial by Veronica shows how to crochet an adorable baby pumpkin hat, perfect for infants aged 0–6 or 9 months. Using vibrant pumpkin-colored yarn paired with green for the leaves, the video provides step-by-step guidance to crochet the hat’s textured body, curly leaf design, and finishing details. Simple tools like a crochet hook, yarn needle, scissors, and soft acrylic yarn make this project beginner-friendly.
Veronica emphasizes customizing the hat size for tighter or looser tension, offering creative possibilities for matching family designs. Easy, quick, and fun, this project is ideal for a festive or thoughtful handmade gift. So, follow through with us for the complete tutorial for beginners.
How to Crochet a Baby Pumpkin Hat (0–6 or 9 Months)
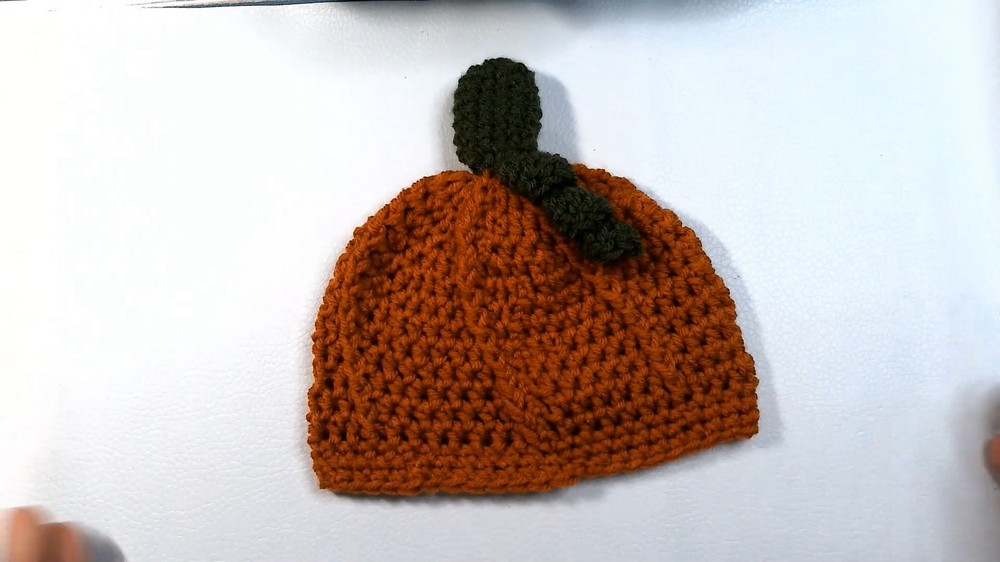
In this tutorial, Veronica demonstrates how to crochet an adorable baby pumpkin hat, ideal for infants aged 0–6 or 9 months. The hat features a textured body resembling a pumpkin and includes decorative green leaves and a swirly vine. This simple and quick project is perfect for beginners and intermediate crocheters and can be customized in size to fit children or adults.
Materials Needed
- Yarn:
- Pumpkin-colored acrylic yarn for the hat.
- Green yarn for the leaves and vine.
- Hook: 5 mm crochet hook
- Other Tools: Yarn needle to sew pieces, scissors, and optional tags for decoration
Steps to Create the Baby Pumpkin Hat
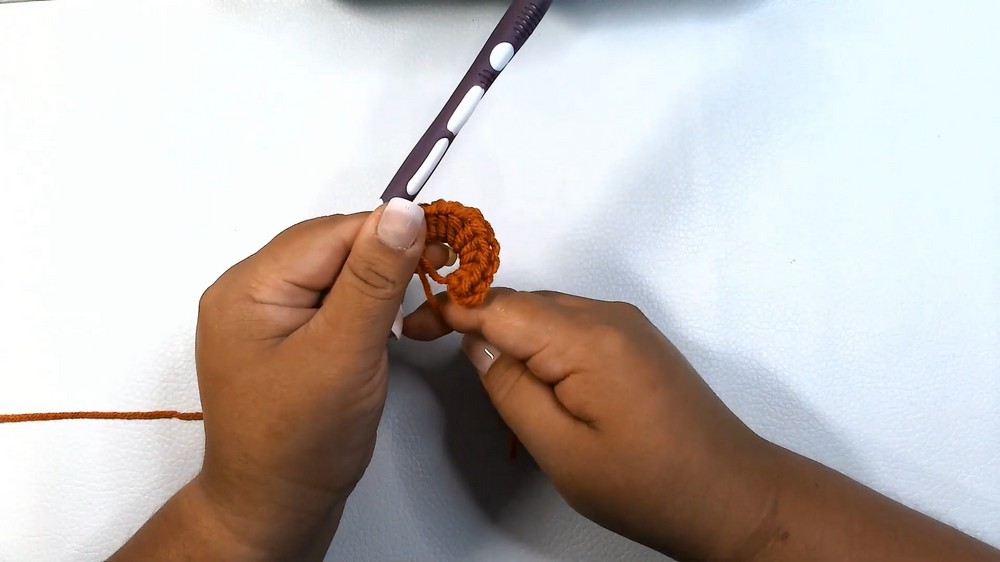
1. Creating the Hat Body
- Start with the pumpkin-colored yarn and create a magic ring as the hat’s foundation.
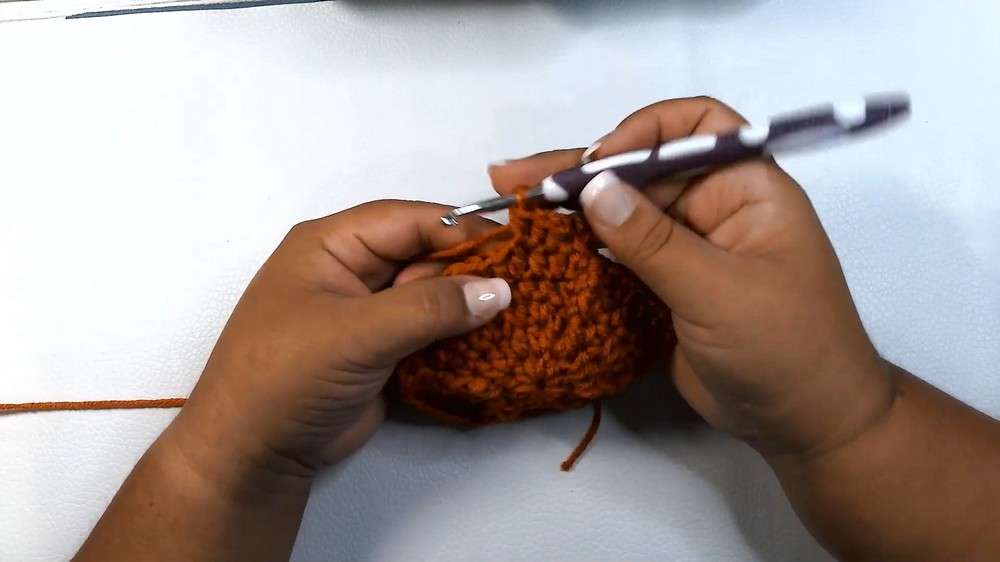
- Work rounds in half-double crochet to shape the hat and achieve the desired texture.
- Incorporate alternating stitches to create ridges, which give the hat its distinct pumpkin-like look.
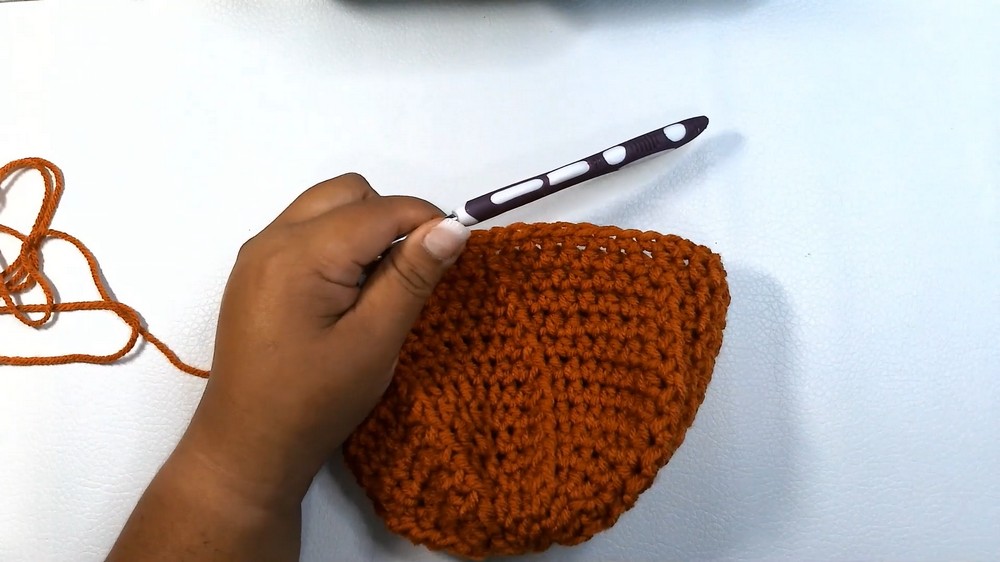
- Repeat rounds of consistent stitching until the hat reaches the required height. Veronica demonstrates how to adjust the number of rounds based on personal tension and yarn size.
2. Adding the Finishing Rounds
- The final rows of the hat are single crochet stitches, which add firmness to the edge of the hat.
- Veronica suggests completing three rounds of single crochets to ensure the hat is well-structured and symmetrical.
Creating the Decorative Pieces
1. The Leaf
- Switch to green yarn to crochet the leaf.
- Form the leaf shape using a combination of single crochet and increases, ensuring it lies flat but has enough texture and shape to mimic a real pumpkin leaf.
2. The Curly Vine
- Create a green chain for the vine.
- Work into each stitch of the chain, doubling the stitches to form a spiral. This method produces the curly, vine-like texture.
- The vine adds a playful and whimsical look to the final design.
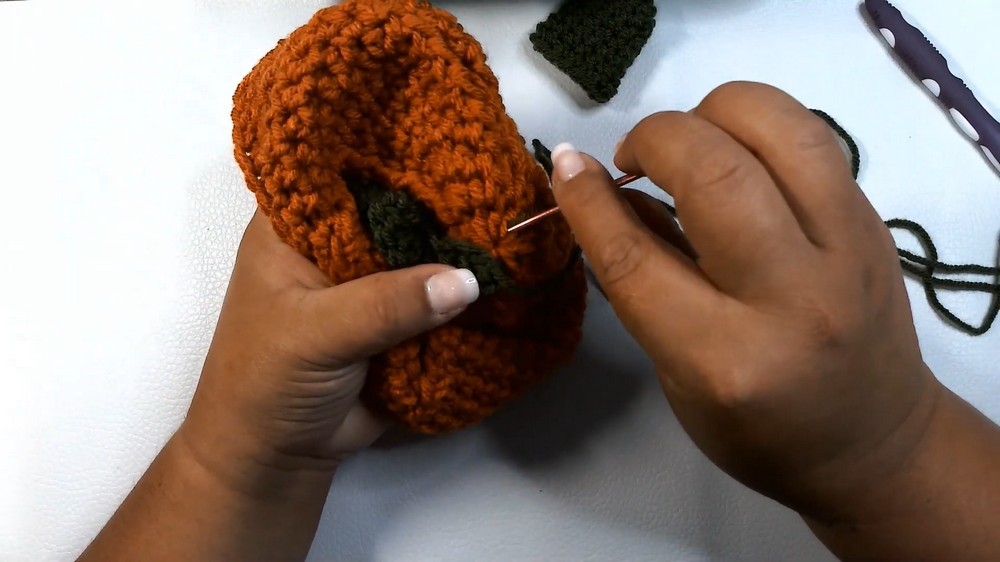
Assembling the Hat
- Using a yarn needle, sew the leaf and vine securely to the top of the hat.
- Position the leaf in your desired location, ensuring it is centered or slightly offset for added style.
- Attach the curly vine next to or overlapping the leaf to complete the pumpkin theme.
Tips and Customization
- Adjust the size of the hat by adding or reducing rounds.
- For tighter crochet tension, use a larger hook size to ensure the hat fits well.
- This same pattern can be applied to create matching hats for adults, making it a fun family project.
- Veronica encourages you to personalize the hat with tags or other decorations if desired.
Final Touches
- Weave in all loose yarn ends to give the hat a clean, professional look.
- The completed baby pumpkin hat should resemble a cute miniature pumpkin, making it perfect for fall, Halloween, or as an adorable gift.
Conclusion
Veronica concludes the tutorial by showcasing the finished project and encouraging viewers to be creative with their yarn choices and ideas. She notes that future tutorials will demonstrate how to adapt this pattern for different sizes, including adult hats. The pumpkin hat is a quick, beginner-friendly project that can be completed in a few hours, offering a fun and festive addition to a little one’s wardrobe.