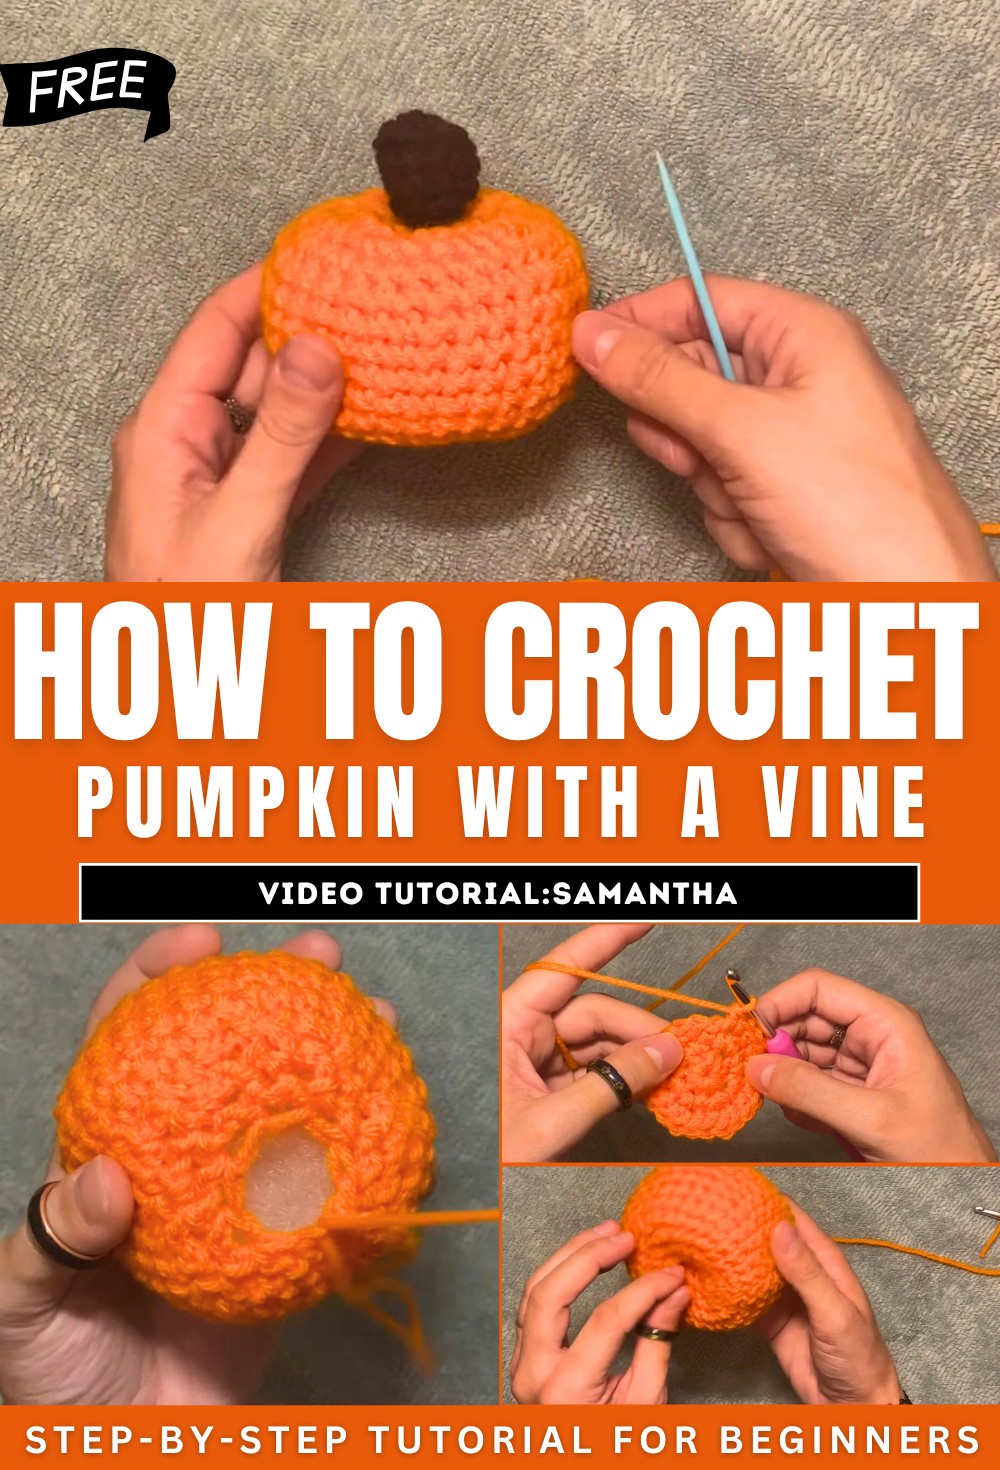
How to Crochet Pumpkin With A Vine for Beginners
In this post, you’ll learn how to crochet an adorable pumpkin with a vine perfect for fall decoration. The creator’s casual, relatable instructions make it easy to follow, even for beginners. Using simple materials like yarn, a hook, and stuffing, you’ll learn how to shape the pumpkin, add a stem, and enhance its design with a twisted vine.
The creator’s lighthearted storytelling and humor bring a personal touch, making the process both creative and enjoyable. A fun project for the fall season! So, follow through with us for the complete tutorial.
Crochet Pumpkin Tutorial
This tutorial walks viewers through the process of creating a small crochet pumpkin with a vine and stem, perfect for fall decor. The presenter shares a simple pattern, offering tips and guidance throughout the process.
Supplies Needed
- Yarn (any color of choice for the pumpkin and stem).
- Crochet hook (5.25 mm used in the tutorial).
- Stuffing material for filling the pumpkin.
- Yarn needle for sewing and shaping.
Steps to Make the Pumpkin
1. Starting the Pumpkin Base
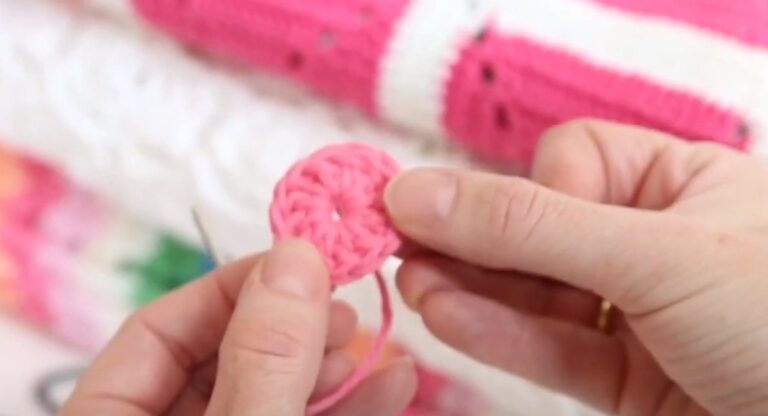
- Begin with a magic ring to form the initial shape.
- Crochet the foundation rows to create a circular base, gradually increasing stitches to expand the pumpkin’s size.

2. Building the Body
- Work evenly in single crochet for several rows to build height. This section determines how tall the pumpkin will be.
- Use a stitch marker to track progress as you crochet these rows.
3. Shaping the Pumpkin
- Decrease stitches in each row to taper the top of the pumpkin as it approaches completion.
- Before closing off the pumpkin, stuff it with filling. Adjust the amount of stuffing depending on how firm or squishy you want your pumpkin.

4. Closing the Pumpkin
- Seal the pumpkin by threading the yarn tail through the remaining stitches.
- Pull the thread tightly to close the opening.
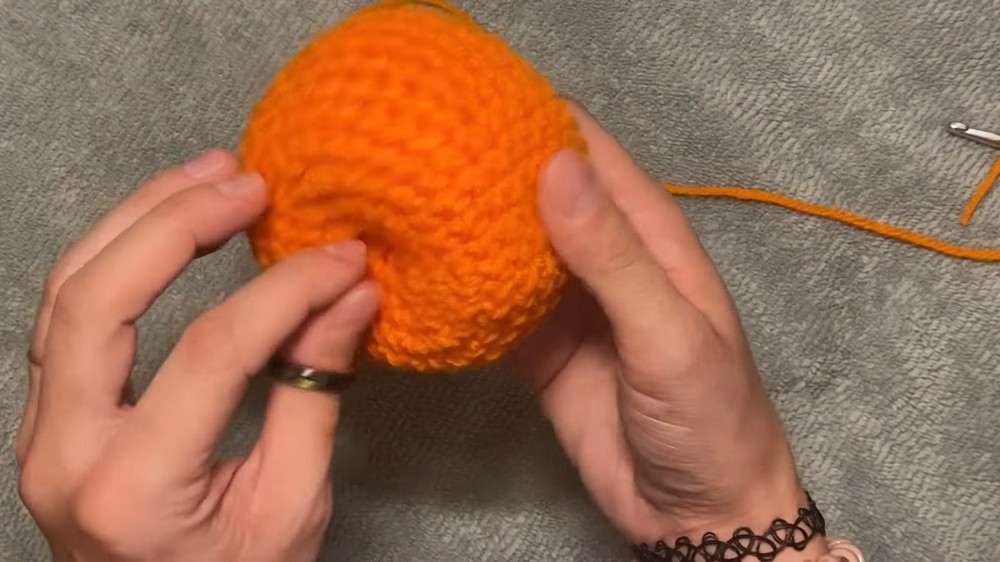
- Insert the yarn needle through the base and top to create shape and indent the pumpkin, mimicking the natural grooves of a real pumpkin.

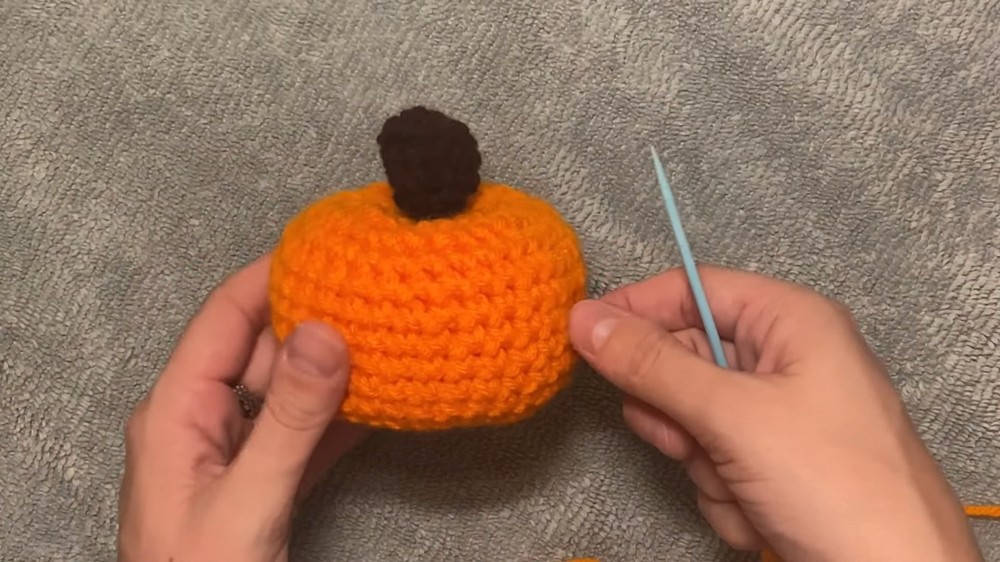
Making the Stem
1. Creating the Stem Base
- Start with a magic ring to create the foundation.
- Crochet in back loops for initial rows to give the stem dimensional texture.
2. Building the Stem Shape
- Alternate between single crochet and decreases to create the desired shape and taper the top of the stem.

- Adjust the length of the stem by adding or subtracting rows as needed.
3. Attaching the Stem to the Pumpkin
- Sew the stem onto the top of the pumpkin using the yarn needle.
- Secure the attachment by sewing through both the orange body and stem.
Optional: Making a Vine
The presenter also provides instructions for making an optional vine to decorate the pumpkin:
- Crochet a chain to the desired length.
- Alternate between single crochets and multiple crochets in one stitch to create a curly, twisting vine effect.
- Attach the vine to the base of the stem.

Final Touches
- Add any additional shaping to the pumpkin by threading yarn through its center to form ridges.
- Ensure all loose ends are woven in for a tidy finish.