Crochet Rose Bag Step-by-Step Free Pattern
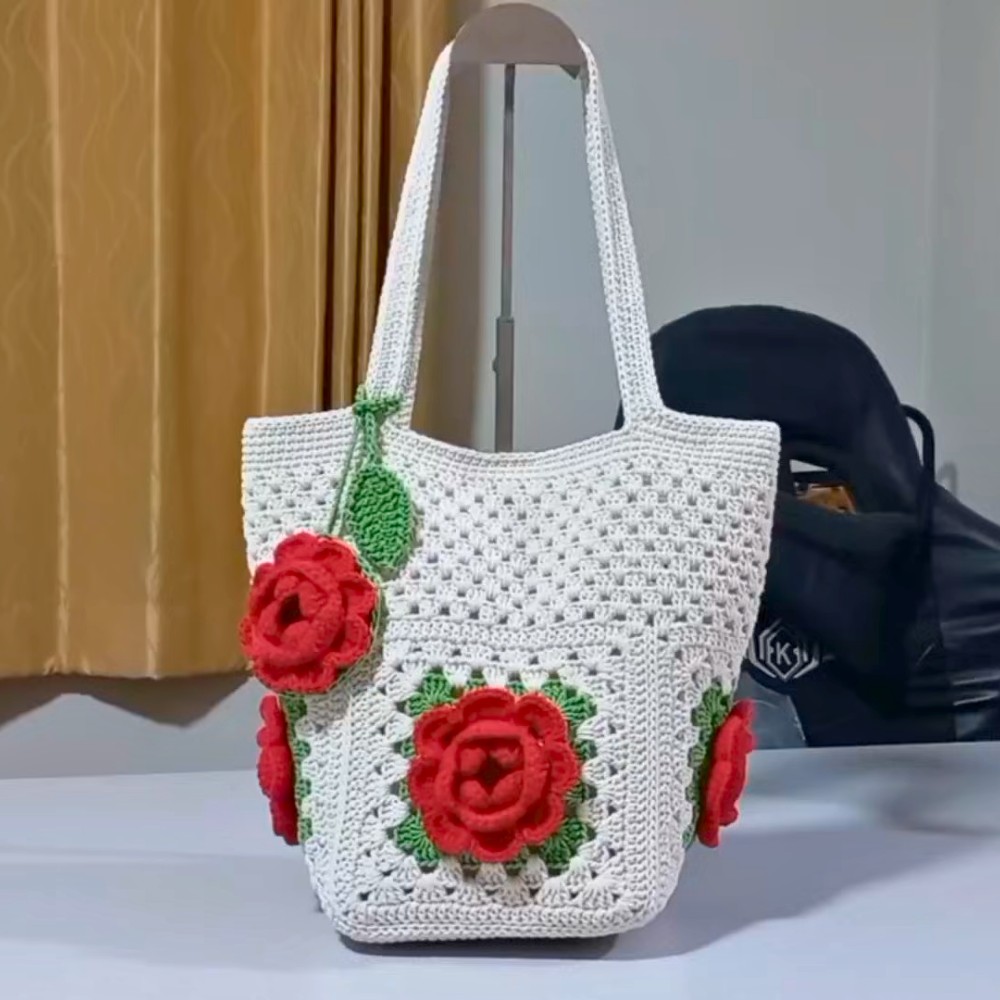
Polish your outfit with this Free Crochet Rose Bag Pattern plus floral beauty, cozy texture, and playful appeal for sunny days and relaxed weekends.
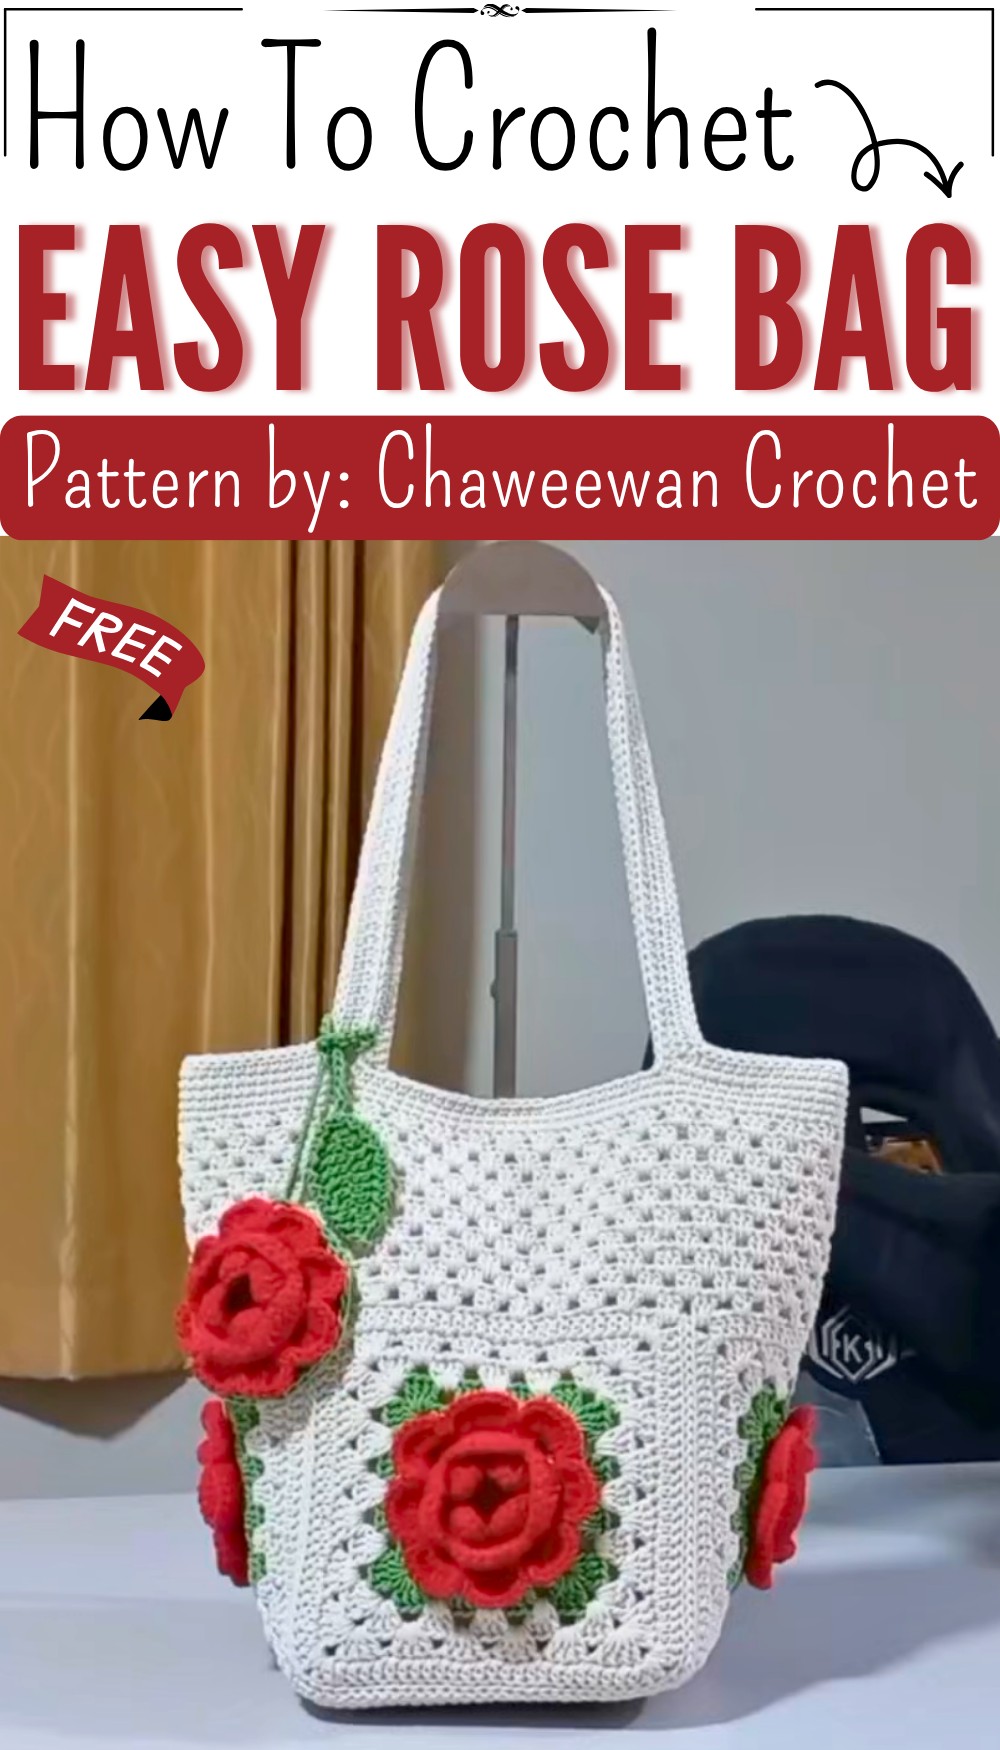
Flowers and fashion come together in this sweet crochet accessory. The Free Crochet Rose Bag Pattern is a lovely project for making a pretty bag with a rose inspired look, soft texture, and a style that can make a simple outfit feel special.
The bag has a charming shape with rose details that give the surface a rich and playful look. Its crochet fabric feels soft, while the flower inspired design makes it stand out from an everyday plain bag. The rose theme can bring a romantic touch without making the bag look too fancy. A handle or strap makes it easy to carry on the shoulder or in your hand.
Free Crochet Rose Bag Pattern That Matches Your Style
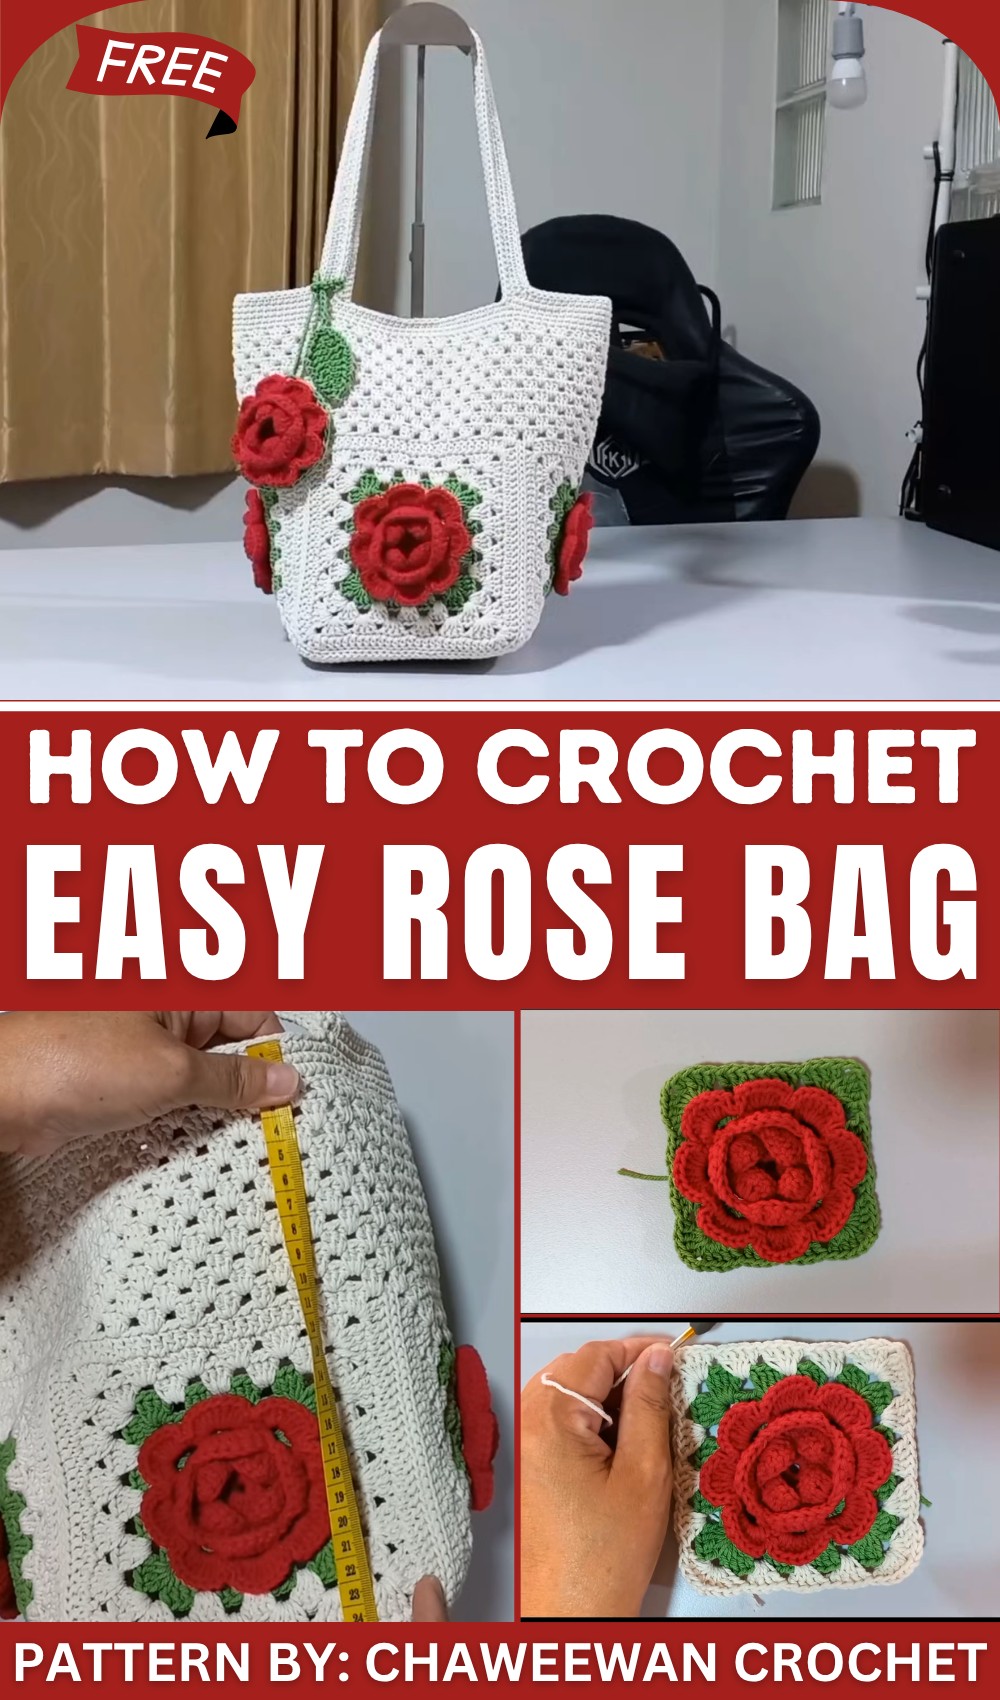
This bag can be a nice choice for many outings. Carry it when meeting friends, going shopping, visiting family, or enjoying a relaxed day outside. It can hold small daily items such as a phone, wallet, keys, and glasses. The floral style also works well with simple dresses, jeans, skirts, and other casual clothes.
The project is shared through Chaweewan Crochet, a YouTube channel with creative crochet ideas and helpful tutorials. Watching the video can help you see how the rose details are formed and how the bag comes together.
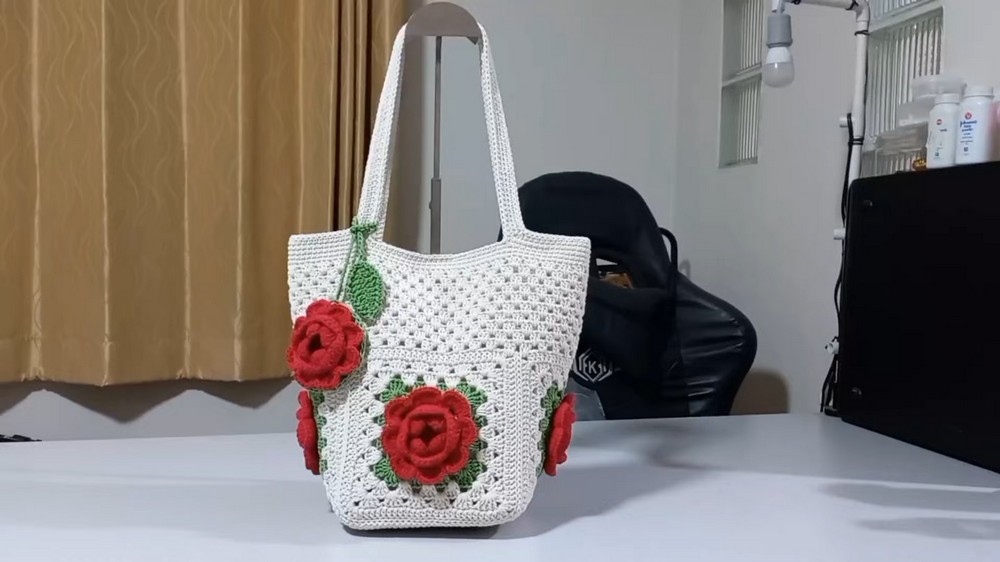
You can also make the bag feel more personal by picking a color you love. Soft pink can give it a gentle look, while red can make the rose style stronger. Cream, white, purple, or bright shades can create a completely different mood.
This crochet rose bag can make a thoughtful handmade gift for a friend, sister, mother, or anyone who loves floral accessories. It would be a sweet choice for a birthday, holiday, or special day. The finished bag is useful, easy to style, and full of handmade charm. Its flower inspired look can also make it a lovely piece to keep in a crochet collection and enjoy for many seasons.
Crochet Rose Bag Pattern
This beautiful crochet Rose Bag project is perfect for making an elegant and practical handbag adorned with a lovely rose motif. The bag is crafted using fine cord yarn and detailed stitches with layered petals, square body panels, and a sturdy base. This beginner-friendly pattern breaks down each step with clear instructions, making it easier for new crocheters to follow along.
Quick Overview of Pattern
- Phase 1: Crochet the 3D rose motif centerpiece
- Phase 2: Make 4 square panels for the bag’s body
- Phase 3: Create the square base of the bag
- Phase 4: Assemble the bag by joining panels and base
- Phase 5: Add height, edging, straps, and magnetic button closures
Notes
- Use stitch markers to keep track of rounds and important stitches.
- Work with consistent tension to keep stitches even, especially with cord yarn.
- Secure and weave in all yarn ends carefully.
- Blocking your squares before assembly will help edges lie flat.
- Handle magnetic buttons carefully when sewing.
Skill Level
Intermediate beginner – Basic knowledge of magic ring, double crochet (dc), single crochet (sc), chain (ch), and slip stitch (ss) is necessary.
Materials
- 2mm cord yarn in ivory, red, and green
- 5/0 crochet hook (about 1.6 mm)
- Scissors
- Yarn sewing needle
- 8 mm magnetic button
- Stitch markers
Measurements / Sizing
- Bag height: approximately 25 cm
- Bag width: approximately 32 cm
- Base square width: approximately 16 cm
- Strap length: approximately 23 cm
Stitch Abbreviations
- ch = chain
- sc = single crochet
- dc = double crochet
- ss = slip stitch
- magic ring = adjustable loop to begin rounds
The Crochet Pattern
Phase 1: The Rose Motif
Step 1: Make the Base
- Start with a magic ring.
- Work 16 double crochet (dc) stitches into the ring.
- Join with a slip stitch (ss) to the first dc.
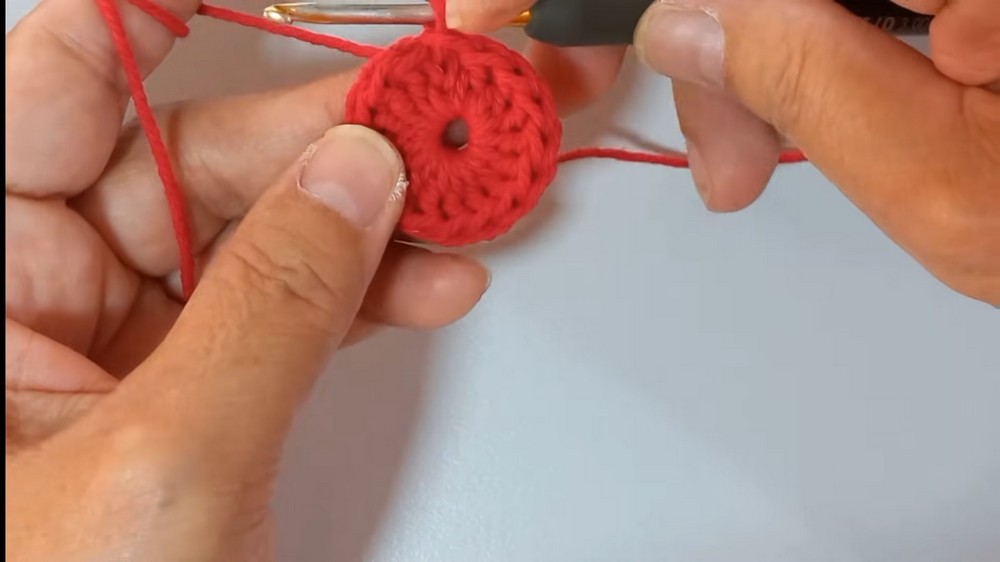
Step 2: Create Petal Base Loops
- Chain (ch) 3, skip 1 stitch,
- Work single crochet (sc) into the next stitch.
- Repeat this sequence 8 times around to form 8 loops — these loops serve as petal anchors.
Step 3: Crochet Petal Layers
You will crochet 3 layers of petals for a full rose effect.
- Layer 1:
- In each chain loop, work double crochet (dc) stitches to build the first petal layer.
- Layer 2:
- Work dc stitches into the spaces between the petals from the previous layer to create the second layer.
- Layer 3:
- Repeat similarly to crochet the third layer, finishing with a total of 8 petals around.
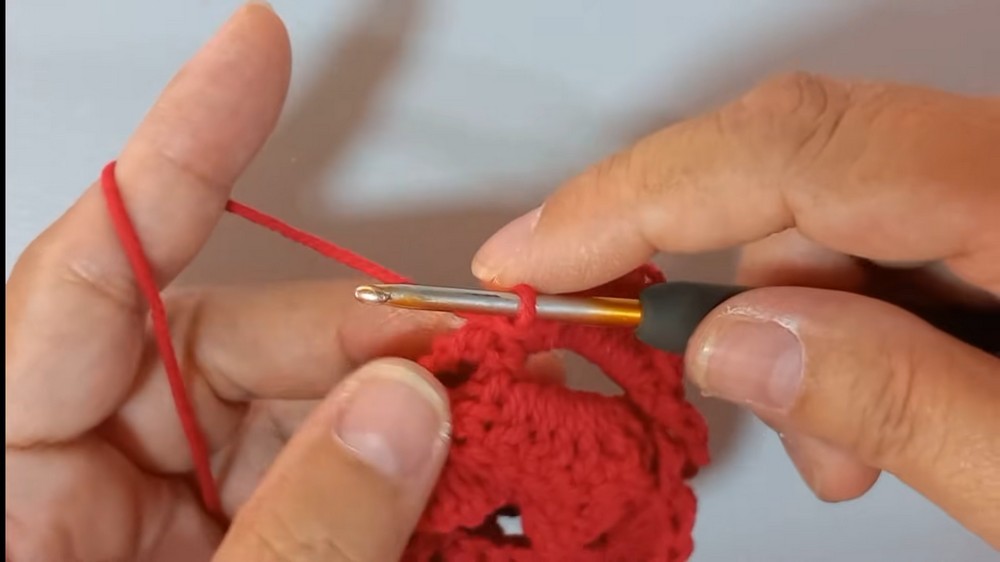
This layering forms a dimensional rose centerpiece.
Phase 2: The Square Background Panels
Step 1: Green Yarn Base Square
- Using green yarn, work double crochet squares for the bag body.
- Increase corners by crocheting 4 dc stitches into each corner space to keep the square shape.
- Continue crocheting rows and increasing corners until the square measures about 11 cm.
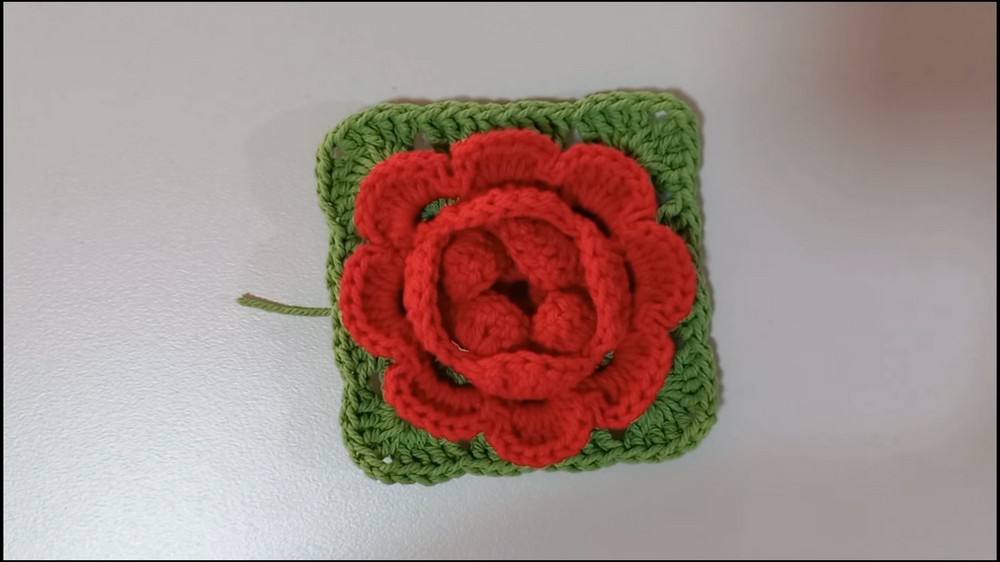
Step 2: Ivory Yarn Enlarged Square
- Switch to ivory yarn.
- Continue crocheting rounds of dc stitches around the green square base.
- Maintain corner increases with 4 dc stitches in each corner to keep the square flat and even.
- Keep working until your square panels reach the desired size (approximate to bag’s body size).
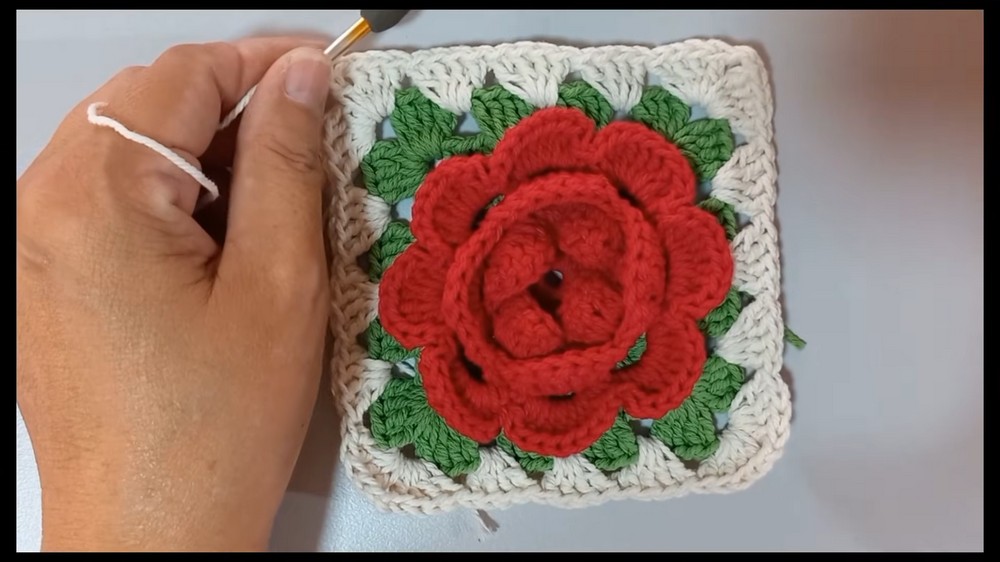
Step 3: Make a Total of 4 Identical Panels
- Repeat the above steps to create 4 matching square panels.
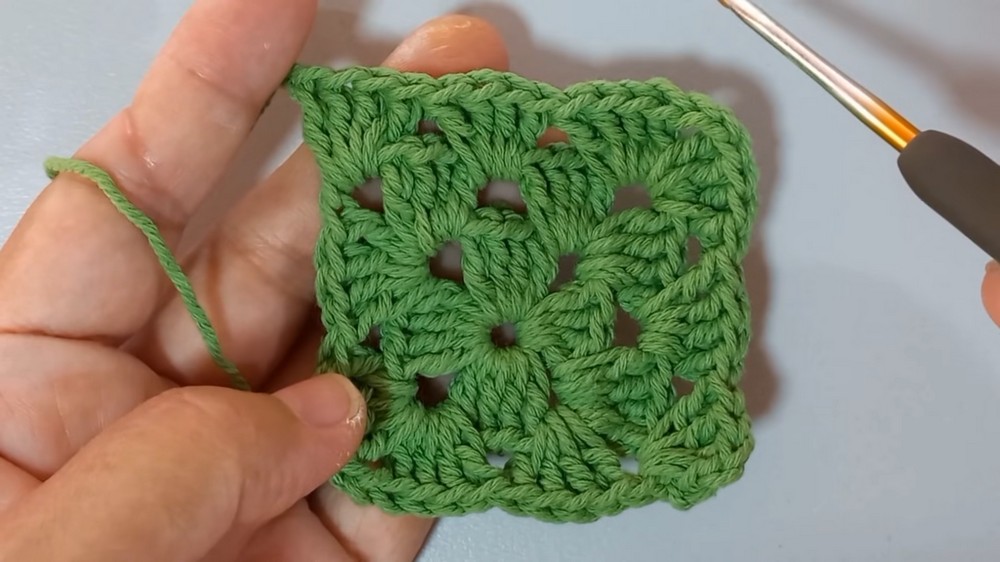
Phase 3: The Base of the Bag
Step 1: Start Smaller Base Square
- Begin crocheting a smaller square using green yarn.
- Work with dc stitches and corner increases (4 dc per corner) to create a square foundation.
Step 2: Expand Base
- Crochet 4 additional rows increasing as necessary with corner increases to enlarge the base.
- Switch to ivory yarn for finishing the base edge with 2 rows of dc stitches worked evenly without increases.
Phase 4: Assembly
Step 1: Arrange Panels
- Lay the 4 square panels around the base square, forming the sides of the bag.
Step 2: Join Panels and Base
- Using slip stitch (ss) and matching yarn, join the panels edge to edge and attach to the base.
- Work stitches through back loops only for a flexible seam and neat join.
- Check for even and tight joins ensuring bag structure.
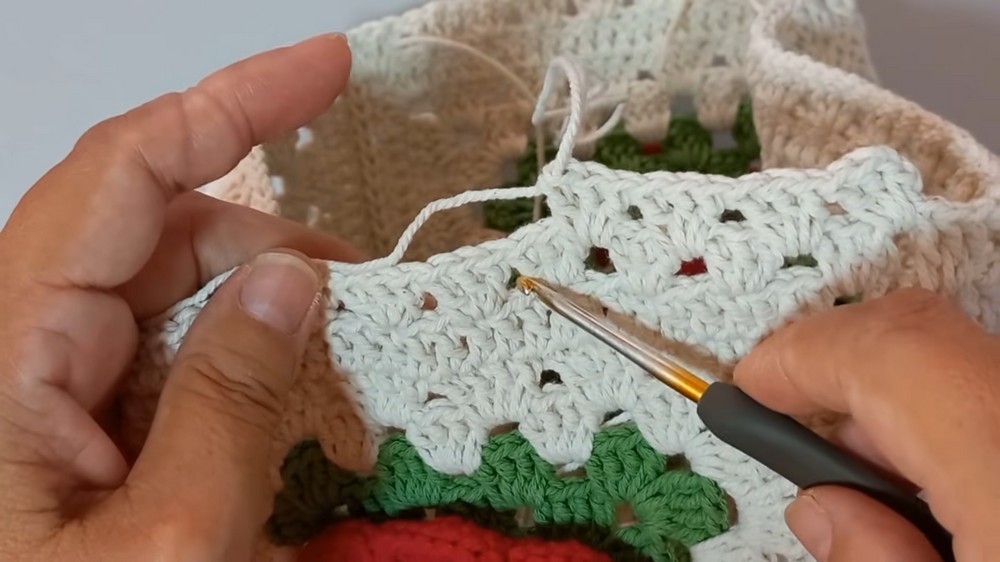
Phase 5: Finishing & Straps
Step 1: Height Extension
- With ivory yarn, crochet 10 rows of double crochet (dc) around the top edge of the assembled bag body.
- This increases the bag height and completes the sides.
Step 2: Edging
- Crochet 2 rounds of single crochet (sc) around the bag opening for a firm, neat border.
Step 3: Creating Straps
- Mark two strap attachment points evenly on the bag opening rim.
- Chain 95 stitches (approx. 23 cm in length) for each strap.
- Connect the chain back to the bag and crochet 2 rows of single crochet (sc) around both the strap and edge for reinforcement.
Step 4: Button Pads and Closure
- Crochet 2 small oval pads to provide a sturdy base for the buttons.
- Attach the 8 mm magnetic buttons to these pads.
- Sew the pads securely onto the bag opening edges, ensuring alignment for button closure.
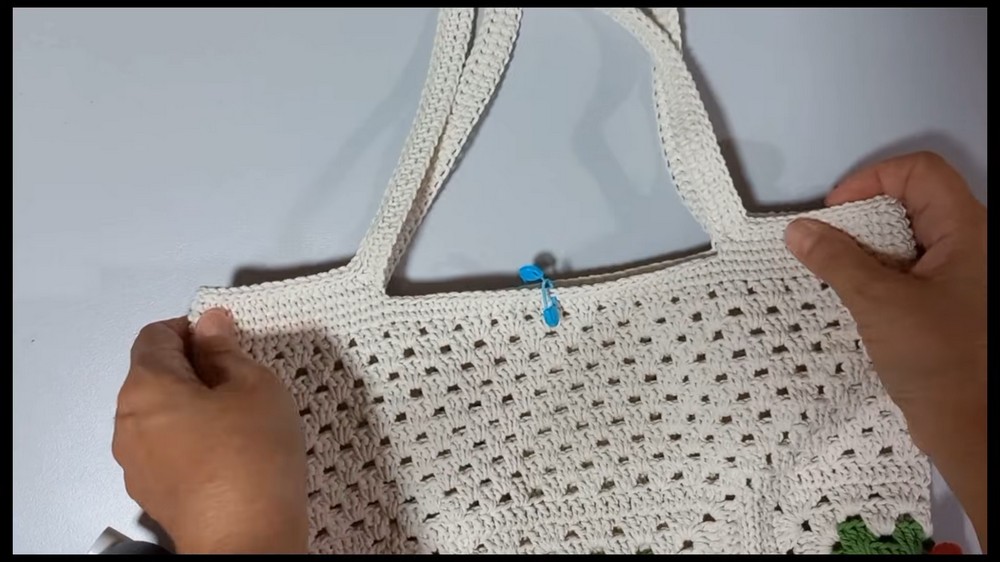
Assembly & Finished Size
- Securely weave in all yarn ends throughout your project.
- Use scissors and carefully seal ends of the cord yarn with a lighter to prevent unraveling.
- Finished dimensions:
- Height: 25 cm
- Width: 32 cm
- Base square width: 16 cm
- Strap length: 23 cm
Conclusion
You have successfully created a delicate and practical Rose Bag with layered petal motifs and structured square panels. This project enhances skills in crochet layering, shaping, and assembly. Your handmade bag is not only beautiful but also sturdy and wearable.