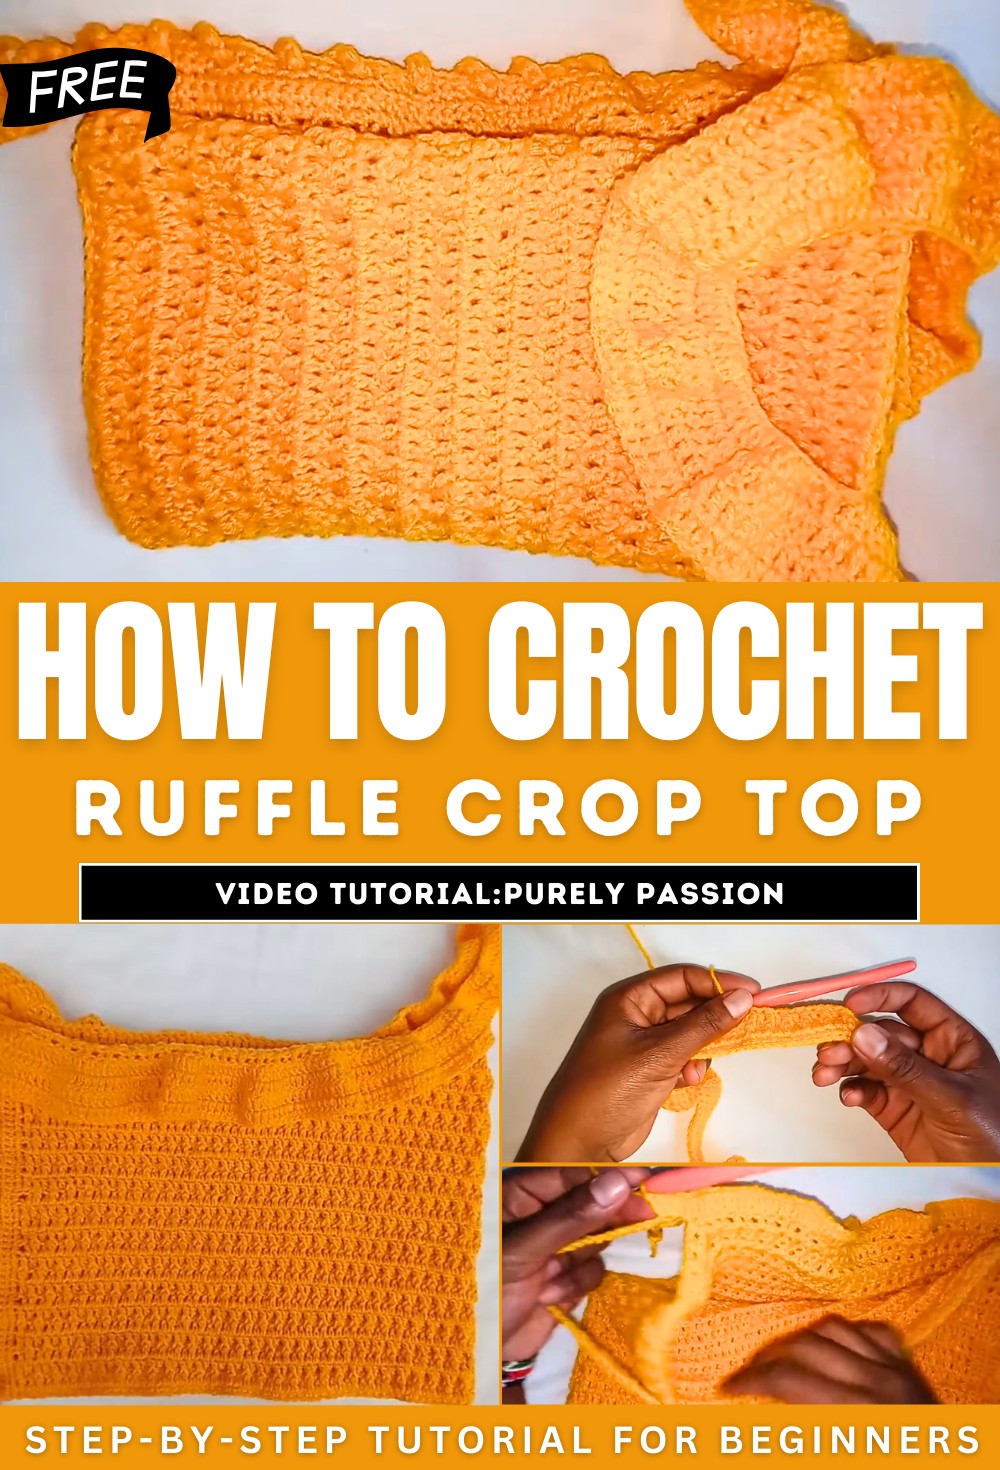
How to Crochet Ruffle Crop Top for Beginners
Learn how to crochet a beautiful one-shoulder crop top with ruffles, perfect for a small size. Using medium-weight yarn, a 3.5mm hook, and simple stitches like single crochets, double crochets, and front post double crochets, the video walks viewers through creating the textured pattern. Straps are added for support and adjustable fit, while ruffles enhance the stylish design. The project incorporates practical techniques for measuring and shaping to achieve an ideal fit.
The tutorial is easy to follow, even for beginners, resulting in a fashionable handmade crop top. Subscribe and enjoy learning new crochet designs!
One-Shoulder Crop Top with Ruffles
This crochet tutorial provides step-by-step instructions on how to make a stylish one-shoulder crop top with ruffles. Suitable for small sizes, the design incorporates straps and adjustable features for a secure and flattering fit. The tutorial is beginner-friendly, with detailed guidance on creating texture, shaping the garment, and adding decorative elements. Below is a breakdown of the process:
1. Materials Required
- Medium-weight yarn.
- 3.5 mm crochet hook.
- Tape measure for measurements.
- Scissors.
2. Measuring and Starting the Foundation
The tutorial starts with preparation and measuring the bust size.
- A foundation chain slightly smaller than the bust measurement (plus strap allowances) is created.
- The chain length is adjusted to ensure proper fit while avoiding overstretching.
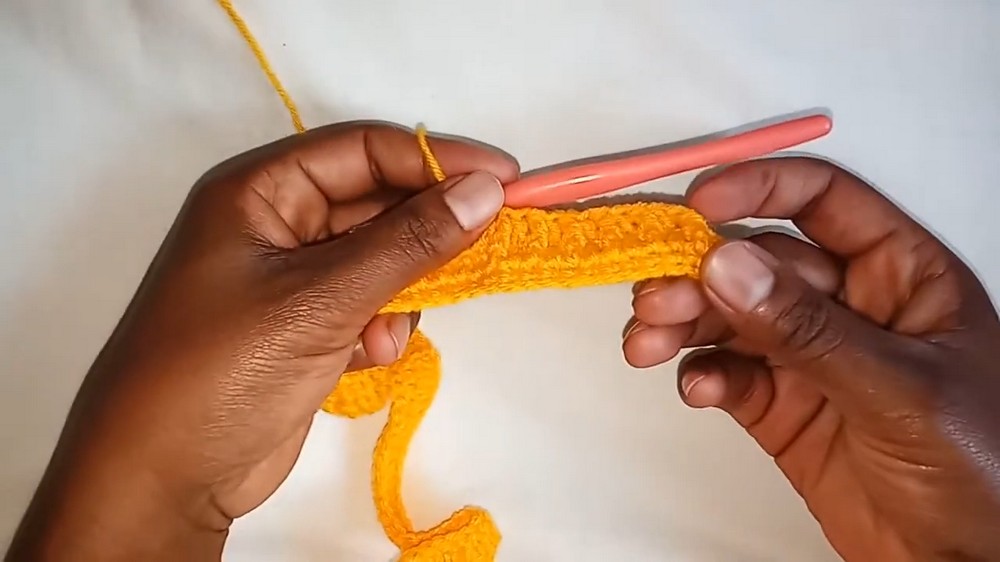
3. Creating the Base Rows
The first few rows establish the base of the crop top.
- The initial rows alternate between single crochets and double crochets to build a sturdy foundation.
- These rows provide the basic structure for the textured pattern.
4. Developing the Pattern
The main design combines normal double crochets and front post double crochets to achieve a textured and visually appealing pattern.
- The alternating stitches create depth and structure in the garment.
- Clear instructions are provided for working on both the right and wrong sides, ensuring consistency throughout.
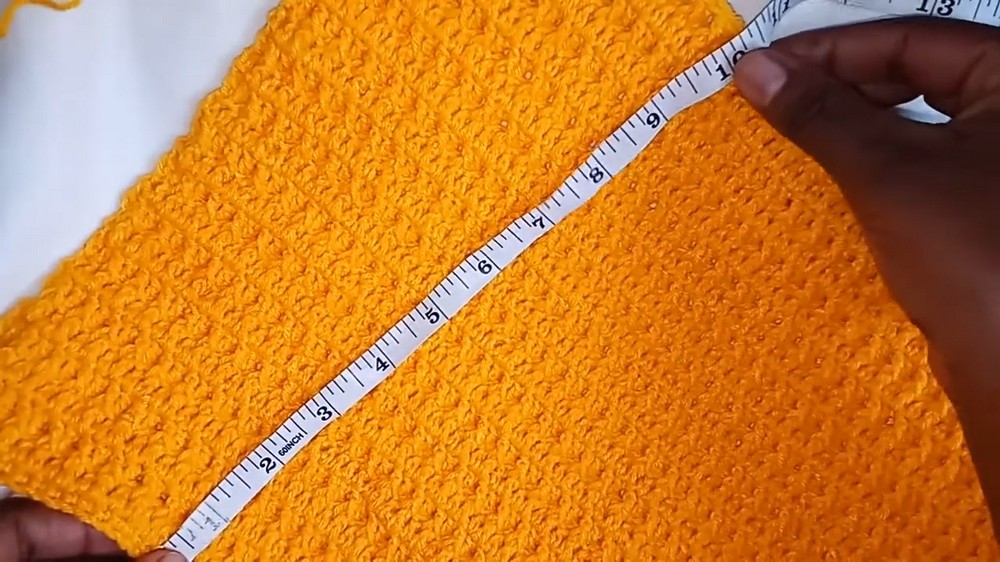
5. Adjusting the Length
The crop top is worked until the desired length is achieved.
- The length is customized based on individual preferences. For this tutorial, the creator aims for approximately 10 inches.
- Stretching and finishing measurements are taken to ensure proper fit.
6. Shaping the Strap Areas
To create neat edges and prepare for strap placement:
- Single crochet rows are worked across the edges to strengthen them.
- Chain loops are added to create holes for straps to be threaded and secured.
7. Adding the Straps
Straps are created and attached to make the top wearable and adjustable.
- Long chains are crocheted for the straps, with lengths customizable to fit comfortably.
- One strap connects across the one-shoulder design, creating an asymmetrical look.
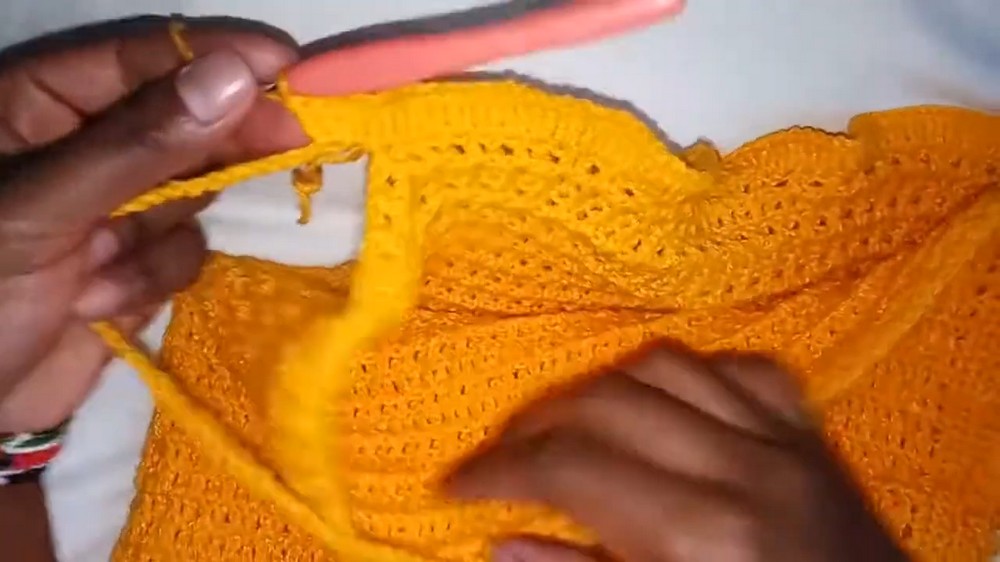
8. Creating the Ruffles
The ruffles add a decorative finishing touch and elevate the overall design.
- On the assigned shoulder area and around the garment, double crochets are worked into every stitch for fullness.
- Multiple rows of ruffles can be added depending on personal preferences. For this tutorial, the creator opts for four rows.
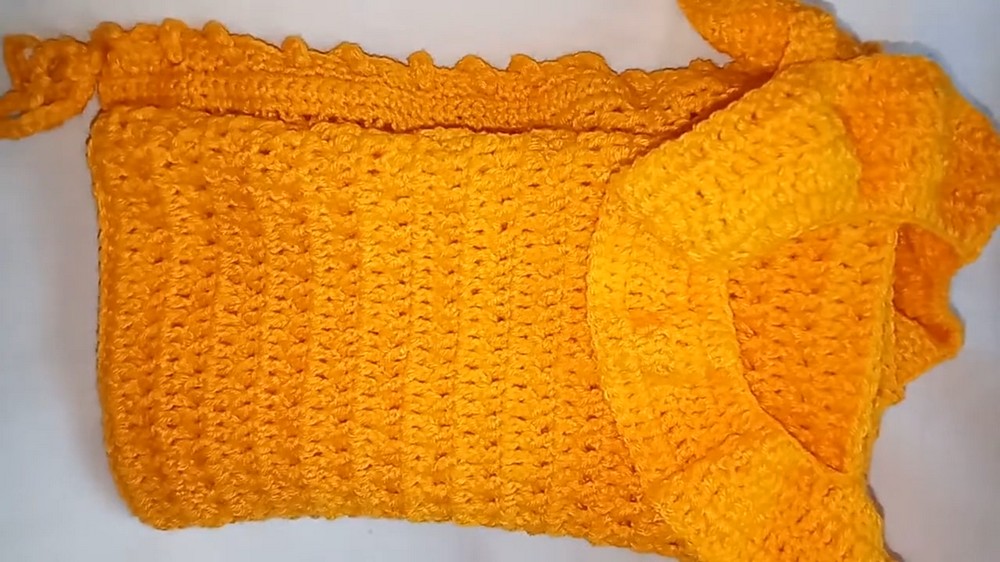
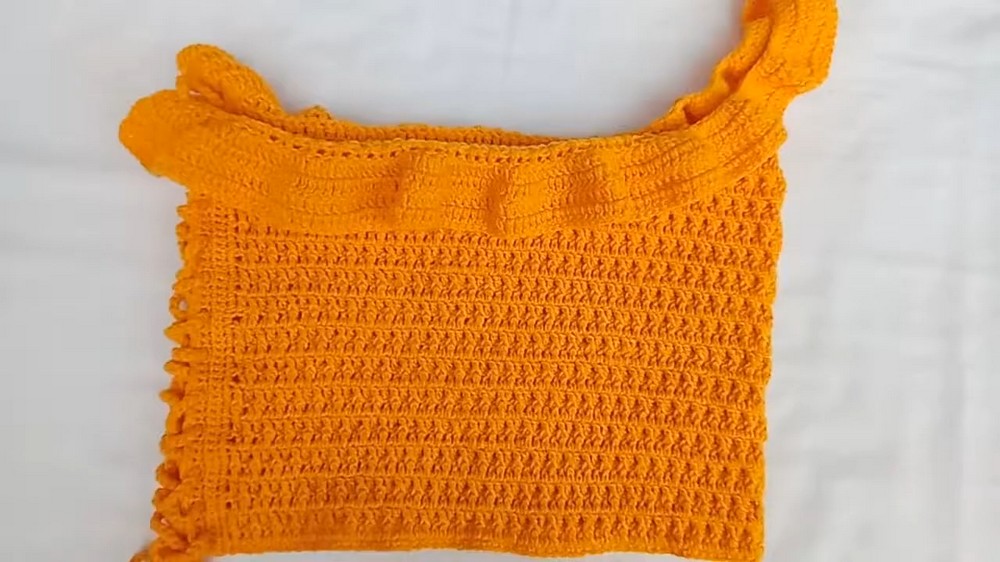
9. Final Thoughts
The tutorial wraps up with the completed one-shoulder crop top displayed, showcasing its textured design, strap placement, and decorative ruffles. The project is praised for its stylish appeal and customization potential. The instructor encourages viewers to experiment with the design and explore other tutorials on their channel.