How to Crochet Shorts for Summer

In this step-by-step tutorial, learn how to crochet shorts perfect for summer with a step-by-step tutorial for beginners. Designed for a comfortable fit, the shorts feature increased back volume for a better body shape. Using Charme yarn in Chestnut (color 7625), the project is tailored to size M but includes tips for sizes P to GG.
You’ll also find detailed instructions on crafting the cord, stitching techniques, and finishing touches like tassels. With clear guidance, this project is beginner-friendly and ideal for pairing with matching tops!

Crochet Shorts Tutorial
The creator introduces the crochet shorts project, designed specifically for summertime wear. The tutorial is beginner-friendly, offering tips and tricks to make the shorts fit better on the body, with adjustments for different sizes. Viewers are encouraged to pair the shorts with a matching crochet top from a previous tutorial (link provided in the video description).
Materials and Yarn Details
- A ball and a half of Charme yarn is used in the video, with the color “Chestnut” (code 7625).
- The shorts made in the tutorial are size M, but the creator provides tips for adapting the design for sizes P, G, and GG.
- A 3.5 mm crochet hook is recommended.
Initial Measurements and Adjustments
- The creator starts by discussing the waist measurement method, emphasizing the importance of adding 3 cm clearance for a better fit, especially since the fabric is made of cotton yarn.
- A cord is crocheted first to match the waist measurement, ensuring it remains untwisted before joining.
Working on the Base and Circular Foundation
- The tutorial begins with the creation of foundation chains that are joined into a circle.
- The first rows consist of double crochets and chain stitches arranged in a uniform pattern.
- The work is rotated every row to ensure balanced stitching and prevent twisting.
Creating the Short’s Structure
-
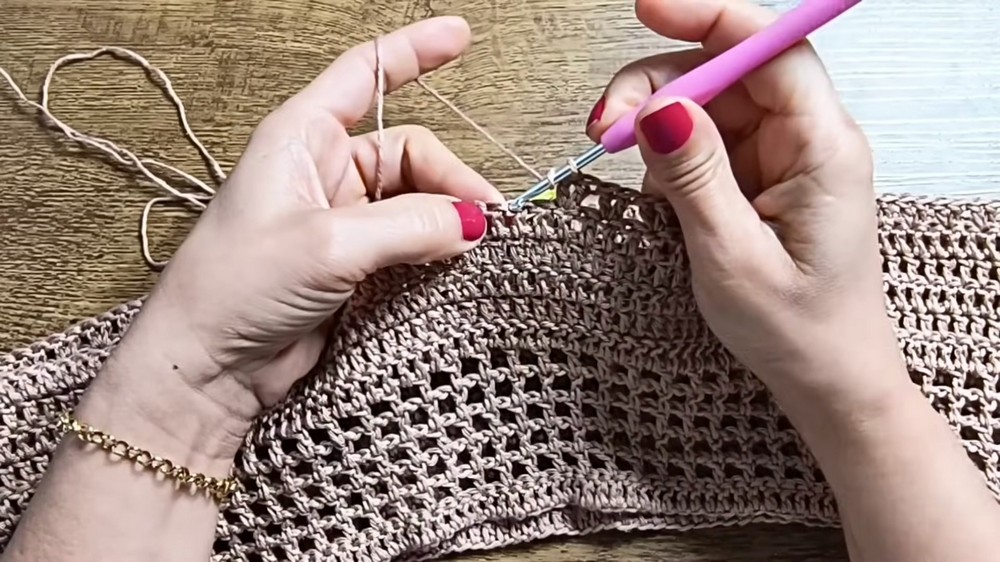
Rows with Mesh Stitch:
- Several rows are worked in a “mesh screen stitch” pattern, alternating double crochets and chain spaces to create a breathable design.
- The tutorial demonstrates how to keep the stitches aligned for a cleaner appearance.
-
Building the Base:
- Five rows of double crochets are added to reinforce the structure. The creator discusses adjustments for different sizes.
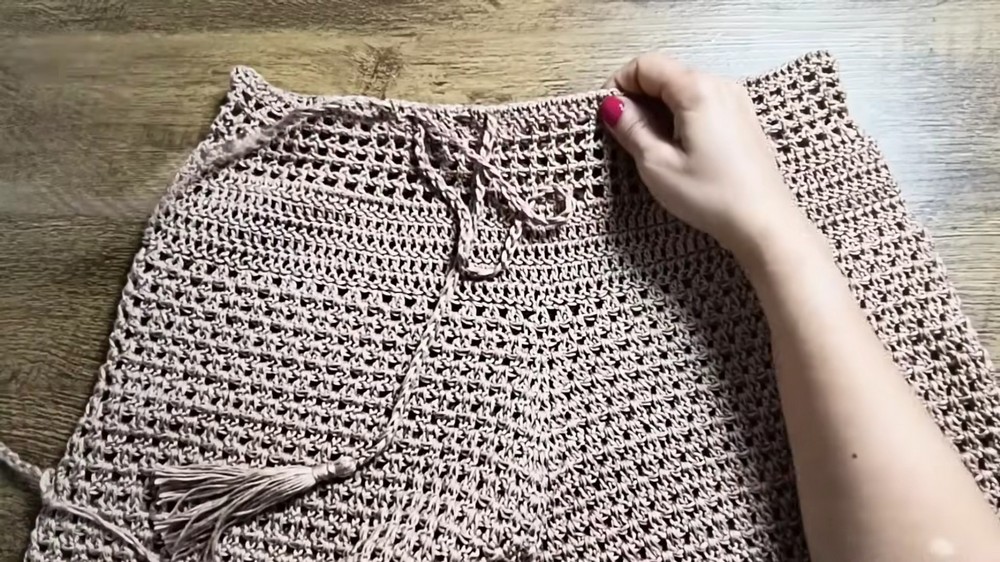
- The piece is split into two sections (“legs”) to allow for shaping the front and back.

Shaping the Front and Back
- The back portion of the shorts is made slightly larger to account for body curvature.
- Markers are used to ensure even distribution of stitches and symmetry between the front and back portions.
- Specific increases and decreases are made to differentiate the front hook from the back.

Leg Openings and Length
- The shorts are divided into two legs, and each leg is worked separately.
- Instructions are given for determining leg length based on personal preference, with three rows of stitches shown in the video.
- A decorative edging with fan-shaped motifs is demonstrated to finish the hem.

Final Details and Adjustments
-
Adjusting the Waistband:
- A cord is created using a double strand of yarn for added thickness, measuring 1.5 meters for size M. Viewers are provided other size options.
- The cord is threaded through the waistband in a zigzag pattern.
-
Tassel Finishing:
- Tassels are made to attach to both ends of the waistband cord, adding a polished look to the shorts.

Conclusion
- The finished shorts are showcased, with a clear difference between the smaller front and larger back for better fitting.