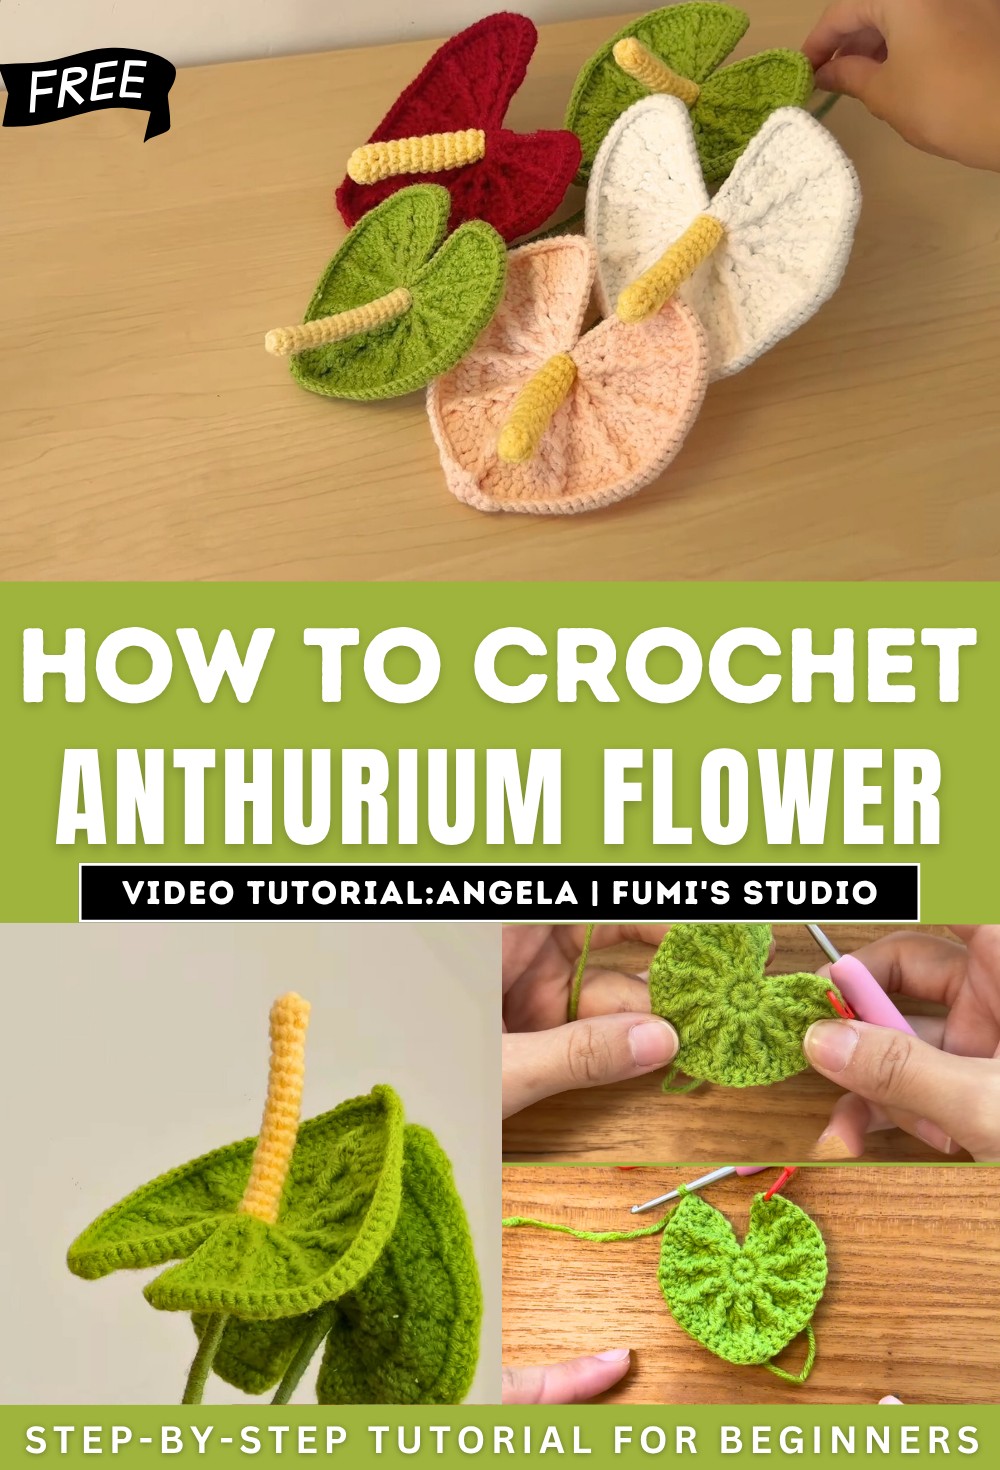
How to Crochet Simple Anthurium Flower for Spring Decor
Learn how to crochet a stunning and unique crocheted anthurium flower designed for beginners and experts to decorate for spring. The step-by-step guide includes techniques like magic rings, single and double crochet stitches, and working with floral wire for added structure. Tutor also demonstrates assembling the flower and adding finishing touches to achieve a professional look.
Perfect for crocheting enthusiasts, this tutorial combines creativity and precision for a beautiful handmade floral creation. Follow through with us for the complete tutorial!
Crochet Simple Anthurium Flower Tutorial
Here is a detailed summary of the video tutorial based on the content provided:
Introduction
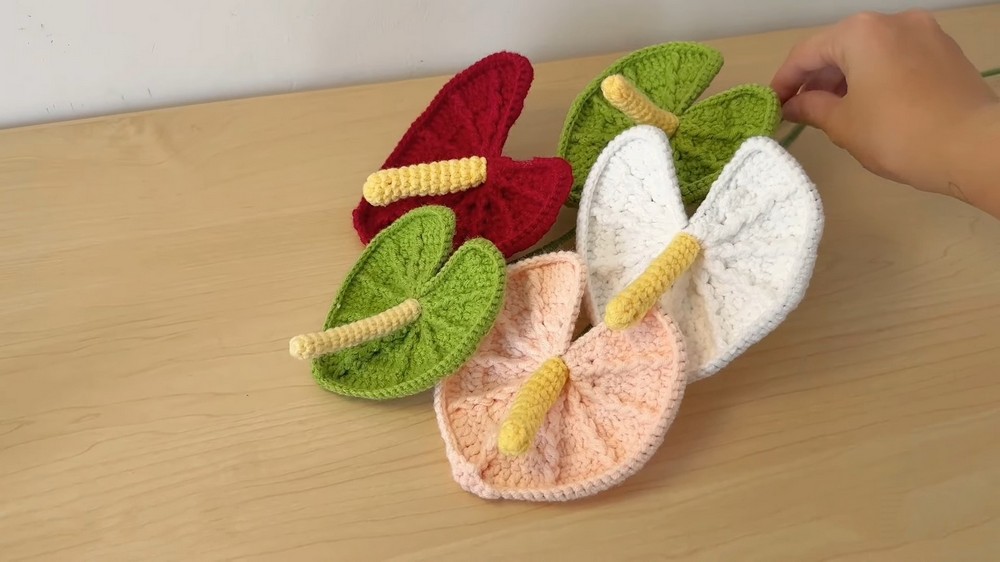
- Angela from Fies Crochet introduces a tutorial for creating a realistic crochet version of an “Anthurium” flower, inspired by the flowers seen in Bali.
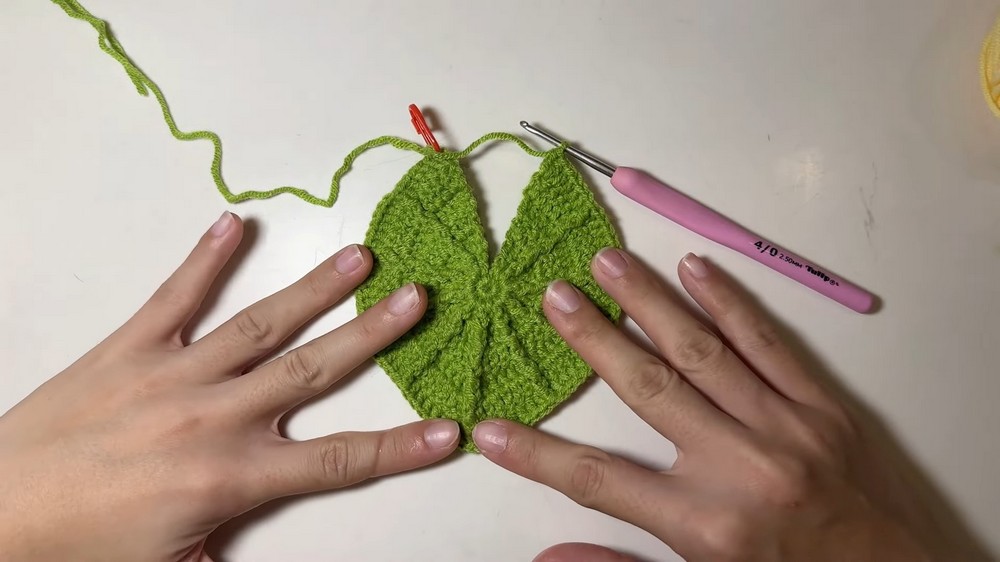
- The flower is made in customizable colors, with Angela choosing green for her demonstration.
- The materials needed include:
- A 2.5mm crochet hook.
- 4-ply milk cotton yarn in preferred colors.
- 2mm wire (though a sturdier 6mm wire can also be used).
- Floral tape and scissors.
Creating the Petal
Foundation and Row 1
- The tutorial begins with creating a magic ring, a foundational crochet technique.
- Angela carefully demonstrates the steps for forming the magic ring and completing 10 single crochets into the ring.
- The ring is tightened, and a slip stitch joins the first round.

Expanding the Petal
- Subsequent rows use double crochets, front post double crochets, and back post double crochets to add texture and structure to the petal.
- Patterns include:
- Increasing rows for broader petals.
- Front and back post stitches to create depth and curvature.

Final Rows
- As the petal progresses, Angela explains mirroring techniques for symmetry and layering.
- Rows involve repeating certain patterns with slight increases to elongate and widen the petal while maintaining structural integrity.
Adding Wire for Structure
- In Row 8, a wire is integrated into the flower petal to give it shape and stability.
- The wire is bent to follow the curve of the petal and secured with single crochets along its edges.
- Additional stitches are added to close edges neatly, ensuring the wire stays hidden and aligned with the flower design.
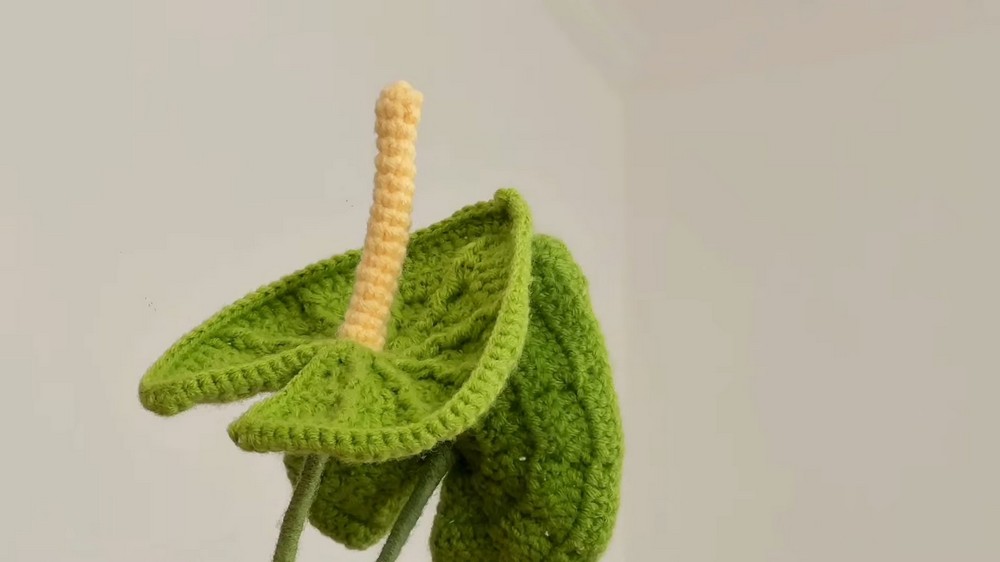
Creating the Spadix (Centerpiece)
- Angela crochets the spadix using yellow yarn and the magic ring technique.
- The centerpiece is constructed with rows of single crochet worked continuously to form a tall, cylindrical shape.
- The completed spadix is attached to the floral stem using hot glue for stability.

Assembling the Flower
-
Attachment of the Spadix and Petal:
- The spadix is inserted into the floral stem.
- Hot glue is used to secure the spadix firmly.
- The flower petal is attached, ensuring proper alignment and positioning.
-
Wrapping the Stem:
- Floral tape is optionally used to provide additional sturdiness and a clean finish at the base of the flower.
- The stem is wrapped with green yarn starting from the base of the flower, working downward, to hide exposed wire and create a polished stem.
Final Touches
- The flower is shaped and styled to resemble a real Anthurium.
- Angela adjusts the petal tips and positioning for a natural look.

Conclusion
- Angela concludes the tutorial by showcasing the finished flower and offering tips to customize its size, color, and details.
- Viewers are encouraged to like, comment, and subscribe for more crochet tutorials.
This tutorial provides a step-by-step guide for crocheters to create a realistic Anthurium flower, highlighting intricate techniques and customization possibilities.