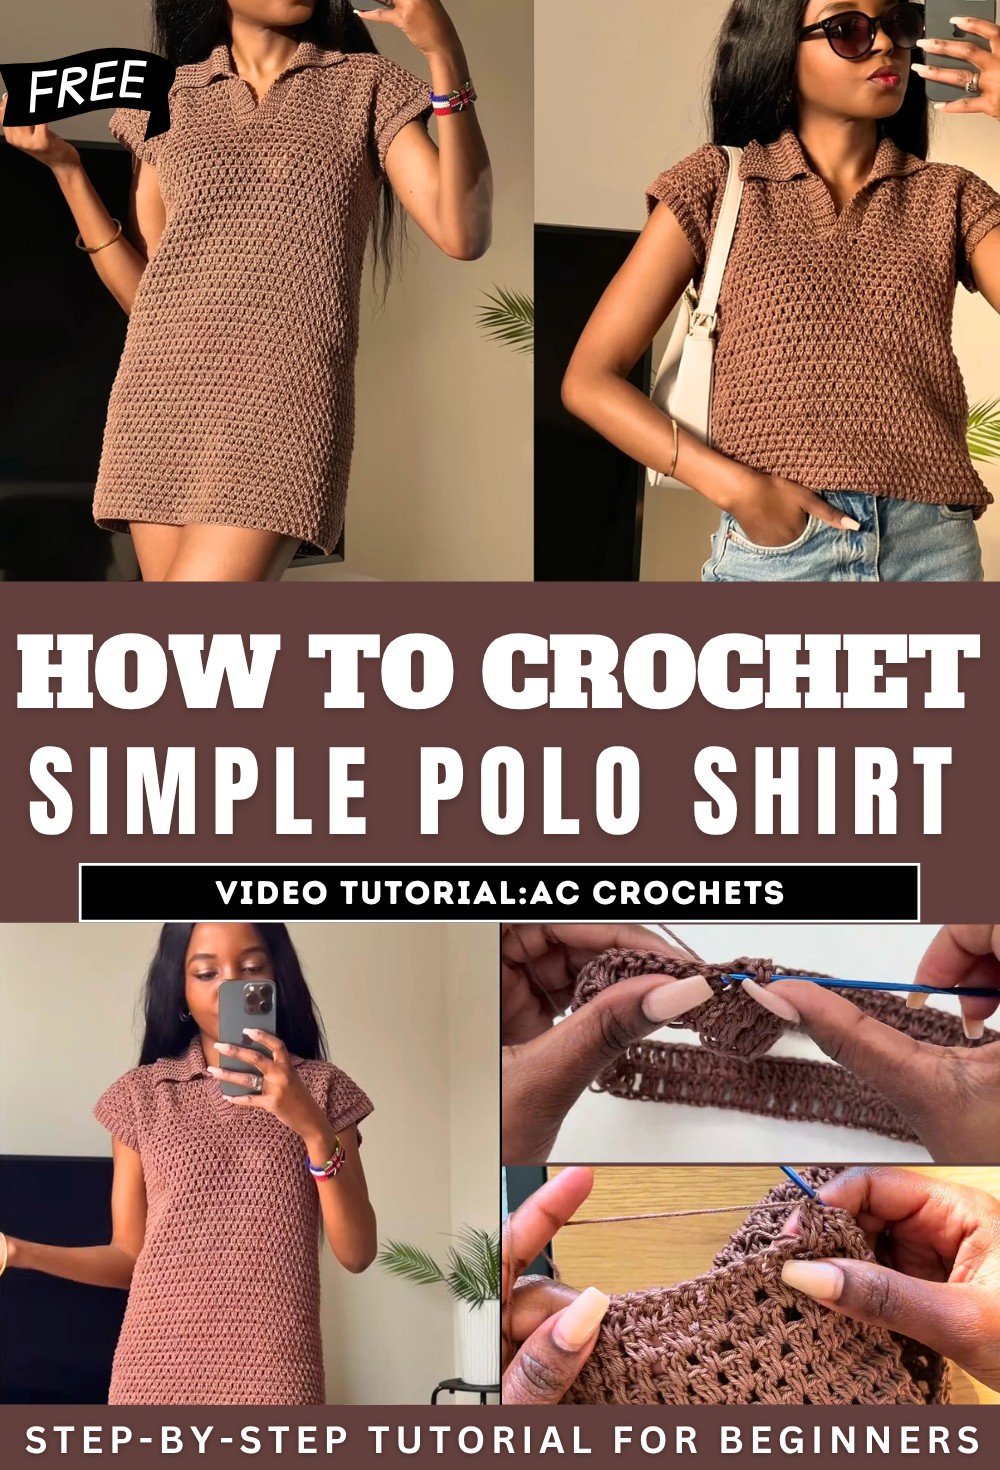
How To Crochet Simple Polo Shirt for Ladies
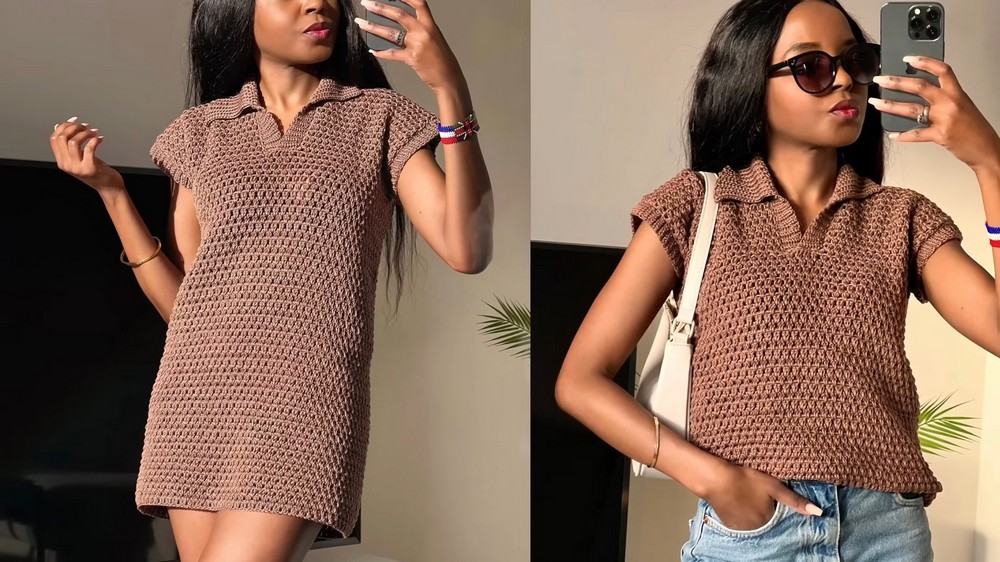
In this post, learn how to crochet a versatile polo shirt dress using the modified granny stitch with a step-by-step tutorial for all skill levels. The tutor provides detailed guidance, from measuring hips or busts for various sizes to creating the foundation chain and weaving through to the ribbed sleeves and collar. Whether you want a shirt, dress, or a custom piece for men, women, or kids, this crochet tutorial covers it all.
Using Wollidu cotton yarn, Agnes combines practicality and style, offering tips and inspiration for beginners and experts alike. Follow through with us for the complete tutorial for crocheting this polo shirt.
Crochet A Polo Shirt Tutorial
Introduction
- Agnes introduces viewers to her crochet tutorial, where she demonstrates making a versatile polo shirt or shirt dress.
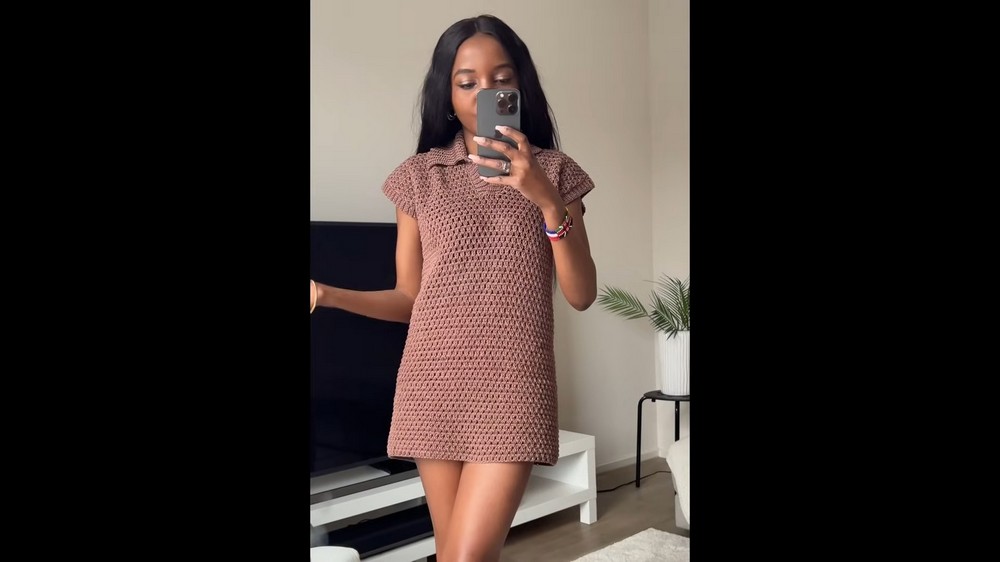
- The garment can be adjusted for length, making it suitable as a dress, t-shirt, or polo shirt.
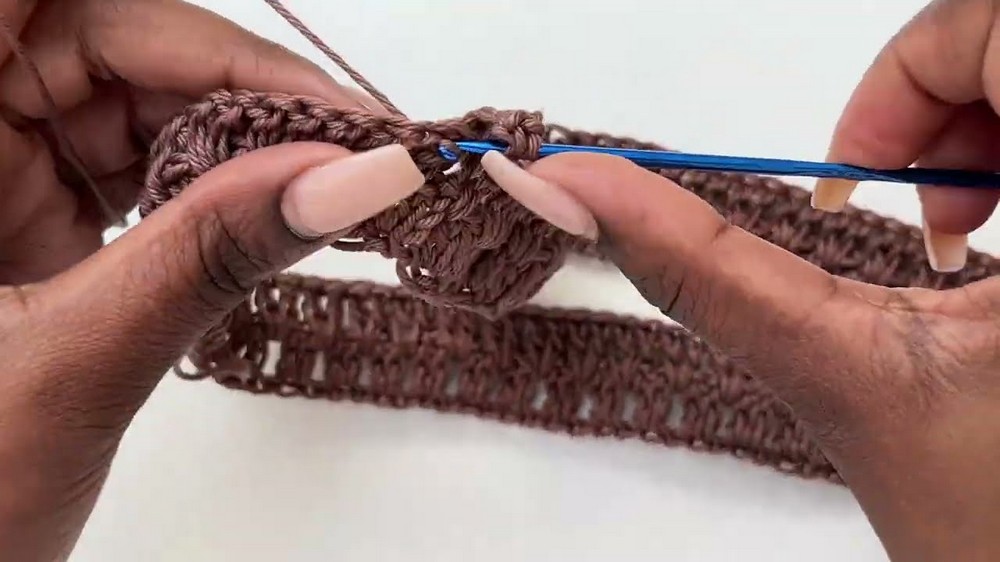
- Agnes uses a modified granny stitch (two double crochets instead of three) for a lighter and flowier texture.
- She expresses her love for the collar design, describing it as her favorite feature.
- The tutorial includes instructions for customizing the shirt/dress size using hips and bust measurements, suitable for various individuals (men, women, kids).
Materials Used
- Yarn: Yarn from Wollidu.de (100% cotton, 50g, 125m), color 19.
- Quantity: 9 skeins for an extra small size garment.
- Hook Size: Agnes uses a 2.5 mm hook but states that 3–3.5 mm can also be used.
- Alternative Yarn: Alize Diva Plus, for viewers who may prefer another brand.
- Measurements: Hips and bust measurements are key to tailoring the garment’s fit.
Steps to Crochet the Polo Shirt/Dress
Foundation and Initial Rounds
- The project starts at the bottom, where a foundation chain is created to align with hips measurements (minus 2 inches for a snug fit).
- The design involves working in rounds to create the base of the dress, leading to the point where sleeves are added.
Splitting the Panels
- The back panel and two front panels are created by splitting the work, leaving a central slit for the collar.
- Agnes demonstrates transitioning from working in rounds to rows for the construction of separate panels.
Sleeves
- Sleeves are added after completing the body panels.
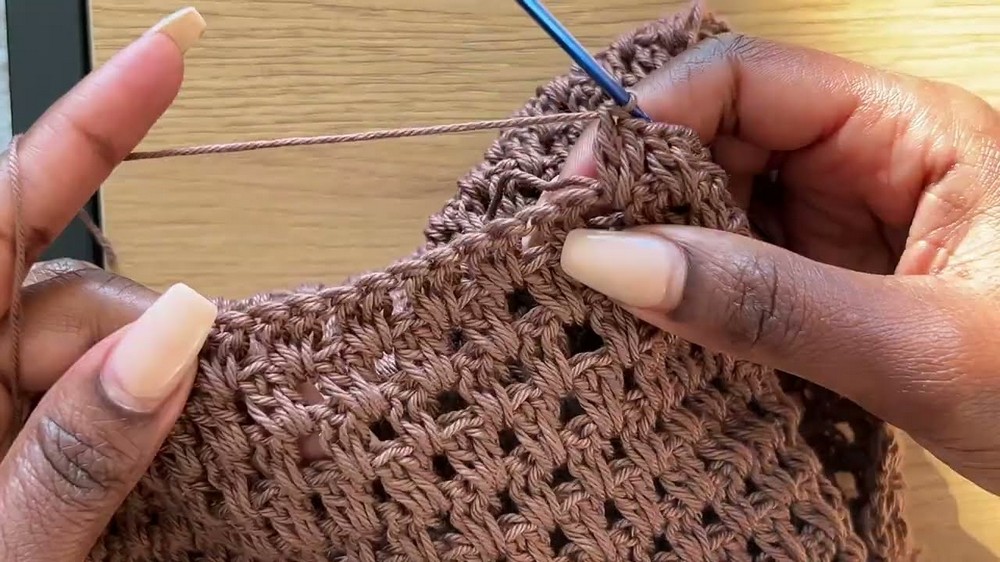
- A ribbing design is incorporated for extra detail, using alternating single crochet and yarn-over slip stitches for texture.
Collar Design
- The collar is constructed in two parts: a shorter base and a longer overlay for the folded effect.
- Agnes uses the same stitch pattern (single crochets and yarn-over slip stitches) to achieve a cohesive and stylish look.
- The collar is designed to interlock and overlap, adding detail and structure to the garment.
Customizations
- The tutorial offers guidance on making the garment for different sizes, genders, and styles.
- Hips measurements determine the foundation chain for a dress, while bust measurements are used for shorter styles like shirts.
- Agnes suggests using existing garments or online sizing charts to determine accurate measurements.
- Adjustments for kids and men are detailed, with tips for using t-shirts as measurement references.
- Agnes shares insights on joining panels, finishing seams, and adding ribbing to sleeves for a polished look.
- She encourages viewers to experiment with the design length and finish for their personal preferences.
- She discusses styling the finished product either as a dress or a more casual t-shirt look.