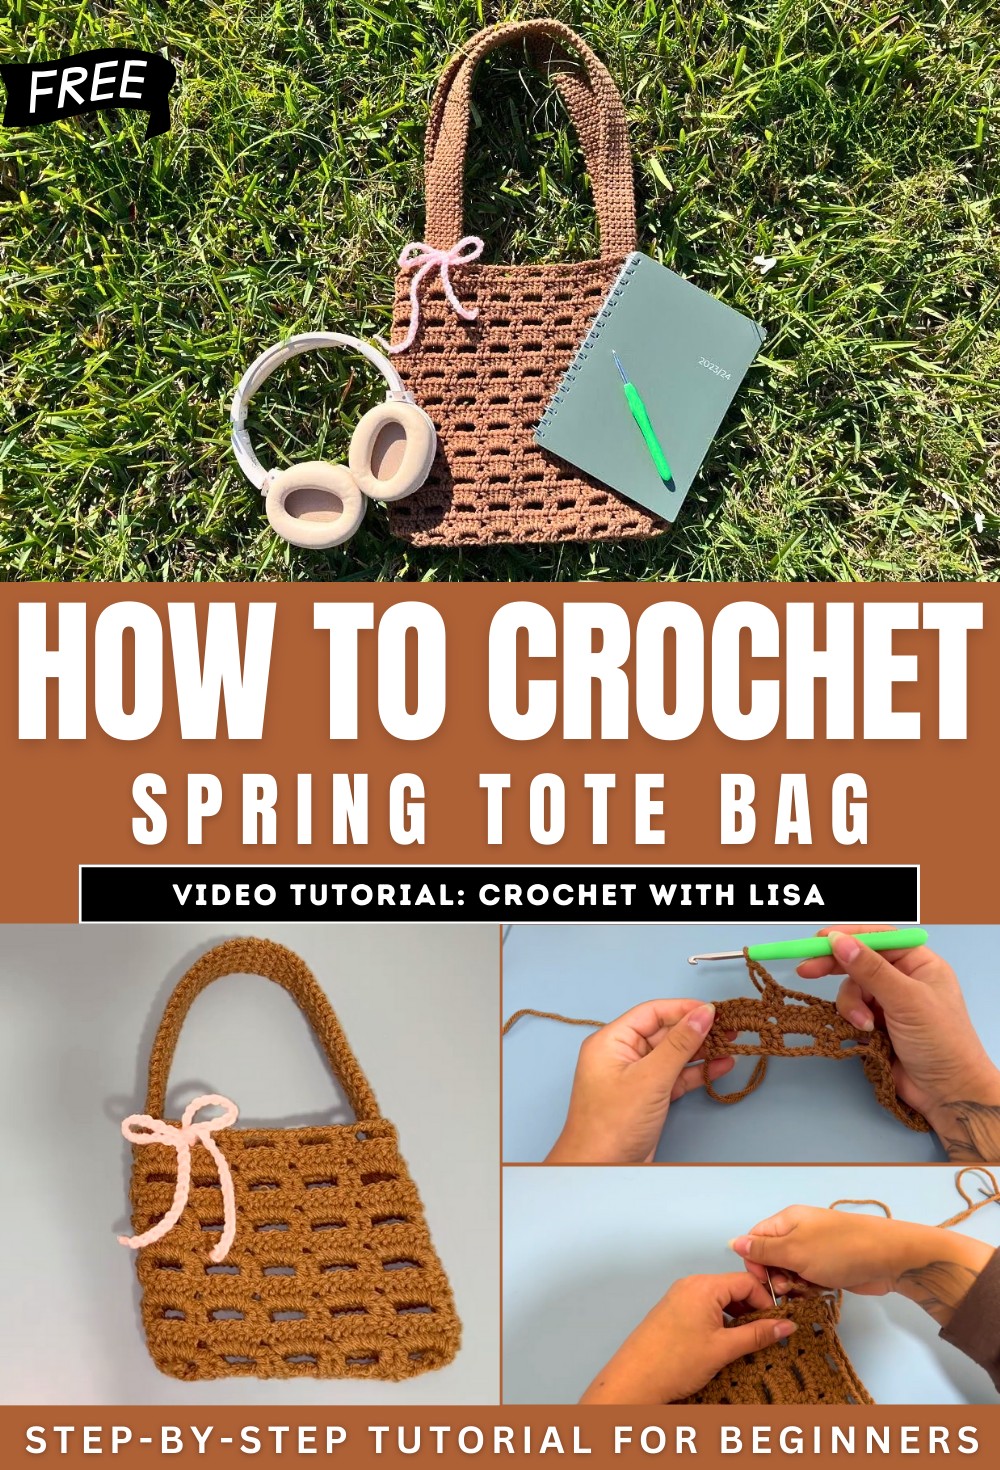
How to Crochet Spring Mesh Tote Bag for Beginners
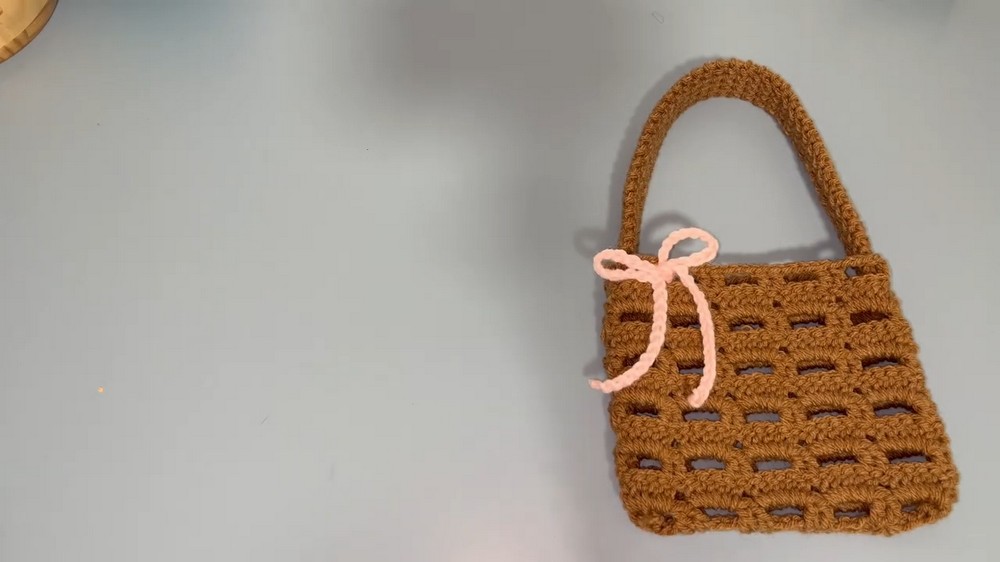
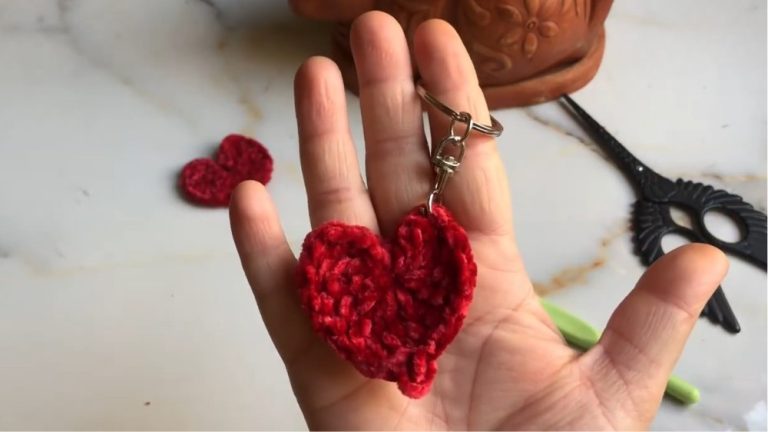
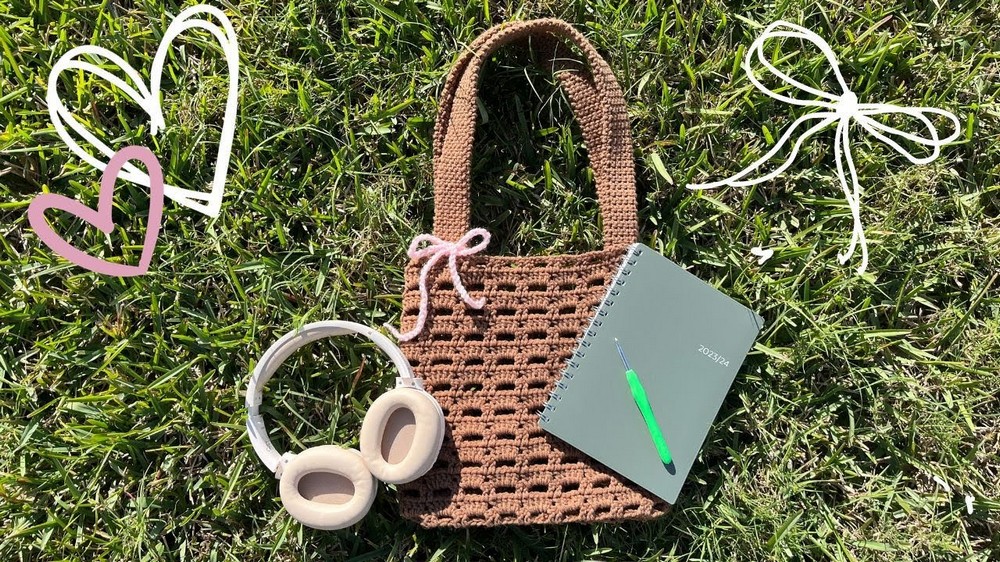
With a step-by-step tutorial, learn how to crochet a stylish and functional mesh bag perfect for spring, as well as an adorable mini version for decoration or kids. Using a 4.5mm hook and medium-weight yarn, she walks through creating the base, building the mesh pattern with double crochets and chain stitches, and assembling the bag. Detailed instructions for adding sturdy thermal stitch straps and optional decorative bows are also included.
The project is beginner-friendly yet versatile, allowing for customization in size and design. It’s a fun and creative DIY project for crochet enthusiasts of all levels! So, follow through with us for the complete tutorial.
Crochet Mesh Bag Tutorial
Alexis, via her YouTube channel, provides a detailed tutorial on creating a crochet mesh bag designed for spring. The tutorial, featuring both a larger tote bag design and a mini version for decorations or children, is beginner-friendly yet versatile for customization.
Materials Needed:
- A 4.5 mm crochet hook
- Medium-weight yarn (example used: Yarn Bee in Café Alay)
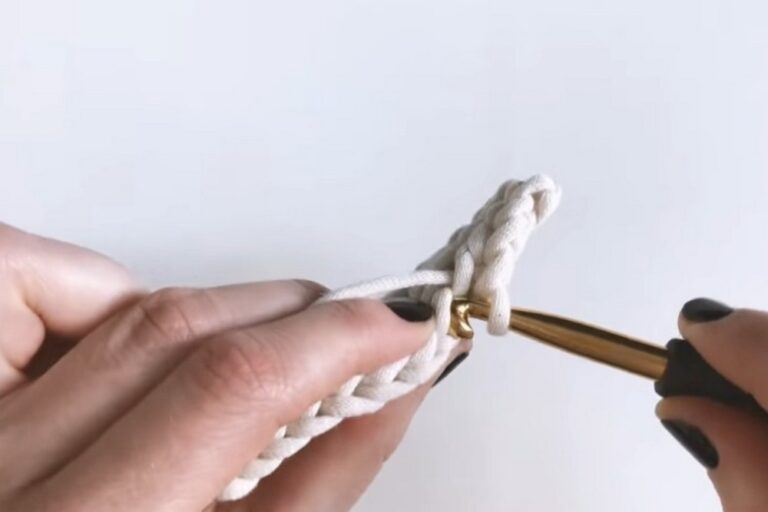
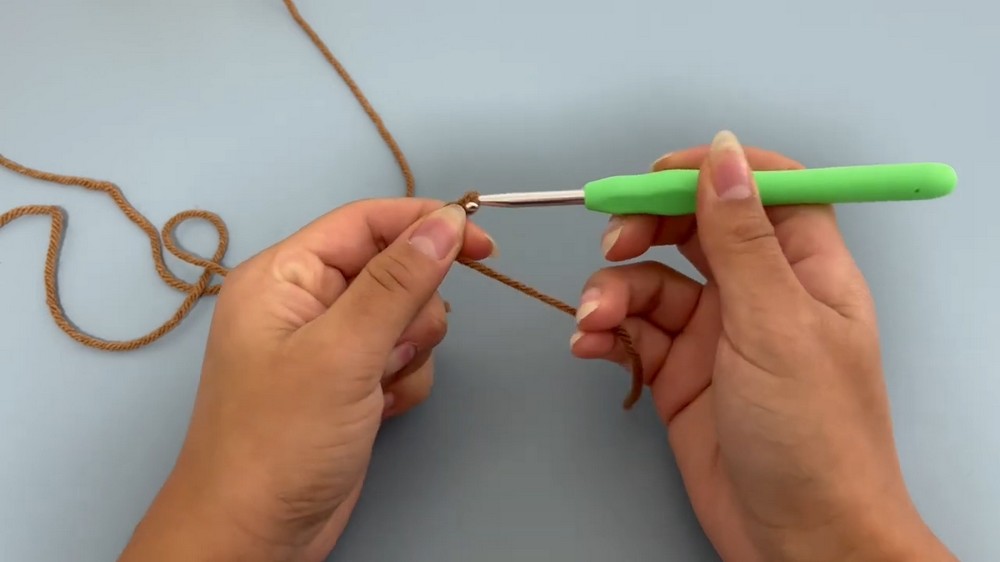
Step 1: Starting the Chain Foundation
The tutorial begins with making a slip knot (Alexis shares her easy method) and creating a foundation chain in multiples of five, adding extra chains to accommodate the pattern. This chain serves as the base for the mesh design.
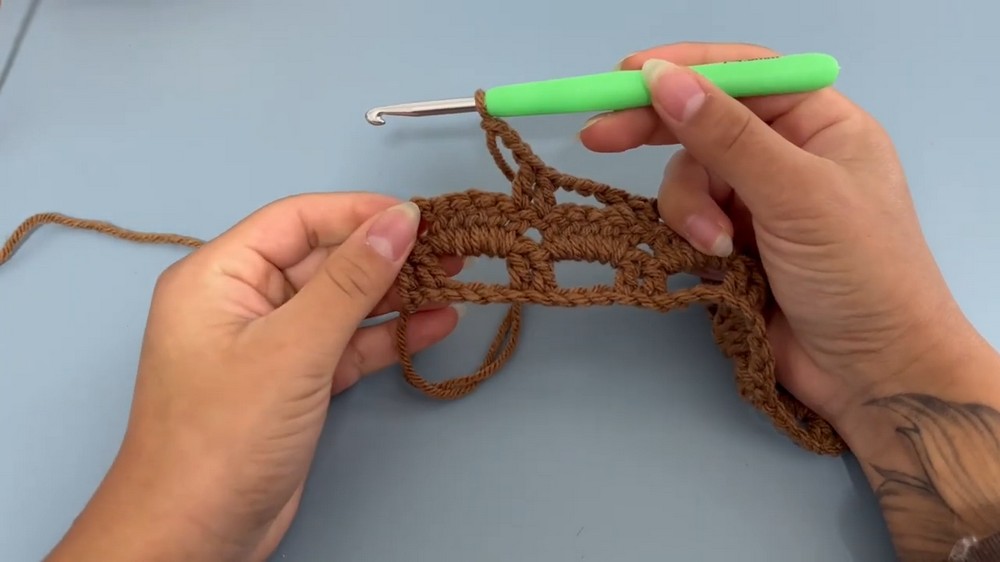
Step 2: Establishing the Mesh Pattern
Using double crochets, Alexis establishes the basic mesh structure: clusters of double crochets separated by chains. She explains how to consistently repeat this sequence along the foundation chain and then turn the work to develop the rows.
Step 3: Building the Rows
Once the mesh structure is created, Alexis demonstrates how to alternate between cluster rows and chain rows to build the height of the bag. She emphasizes the importance of aligning stitches in subsequent rows.
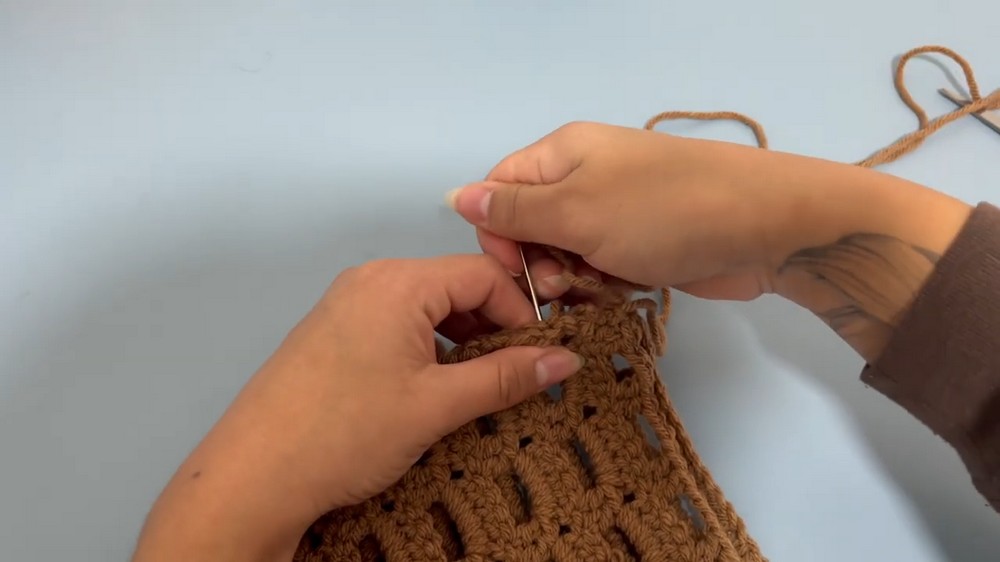
Step 4: Seaming the Body of the Bag
After finishing the length of the bag, Alexis explains how to seam the sides together. She shares tips for distinguishing the “right side” and “wrong side” to ensure the bag appears clean when flipped inside out. Using a weaving method, she stitches the sides to create a clean seam while maintaining pattern alignment.
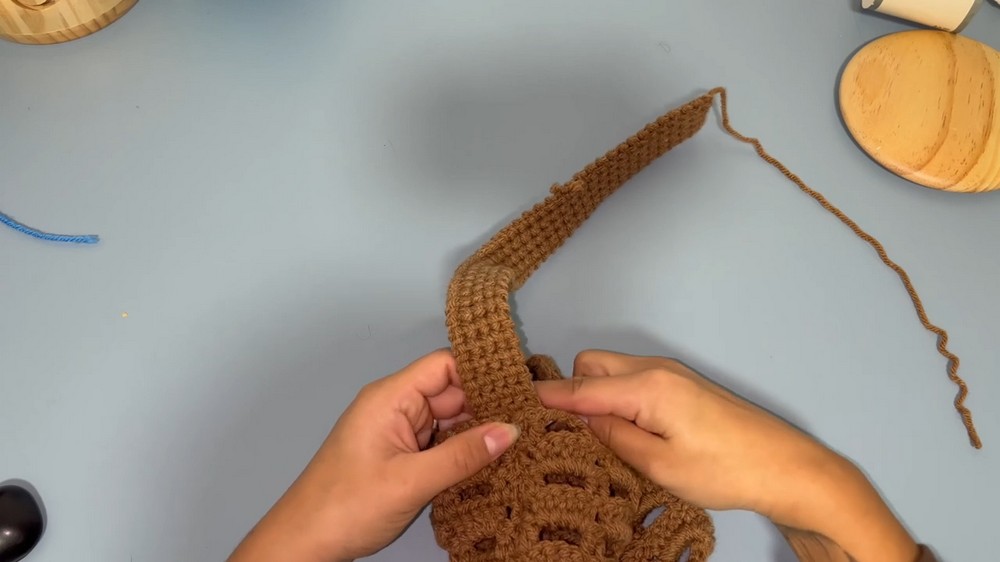
Step 5: Adding Sturdy Straps
For the straps, Alexis uses the thermal stitch, which creates a thick and durable texture ideal for carrying items. She offers guidance on holding the work sideways to make the stitch manageable. Viewers can adjust strap length to their preference and choose other stitches if desired.
Step 6: Attaching the Straps
Alexis stitches the straps onto specific areas of the bag, ensuring a snug and symmetrical fit. Placement under the mesh holes makes the straps blend seamlessly into the design. She demonstrates how to secure them using a rectangular stitching approach and optional knots for added strength.
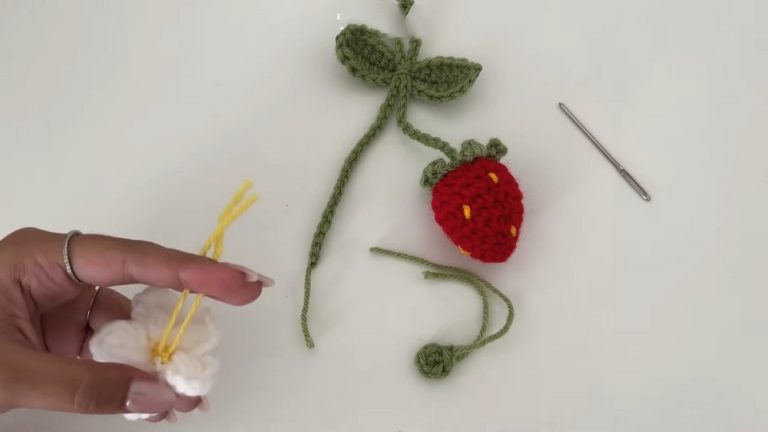
Optional Bow Decoration
To personalize the bag, Alexis shows how to create simple crochet bows by chaining a few inches of yarn, knotting it tightly, and attaching it either to the straps or directly on the bag for added charm.
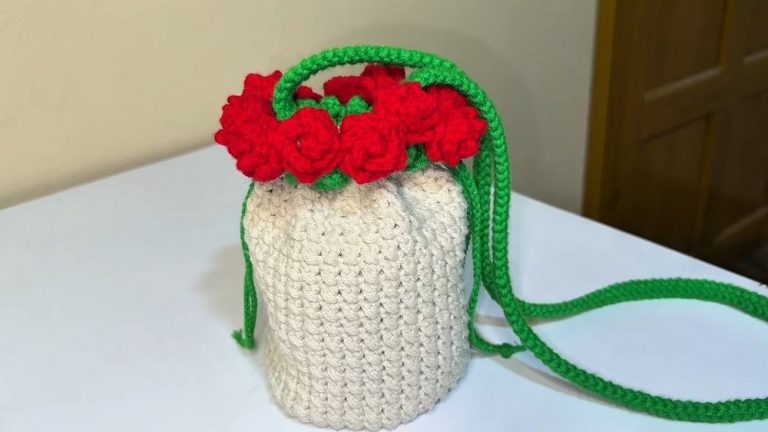
Conclusion
The mesh bag tutorial is flexible, allowing viewers to experiment with sizes, designs, and personal touches. Alexis encourages viewers to ask questions in the comments if they face issues, making the tutorial supportive for both beginners and experienced crocheters. The final product is a stylish and practical bag perfect for spring outings or decorative purposes.