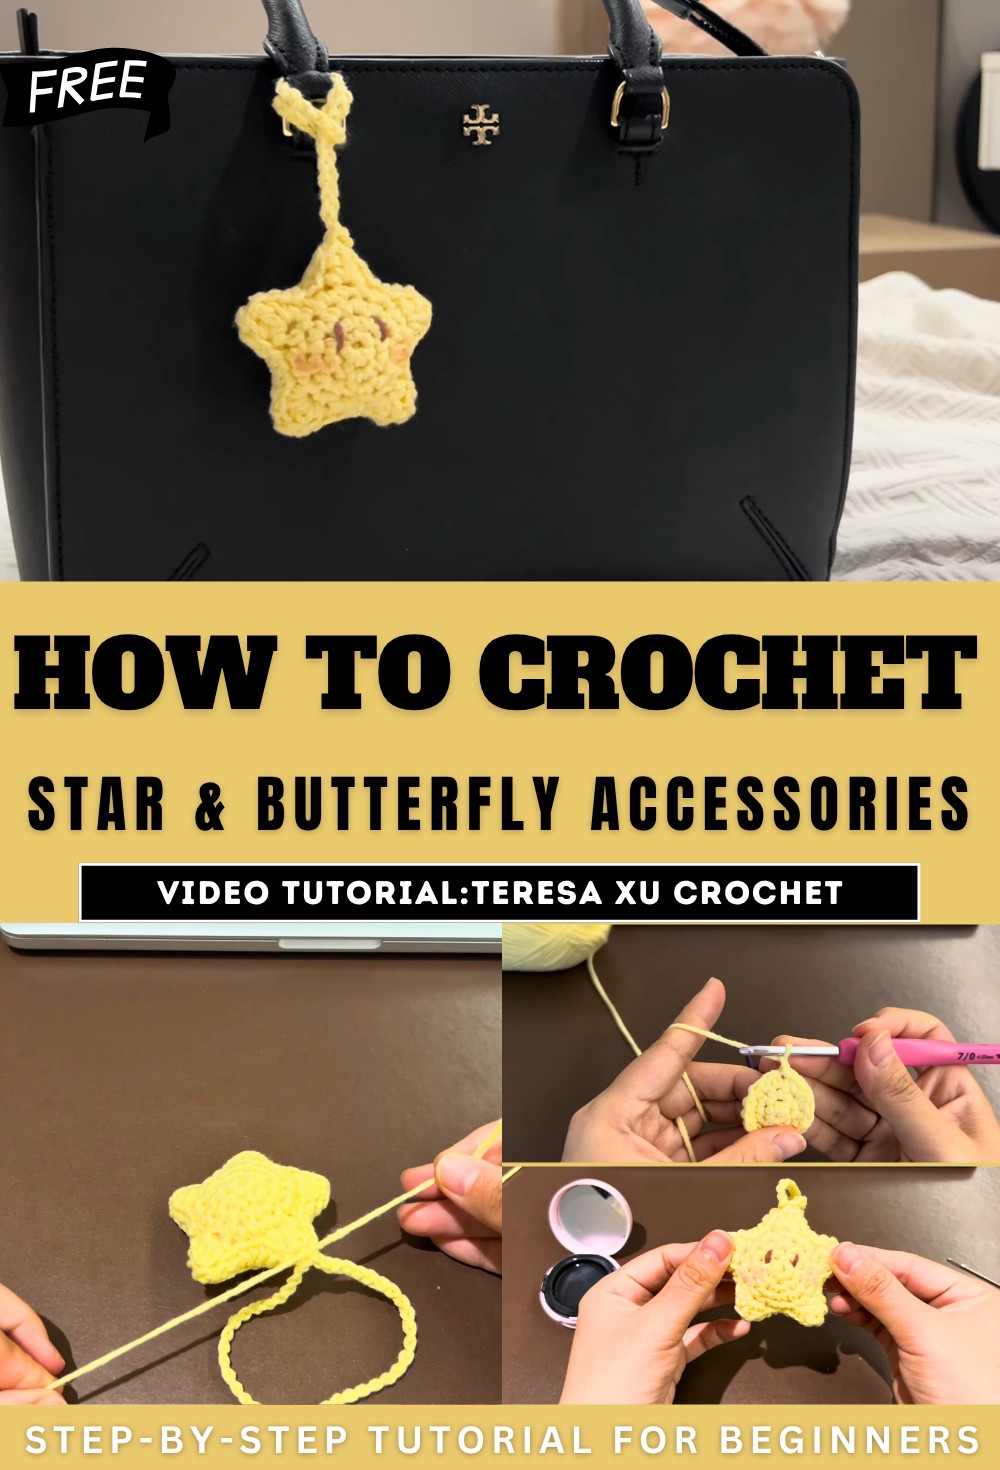
How to Crochet Star & Butterfly Accessories for Beginners
In this post, you’ll learn how to crochet adorable mini stars and butterfly accessories, perfect as charms for bags or keychains. From magic rings to forming detailed patterns, the video ensures a fun DIY experience. Using 4mm crochet hooks and five-ply cotton yarn, the tutor will guide you through each step with clear instructions.
The video also includes creative finishing touches, such as adding eyes to the star and antennae to the butterfly, making them uniquely charming. So, follow through with us for the complete tutorial for this set.
Materials Needed
- 4mm crochet hook
- Stitch marker
- Needle
- Scissors
- 5-ply cotton yarn in various colors (e.g., yellow and brown for the star; multicolor for the butterfly)
Part 1: Crocheting the Mini Star
Step 1: Starting with the Star’s Base
- The star begins with the magic ring, forming the foundation for building its shape.
- Single crochets and slip stitches are used to create the initial small circle, which forms the core of the star.

Step 2: Shaping the Star
- A series of single and double crochets are used to form each star point.
- In specific stitches, multiple crochet types (e.g., single, half double, and double crochets) are added in the same stitch to shape the rounded, pointed edges of the star.
- Between each star point, slip stitches provide space and separation to maintain the overall shape.
- Two identical star pieces are made separately.
Step 3: Joining the Star Pieces
- When the second star piece is finished, it is left with a longer yarn tail, which is used to sew it to the first piece.
- Using a needle, the front loops of each star’s edges are sewn together, neatly joining the two.
Step 4: Adding Details
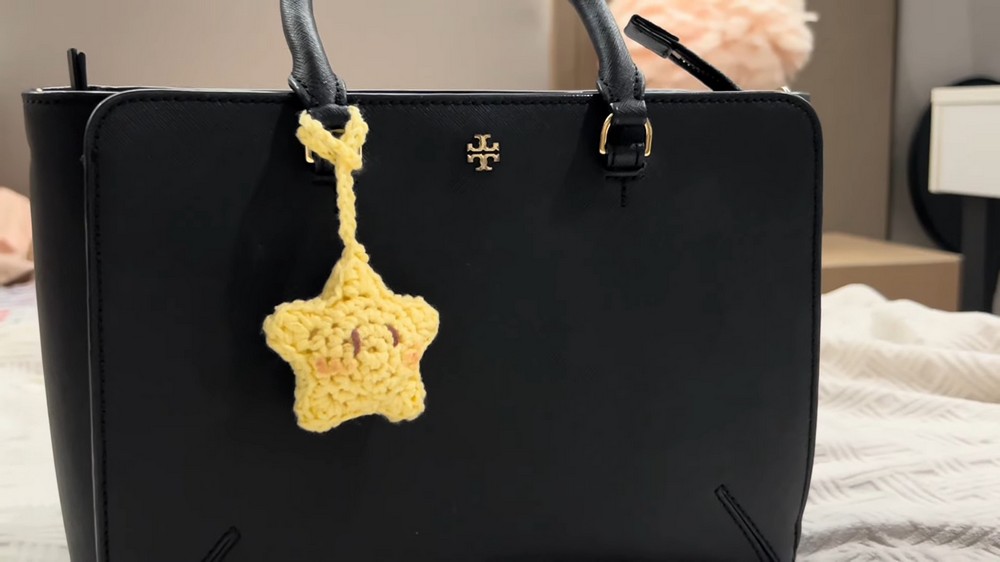
- A chain is added to the star, creating a loop so it can hang as a charm or keychain.
- Optional facial details using brown yarn are added, such as small eyes, making the star look even cuter.

Part 2: Crocheting the Butterfly
Step 1: Creating the Butterfly Wings
- The butterfly begins with a magic ring, which creates a small center.
- Clusters of double crochets in chain spaces form the butterfly’s rounded wings.
Step 2: Shaping the Butterfly
- To emphasize the shape, rows of six double crochets are worked into specific chain spaces to give the wings volume and symmetry.
- The butterfly is folded in half after completing the wings to shape its final form.
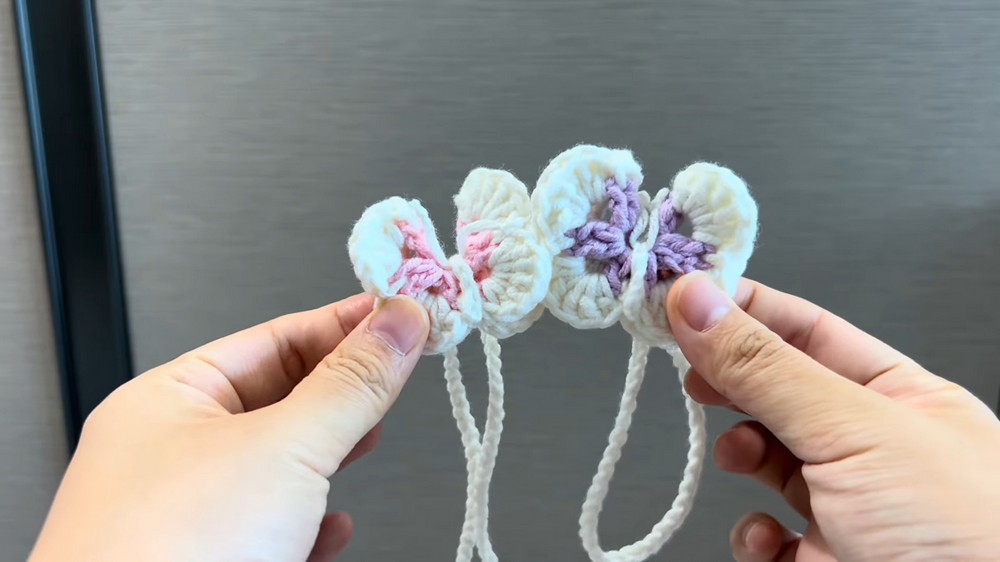
Step 3: Adding the Body and Antennae
- Yarn is used to create the butterfly’s body by marking the middle section.
- Antennae can be added to the butterfly using a simple chain stitch. This step is optional, depending on the crafter’s preference.
Final Touches
Both pieces are customizable in size and color, allowing crafters to experiment with different styles. The finished star and butterfly can be used as standalone decorative items or small gifts.