How to Crochet Mini Sling Strawberry Bag for Beginners

Learn how to crochet a mini sling bag with a checkered pattern, designed to hold a mobile phone. It details the materials needed, primarily cotton big ply yarn, and guides through crocheting the bag body using specific stitch counts and color changes to achieve the checkered design.
The tutorial also covers creating and attaching the handle, and adding a strawberry-shaped coin purse embellishment. You can find more details in the video description. So, follow through with us for the complete tutorial.

Materials and Tools
The creator highlights the essential materials and tools required for this project. The primary material is cotton big ply yarn, which the creator mentions can be sourced from “ijiet benang rajut murah Surabaya.” While specific hook sizes are not detailed in this summary, the video guides the viewer on the appropriate tools through its visual demonstrations.
Crocheting the Bag Body
The tutorial breaks down the process of crocheting the main body of the bag.

-
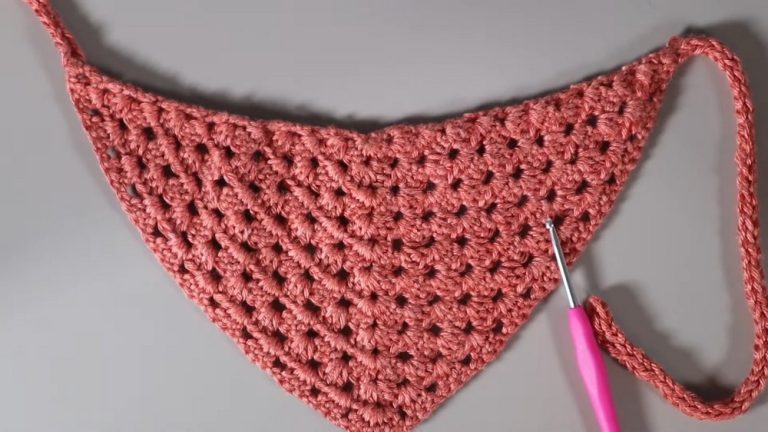
Starting the Foundation: The pattern begins with a specific number of chains, forming the foundation row. The first stitch is then worked into a particular loop from the hook, establishing the initial structure of the bag.
-
Creating the Checkered Pattern: The checkered design is achieved by alternating yarn colors. The video demonstrates making a series of double crochet stitches in one color, followed by a change to a different yarn color for the next block of stitches. This sequence of color changes and stitch blocks is repeated across the row to build the characteristic checkered effect.
-
Subsequent Rows: The second row continues the established color placement from the first row, ensuring the pattern remains consistent. The third row introduces a new color, which is then alternated with one of the previously used colors, maintaining the block pattern. The fourth row follows the color placement of the third row.
-
Pattern Repetition: The entire four-row sequence is repeated multiple times to achieve the desired height for the bag body. The creator continues this repeating pattern for a total number of rows.
-
Finishing the Edges: Once the main body of the bag is complete, the edges are neatly finished by working single crochet stitches into every loop around the perimeter, providing a clean and polished look.
Making the Handle
The video then transitions to the creation of the bag’s handle.
-
Stitch Type: The handle is exclusively crocheted using single crochet stitches, ensuring a sturdy and durable strap.
-
Starting Point: The handle begins with a magic ring, into which a small number of single crochet stitches are worked.
-
Handle Pattern: The pattern for the handle involves alternating between working a single crochet stitch into the first stitch and then working multiple single crochet stitches into the second stitch, followed by turning the work. This technique helps to build the length and shape of the handle.
-
Handle Length: The handle is crocheted to a specific length, typically ranging from 50 to 60 centimeters, to ensure comfortable wear.

Assembling the Bag
The final section of the tutorial focuses on assembling the various components of the bag.
-
Attaching the Handle: The crocheted handle is securely attached to the bag using a tapestry needle. The video emphasizes the importance of neat and secure stitching to ensure the handle is firmly in place.
-
Adding Embellishments: A pre-made strawberry embellishment is then attached to the bag. The creator suggests two methods for attachment: using hot glue or sewing it on with matching yarn, allowing for flexibility based on personal preference.