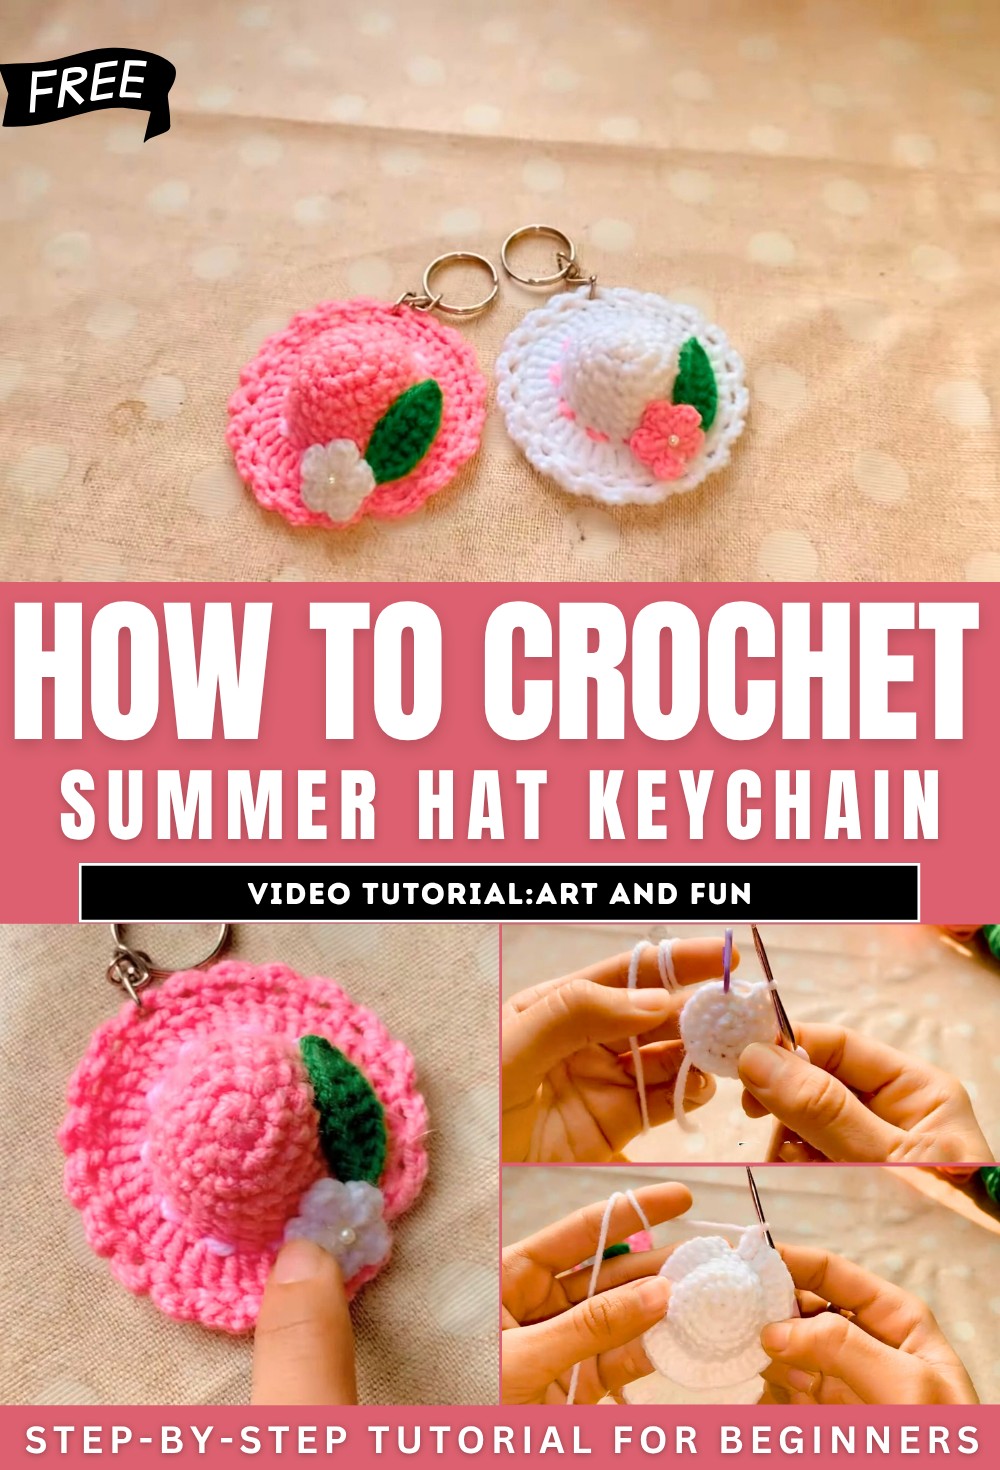
How to Crochet Summer Hat Keychain for Beginners
In this post, you will learn how to crochet a cute keychain with a hat and flower design. Using materials like yarn, crochet hooks, beads, and hot glue, the creator provides step-by-step instructions for crocheting the hat, flower, and leaf.
Techniques like the magic ring, single crochet, double crochet, and slip stitches are demonstrated clearly. The end result is an adorable and creative handmade keychain perfect for summer. So, follow through with us for the complete tutorial.
Crochet Keychain Hat Tutorial
The YouTube tutorial demonstrates how to create a charming crochet keychain shaped like a hat with a flower and a leaf. The step-by-step guide is simple enough for beginners and highlights the tools, materials, and techniques required to make this cute accessory. Below is a summary of the steps, organized with headings and bullet points.
Introduction
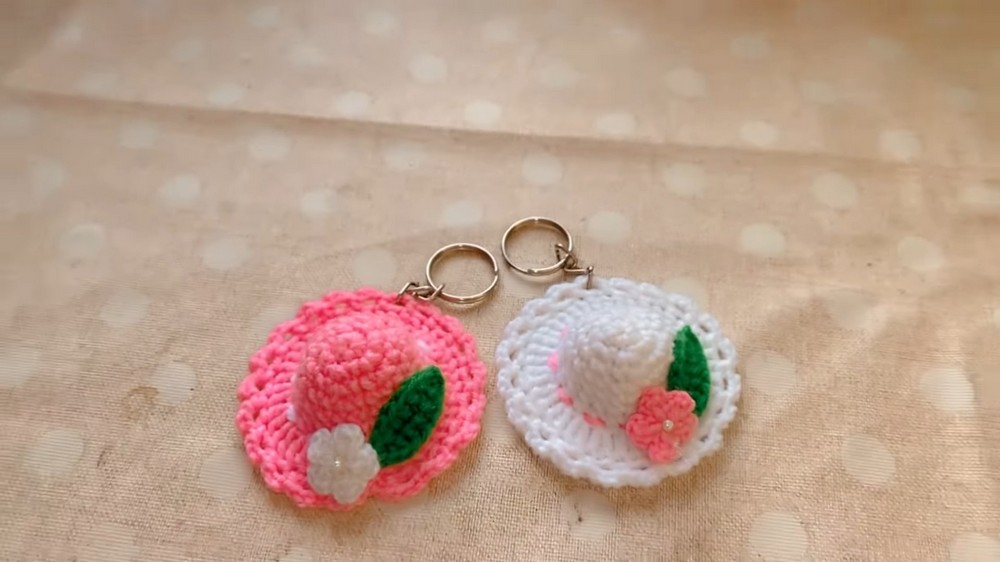
- The tutorial begins with the creator warmly welcoming viewers and introducing the project: a summer-inspired keychain in the form of a tiny hat with a decorative flower and leaf.
- This makes for a practical yet aesthetically pleasing accessory, perfect for personal use or gifting.
Materials Needed
- Yarn: White, pink, green (or colors of your choice).
- Crochet Hooks: 2.5 mm for the hat, 1.0 mm for the flower and leaf.
- Additional Supplies:
- Scissors.
- Stitch markers.
- Small beads (for the center of the flower).
- Hot glue (for assembling).
- Yarn needle (optional, for securing threads).
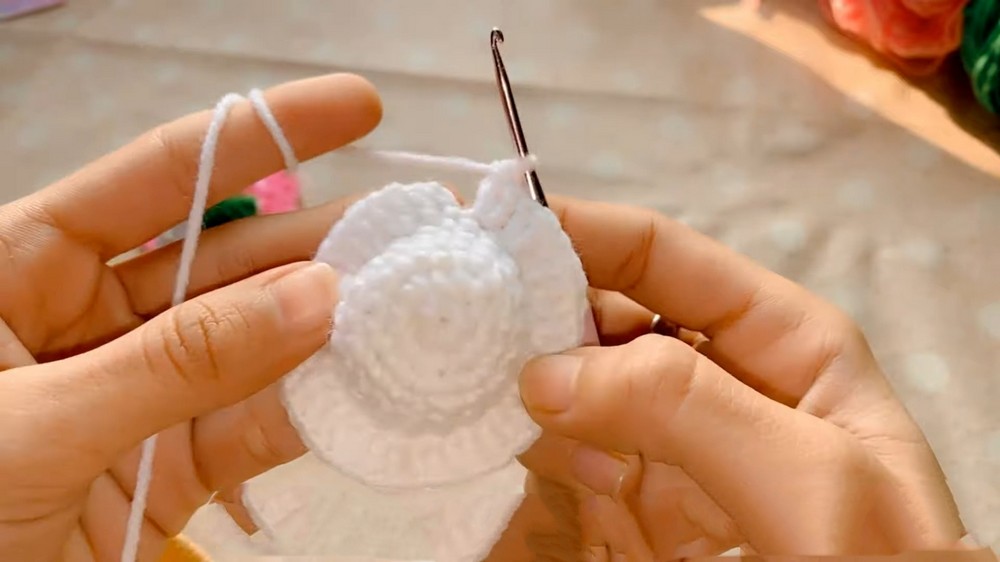
Step 1: Crochet the Hat
- Start with the Magic Ring: The tutorial begins by creating a magic ring to form the base of the hat.
- Build Rounds:
- Crocheting continues in rounds, with increases to expand the hat shape and form its brim.
- The instructor explains how to systematically add single crochets and increases in each round.
- Slip stitches are used to close the rounds.
- Form the Brim: Once the main body is complete, additional rows are added with chains to form the open brim of the hat.
- Secure and Finish Base: The thread is cut, knotted, and carefully hidden to maintain the shape and clean finishing of the hat.
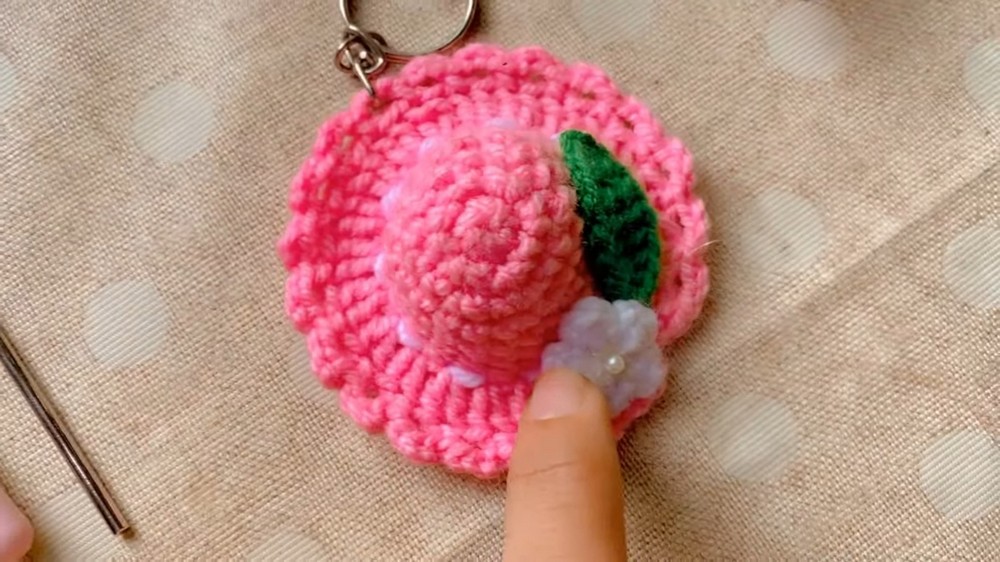
Step 2: Add Decorative Detailing to the Hat
- Create Hat Lines:
- Using pink yarn, the creator creates decorative ridges around the crown of the hat, mimicking real hat stitching.
- These lines add texture and an additional layer of detail.
- Secure the Yarn: Once completed, the yarn ends are knotted and hidden to secure the design.
Step 3: Crochet the Flower
- Start with a Magic Ring:
- A small flower is crocheted using a 1.0 mm hook and pink yarn.
- Petals are created by adding chains, double crochets, and slip stitches within the magic ring.
- Add Bead to the Flower:
- A small bead is glued or stitched into the center of the flower for embellishment.
- Excess yarn is tied off and trimmed.

Step 4: Crochet the Leaf
- Form the Leaf Shape:
- The green yarn is used to crochet a small, elongated leaf starting with a base chain.
- Half-double crochets and single crochets are used to achieve the leaf’s symmetrical, curved shape.
Step 5: Assemble the Keychain
- Attach the Pieces:
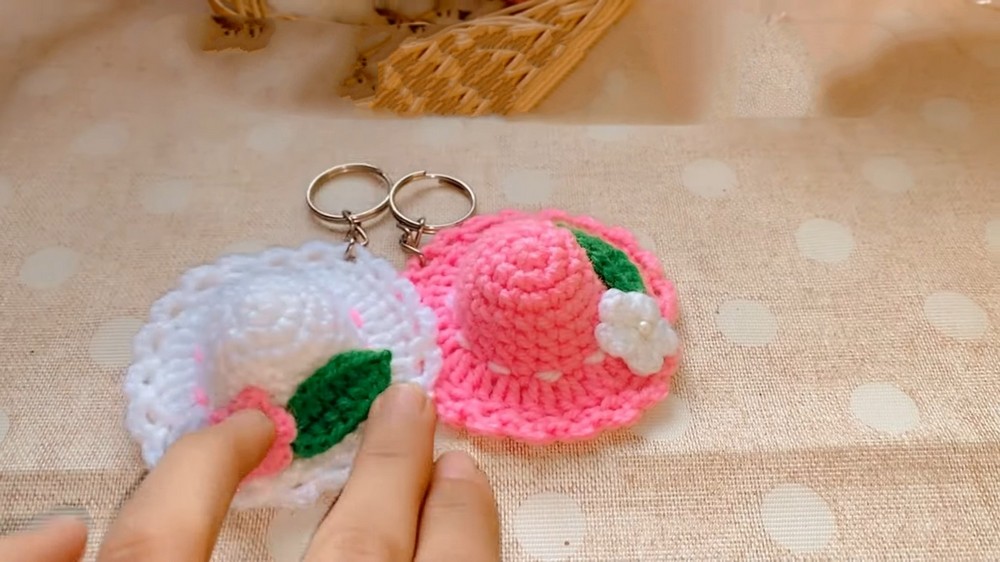
- Using hot glue, the flower and leaf are attached to the hat in a visually appealing arrangement.
- A keyring is also attached at this step, making the item functional as a keychain.
- Secure All Components: The creator reiterates the importance of secure assembly to ensure the keychain is durable.