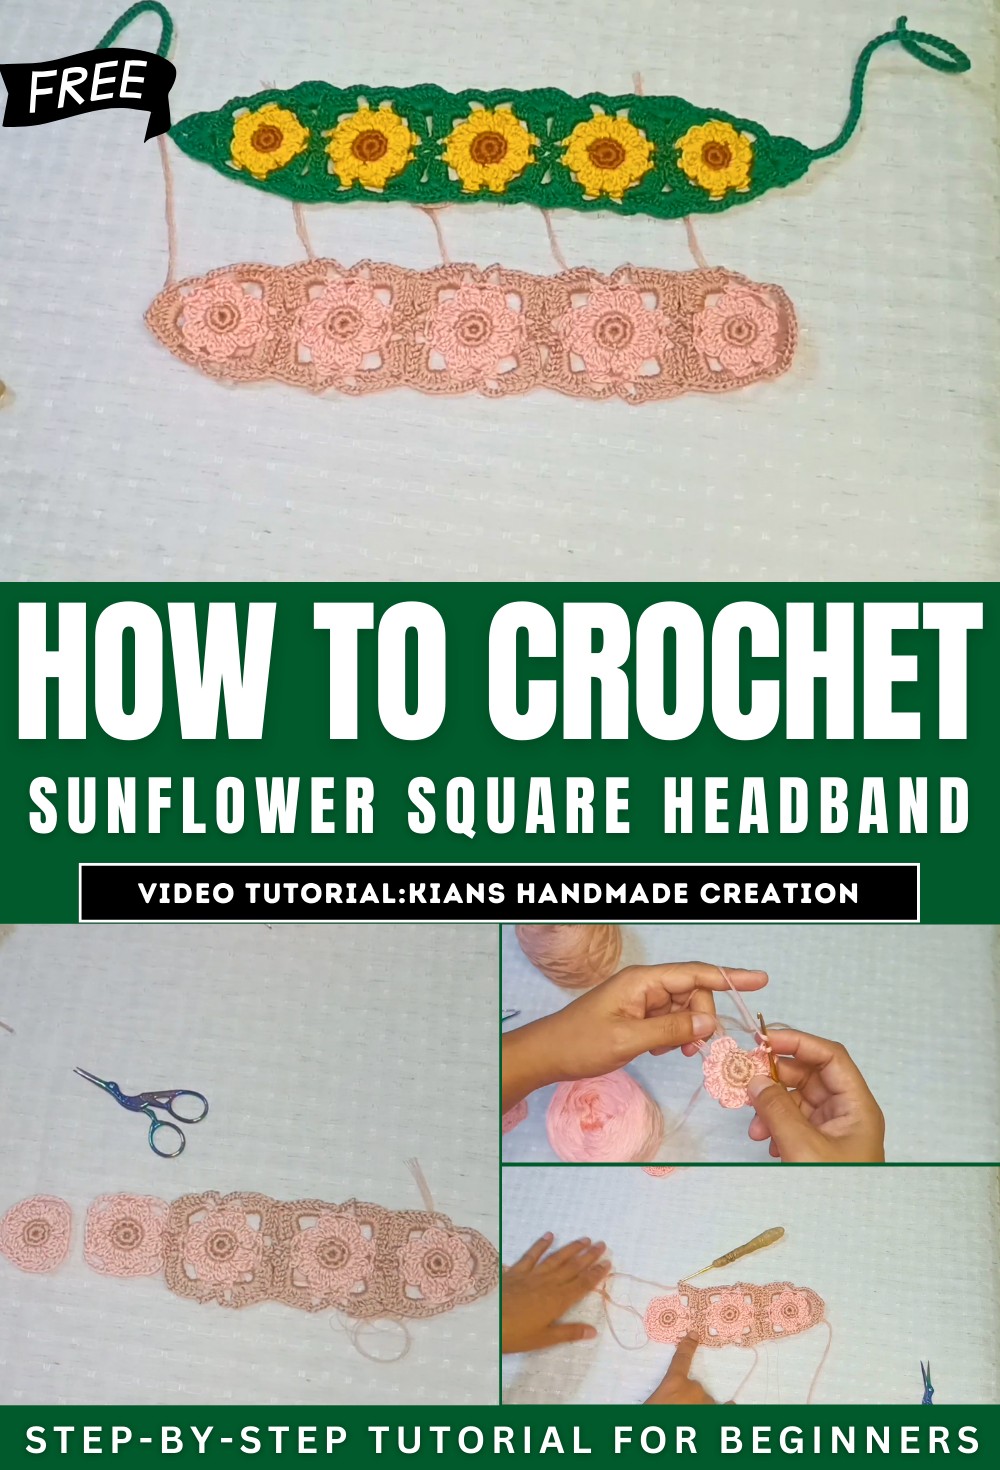
How To Crochet Sunflower Square Headband for Beginners
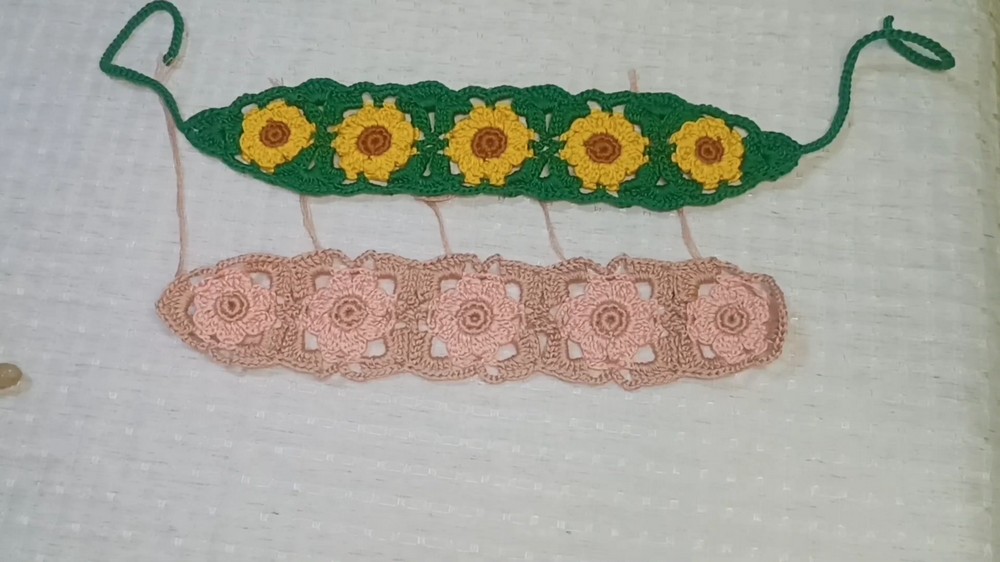
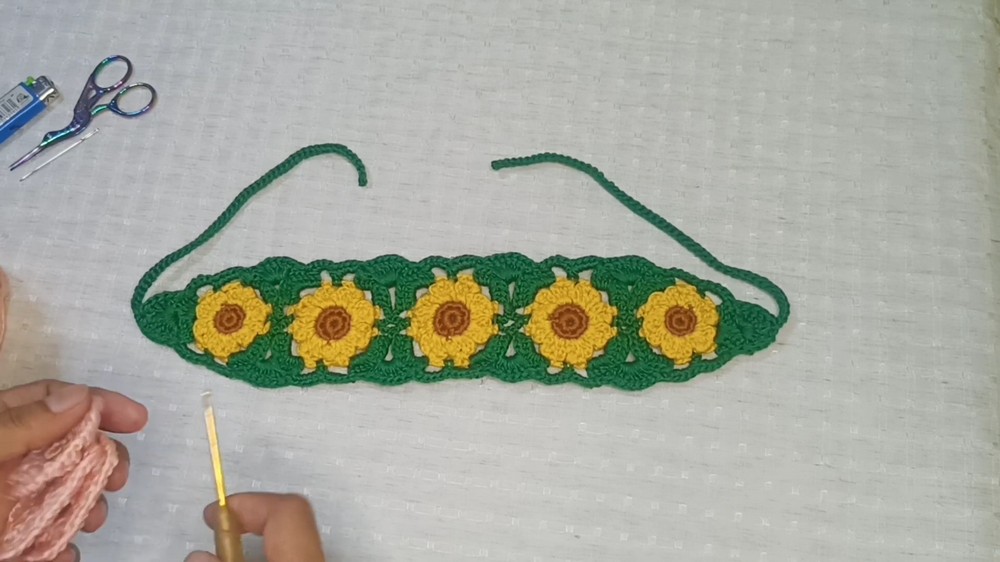
With a stitch-by-stitch tutorial, learn how to crochet a sunflower headband perfect for beginners and experts. The creator uses two colors of 10-ply polyester yarn, a 3mm hook, scissors, a needle, and a lighter. The project consists of three square and two triangle sunflower motifs, which are created using a combination of single and double crochet stitches, as well as chains.
The motifs are then crocheted together, and a continuous border is added around the entire piece. Finally, long ties are created on each side to complete the headband. So, follow through with us for the complete tutorial.
Sunflower Crochet Headband
This tutorial, presented by the creator, walks viewers through the steps to crochet a beautiful sunflower-themed headband. The project uses basic crochet techniques to create sunflower squares, connect them into a headband, and add decorative borders and ties. Below are the key steps covered in the tutorial:
1. Materials Needed
- 10-ply polyester yarn in two colors (e.g., skin-tone pink and brown or any preferred shades).
- 3.0 mm crochet hook.
- Scissors.
- Needle.
- Lighter (optional – for securing the yarn ends).
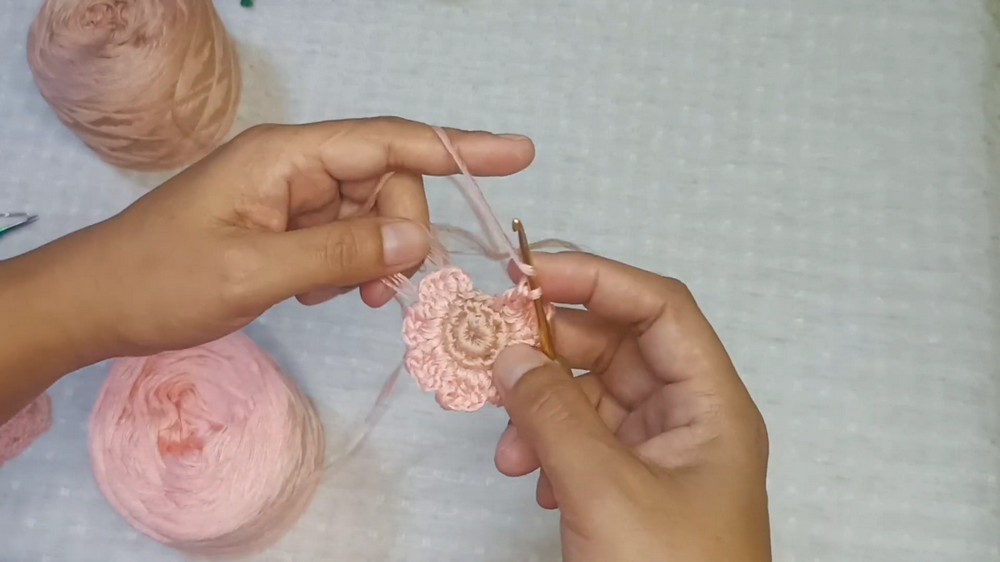
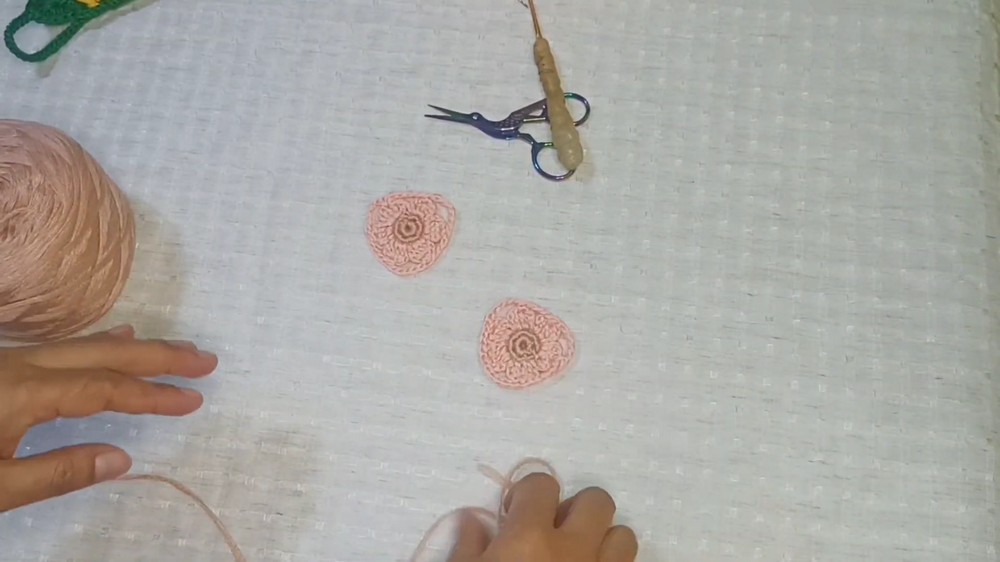
2. Creating the Sunflower Squares
The headband consists of square motifs resembling sunflowers. Here’s how they are made:
-
Step 1: Foundation Ring
- Start with a slip knot and create a small ring using chains.
-
Step 2: Center of the Flower
- Work single crochet stitches around the ring to create a solid base.
- Increase the stitches in the second round to form a neat circular center.
-
Step 3: Flower Petals
- Change yarn to the petal color.
- Use double crochet and chain stitches to create the sunflower’s petals. Repeat this around the circle for a total of eight petals.
- Tie off any loose ends and secure the work.
The resulting motif should look like a sunflower. Repeat these steps to create a total of three sunflower squares.
3. Making the Triangle Shapes
The triangles are created to form the ends of the headband. These follow a similar design to the sunflower squares but with fewer petals:
- Create a smaller foundation ring in the center.
- Crochet six petals using the same technique as the squares.
- Add decorative edges around the triangle by using chains and single crochet stitches.
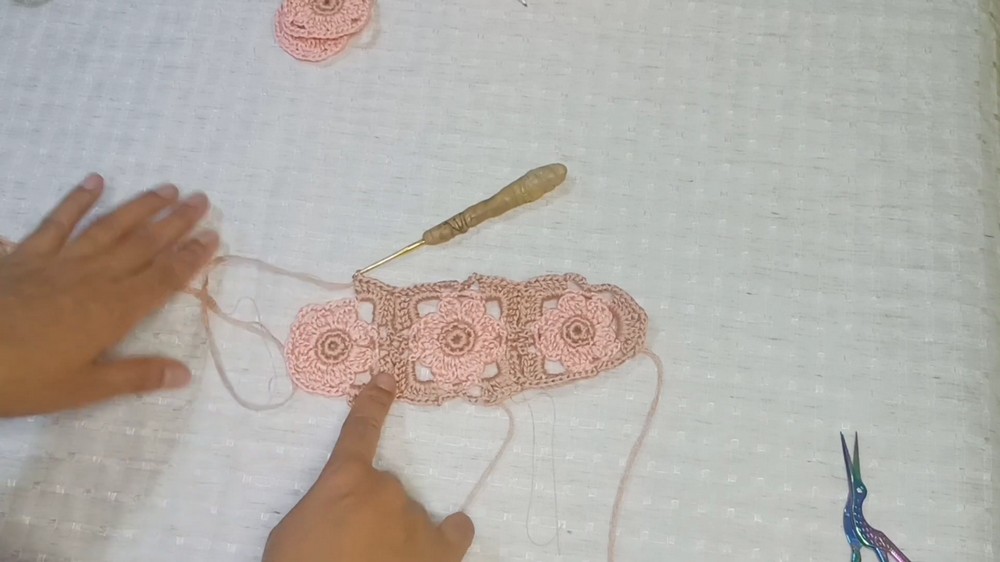
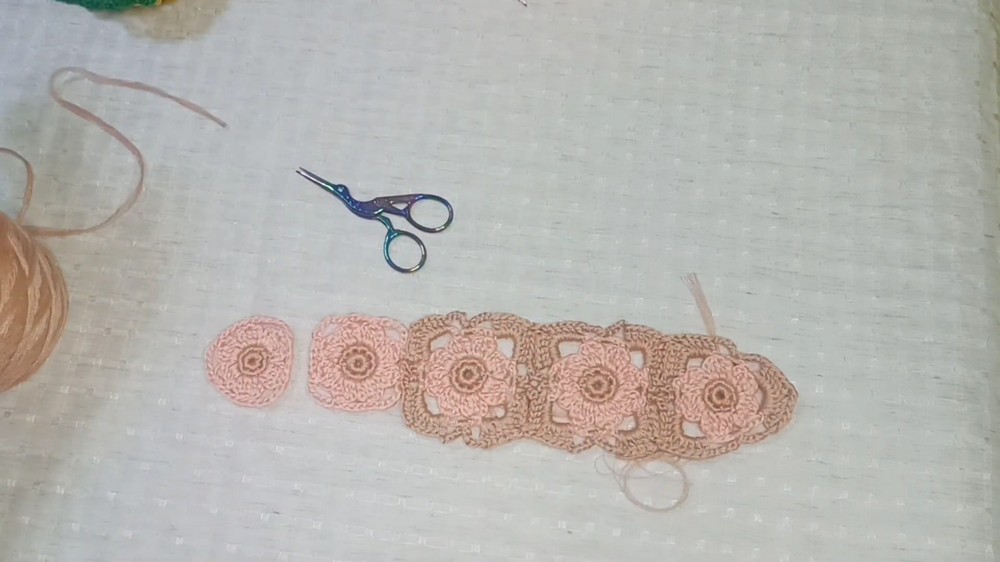
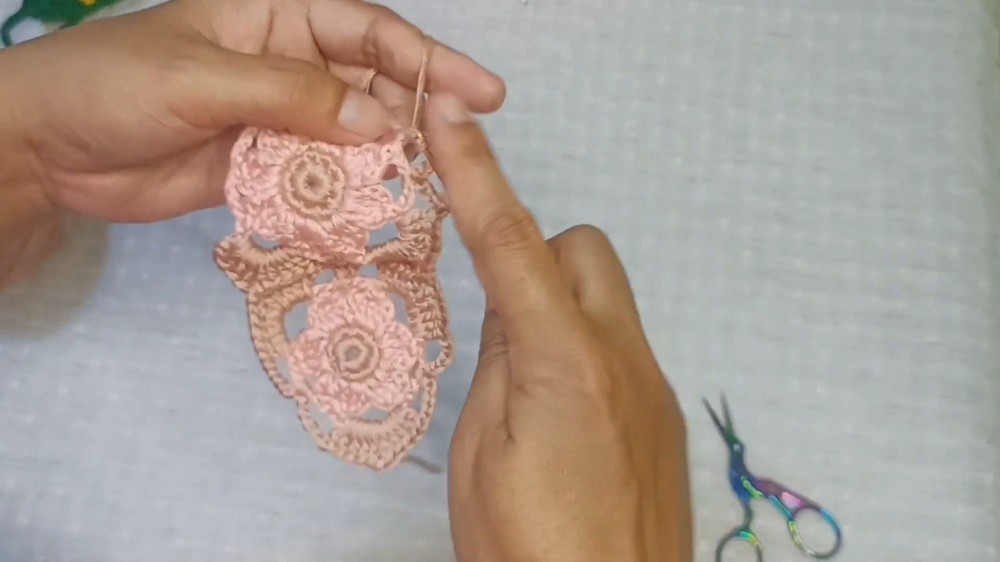
4. Joining the Pieces
Once the squares and triangles are completed, they are joined together to form the headband. The tutorial uses a “join as you go” method:
- Start by connecting two sunflower squares. Work along their edges using chains and single crochet stitches.
- Attach a triangle at each end of the headband and secure the connection.
- Repeat the process until all squares and triangles are joined.
5. Adding the Border and Ties
To complete the headband:
-
Decorative Border
- Crochet a border around the headband using double crochet stitches.
- Alternate between chains and single crochet for uniformity.
-
Ties
- At each corner, create a long chain (about 50 chains or more, depending on preference) for ties.
- Use slip stitches to reinforce the ties for durability.
6. Finishing Touches
- Hide all loose ends by threading them with a needle and securing them into the headband.
- Use a lighter (optional) to burn any frayed thread ends for a cleaner finish.
- Stretch out the piece to ensure all corners are aligned.
Final Thoughts
The tutorial concludes with the presenter showcasing the finished sunflower headband. It is estimated to be priced between $180 and $250 if sold, making it a thoughtful gift or a profitable project. The creator encourages crocheters to modify the design with different colors or accents.