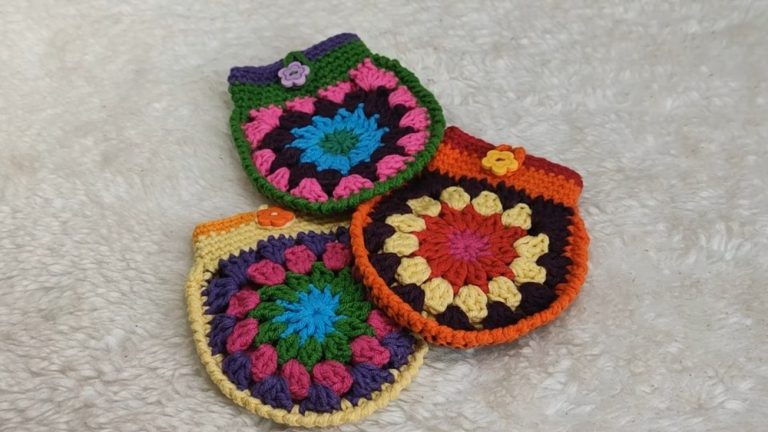
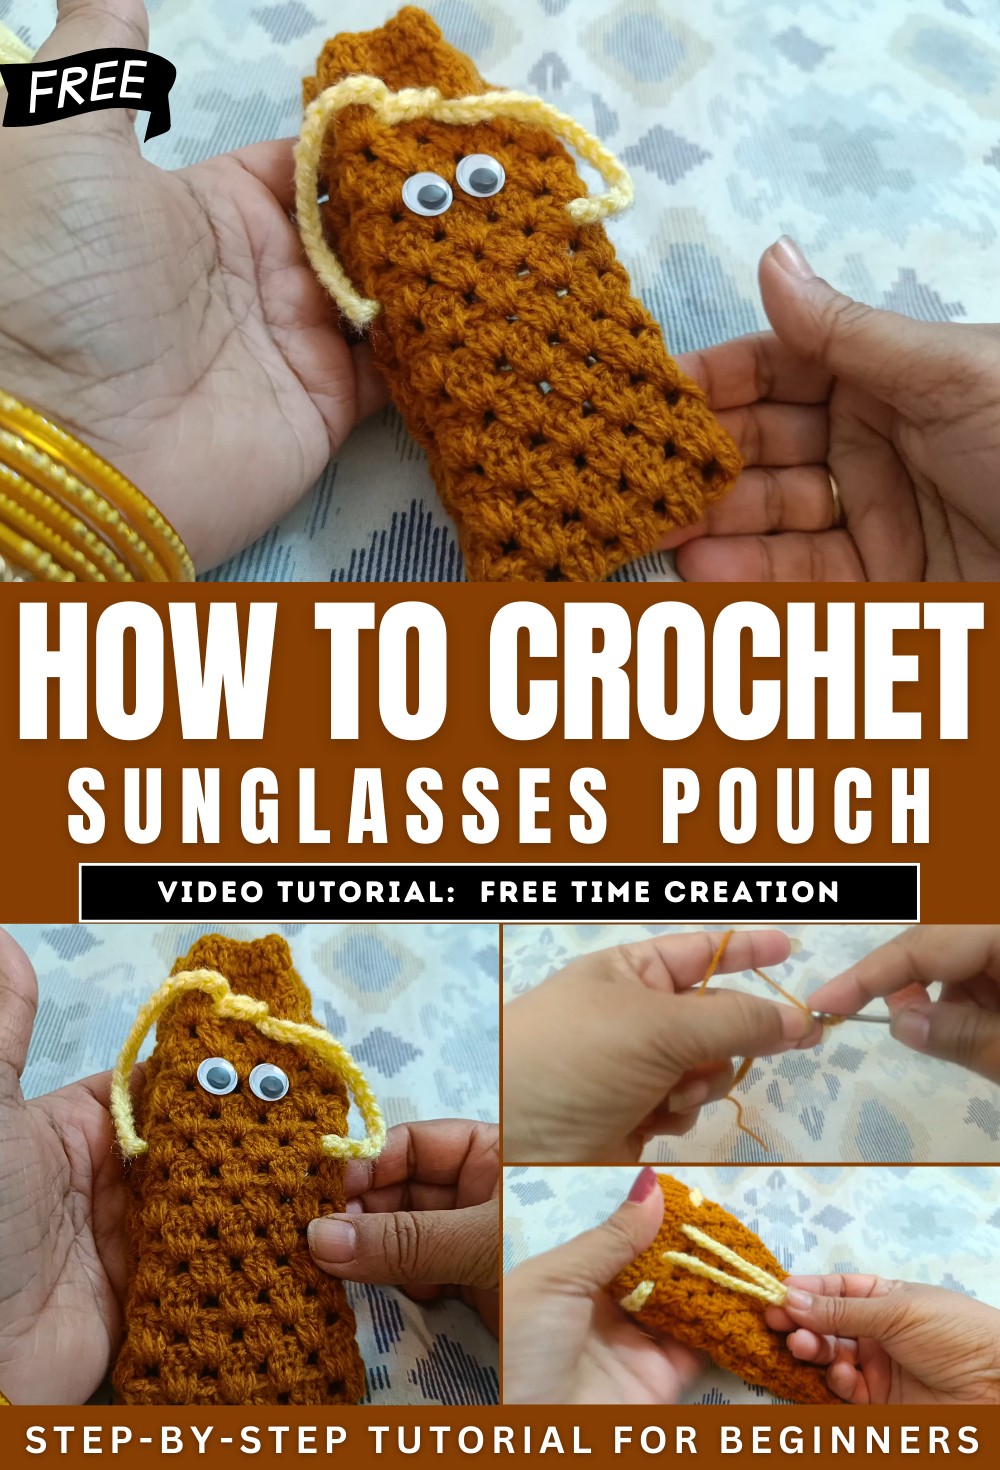
How to Crochet Sunglasses Pouch with Granny Stitch
With a step-by-step tutorial, learn how to crochet a sunglass pouch with a tutorial for beginners. The project uses two colors of yarn, and a 9mm crochet hook. The main body of the pouch is crocheted as a single flat, rectangular piece using a foundation chain and a series of double crochet stitches. A decorative pattern is created by skipping stitches and working groups of double crochet stitches.
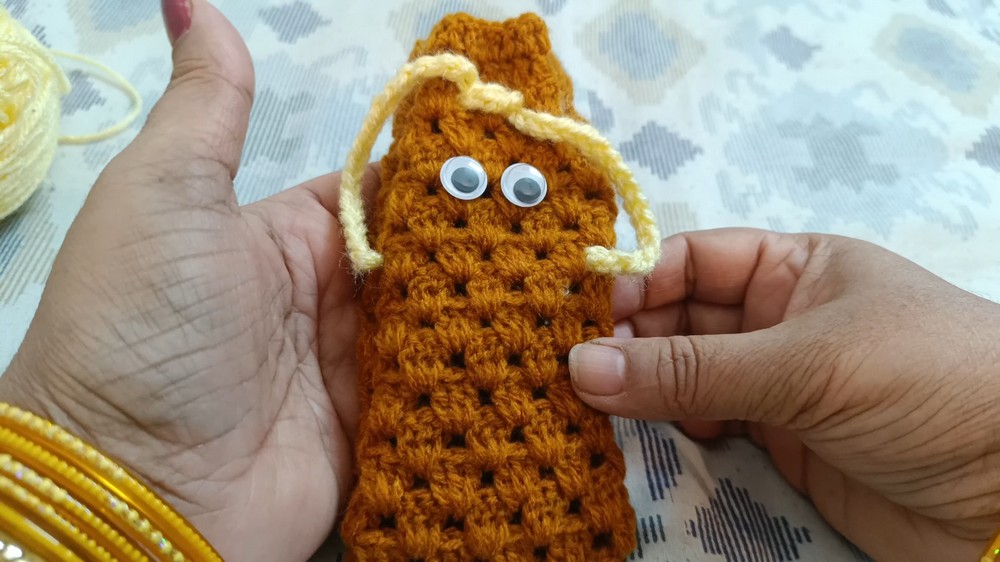
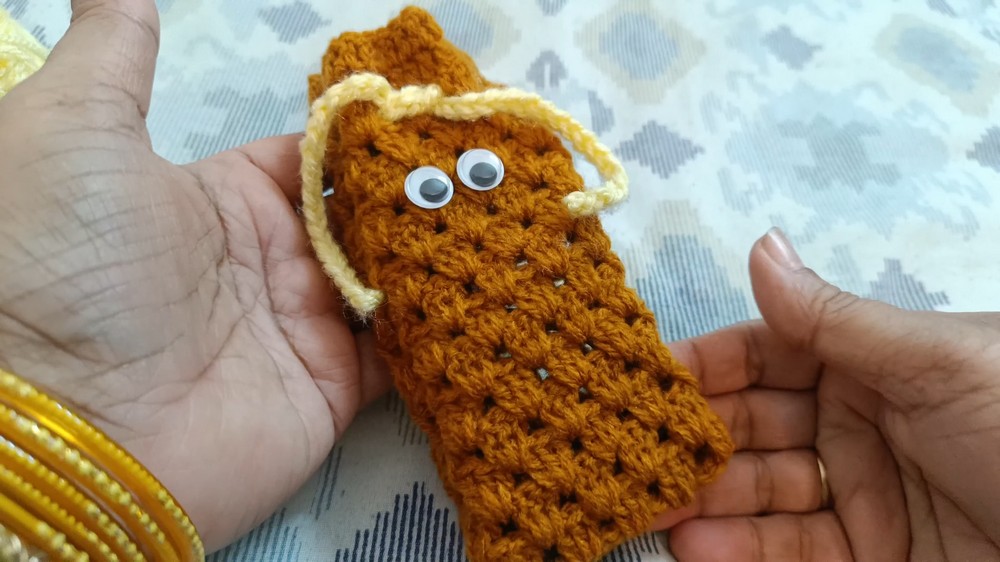
Once the main piece is complete, it is folded in half and the sides are joined together with a slip stitch. Finally, a drawstring is created from a contrasting color of yarn and threaded through the top of the pouch to close it.
The creator mentions that the pouch can be customized with embellishments like googly eyes. So, follow through with us for the complete tutorial.
Crochet Sunglass Pouch Tutorial
This video is a comprehensive tutorial on how to crochet a practical and stylish sunglass pouch. The project is designed to be straightforward, walking the viewer through each step from gathering materials to the final assembly. The pouch is created as a single, flat piece that is then folded and stitched together, making it a simple yet effective design.
Materials and Pouch Construction
The tutorial begins by outlining the necessary materials for the project. The creator uses two different colors of yarn, which allows for a nice contrast, as well as a pair of scissors and a crochet hook. This minimalist approach to materials makes the project accessible for many people.

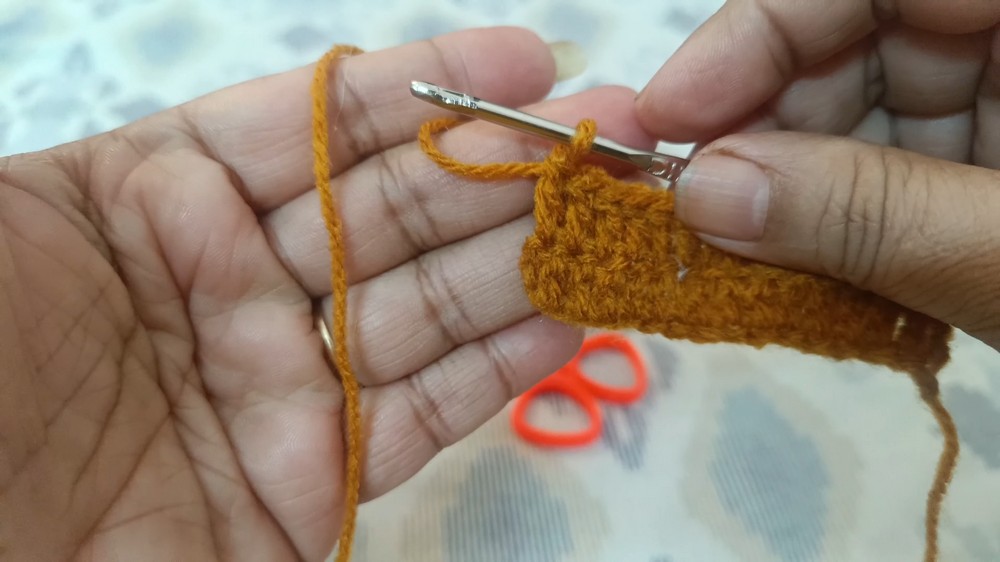
The main body of the pouch is crocheted as a single, long rectangular piece. The foundation is a starting chain, and the body is then built up with rows of double crochet stitches. This simple stitch pattern creates a solid and uniform fabric for the pouch. To add a bit of visual interest, the creator also demonstrates how to incorporate a decorative pattern.
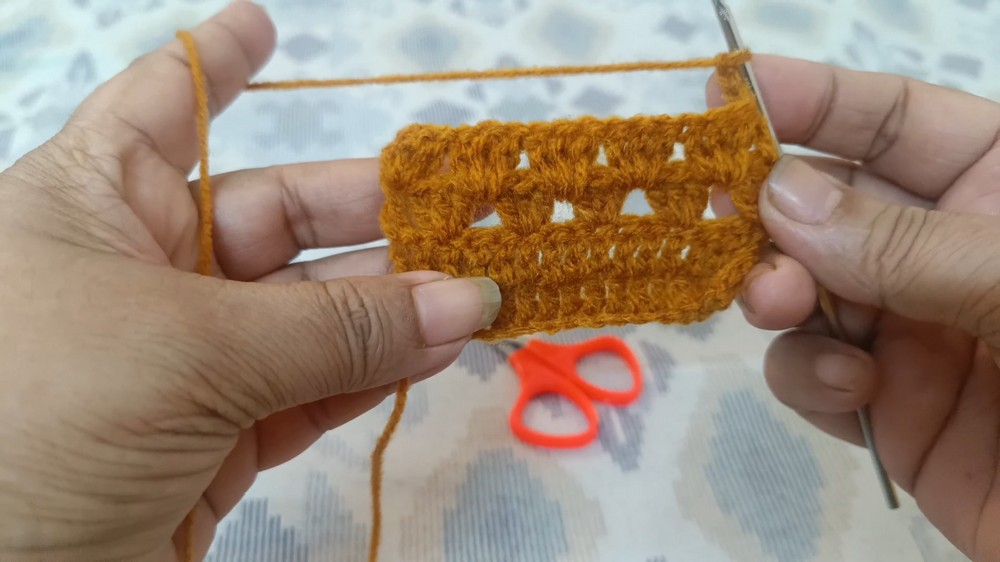
This is achieved by skipping stitches and working groups of double crochet stitches, which creates a textured and eye-catching design on the surface of the pouch. The use of a contrasting yarn color is optional but enhances the look of this pattern.
Assembly and Finishing
Once the long rectangular piece is crocheted, the assembly process begins. The pouch is constructed by folding the crocheted piece in half. The creator then shows how to join the two sides together using a slip stitch, which creates a neat and secure seam. This method of assembly is efficient and ensures that the pouch holds its shape well.
The final step in the tutorial is to add the drawstring, which allows the pouch to be opened and closed. A drawstring is created using a contrasting color of yarn. This adds another pop of color and functionality to the piece. The creator demonstrates how to thread this drawstring through the top of the pouch, which secures the opening. At the end of the video, the creator suggests that the pouch can be further personalized with embellishments, such as googly eyes or other decorations, to make it even more unique. This encourages creativity and allows the user to make the pouch their own.