How to Crochet T-Shirt Handbag for Beginners
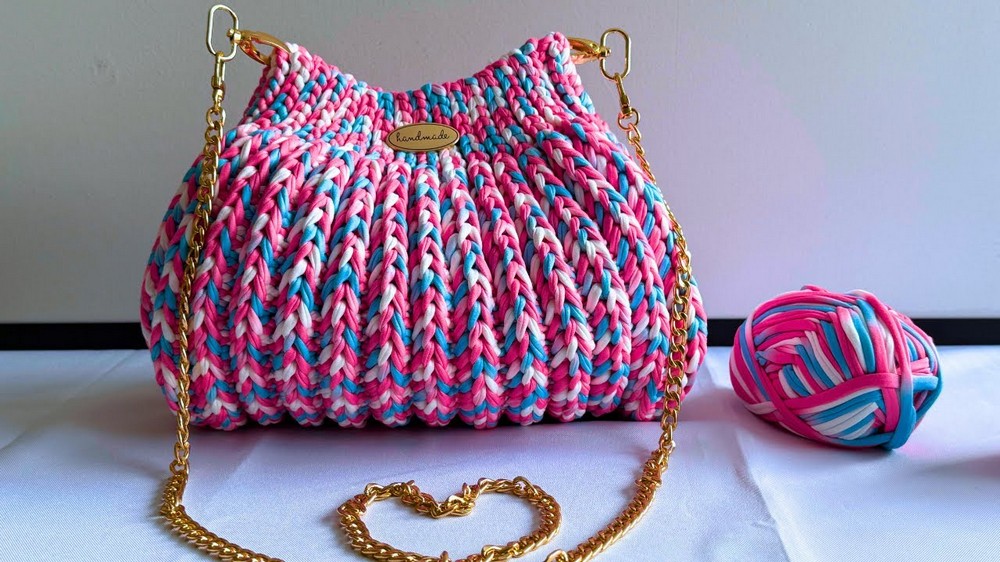
Learn how to crochet a colorful handbag using multi-colored t-shirt yarn with a step-by-step tutorial for beginners. Starting with 65 chains, the video demonstrates core techniques like slip stitches, single crochets, and back loop-only work to craft the bag’s body and sides.
The project also includes shaping through decreases, assembling with a needle, and attaching features like a gold chain, loops, a magnetic clasp, and a “handmade” tag. The result is a vibrant, functional bag that’s both unique and beginner-friendly. Follow through with us for the complete tutorial for crocheting this bag.

Crochet Handbag Pattern & Tutorial
Materials Needed
- T-shirt Yarn: Multi-colored yarn with three rolls, 32 meters per roll.
- Gold Chain: Used as the strap for the bag.
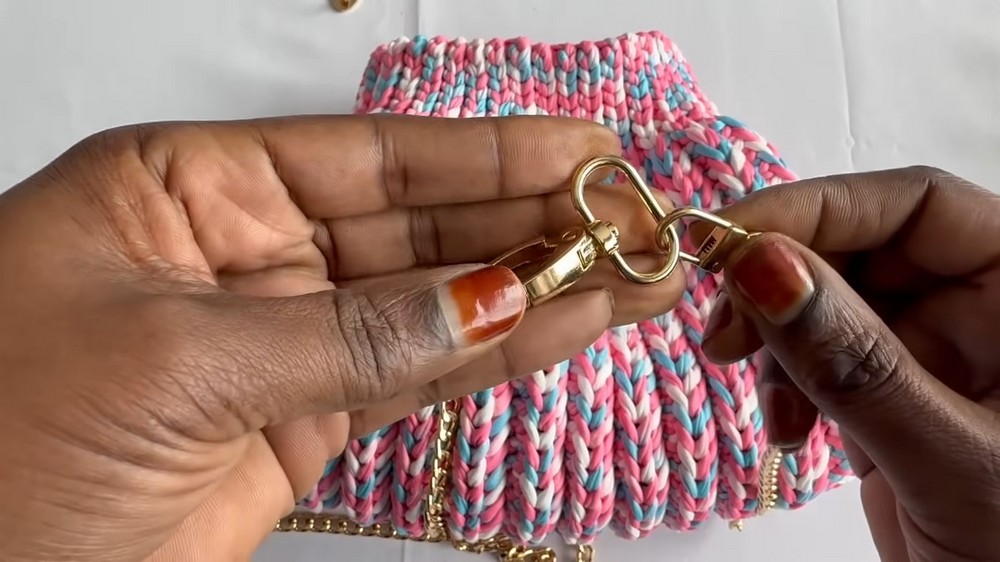
- Two Gold Loops: To attach the chain securely.
- Handmade Tag: Decorative label for the finished bag.
- Magnetic Clasp: Used to secure the bag’s closure.
- Tools: A size 6 hook, sewing needle, and scissors.
Step 1: Creating the Foundation
- Start by creating a series of chains for the foundation of the bag.
- Some chains are prepared for splits (special stitch designs), while others are worked into single crochets.
- A stitch marker is recommended to mark important points like the end of the splits to avoid confusion.
Step 2: Row Design and Techniques
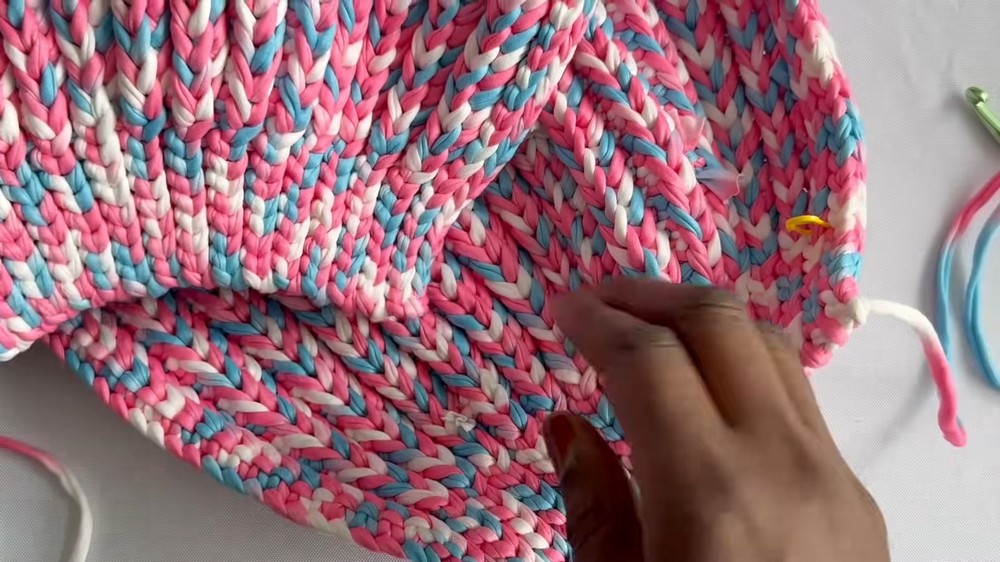
- The tutorial emphasizes working only on the back loop of stitches throughout the bag creation process.
- The design alternates between slip stitches, single crochets, and decorative splits, giving the bag a textured and elegant appearance.

- Each row begins and ends with splits, while single crochets are used for the central sections.
Step 3: Completing the Main Body
- Continue working row by row, following the same pattern of splits and single crochets while observing the design on-screen for accuracy.
- The completed main body of the bag measures approximately 31 cm in length.
Step 4: Creating the Bag’s Sides
- Start the side sections with splits and continue working on the back loop only.
- Introduce shaping techniques like quadruple decreases, where multiple stitches are reduced at once to taper and contour the sides.
- The sides are completed in two rows, and the tutorial shows how to join them using a sewing needle.

Step 5: Joining the Pieces
- Using the needle, sew the side panels together to the main body of the bag. Ensure the stitches are neat and strong to secure the assembly.
- Leave a yarn tail during cutting to assist in sewing connections between the pieces.
Step 6: Adding Finishing Touches
- Magnetic Clasp: Attach the clasp in the center of the bag’s opening for secure closure.
- Gold Chain: Before attaching the chain, thread it through the two gold loops. Sew the loops onto the corner sides where the panels were joined.
- Handmade Tag: Add the decorative tag to the front of the bag, choosing your preferred side.
Conclusion
This quick and straightforward tutorial results in a beautiful, handmade crochet bag with a colorful design, professional features like a magnetic clasp, gold chain, and a stylish handmade tag. The techniques showcased make this project suitable for beginners while still achieving an elegant finish.