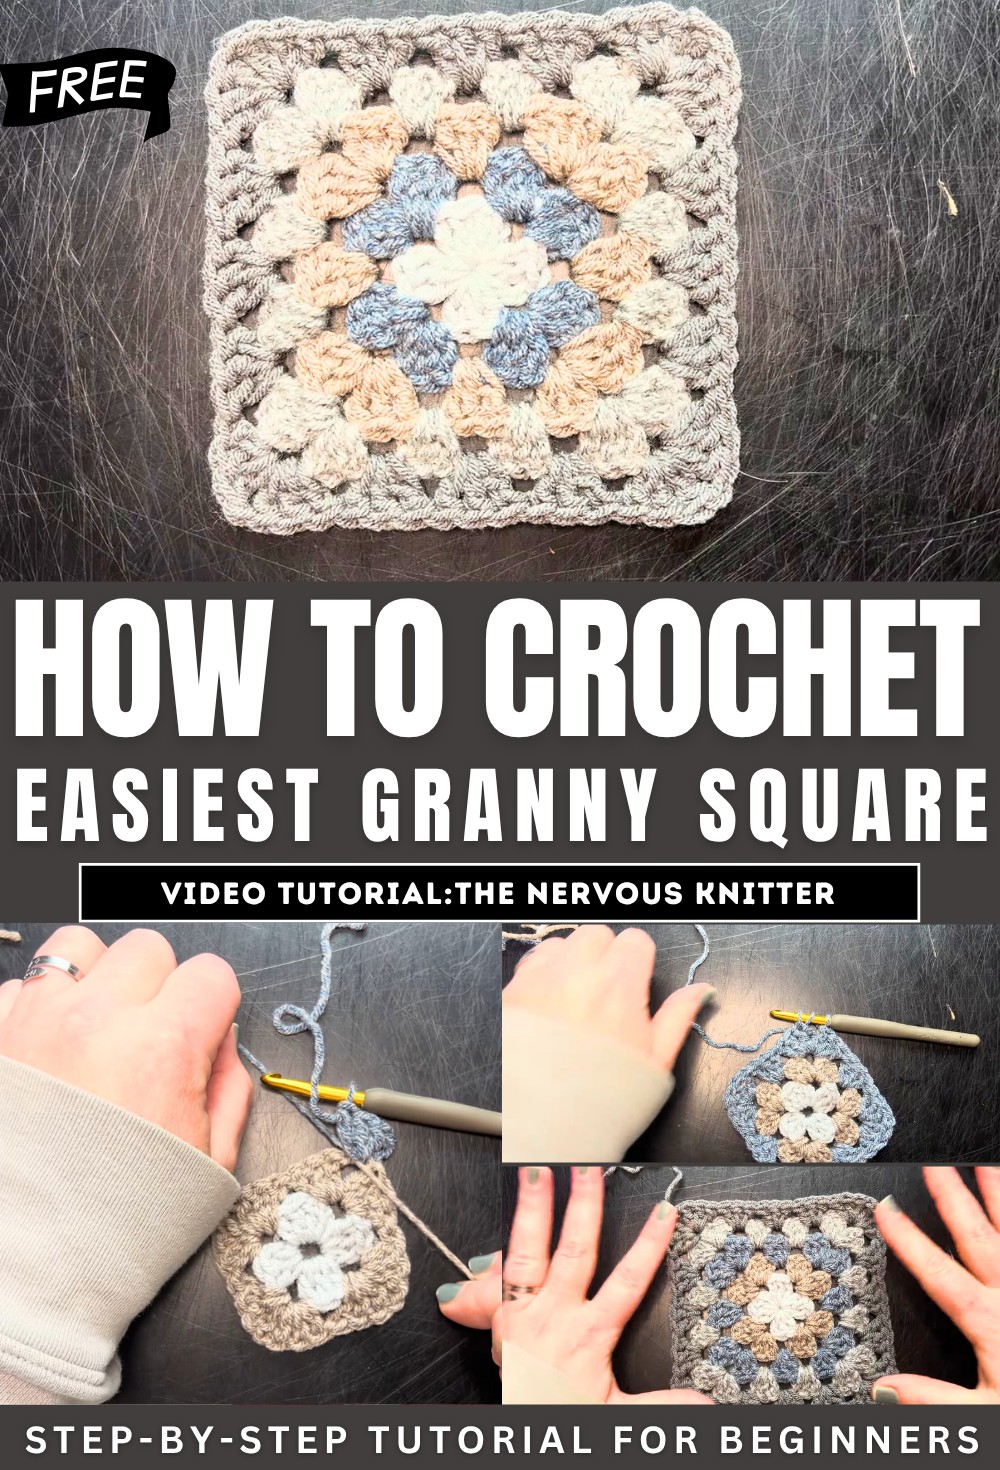
How to Crochet the Easiest Granny Square Ever
Learn how to crochet an easiest granny square perfect for beginners with a step-by-step tutorial for all skill levels. She uses affordable yarn from Dollar Tree and a 6 mm tulip hook. The step-by-step instructions cover forming a magic ring, chaining, and creating double crochets.
With clear directions and helpful tips, this tutorial simplifies the process and minimizes the need for weaving ends, making it ideal for both beginners and experienced crocheters.
How to Crochet the Easiest Granny Square
This video tutorial by Charlotte provides a detailed, step-by-step guide on how to create a simple and quick granny square. Charlotte explains the process clearly, making it ideal for crocheters with a basic understanding of stitches like the magic ring, double crochet, chain, and half double crochet. Below is a summary of the tutorial.
Introduction
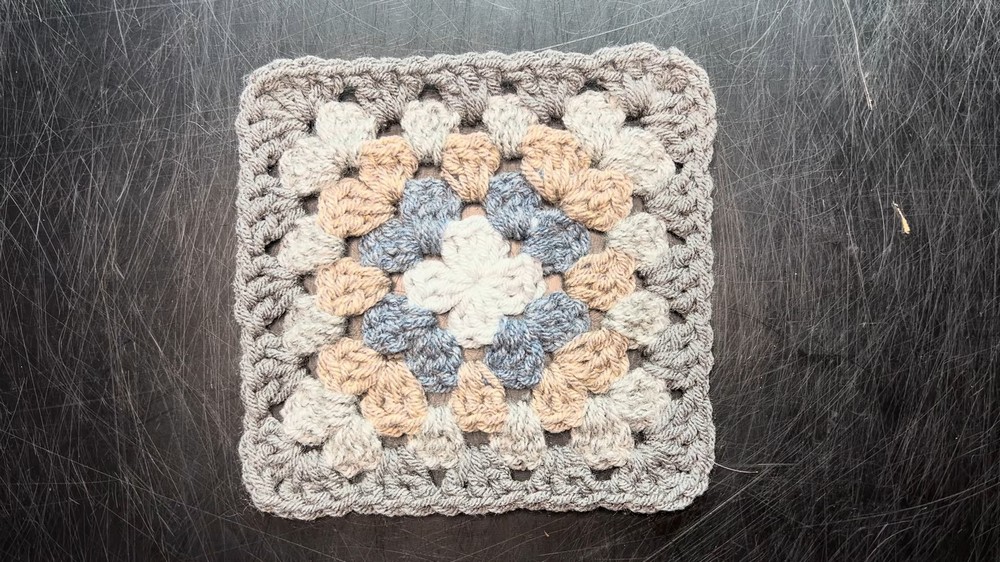
- Charlotte introduces the project as the “easiest granny square” because of its simplicity and quick progression.
- The design minimizes large gaps or holes, giving it a neat appearance.
- The granny square involves minimal weaving of ends, making it more seamless and less time-consuming.
Materials Used
- Yarn: “Just Yarn” from Premier, purchased at Dollar Tree. Charlotte uses five different colors for this project.
- Hook: A 6mm Tulip hook, her preferred crochet tool.
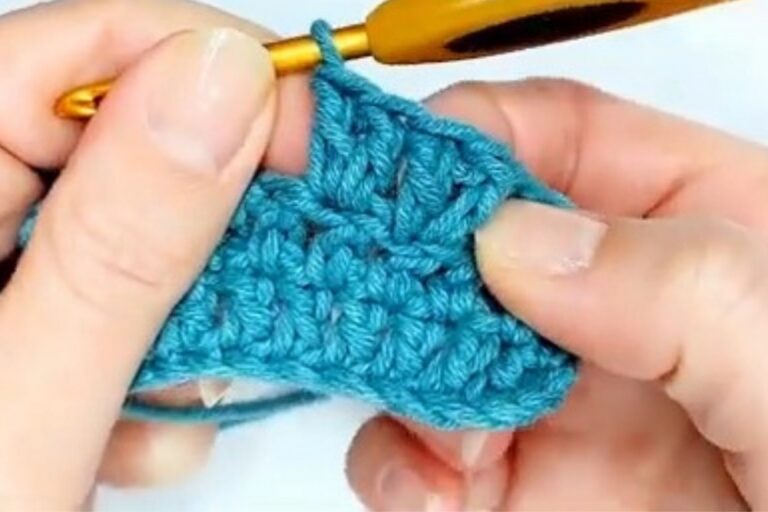
Starting the Granny Square
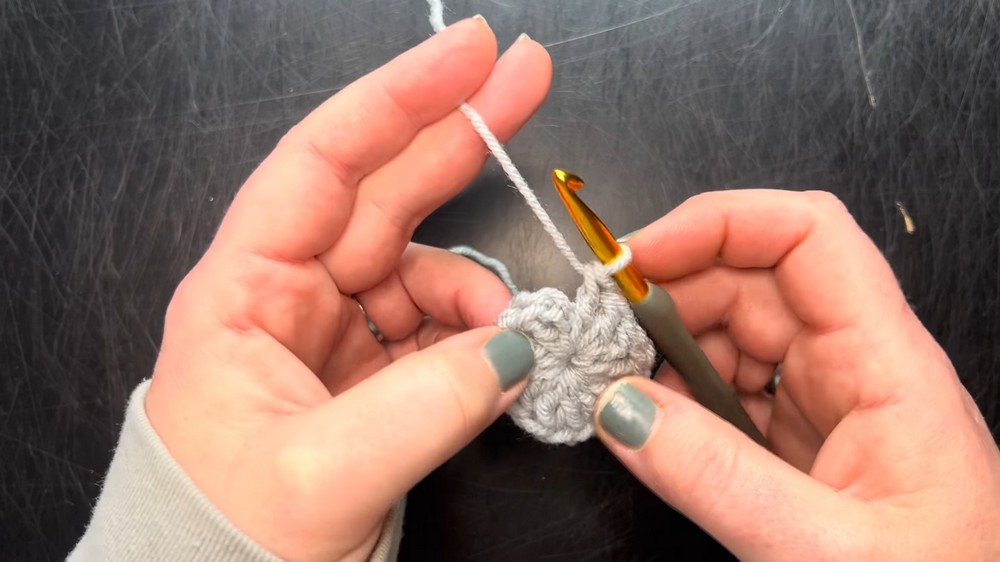
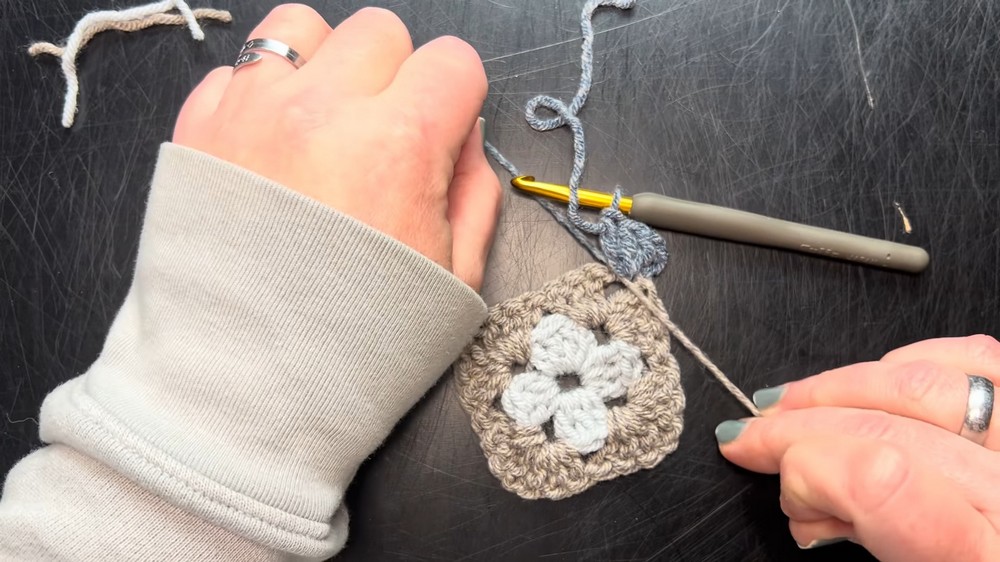
- Begin with a magic ring:
- Charlotte demonstrates using her fingers to create the loop and securing it with the hook.
- Create the center of the square:
- Use double crochet stitches to form groups of three clusters.
- Chain stitches and half-double crochets bind the clusters together.
Rounding and Changing Colors
- Joining Rounds:
- Instead of using a chain to join rounds, Charlotte prefers closing the round with a half double crochet, making the process smoother.
- Changing Yarn Color:
- Cut the current yarn and attach a new color in the same seamless way.
- Secure the new yarn by pulling both tails tightly and crocheting over them to reduce the need for weaving in ends.
Building the Granny Square
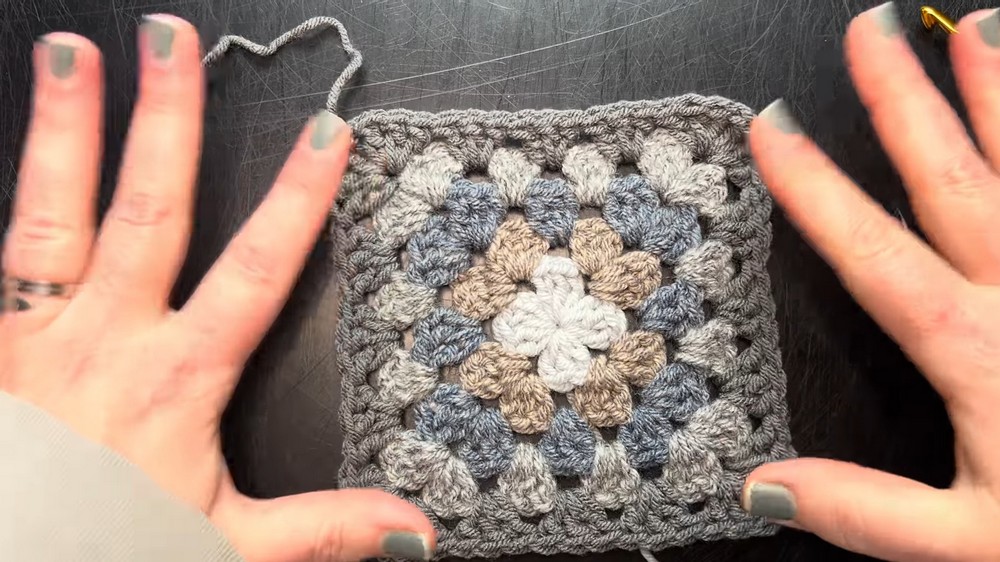
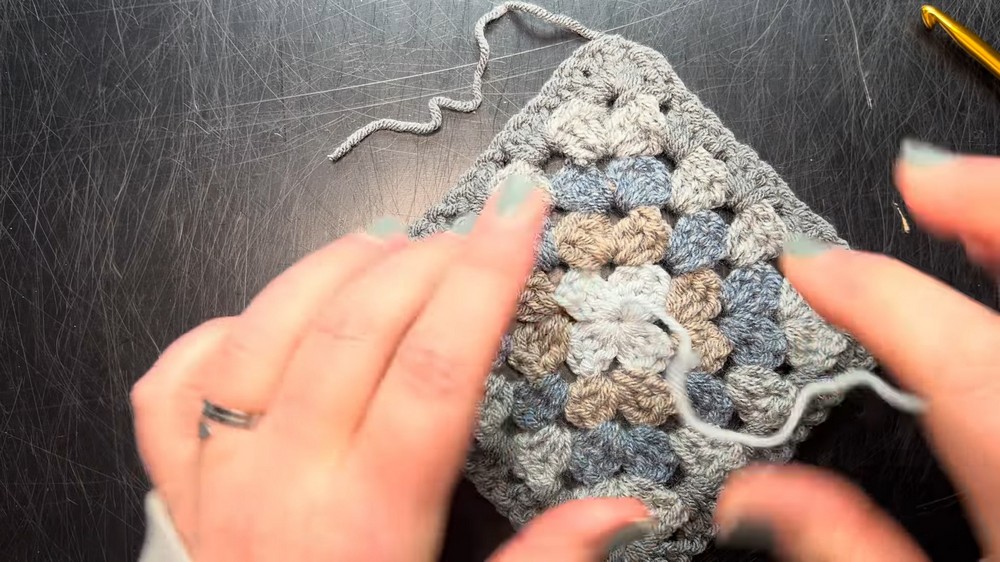
- Structure of the Square:
- The granny square is constructed in rounds with clusters of three double crochets in each space.
- Corners are formed by placing double crochet clusters, separated by a single chain.

-
- No chain is used between double crochet clusters except in the corners.
- Turning the Work:
- After completing each round, Charlotte turns the work to maintain consistent alignment and ensure there is no “right” or “wrong” side of the square.
Finishing Touches
-
Seamless Finishing:
- In the final round, a slip stitch replaces the half double crochet for joining, making the final edge clean and polished.
- Tails and ends are secured through simple knots and trimmed close to the stitches, ensuring they’re hidden beneath the square.
-
Magic Ring Adjustment:
- At the end, tighten the magic ring center for a clean and closed look.
- Only the starting and finishing strands require weaving.
Conclusion
- Charlotte concludes by emphasizing how this technique speeds up the process of making granny squares, especially due to eliminating most end weaving.