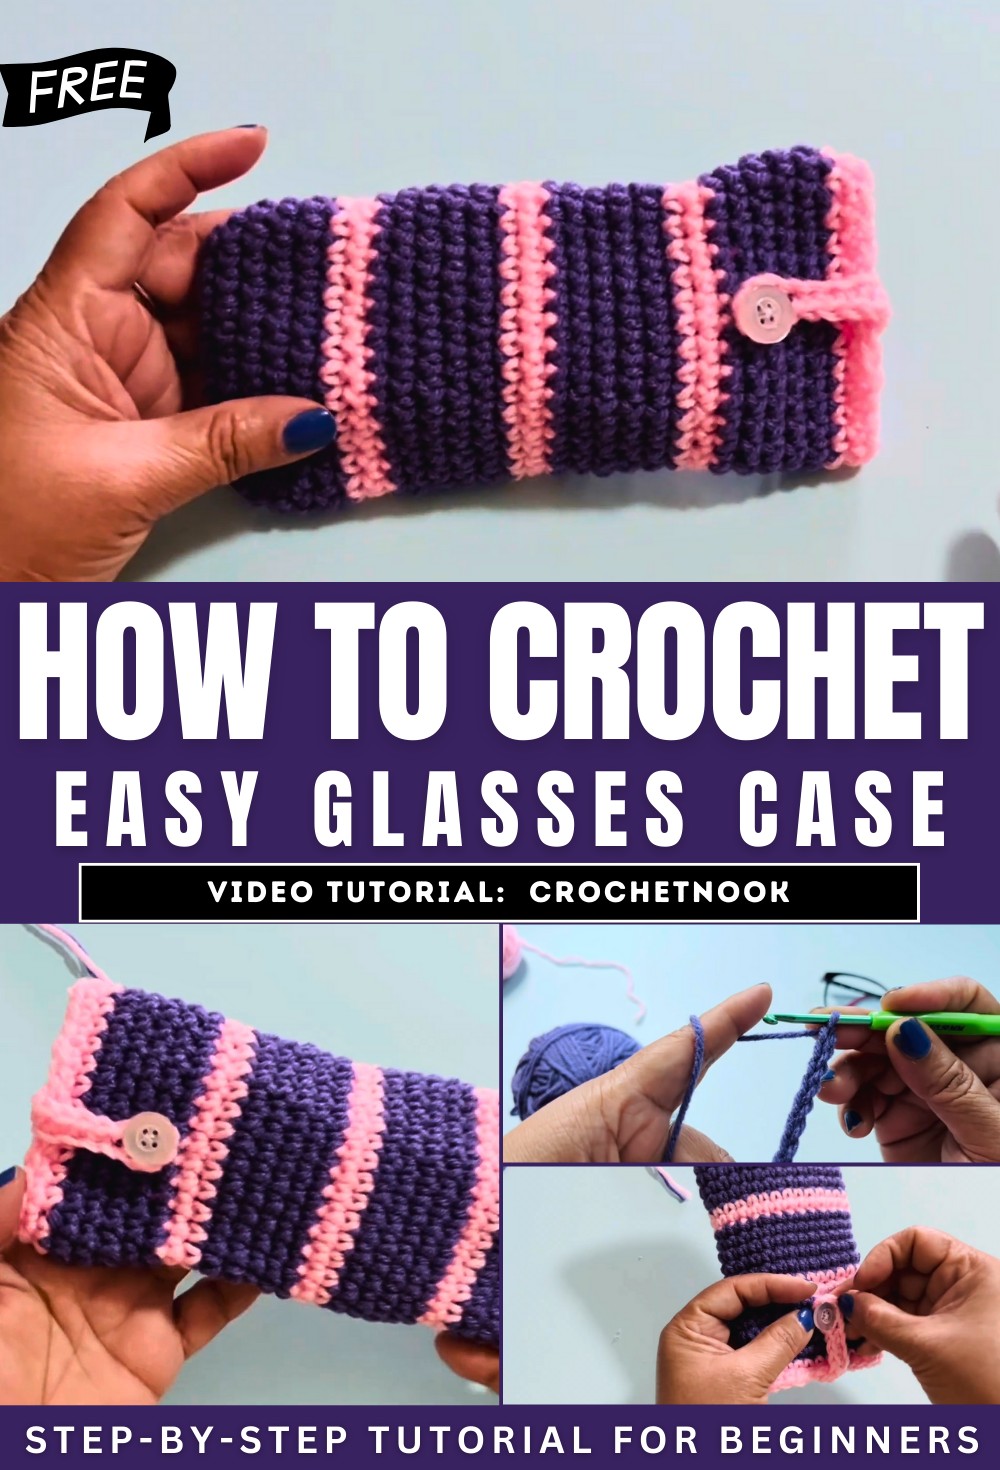
How To Crochet The Glasses Case for Beginners
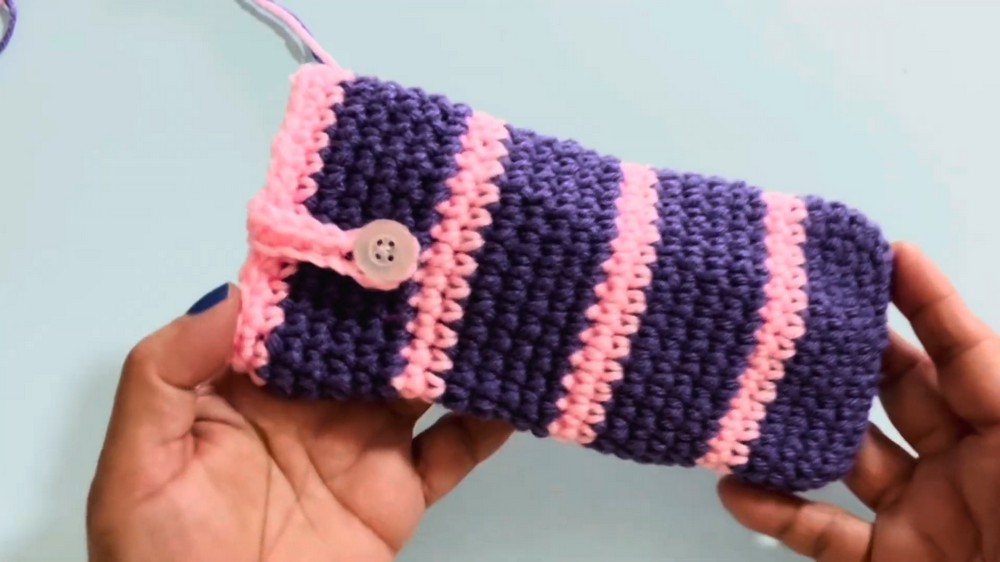
Learn how to crochet a durable and stylish crochet glasses pouch with colorwork following a step-by-step tutorial for beginners. Using two colors of four-ply yarn and a 3.50 mm crochet hook (size E), the step-by-step process ensures the pouch is thick enough to protect glasses from damage. The design includes single crochet stitches, a button closure, and an optional string for hanging.
The creator emphasizes functionality, ensuring the pouch is practical for handbags while also customizable in color or size. The project is beginner-friendly, requiring minimal materials, and is a great DIY option for keeping glasses safe and secure. So, follow through with us for the complete tutorial.
Crochet Glasses Pouch Tutorial
This tutorial provides a step-by-step guide on how to make a durable crochet glasses pouch. It is beginner-friendly and uses a simple pattern to create a stylish, protective case for glasses or sunglasses.
Materials Required
- Two colors of four-ply yarn.
- A 3.5 mm crochet hook (size E).
- A button for closure (optional).
- Needle and thread for attaching the button.
- Scissors.
Getting Started
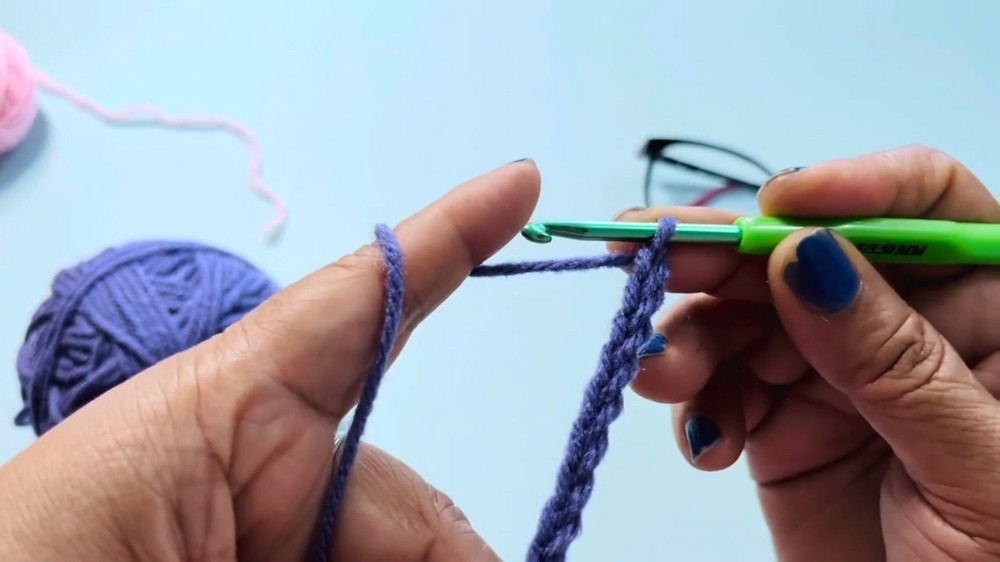
- The tutorial begins by creating a simple starting knot and making a foundation chain.
- The length of the chain is adjusted depending on the size of the glasses, ensuring a perfect fit.
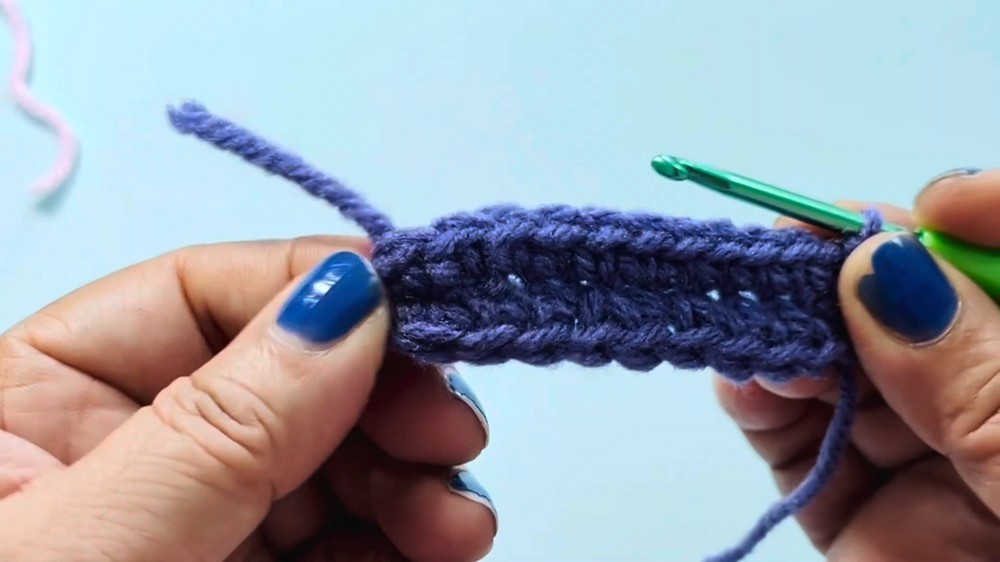
- Single crochet stitches are used as the primary technique to create a thick and durable pouch that will protect glasses from damage, even if the pouch is dropped.
Creating the Base
- After the foundation chain, the work continues in rounds to form the base of the pouch.
- The base includes increases (adding extra stitches in certain spots) to ensure it curves smoothly and evenly.
- A slip stitch is used to join the round and mark the beginning of each new round.
Building the Body
- The pouch is built up using single crochet stitches in the round.
- The creator emphasizes not increasing stitches after the base, which ensures the pouch forms a cylindrical body.
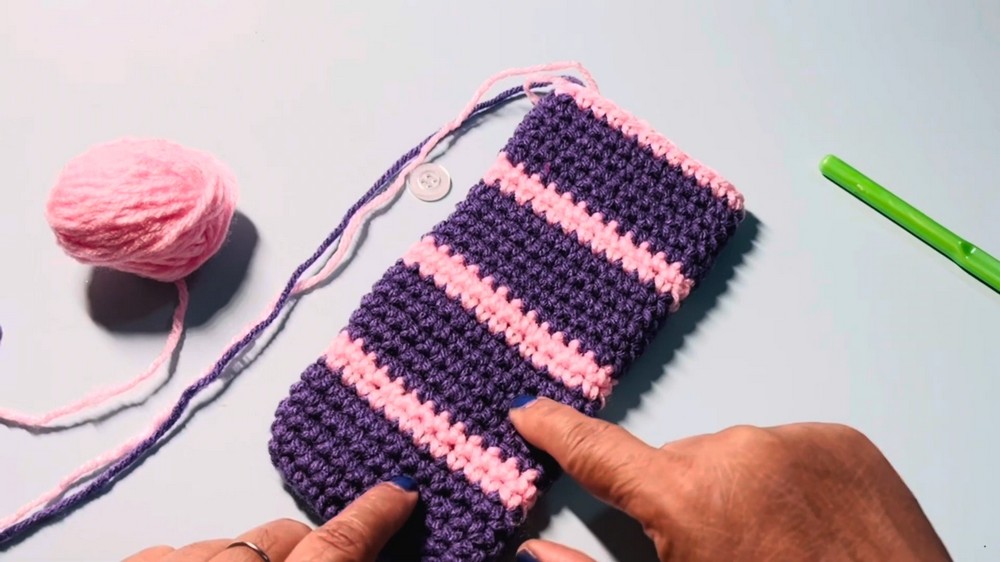
- Multiple rows are made in the first color (light purple) before transitioning to the second color (pink).
- After completing rows in the second color, the pouch returns to the first color to complete the design.
Customizing the Length
- Viewers are encouraged to occasionally place their glasses into the pouch as they work to measure the length.
- This helps ensure the pouch is the right size to fully enclose the glasses while still allowing for comfort and functionality.
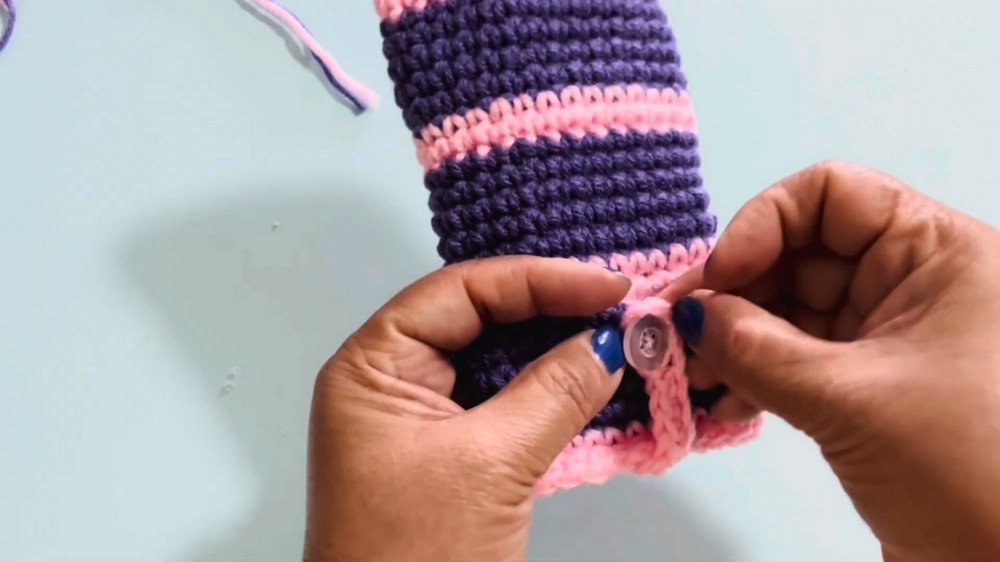
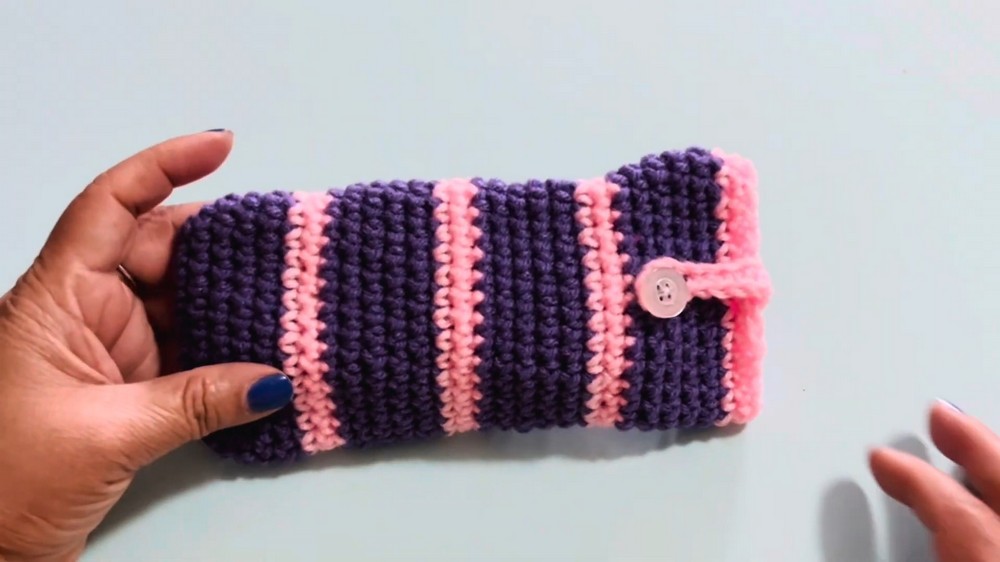
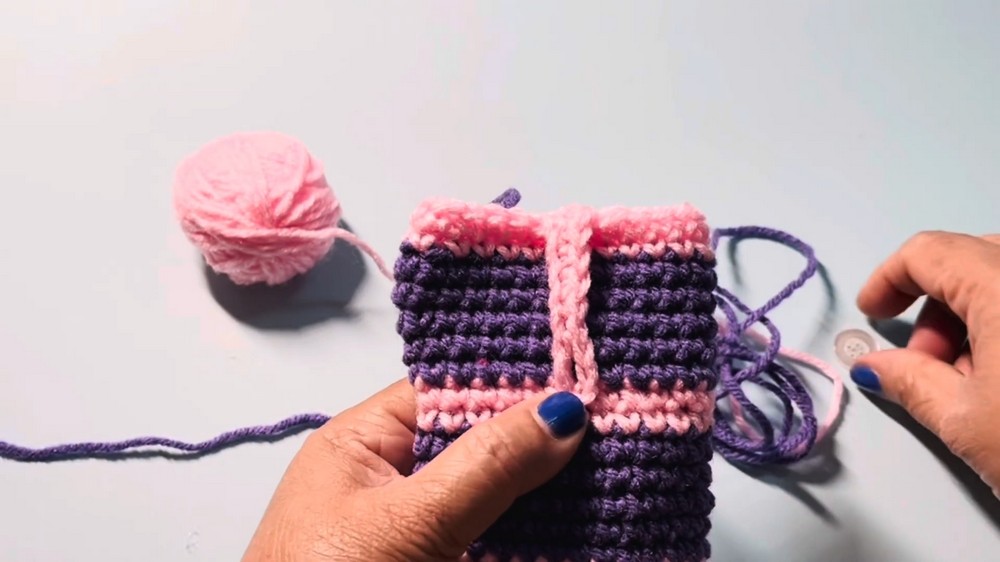
Adding a Closure
- A loop is added at the top of the pouch to act as a closure.
- This is created by chaining a specific number of stitches and securing it into place.
- A button is sewn onto the corresponding side of the pouch, allowing it to secure the flap through the loop.
Optional String for Hanging
- For those who wish to add a string to carry or hang the pouch, the tutorial explains how to crochet a long chain to attach to the pouch.
- However, this step is optional and can be skipped if the pouch is intended to be stored in a handbag.
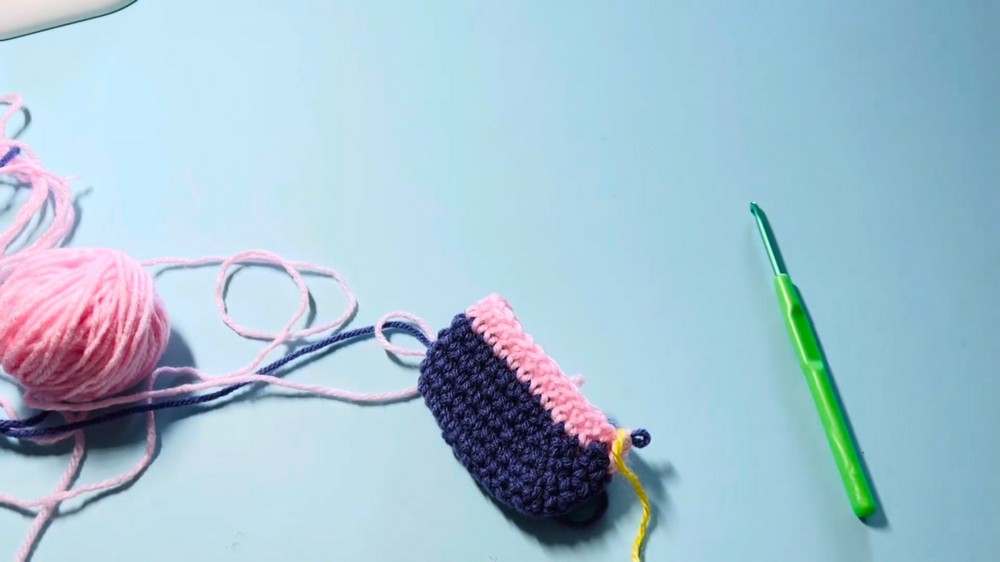
Finishing Touches
- The tutorial concludes with securing all threads, trimming the excess yarn, and tidying the pouch.
- A fancy button or alternative embellishments may be added for personalization.
- The finished pouch is shown to fit glasses snugly and offer excellent protection due to its thickness.