How to Crochet The Hearts And Rose Cardigan for Ladies

In this post, you’ll learn how to crochet Hot and Roses Cardigan by Vanessa Crochets, a customizable crochet cardigan using heart and rose granny squares. The project covers everything from stitching granny squares together to adding ribbing for a polished finish. The tutorial offers ample tips, including yarn recommendations, sleeve adjustments, and methods to ensure the cardigan fits perfectly.
Whether you’re a beginner or advanced crocheter, this video is a comprehensive resource to craft a unique and stylish cardigan.

The Hot and Roses Cardigan Tutorial
The Hot and Roses Cardigan tutorial by Vanessa Crochets is a comprehensive guide designed for crochet enthusiasts seeking to create a unique and customizable cardigan using granny squares featuring heart and rose motifs. Below is a structured summary of this tutorial, organized using headings and bullet points for clarity.
Introduction
- Vanessa welcomes viewers to her channel and introduces the Hot and Roses Cardigan.
- The cardigan is customizable regarding size, sleeve length, and overall fit (cropped, oversized, etc.).
- Vanessa shares her updates, including changes to her channel’s name and commitment to faith, and encourages viewers to subscribe and follow her work.
Materials Required
- Yarn (specific type mentioned in the video, suitable for granny squares).
- Crochet hook (size 3.5 mm used by Vanessa).
- Scissors, measuring tape, stitch markers, darning needle, and optional buttons.
Steps to Create the Granny Squares
Heart Granny Squares
- Magic Ring Set-Up: Start with a magic ring and follow techniques explained for creating heart-themed granny squares, requiring red and white yarn.
- Shaping the Heart: Instructions for creating the heart’s shape using crochet clusters and chain stitches.
- Transition to White Border: Add the surrounding border to complete the square, ensuring the heart design pops.

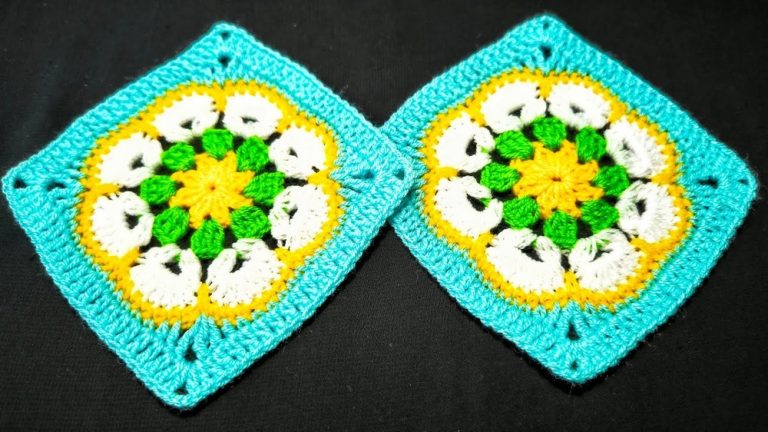
Rose Granny Squares
- Magic Ring Base: Begin with a magic ring and work on filling petals using strategic crochet techniques.
- Petal Formation: Step-by-step guidance on creating layers of petals in alternating rows.
- Finalize Borders: Add green yarn for leaf-inspired edges and complete the granny square.
- Vanessa alternates the squares but leaves it up to viewers to customize patterns as desired.

Construction of the Cardigan
Panel Assembly
- Back Panel: Consists of 5×4 squares arranged.
- Front Panel: Composed of 4×2 squares laid out for each side.
- Sleeves: Constructed using 3×3 squares per sleeve.

Joining the Squares
- Vanessa uses sewing techniques (front loop stitching) to assemble the squares. Other joining methods like single crochet or slip stitching can also be used.
Ribbing Design
Sleeve Cuffs
- Ribbing is made with front and back post double crochet stitches for elasticity.
- Vanessa crafts two cuffs measuring 6 rows each and attaches them to the sleeves using a stitching method to cinch oversized sleeves.

Bottom Ribbing
- Detailed process of adding elastic ribbing to the cardigan’s base.
- Uses front and back post ribbing for six rows.

Middle Ribbing
- Similar techniques are applied to the panel edges, creating a polished look with provisions for optional buttons.
Final Assembly
- Pieces are sewn together to form the final cardigan.
- Vanessa organizes sewing directions to ensure proper alignment and fit.