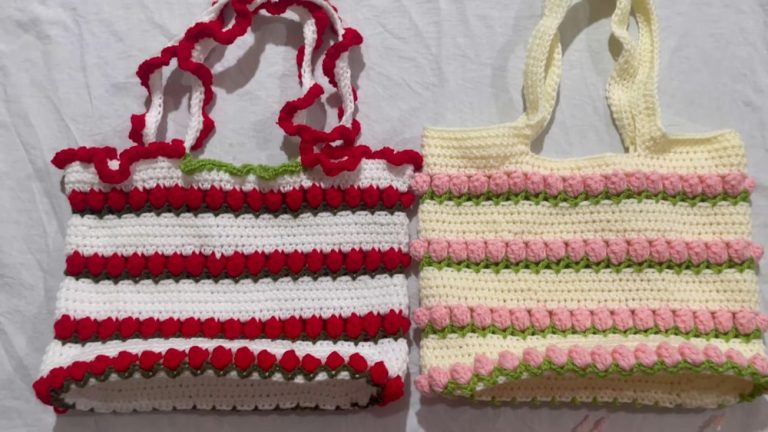
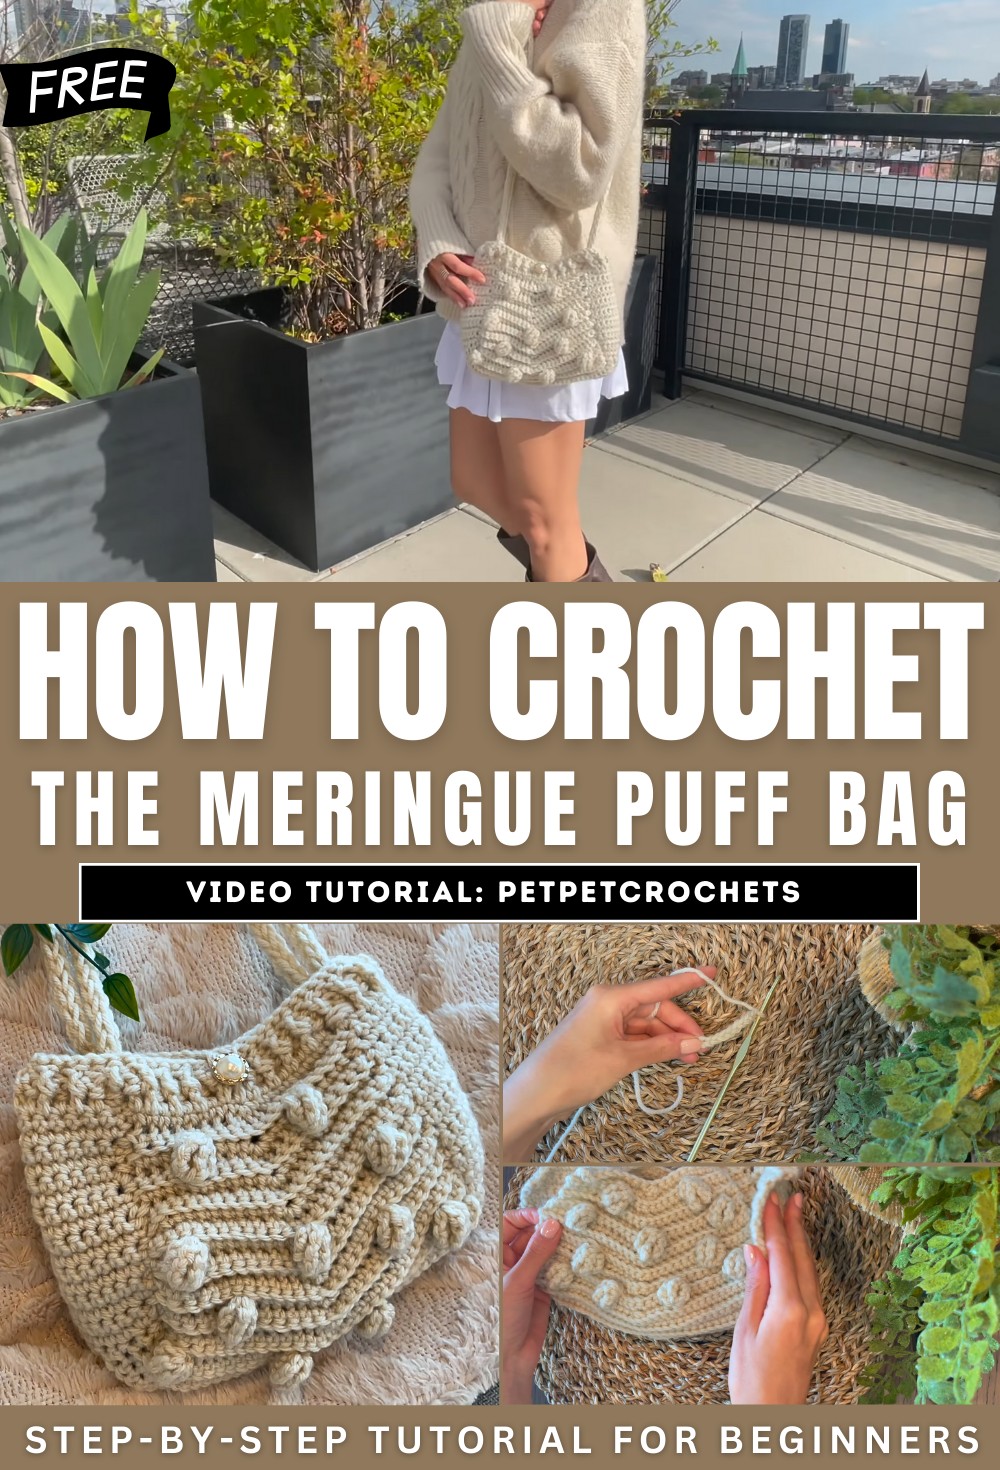
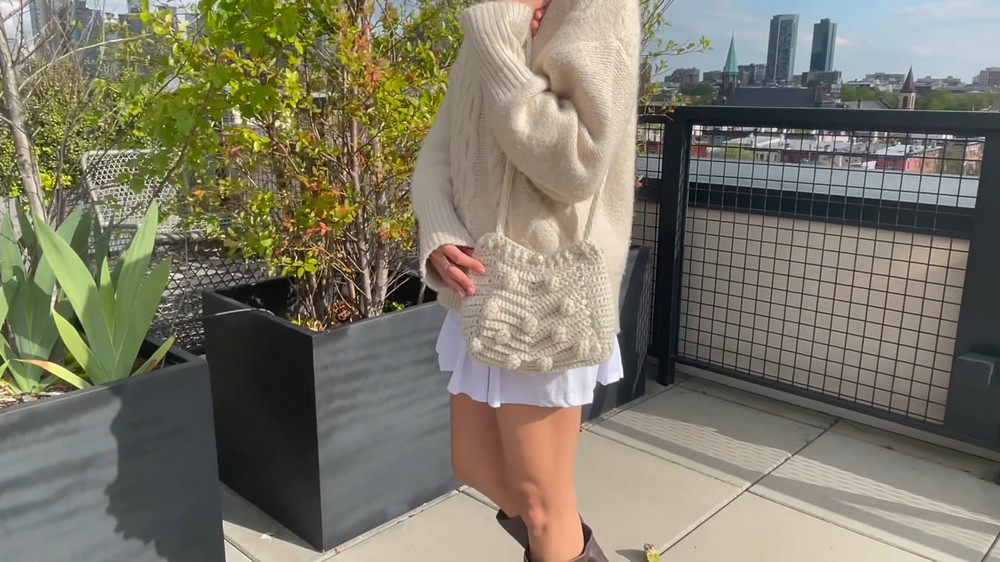
How to Crochet the Sweetest Crocheted Bag You’ve Ever Seen

With a step-by-step tutorial, learn how to crochet a beautiful meringue puff crochet bag with a tutorial for beginners. Using a 4.5 mm and 3.75 mm hook, weight four acrylic yarn, and simple tools, the process involves crocheting the panels, adding intricate bobbles, and constructing handles using an i-cord technique.
A detailed explanation is provided for stitching all components together, including the addition of a pocket and optional button closure.
The clear step-by-step instructions make it accessible for crochet enthusiasts to recreate this versatile and stylish bag for any occasion. So, follow through with us for the complete tutorial.
Sweetest Crocheted Bag Tutorial
Peppa Crochet introduces a tutorial on crocheting the Meringue Puff Bag for beginners. Tools and materials needed include two crochet hooks of different sizes, acrylic yarn, scissors, stitch markers, a darning needle, and, optionally a button with a sewing needle and thread.
Starting the Project
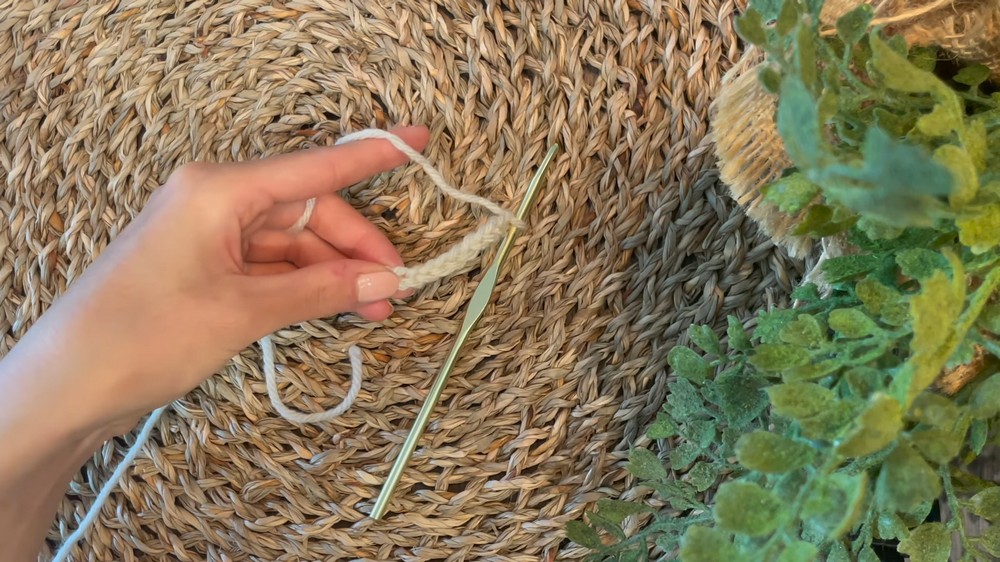
- Begin by making a slip knot using a 4.5 mm hook.
- Create an uneven number of chains that determine the size of the bag.
Single Crochet Technique
- Identify the middle stitch of the chain and mark it with a stitch marker.
- Utilize the front loop single crochet method up to the stitch marker.
- At the stitch marker, create an increase by working three single crochets into the same loop.
Building Rows
- Turn the work, and apply single crochets into the back loops for the next row.
- Increase every other row to gradually enlarge the piece.
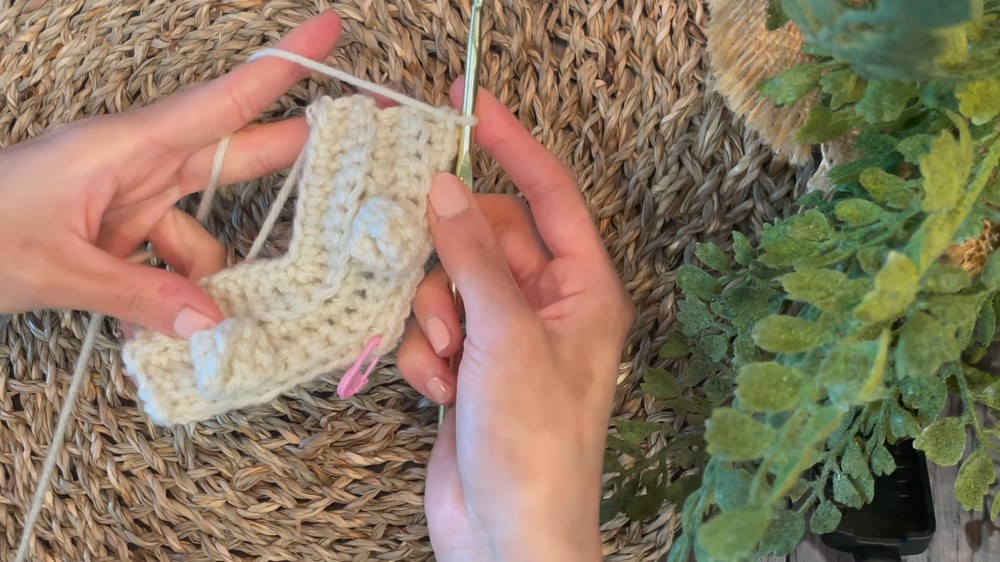
Adding Bobbles
- Introduce bobbles for texture.
- Follow a specific pattern sequence to achieve the desired shape.
- Stitch markers help to maintain alignment of the bobbles with the rest of the design.
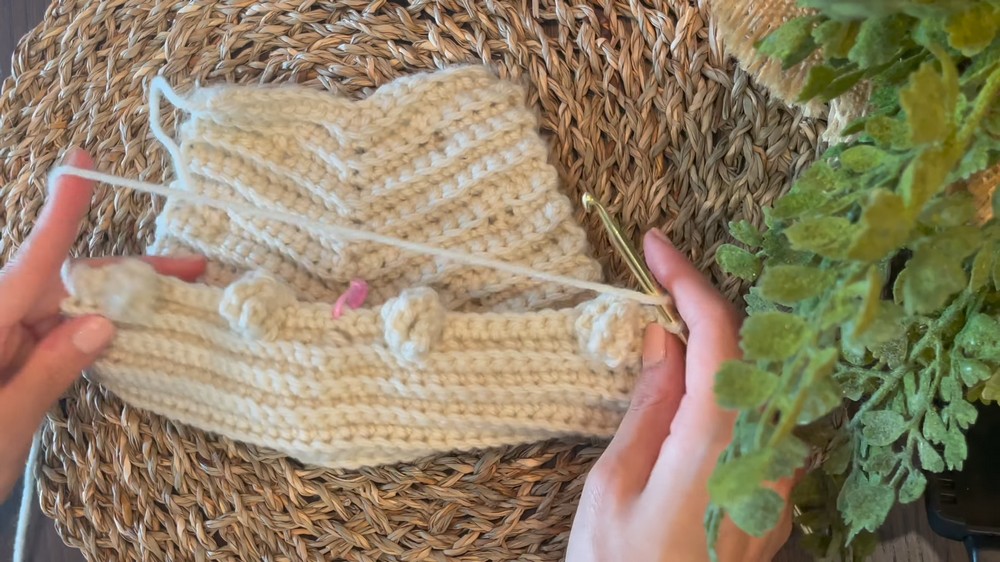
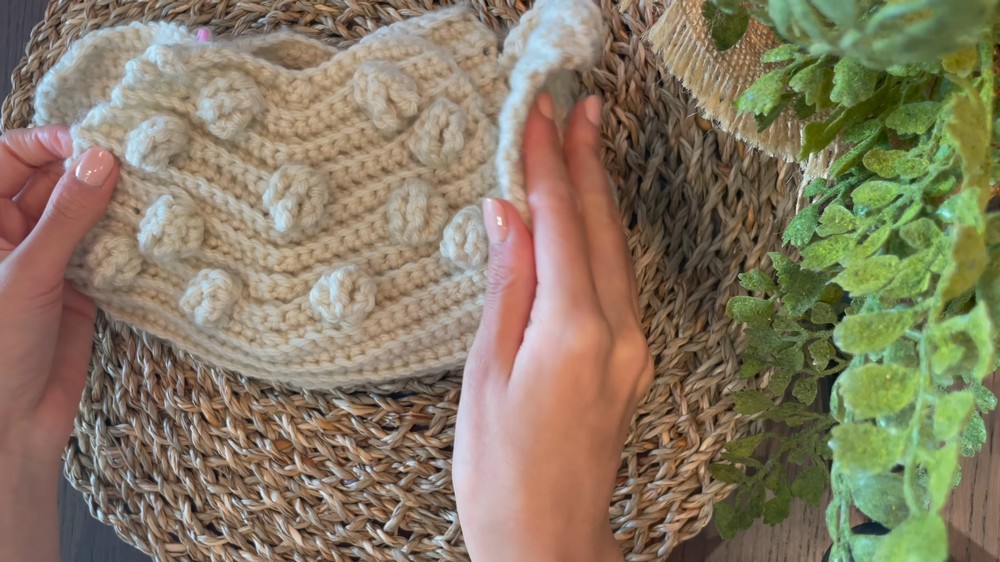
Creating the Bag Panels
- Alternate between increasing rows and non-increasing rows.
- Implement a pattern of bobbles based on four-row sequences.
Bottom Portion and Side Panels
- After completing anterior and posterior sections, establish the bottom portion with nine rows of single crochets.
- Construct side panels, ensuring alignment with previous work by marking the extremities of the nine rows.
Pocket Creation
- Utilize a smaller hook for making the inner pocket using foundation single crochet stitches.
- Measure against the bag to ensure the desired width and length.
- Attach the pocket with a neat finish using stitches along its edges.
Assembly
- Attach the panels together by turning the bag inside out.
- Align the side panels with the main body and secure with single crochet stitches.
- Utilize extended yarn threads from previous steps for sewing the sections together.
Top Finish
- For closure, employ double crochets around the top and secure with slip stitches.
- Optional slip stitch row for a tighter finish.
Strap Attachments
- Design bag straps using the i-cord method, ensuring durability.
- Secure straps by attaching them through double crochet spaces or sewing for extra support.
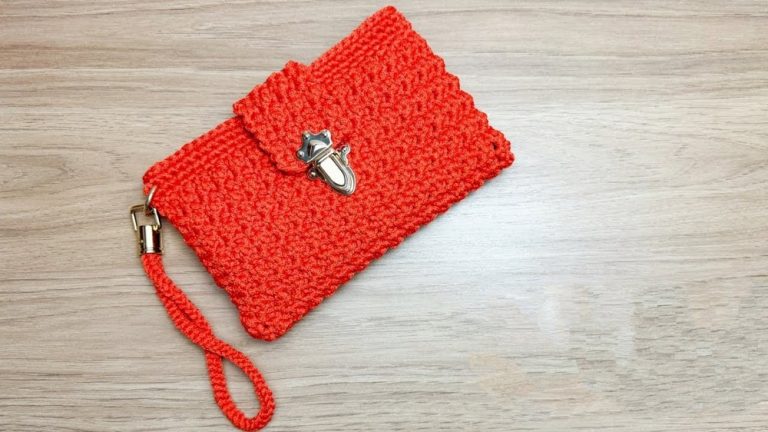
Completion
- A button or closure is added for functionality and aesthetic.
- Final touches include securing loose yarn ends and ensuring sturdiness of the attachments.
This comprehensive approach covers the entire process, from beginning and constructing the bag to final assembly and decorative touches, without specifying stitch counts. Feel free to ask if you need any more details!