How to Crochet Tweety Amigurumi for Kids

In this Nostalgia in Yarn post, you’ll learn how to crochet an amigurumi version of the classic cartoon character, Tweety perfect for beginners. Using primarily candy yellow and egg yolk yarn, stuffing, and a crochet hook, the tutorial offers step-by-step instructions to craft Tweety’s feet, body, and distinctive features.
The amigurumi has attention to detail and provides tips on customizing elements like the eyes and beak. The tutorial not only showcases technical skills but also invites viewers to enjoy the creative process, ensuring the finished Tweety amigurumi is both adorable and rewarding. So, follow through with us for the complete tutorial.

Tweety Amigurumi Tutorial
This tutorial walks crocheters through the process of creating an adorable Tweety Bird Amigurumi as part of the “Nostalgia in Yarn” series. The creator shares detailed instructions, helpful tips, and techniques for crocheting Tweety, making the project suitable for beginners as well as those with intermediate crochet skills. Here’s a structured summary of the tutorial:
Introduction
- The video is part of the “Nostalgia in Yarn” series featuring beloved childhood cartoon characters.
- After completing Captain Caveman in a previous tutorial, this lesson focuses on creating Tweety Bird as an amigurumi.
- The instructor emphasizes the cuteness and pride of completing this crochet project, regardless of whether participants are fans of the character.
Materials Required
- Yarn: Candy yellow, egg yolk, or other shades of yellow and orange.
- Tools:
- A 2mm crochet hook
- Scissors
- Tapestry needle
- Additional Supplies: Stuffing and materials for making the eyes (Eva foam, felt, or paint).
Step-by-Step Instructions
Feet
- The tutorial begins with crocheting Tweety’s feet. The instructor provides clear directions on creating the feet, shaping them, and adding stuffing to give them structure.
- Tips for adding stitches, handling chains, and working small areas are explained to ensure the detailing is complete.

Legs
- Using a seamless technique, the legs are added to the feet. Bright orange yarn is used for this section, and the legs are built row by row.
- The creator highlights the importance of checking stitch counts after each round for accuracy.
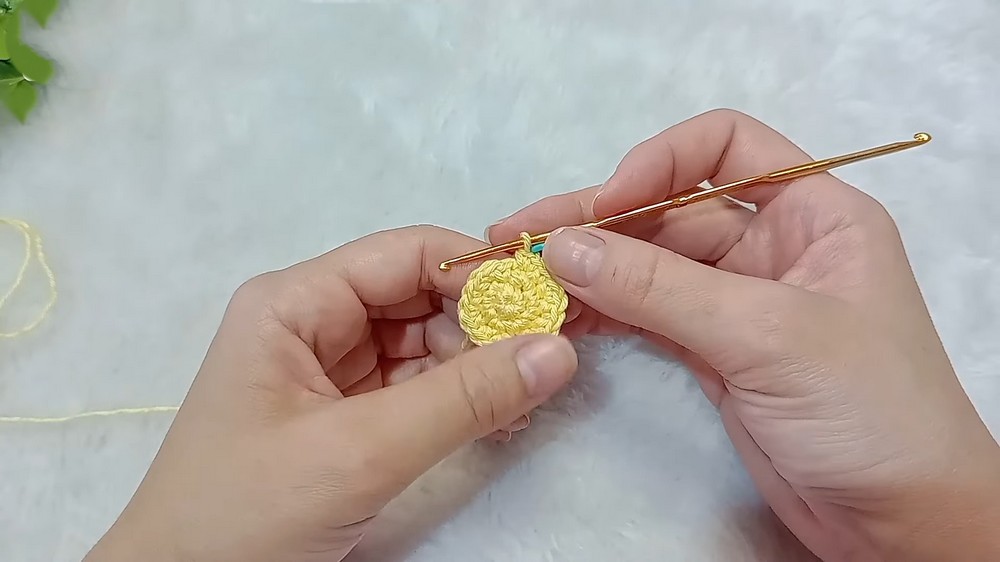
Body
- Next, Tweety’s body is created using a magic ring as the base.
- Instructions for shaping the body include switching yarn colors and carefully adding increases, decreases, and stuffing.
- The stuffing is adjusted with care to avoid distorting the stitches or making the final design appear uneven.
Arms and Tail
- Patterns for the arms and tail are detailed on-screen for convenience.
- The arms are closed before attaching them to the body using pins to ensure proper positioning.

Facial Features
Beak
- A separate section of the tutorial walks viewers through creating Tweety’s beak with a small piece of yarn, a crochet loop, and strategic stitches.
- The beak is attached securely, with tips for hiding loose ends and securing the placement.

Eyes
- The video showcases options for crafting the eyes:
- Felt: Layer white, blue, and black felt to mimic the design.
- Eva Foam: Paint the foam with acrylic paint for durability.
- Embroidery: Stitch the eyes on fabric and attach them to the face.
- The instructor provides measurements and tips for painting or cutting the materials to achieve precise designs.
Eyelashes and Eyebrows
- Black thread is used to create Tweety’s eyelashes and eyebrows.
- Pins help map out placement for even alignment, ensuring the character’s signature expression comes to life.

Final Assembly
- The legs, arms, and tail are sewn onto the body. Positioning is done using pins before permanently attaching the pieces.
- Tweety’s face, including the glued eyes, finishes the design.
- The creator applies glue to reinforce the parts and bring out the final detailing.
Finished Tweety
- The completed Tweety Amigurumi is approximately 13 cm tall.
- The instructor highlights the character’s charm and encourages viewers to continue crocheting as part of the Nostalgia in Yarn series.
Conclusion
- Viewers are thanked for their participation and invited to subscribe to the channel for future tutorials featuring more cartoon-inspired designs.
Video Guide
https://youtu.be/2aKE-TcaAnk