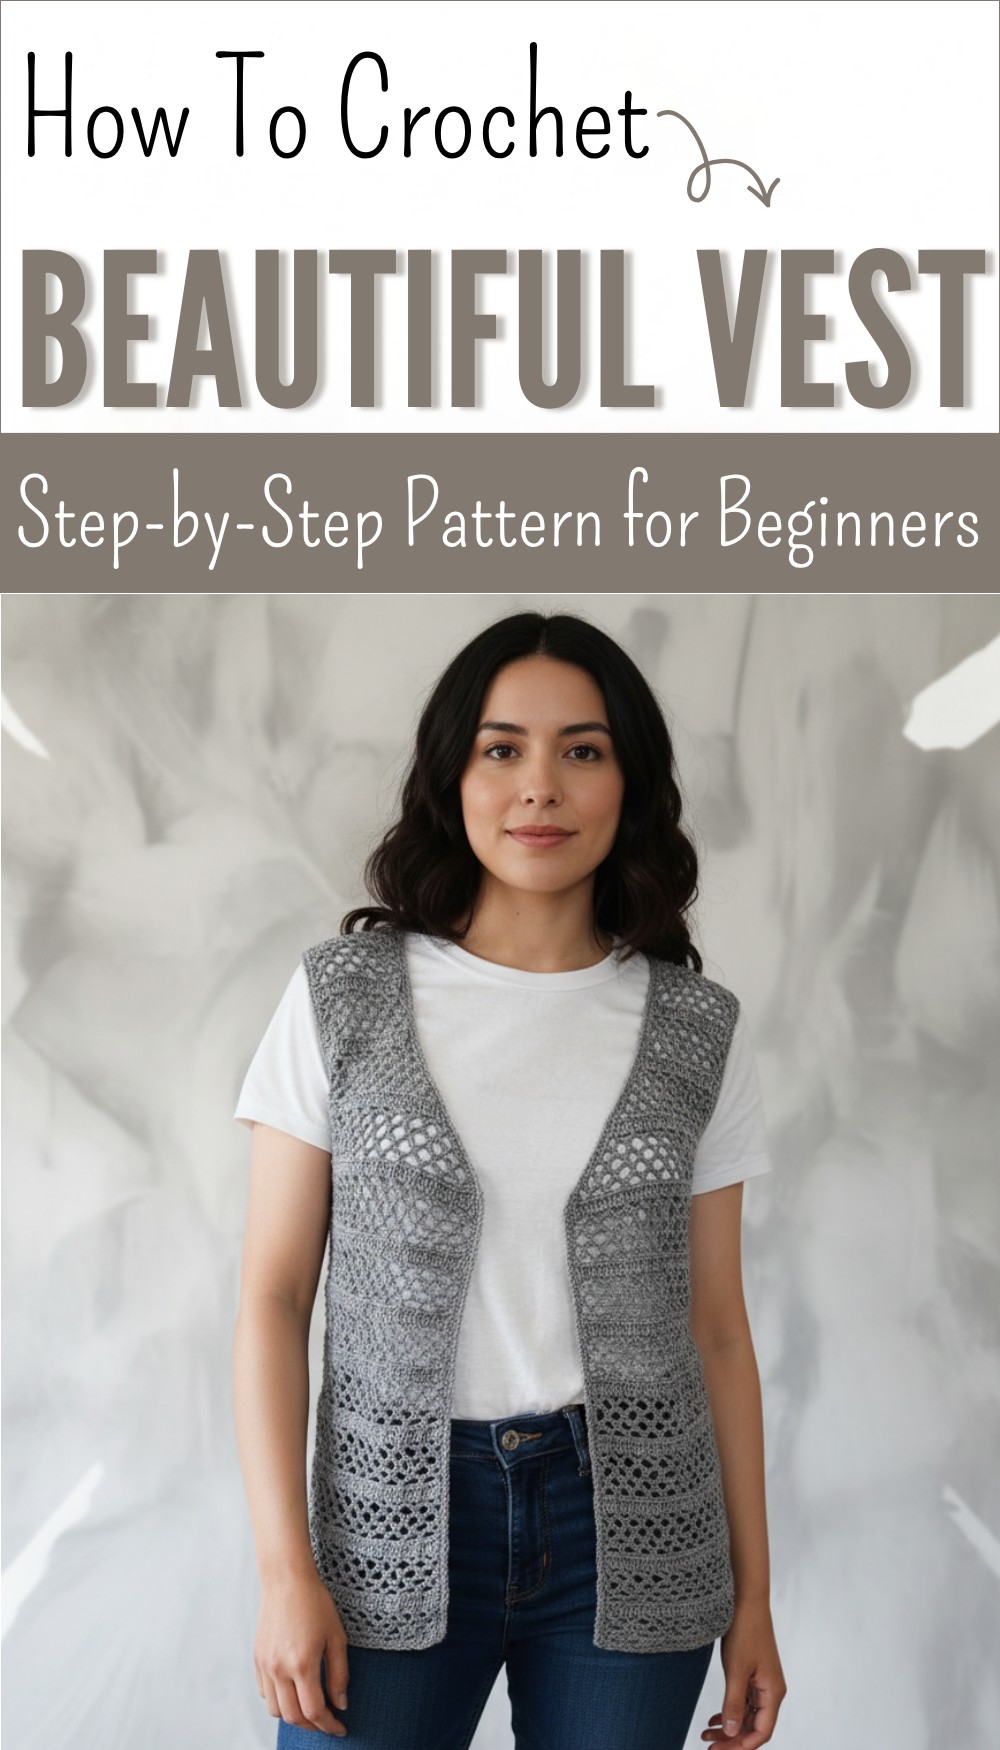
Easy Free Crochet Vest Pattern for Chic Spring Outfits
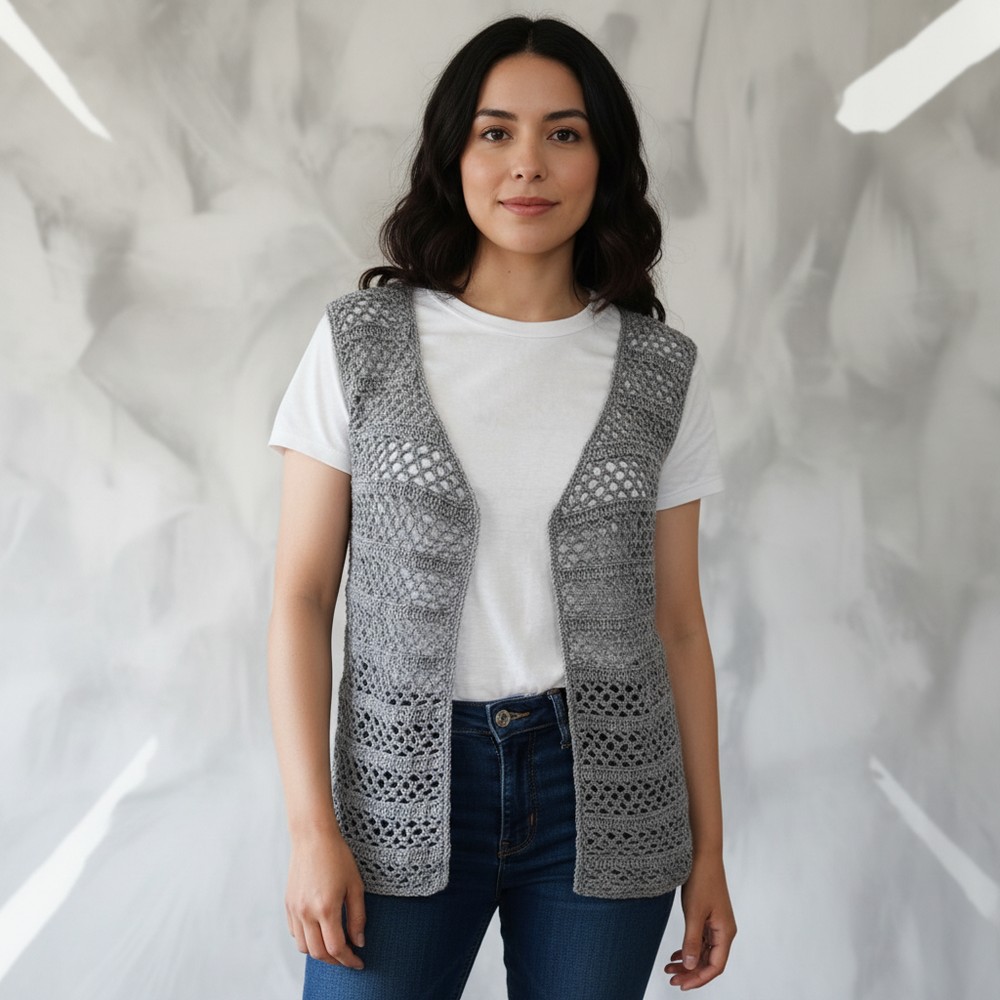
Spruce up your wardrobe with an easy free crochet vest pattern that looks stylish and feels comfortable for any occasion or everyday wear.
A bright and handmade garment makes every look feel special by adding comfort and a touch of style. Using a crochet vest pattern gives you the freedom to craft an item that feels gentle and snug on your body. This piece can look simple or playful depending on the color and design you pick so it suits just how you want to dress. Putting it on over any shirt or skirt gives you a light layer to help keep you warm in cooler moments.
Trendy Free Crochet Vest Pattern with Step-by-Step Guide
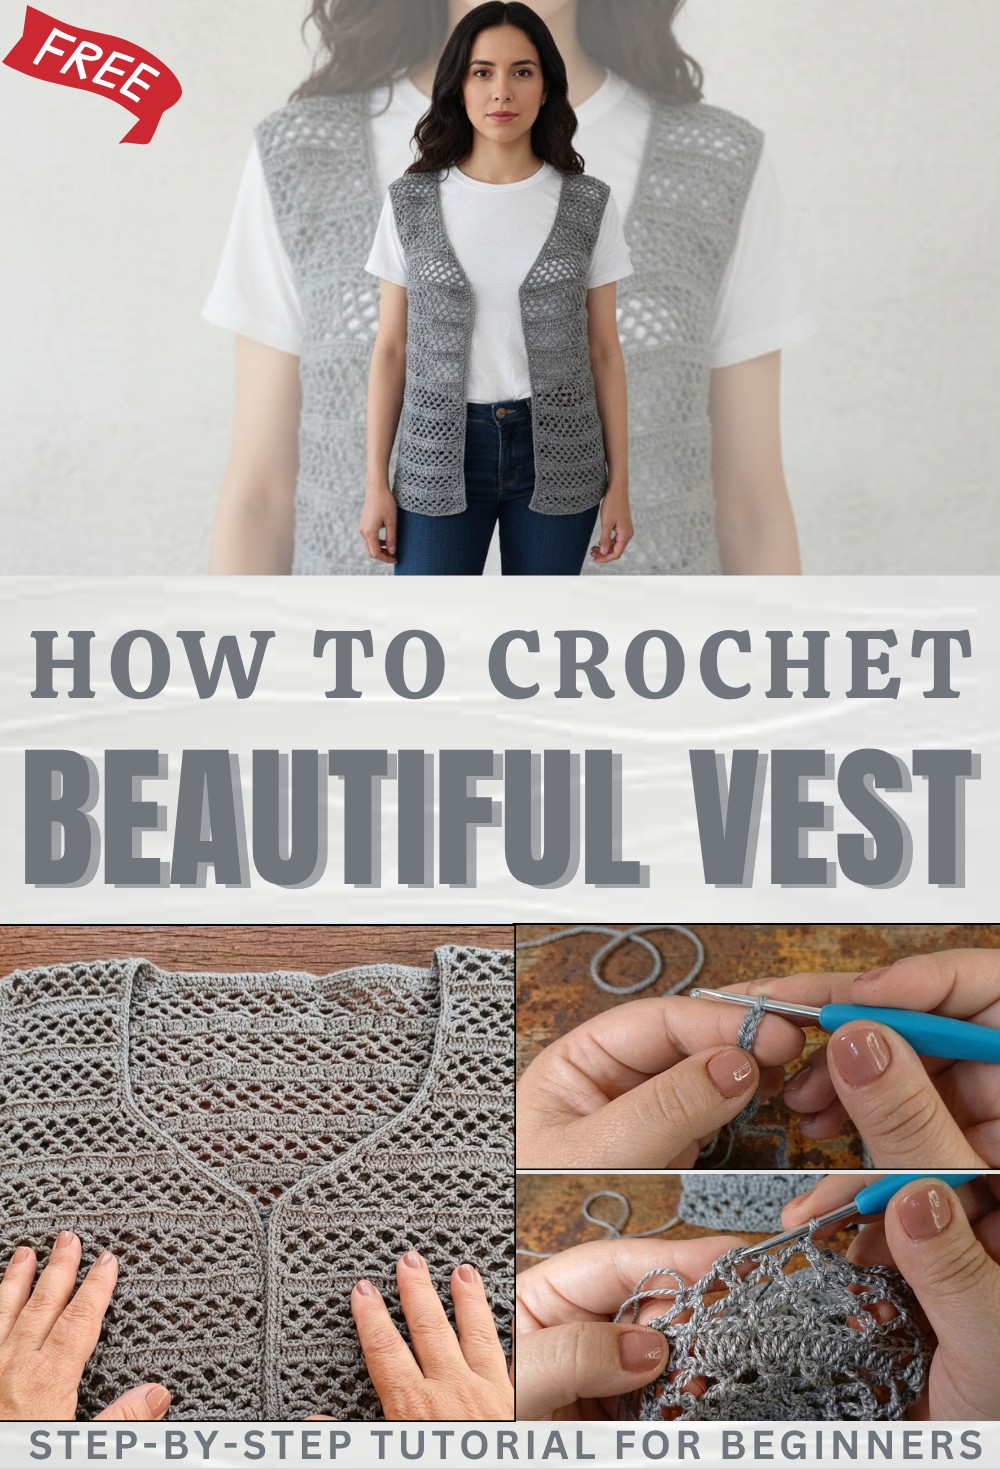
The stitches create a surface that feels different to touch and shows off your skills with every loop. Making something with a crochet vest pattern means you can wear your own work or surprise someone you care about with a heartfelt present. Choose your favorite shades or types of yarn to match your spirit and feel joy every time you wear your handmade piece.
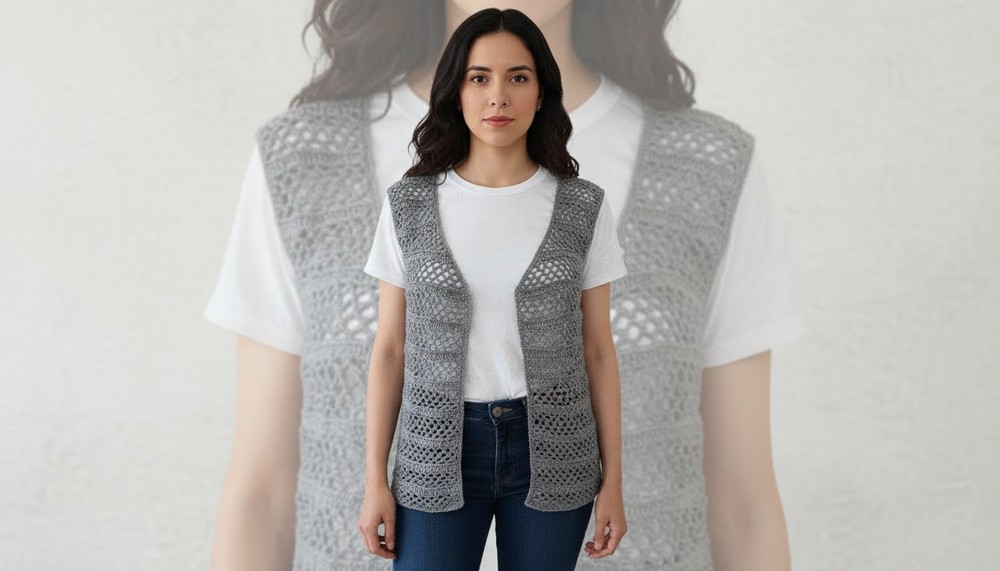
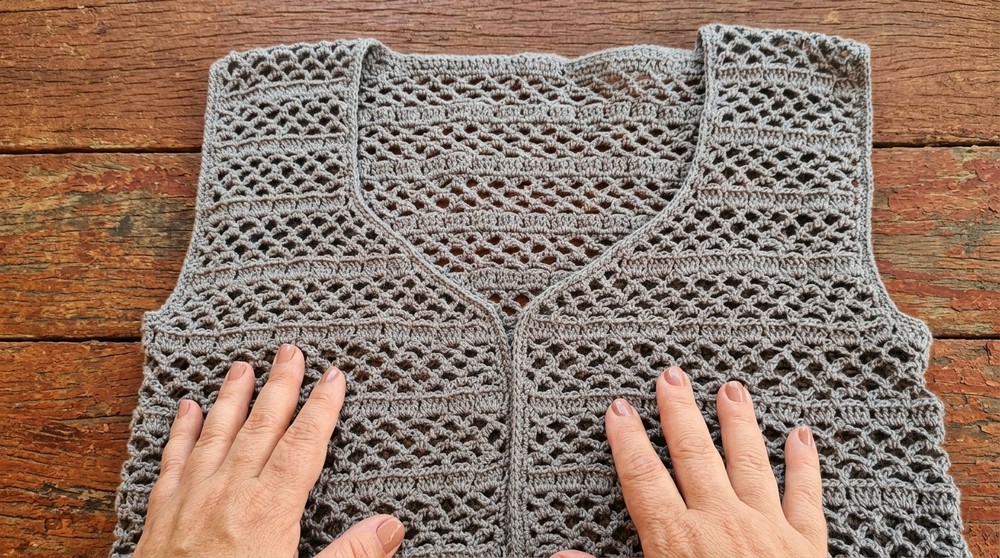
Free Crochet Mesh Vest Pattern
Materials
- Yarn: 160g lightweight yarn, approximately 1 mm strand.
- Hook: 3 mm crochet hook (US D/3)
- Scissors
- Tapestry needle
- Measuring tape
- Stitch markers (4 recommended)
Key Abbreviations (US Terms)
- ch = chain
- sl st = slip stitch
- sc = single crochet
- hdc = half double crochet
- dc = double crochet
- edc = extended double crochet (see Special Notes)
- rep = repeat
- st(s) = stitch(es)
- beg = beginning
Special Notes
- Sizing: Pattern is for a small adult; width at bust = 40 cm; neckline = 19 cm; total length = 53 cm; shoulder width = 10 cm.
For custom sizing, measure bust or hips and adjust initial chain. - Stitch Pattern: Mesh stitch is created with arches of chains and hdc. The mesh is very elastic.
- Sample: Always make a crochet sample swatch and adjust initial chain number according to measurement and yarn.
- Foundation: Mesh pattern is a multiple of 4 + 1.
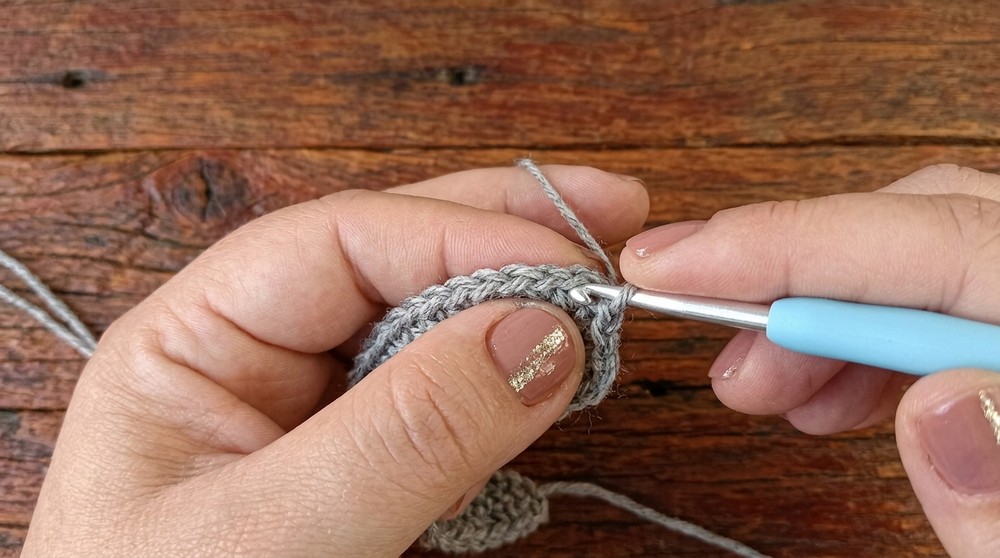
- Extended Double Crochet (edc):
- Yarn over, insert hook, pull up loop (3 loops on hook).
- Yarn over, pull through one loop (4th loop created).
- Yarn over, pull through two.
- Yarn over, pull through two.
Pattern
1. Foundation and Body (Worked as a Rectangle)
a. Determine Initial Chain
- Measure bust or hips as preferred. For sample size (about 80 cm bust), final chain number: 205 (must be multiple of 4 + 1; for your size, adjust accordingly).
- Make a starting knot.
- Ch the required number (ex: 205).

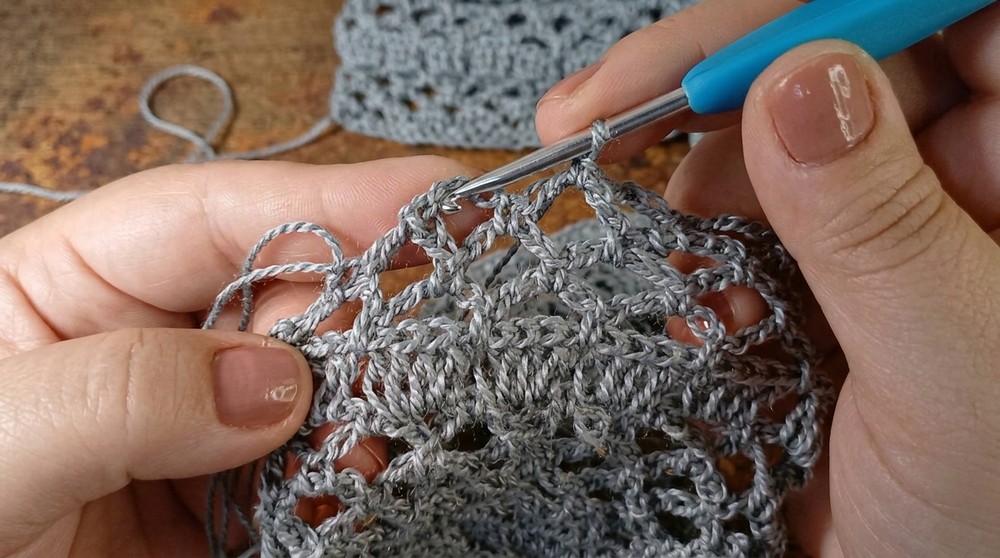
b. Mesh Stitch Rows
- Row 1:
- Ch 1 (does not count as a st).
- In the next ch, hdc.
- Ch 5, skip 3 ch, hdc in next ch.
- Rep from * to end.
- Row 2:
- Ch 3 (counts as first dc), ch 2 (half arch), total ch 5.
- In the first arch from previous row, hdc.
- Ch 5, hdc in center of next arch; rep from * to penultimate arch.
- Finish row: ch 3, hdc in last arch.
- Ch 2, hdc in the hdc of previous row.
- Row 3:
- Ch 1, hdc in first dc.
- Ch 5, hdc in next arch; rep from * to end.
- At end: ch 5, hdc in third ch of beginning ch (from previous row).
- Row 4:
- Repeat Row 2 procedure, maintaining arch structure.
- Row 5:
- Ch 1, hdc in first dc.
- Ch 3, hdc in next arch; rep from * to end.
- Finish: ch 3, hdc in third ch of beginning ch.
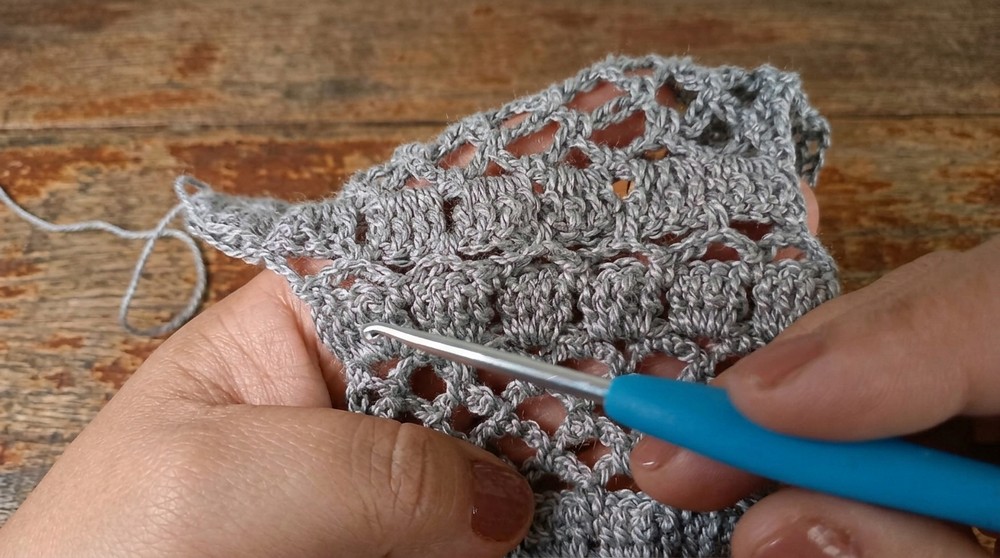
- Row 6: (Extended Double Crochet)
- Ch 4 (counts as first edc).
- Work 4 edc into each arch of 3 ch.
- Finish row by working edc into last hdc of previous row.
Repeat Rows 1–6 for 48 rows (or until armhole height is achieved ~30 cm for sample size).
2. Divide for Fronts and Back
- Use stitch markers to divide row into Back and Front sections. For sample:
- 23 groups for back, 2 for each armhole, 12 for each front.
- Remove markers as you work.
- Dedicate two groups for armholes, adjust as needed for your size.
3. Back Section
- With yarn, attach at marked stitch.
- Work straight rows (as above) until back measures ~20 cm.
- Finish last row with edc, fasten off and secure.
4. Front Sections
a. First Front
- Attach yarn, sc in first dc.
- Mesh rows as before, but on one edge work decreases (to shape neckline):
- At row end: ch 2, hdc in third ch of arch for decrease.
- Work 6 rows, alternating straight and decrease rows as shown in video.
- When decrease section is done, work straight rows until front matches back height.
- Do not fasten off yarn but proceed to joining front to back shoulder.
b. Join Front to Back Shoulder (No Sew)
- Work mesh as you join:
- Ch 2, alternate sc in space on front, then sc in space on back, repeat until all groups joined.
- Fasten off, secure, and weave in ends.
c. Second Front
- Attach yarn at opposite marker, work rows and decreases as for first front (mirror shaping).
- Work straight after decreases until matching height.
- Join shoulder as above.
5. Finishing
a. Hide Ends
- Use tapestry needle, weave ends behind edc stitches or mesh arches.
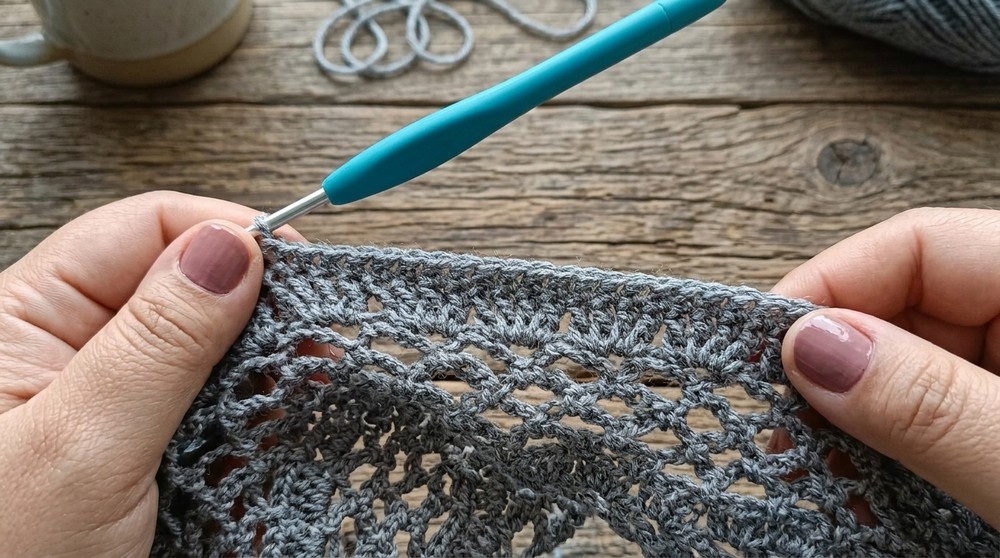
b. Edge Border
- Attach yarn at back side, RS facing.
- Work sc (half doubling as hdc) evenly along all edges: neckline, fronts, lower hem, armholes.
- For straight edges, work one sc in each dc or mesh arch.
- For armhole edges and decreases, work two sc in each arch or exposed chain edge.
- At corners, work three sc.
- After full round, work a second round of sc for added neatness.
- Close round with sl st in first sc; fasten off neatly. Weave in all ends.
Pattern Correction
- Mesh stitch: ensure multiple of 4 + 1 for foundation chain.
- Armhole height and shoulder divisions may need adjustment for your size.
- Swatch to check measurements before starting.
Tip
- For neat edges, always check border placement on both right and wrong sides.
- If you want a larger or longer vest, add rows or increase the initial chain using formula above.
- Mark divisions clearly with stitch markers for accurate shoulder shaping.
Conclusion
This seamless, no-sew mesh vest works up quickly and is highly customizable for any size. The elegant mesh stitch uses minimal yarn while providing maximum drape and comfort. Finishing with a neat single crochet border enhances structure and polish.