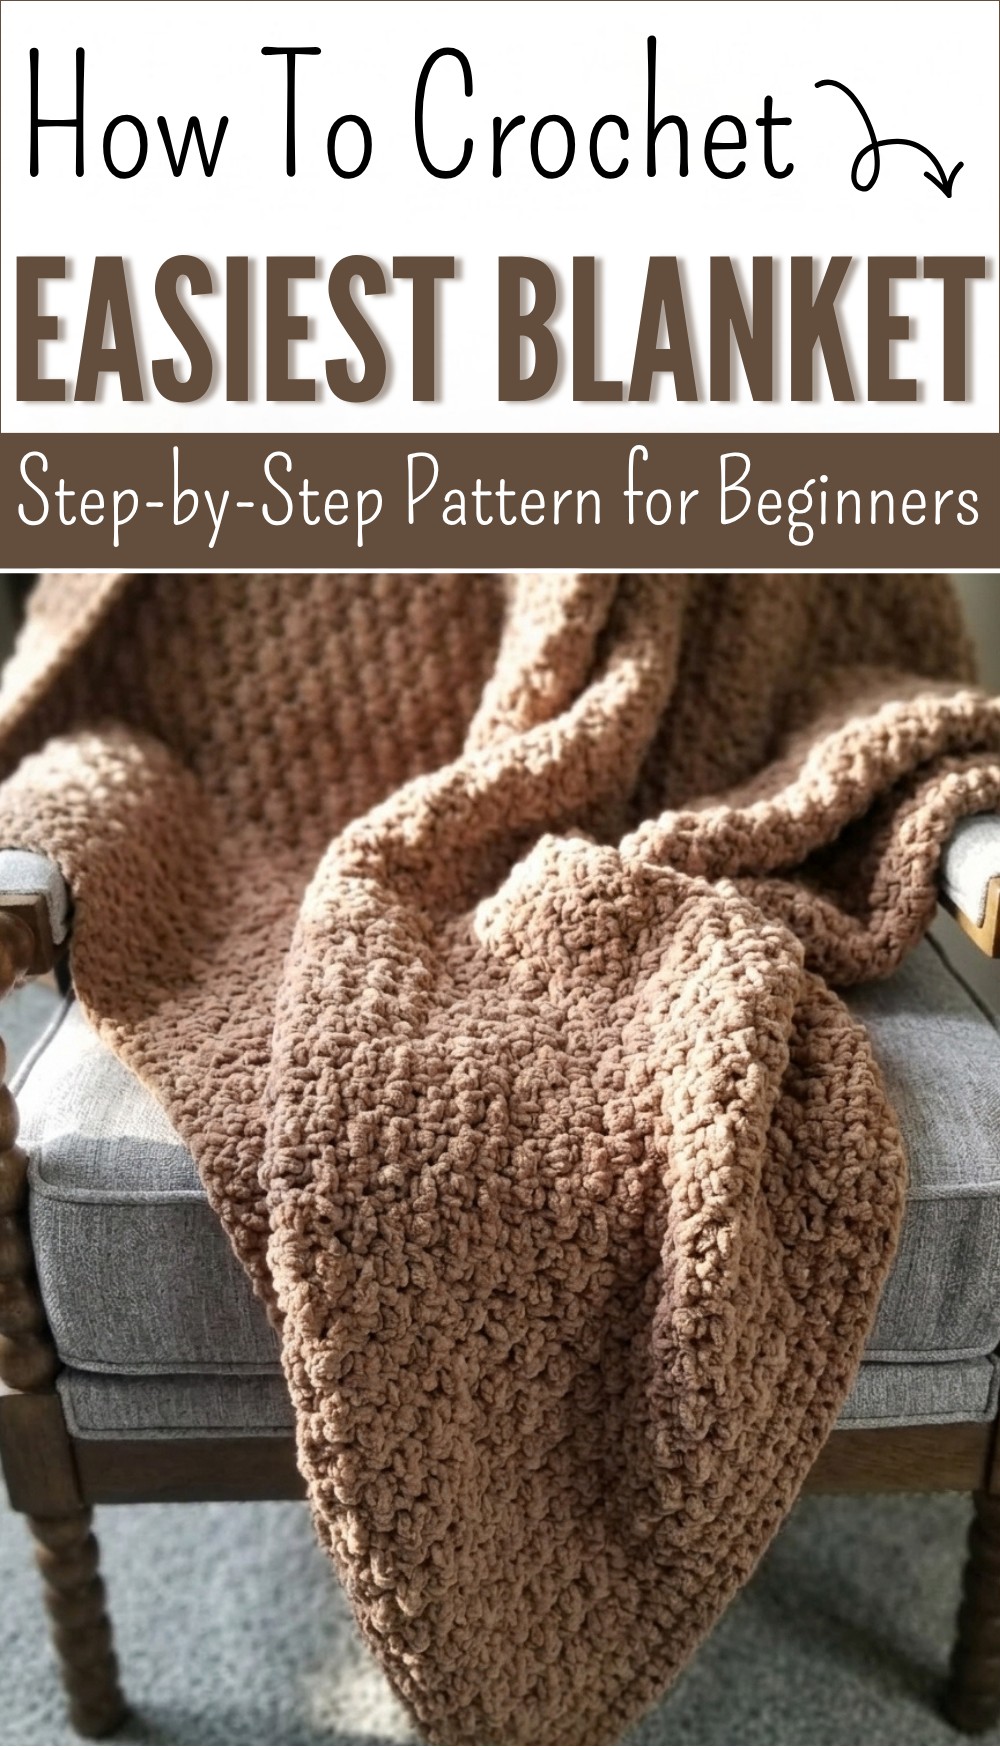
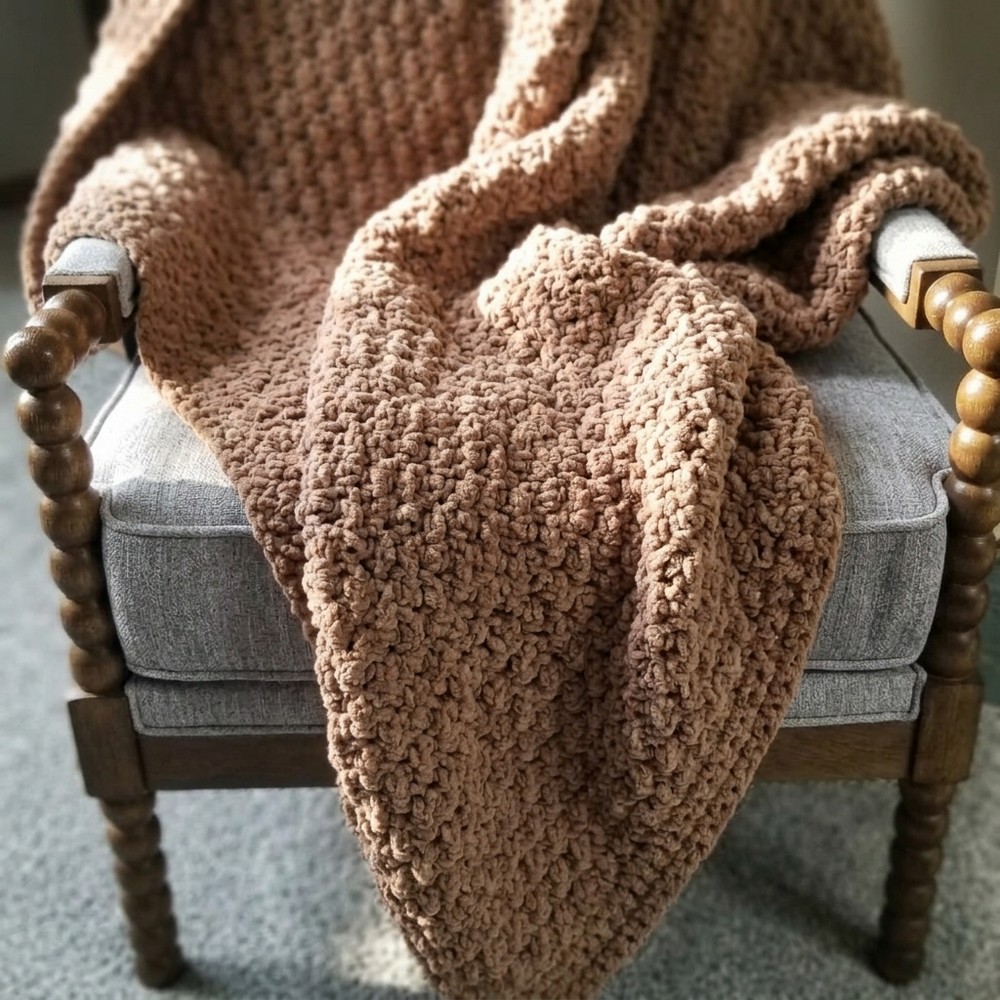
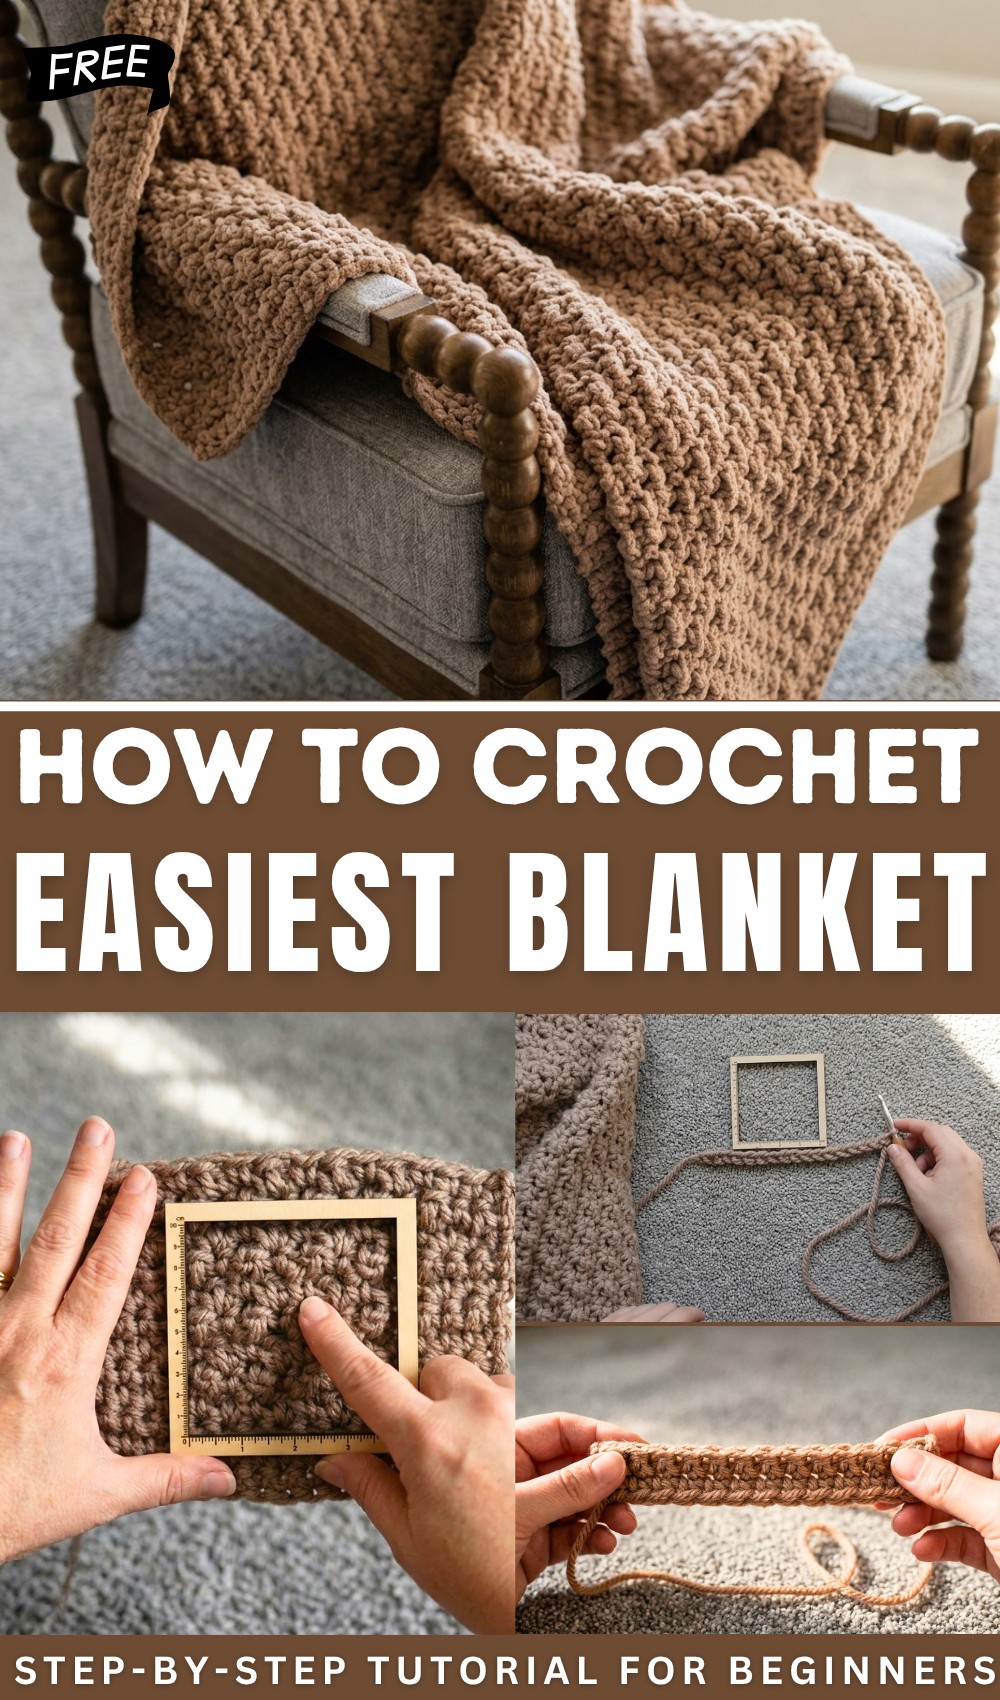
Free Blanket Crochet Pattern – Just Repeat One Row
Access with this free crochet blanket pattern and turn every space into a cozy retreat filled with soft and beautiful colors for everyone.
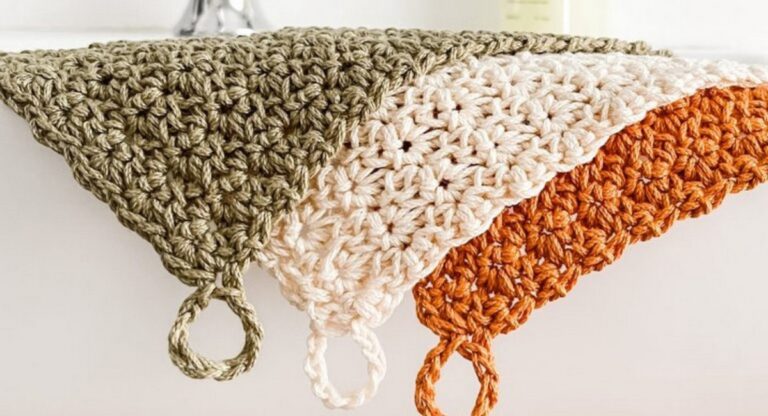
Missing the warmth and charm that makes a house feel like home leaves any space feeling incomplete. That’s why adding a crochet blanket pattern to your life can bring comfort beauty and a special touch that stands out. Colorful stitches create lovely designs everyone loves to see and feel. Spread one over a bed drape it on a couch or tuck it around a baby—its uses are as varied as its patterns.
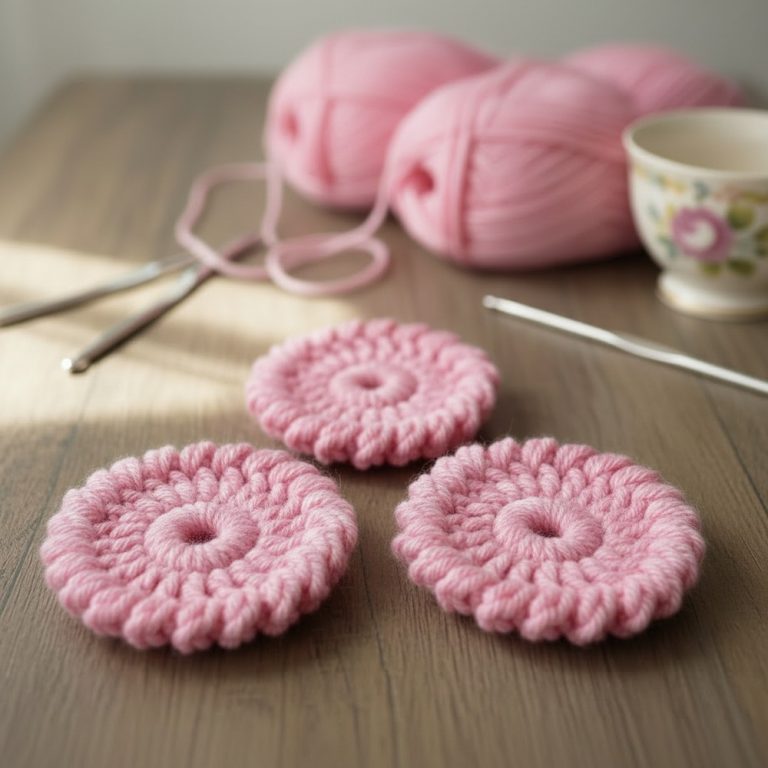
Free Blanket Pattern Using Minimal Yarn and Simple Stitches
Soft and welcoming this handmade treasure invites you to snuggle relax or share memorable moments with loved ones. Following a crochet blanket pattern is simple even for someone new making it easy to enjoy the process from start to finish. Each finished piece not only decorates but also warms the heart making every day just a bit brighter and sweeter. This project turns yarn into hugs ensuring everyone feels cared for and at home.
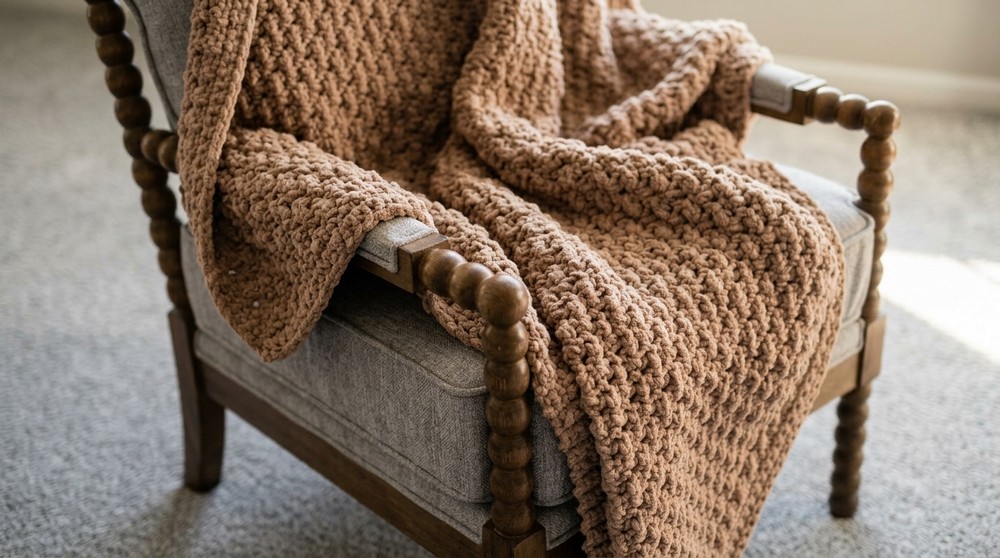
Free Crochet Textured Blanket Pattern
Materials List
- Yarn:
- Super Bulky (Category #6) for quick results
- Alternative: Worsted Weight (Category #4); refer to chart for sizing
- Crochet Hook:
- Appropriate size for yarn (check yarn label; recommend 10mm for super bulky, 5.5-6mm for worsted)
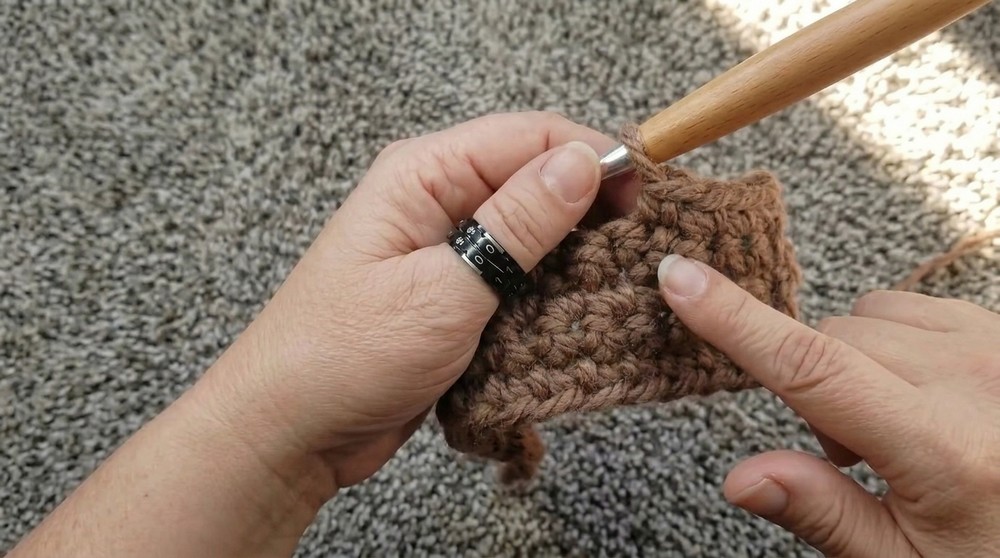
- Row Counter (recommended: ring yarn counter)
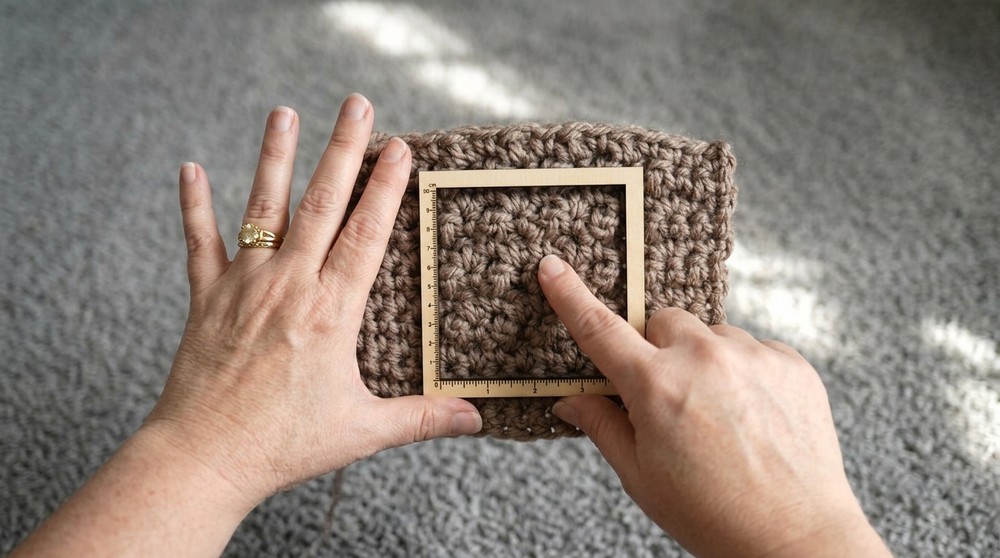
- Gauge Swatch Ruler (preferably 4×4 inches, sturdy and accurate)
- Measuring Tape
- Bent Yarn Needle (for weaving in ends)
- Scissors
Key Abbreviations (US Terms)
| Abbreviation | Meaning |
|---|---|
| ch | chain |
| sc | single crochet |
| dc | double crochet |
| st(s) | stitch(es) |
| rep | repeat |
Special Notes
- Pattern is worked in multiples of 2 + 1 (add one for turning chain).
- Borders are integrated: the first and last three rows, and the first and last three stitches of each row, are always single crochet.
- Body pattern is a one-row repeat: alternating single crochet and double crochet for texture.
- Always crochet the foundation chain loosely for a neat edge.
Step-by-Step Pattern
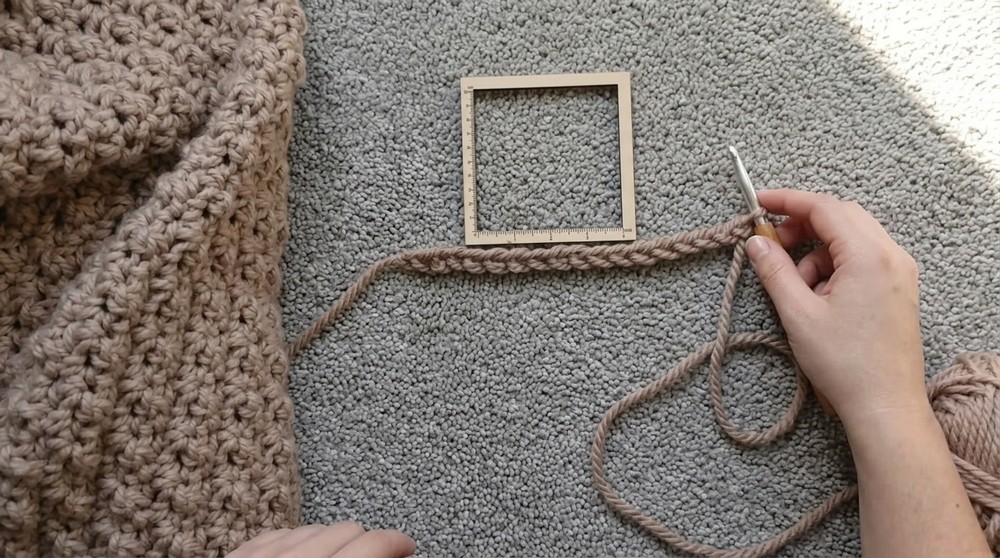
Gauge Swatch
- Ch 17 (for sample: multiple of 2 + 1).
- Row 1:
- Sc in the back bump of 2nd ch from hook, sc in each back bump across.
- (This creates a neat bottom border.)
- Row 2:
- Ch 1, turn. Sc in each st across.
- Row 3:
- Ch 1, turn. Sc in each st across.
Adjust the width:
For your blanket, make a foundation chain in multiples of 2 + 1 for the turning chain.
Blanket Instructions
Foundation Chain
- Ch (multiple of 2) + 1 to desired width (refer to gauge calculation below).
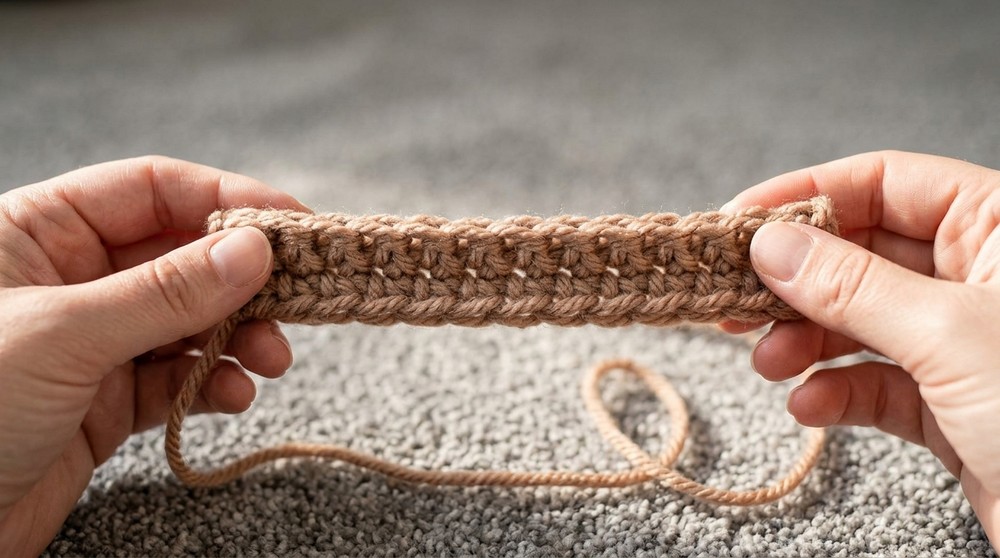
Border Rows (Bottom)
- Rows 1–3:
- Sc in each st across, ch 1, turn.
Body Rows (Repeat Row)
- Repeat until desired height is reached:
- Ch 1, turn.
- Sc in first 3 sts.
- Then [sc in next st, dc in next st]; rep brackets to last 3 sts.
- Sc in last 3 sts.
- (Body pattern repeat: alternate sc/dc until 3 sts remain, then sc in each.)
The body always starts with 3 sc, ends with 3 sc.
Your last body stitch before border will always be a dc.
Border Rows (Top)
- Final 3 rows:
- Ch 1, turn. Sc in each st across.
Gauge Calculation
To make ANY SIZE:
- Make a gauge swatch using the body pattern (exclude border rows for calculations).
- Measure stitches and rows per 4 inches using your ruler.
- Divide stitch count by 4 (stitches per inch); do the same for row count.
- Multiply stitches per inch by desired width, and rows per inch by desired height.
- For the foundation chain:
- Resulting stitches must be a multiple of 2, plus 1 for turning chain.
- Example: Gauge swatch is 6 sts/6 rows per 4″, which is 1.5 sts/1.5 rows per inch.
- Desired size: 50″ wide x 60″ high.
- 50 x 1.5 = 75 sts; round up to next even number, add 1 (so 76 + 1 = 77 chains).
- 60 x 1.5 = 90 rows total (including border rows).
Pattern Corrections
- Always crochet loosely for the foundation chain; avoid tight tension to prevent curling.
- If using a different yarn weight, adjust hook size accordingly.
- Ensure you are working into the back bump of the chain for the first row.
Tips
- The integrated border means no need to add a separate border after finishing; simply weave in ends.
- Use the row counter to stay consistent and track progress.
- If adjusting border height, feel free to add more than 3 rows of single crochet for a chunkier edge.
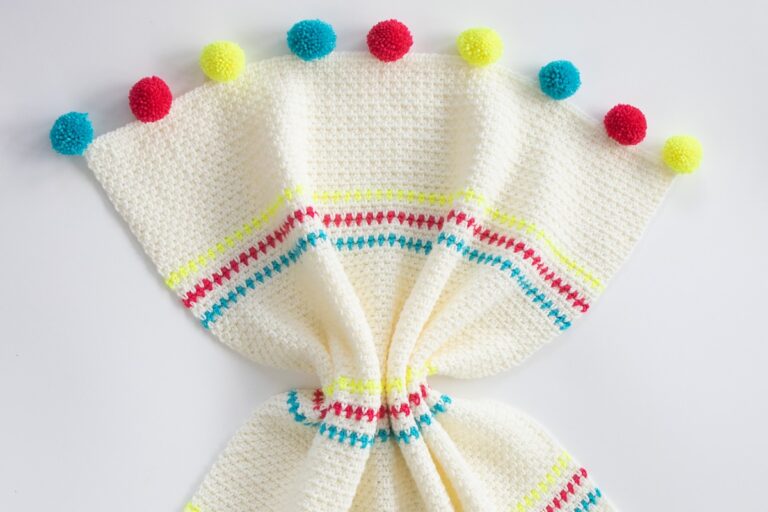
- For a more prominent texture, use contrasting colors for the border and body.
Conclusion
This blanket pattern is easy, quick, and beautifully textured with alternating single and double crochets and integrated borders. Its flexible design allows you to create a blanket or throw in any size or yarn weight. Simply calculate your gauge, chain the correct number of stitches, and follow the pattern for a seamless project—no separate border needed.