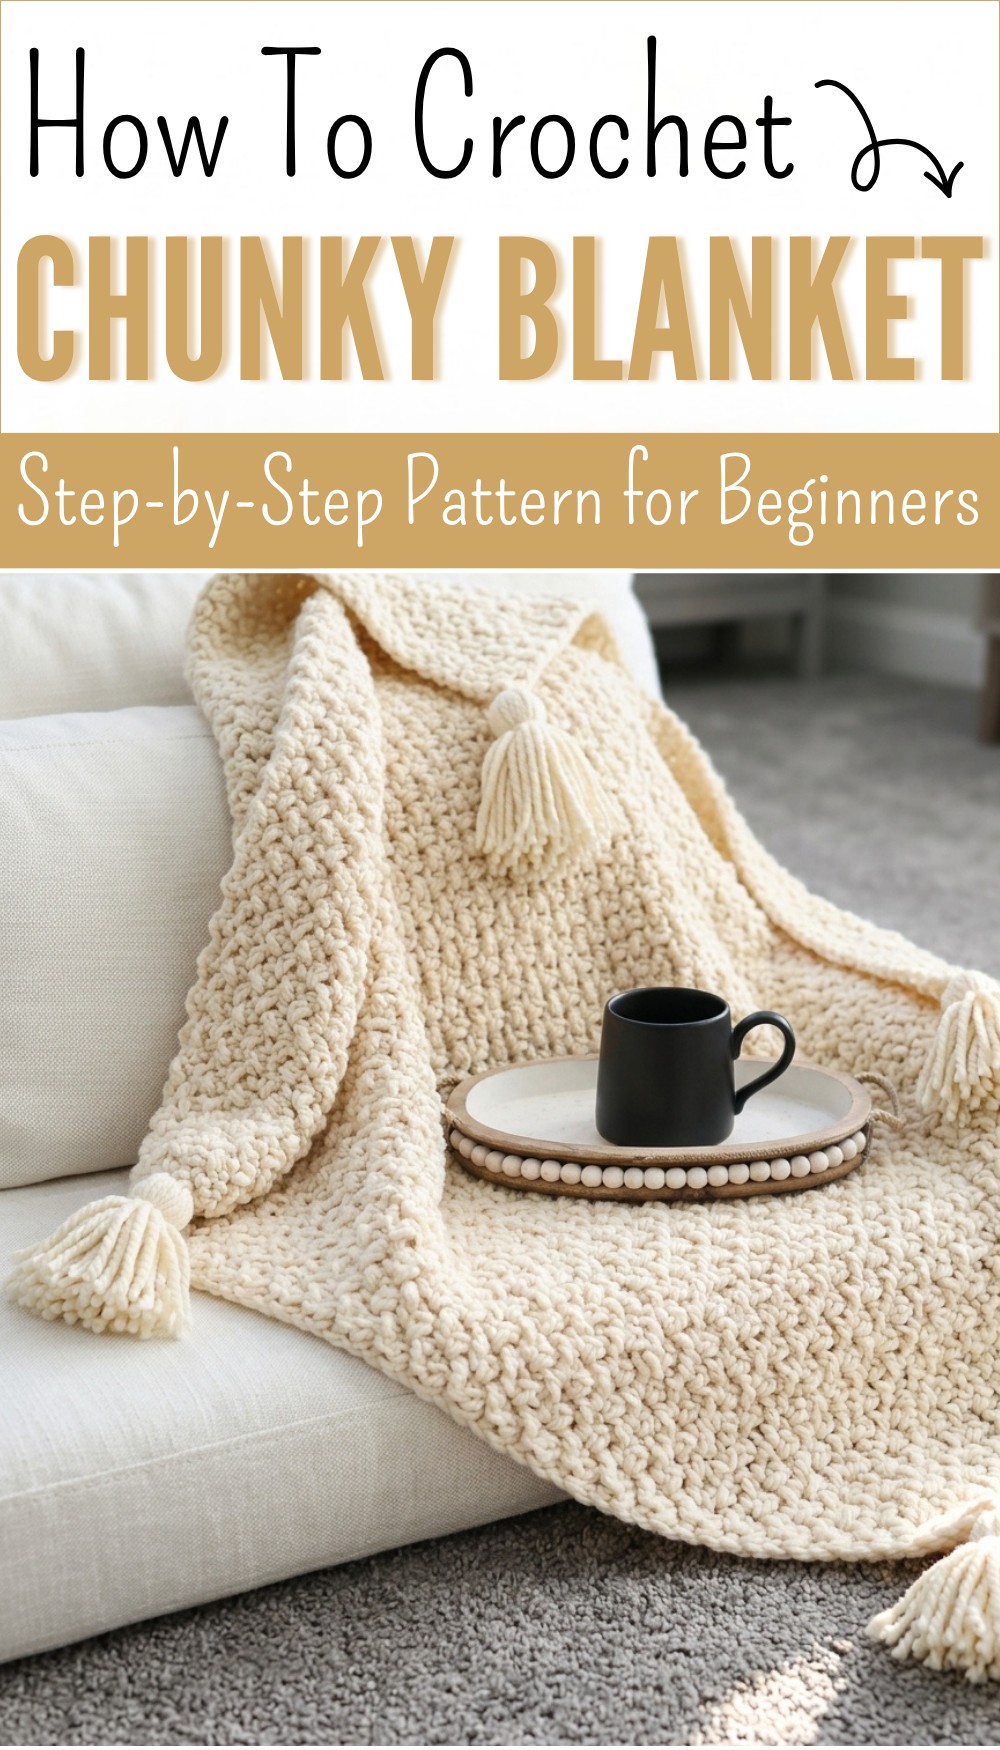
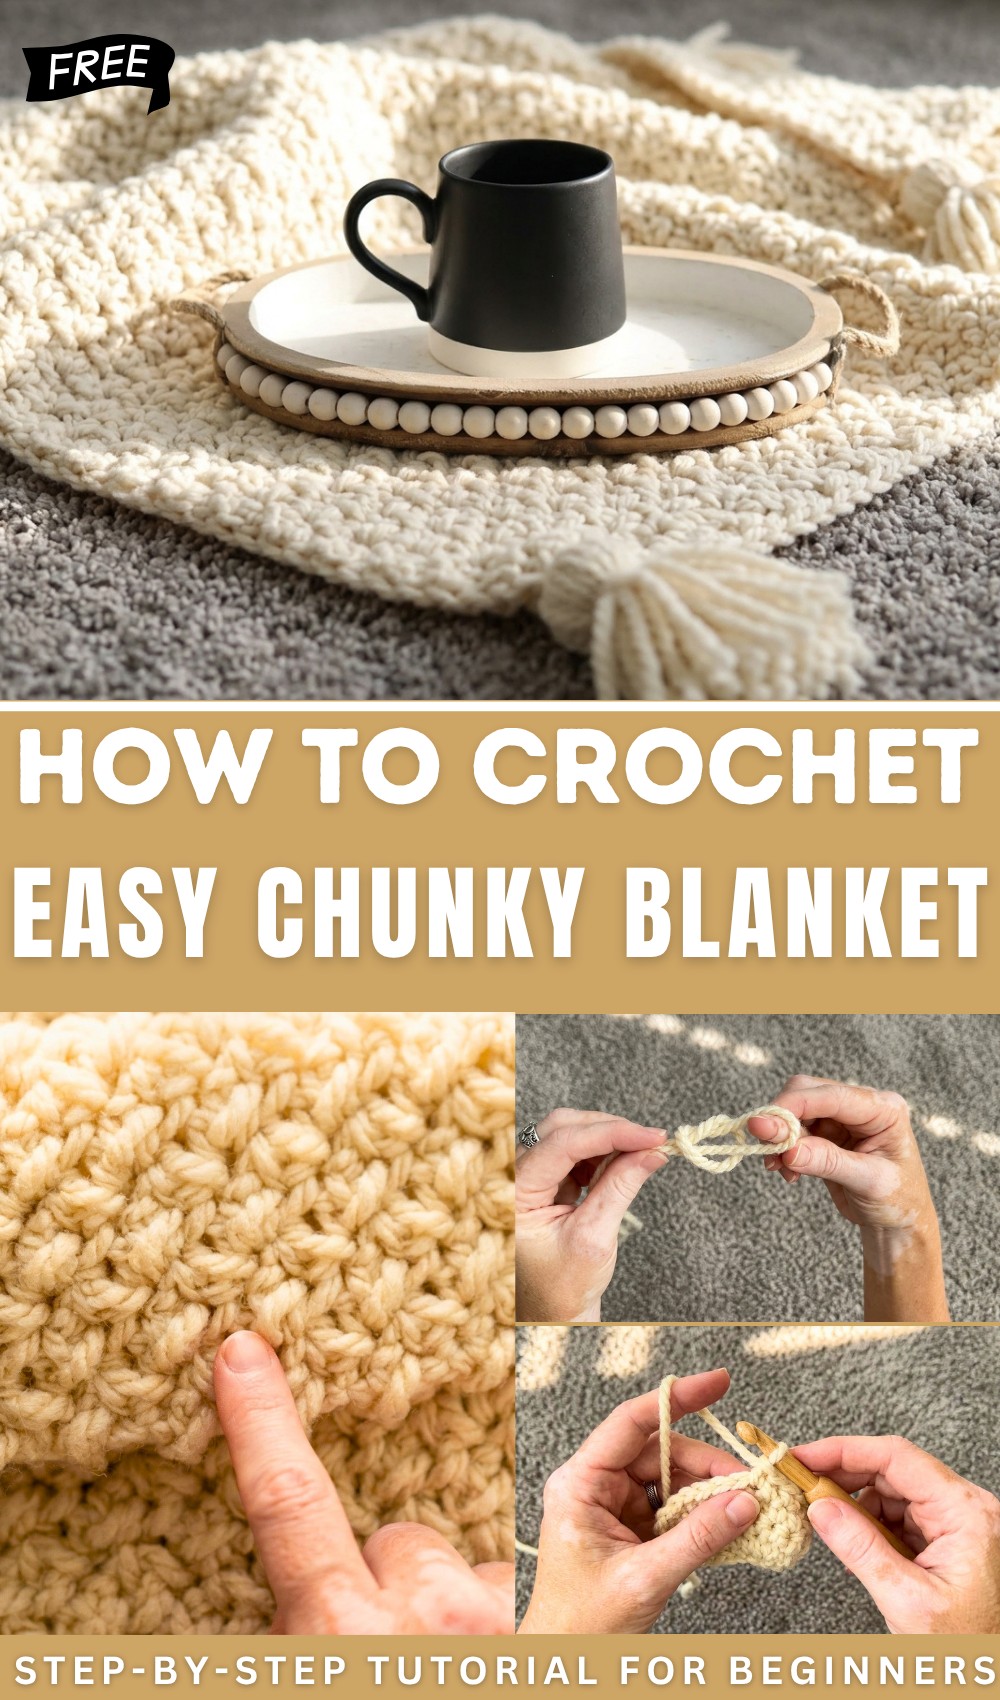
Free Chunky Blanket Pattern with Easy Crochet Steps
Warm up your home with this free crochet chunky blanket pattern that offers cozy comfort & effortless style for everyone to cherish and love.
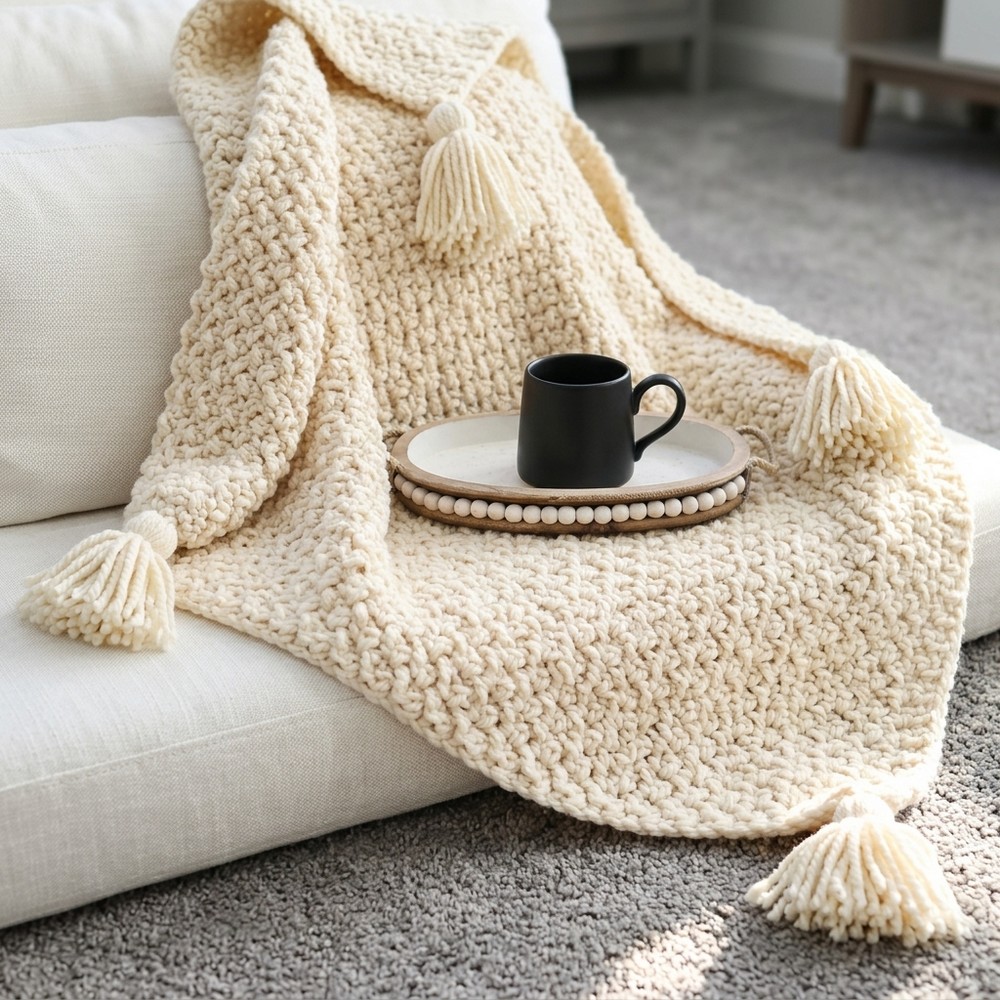
Snuggling into the softest and warmest blanket after a tiring day, your body instantly feels a gentle hug that melts all the stress away. Luxurious and plush, with an eye-catching texture, these throws are true showstoppers for your living room or bedroom. A crochet chunky blanket pattern gives you the freedom to make a beautiful accent piece that matches your style and color preferences.
Free Easy Crochet Chunky Blanket Pattern
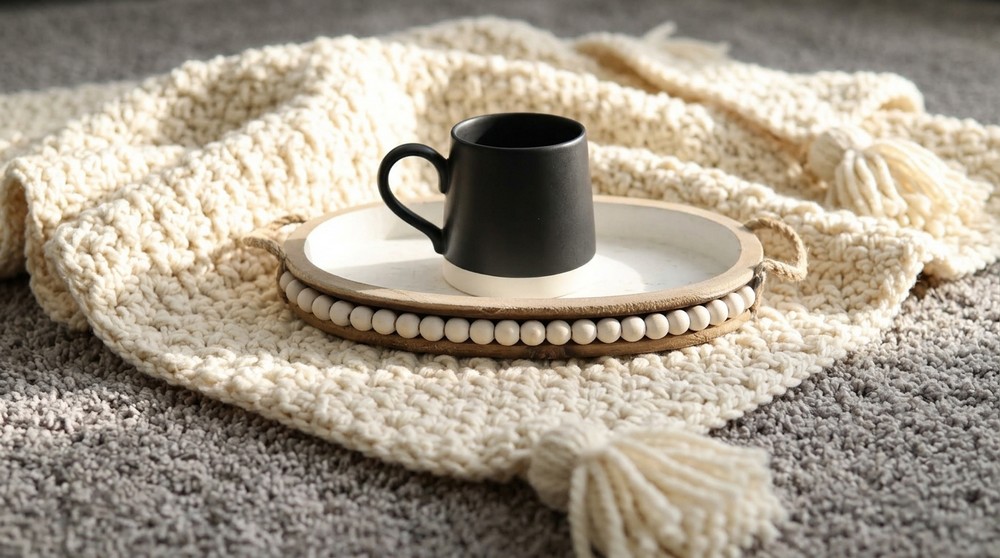
Its oversized stitches create a modern and cozy look, while being surprisingly quick and simple to craft. Perfect for draping over your sofa, using as a bedspread, or wrapping around your shoulders during chilly nights, this blanket are not just pretty but incredibly practical. The thick yarn means you get warmth without heaviness, adding comfort and charm to any space. Anyone can make a gorgeous chunky blanket by following a crochet chunky blanket pattern, enjoying a homemade treasure that brings smiles and coziness to everyday life.
Mini Bean Stitch Chunky Blanket Pattern
Materials
- Yarn: Loops and Threads Charisma (100% acrylic, #5 bulky), or any equivalent #5 bulky yarn
- Amount depends on finished size (see pattern notes for chain/row counts)
- Hook: 12 mm crochet hook (recommended for added drape)
- Notions:
- Yarn/tapestry needle for weaving in ends
- Scissors
- Optional: stitch markers (to mark row ends), tassel maker or piece of cardboard (for making chunky tassels)
- Optional: Fray check for sealing yarn ends
Key Abbreviations (US Terms)
| Abbreviation | Stitch Name |
|---|---|
| ch | chain |
| sc | single crochet |
| st(s) | stitch(es) |
| sk | skip |
| rep | repeat |
| YO | yarn over |
Special Stitch
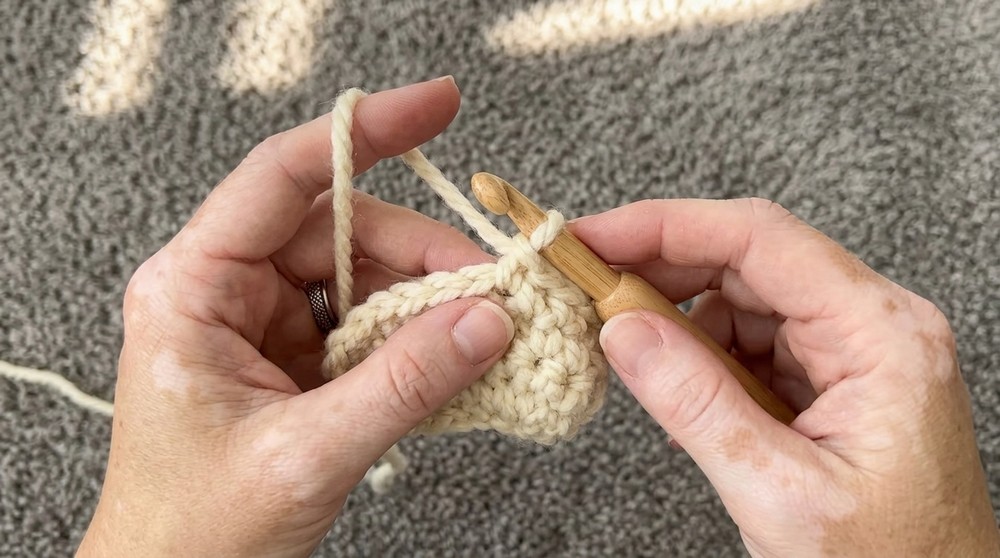
Mini Bean Stitch
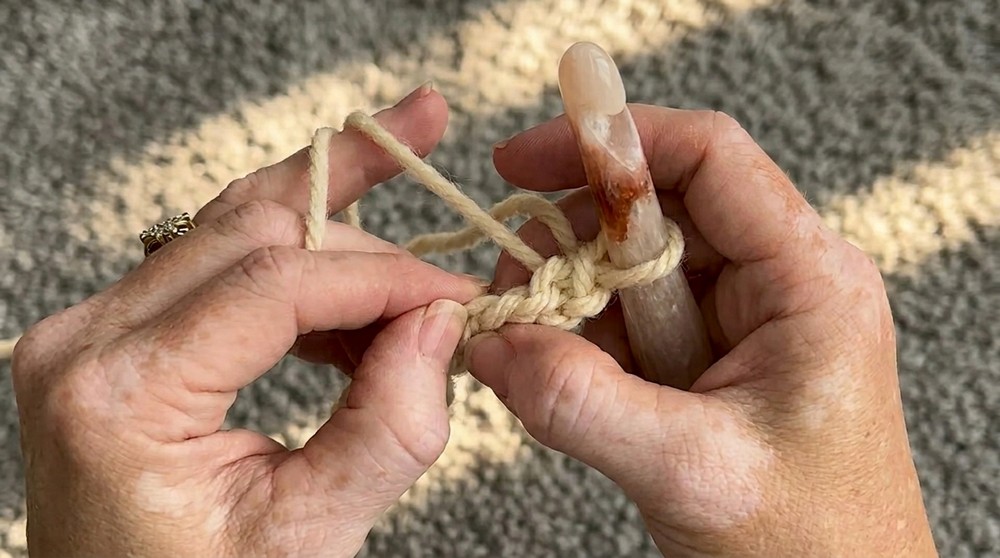
- Insert hook in indicated stitch, YO, pull up a loop (2 loops on hook).
- YO, insert hook in same stitch, YO, pull up a loop (4 loops on hook).
- YO, pull through all 4 loops.
- Ch 1 (to secure the stitch).
Special Notes
- Pattern multiple: Foundation chain in multiples of 2 + 1 (for the initial set up with a single crochet row).
- Swatch sample: ch 14, for larger blankets, see designer’s blog or description for full size chain count/row count.
- The blanket starts with a single crochet row for stability and neatness due to the stitch bulk and drape.
- The blanket’s edge is naturally pretty; a border is not strictly necessary.
- To finish: End with a final row of single crochet and, if desired, add chunky tassels to the corners.
- Gauge is not critical for this project.
Pattern
Foundation Chain
- Make a slip knot.
- Ch a multiple of 2 + 1 for your desired width (e.g., ch 14 for a small swatch).
Row 1: Single Crochet Foundation
- Sc in 2nd ch from hook and in each ch across.
- You should have (number of chains – 1) single crochets at the end of Row 1.
Row 2: First Mini Bean Row
- Ch 2, turn.
- Starting in the third ch from hook (which is the first single crochet of the previous row):
Mini Bean Stitch:- Insert hook in st, YO, pull up a loop (2 loops)
- YO, insert hook in same st, YO, pull up a loop (4 loops)
- YO, pull through all 4 loops
- Ch 1 (to lock the bean)
- Sk next st, mini bean in next st; rep from * to * across row, ending with a mini bean in the last st.
- The last bean stitch should go into the final single crochet at the row end, which keeps your edges straight and stitch count correct.
Row 3 to Final Row: Mini Bean Row Repeat
- Ch 1, turn.
- For each row:
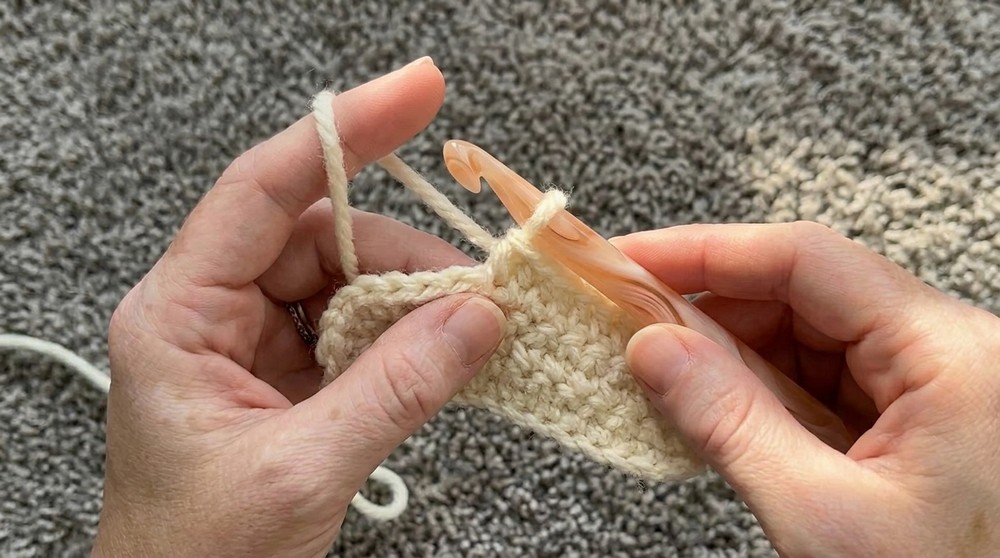
- Locate the triangular space just to the left of each mini bean stitch (“bean”) from the previous row.
- Insert hook into this space, work mini bean stitch (as above), ch 1.
- Continue across row, ending with a bean to the left of the last bean from previous row.
Continue Pattern
- Repeat Row 3 for desired blanket length, always chaining 1 and turning at the end of each row.
- The bulkiness of the stitch means the blanket grows quickly!
Final Row: Single Crochet Border
- At desired length, ch 1, turn.
- Sc in each st across, including into the tops of mini beans and into chain-1 spaces between them.
- Be sure to have the same number of single crochets as you did on your initial single crochet row for a straight edge.
Finishing
- Fasten off, weave in all ends securely.
- (Optional) Use Fray Check on yarn tails to prevent fraying.
- Add chunky tassels to each corner if desired. (See linked tutorial for making tassels.)

Pattern Corrections
- The starting chain is worked as (multiple of 2) + 1, to allow for an initial single crochet row which stabilizes the edge.
- In each new mini bean row, always work into the space just to the left of each mini bean from the previous row (not in the top).
- Ensure your last bean is at the end of each row for straight sides.
Tips
- Pull mini bean stitches snug after each bean (as the designer does) for crisp, defined texture.
- If working large, count stitches at the end of each row to avoid accidental increases or decreases.
- If your mini bean “ch 1” is tight, use your hook or fingers to open it up before inserting for the next bean.
- For a neat edge, ensure you always start your rows in the correct space and finish with a bean at the end.
Conclusion
The mini bean stitch is a beautiful, fast-growing, and forgiving pattern with a built-in edge, making it ideal for blankets, throws, and even bath mats or wraps. Its plush texture and modern look result from a simple one-row repeat. Add on-trend tassels for a finishing touch.