Free Crochet Card Holder Pattern for Beginners
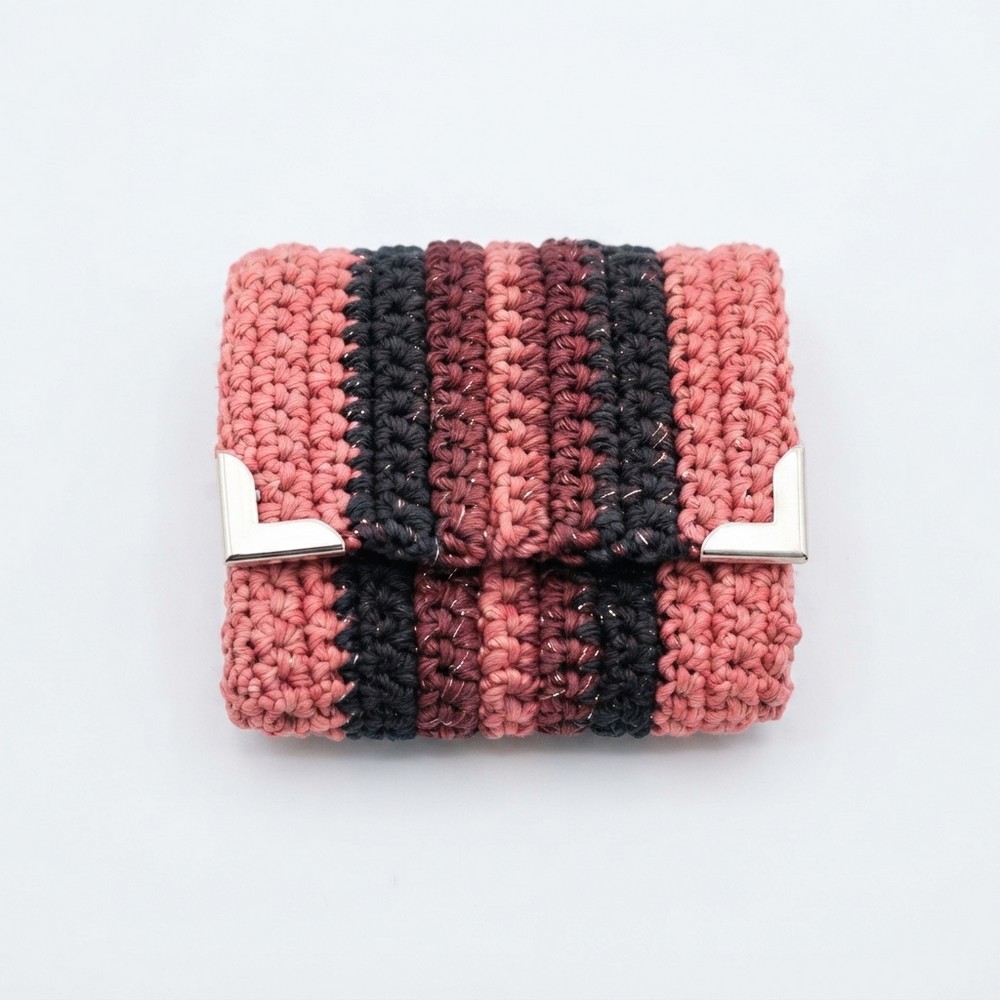
Stay stylish and functional with this free crochet card holder pattern that’s designed to give your cards a safe and eye-catching place to call home.
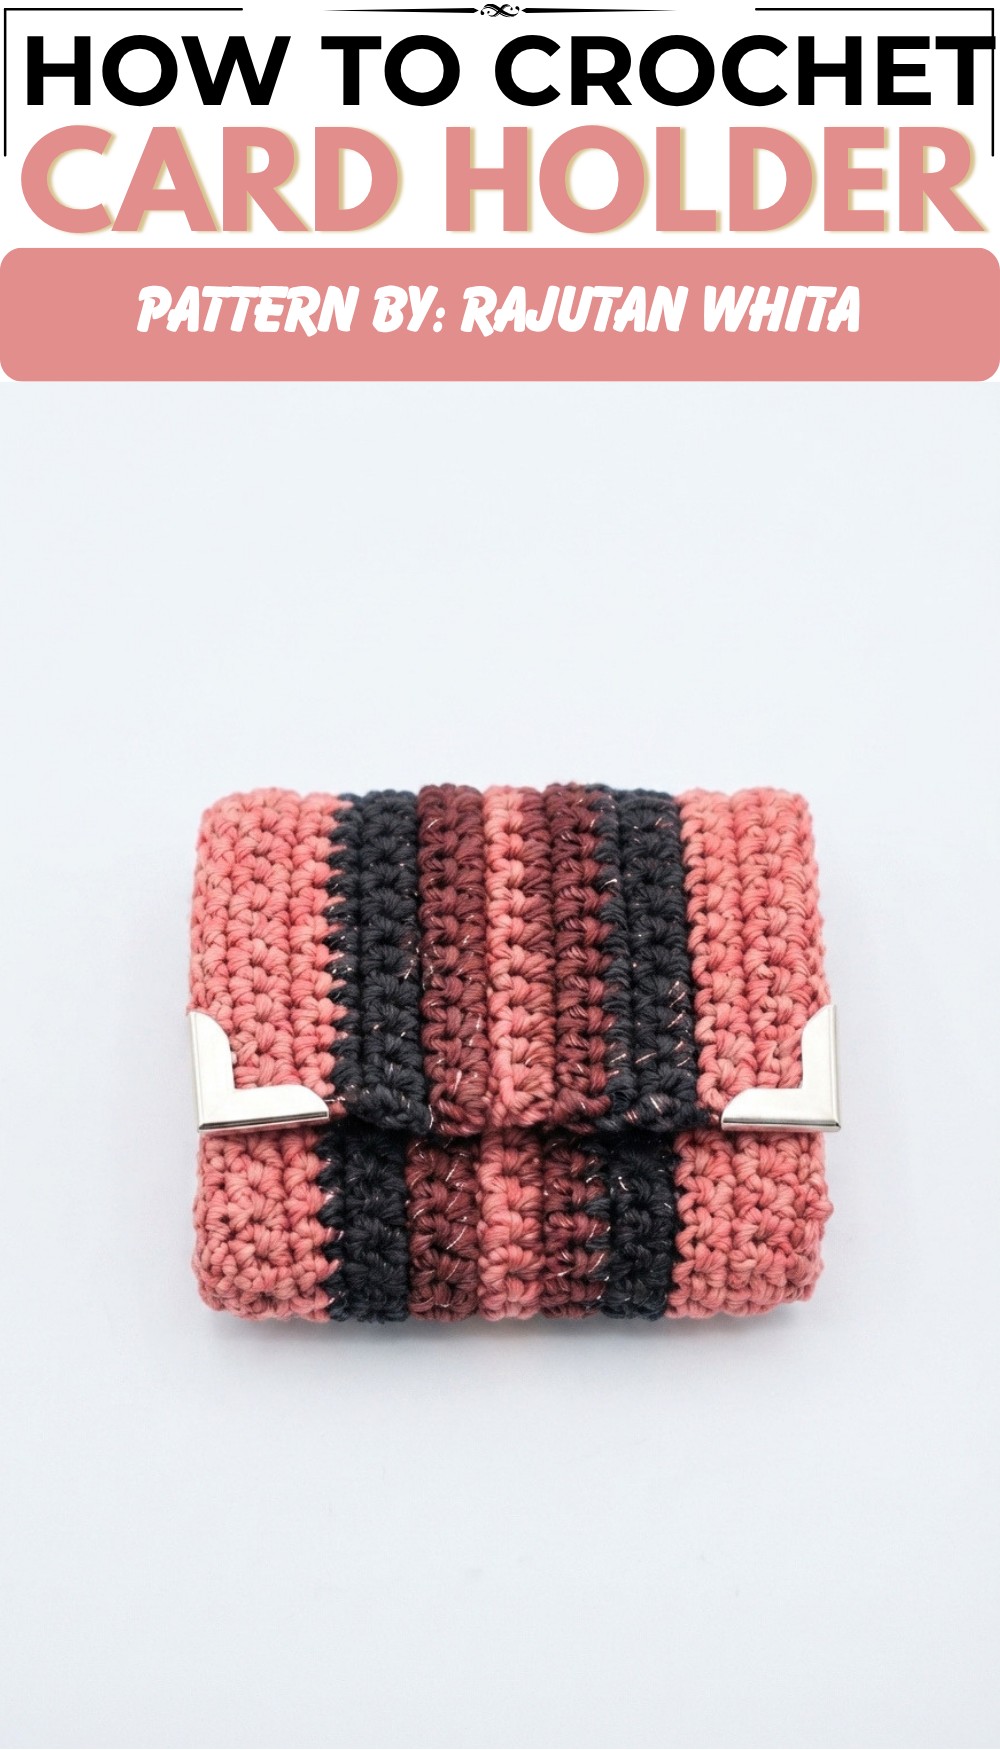
Crochet lovers, it’s time to add some charm to your daily accessories! This delightful project, a Free Crochet Card Holder Pattern, is perfect for creating a sleek and functional wallet to store your cards and even some cash. Shared by the talented creator behind the YouTube channel Rajutan Whita, this design is as practical as it is beautiful—and it’s a wonderful handmade gift idea for loved ones.
This card holder is foldable, compact, and full of personality. Its neat stitches and striped design give it a polished yet creative look. With multiple compartments, it keeps your cards and small items organized and secure, while a handy snap button closure ensures everything stays in place. The striped color scheme can be customized to match your favorite colors, making the card holder a personal and stylish accessory.
Free Crochet Credit Card Holder Pattern for Your Purse
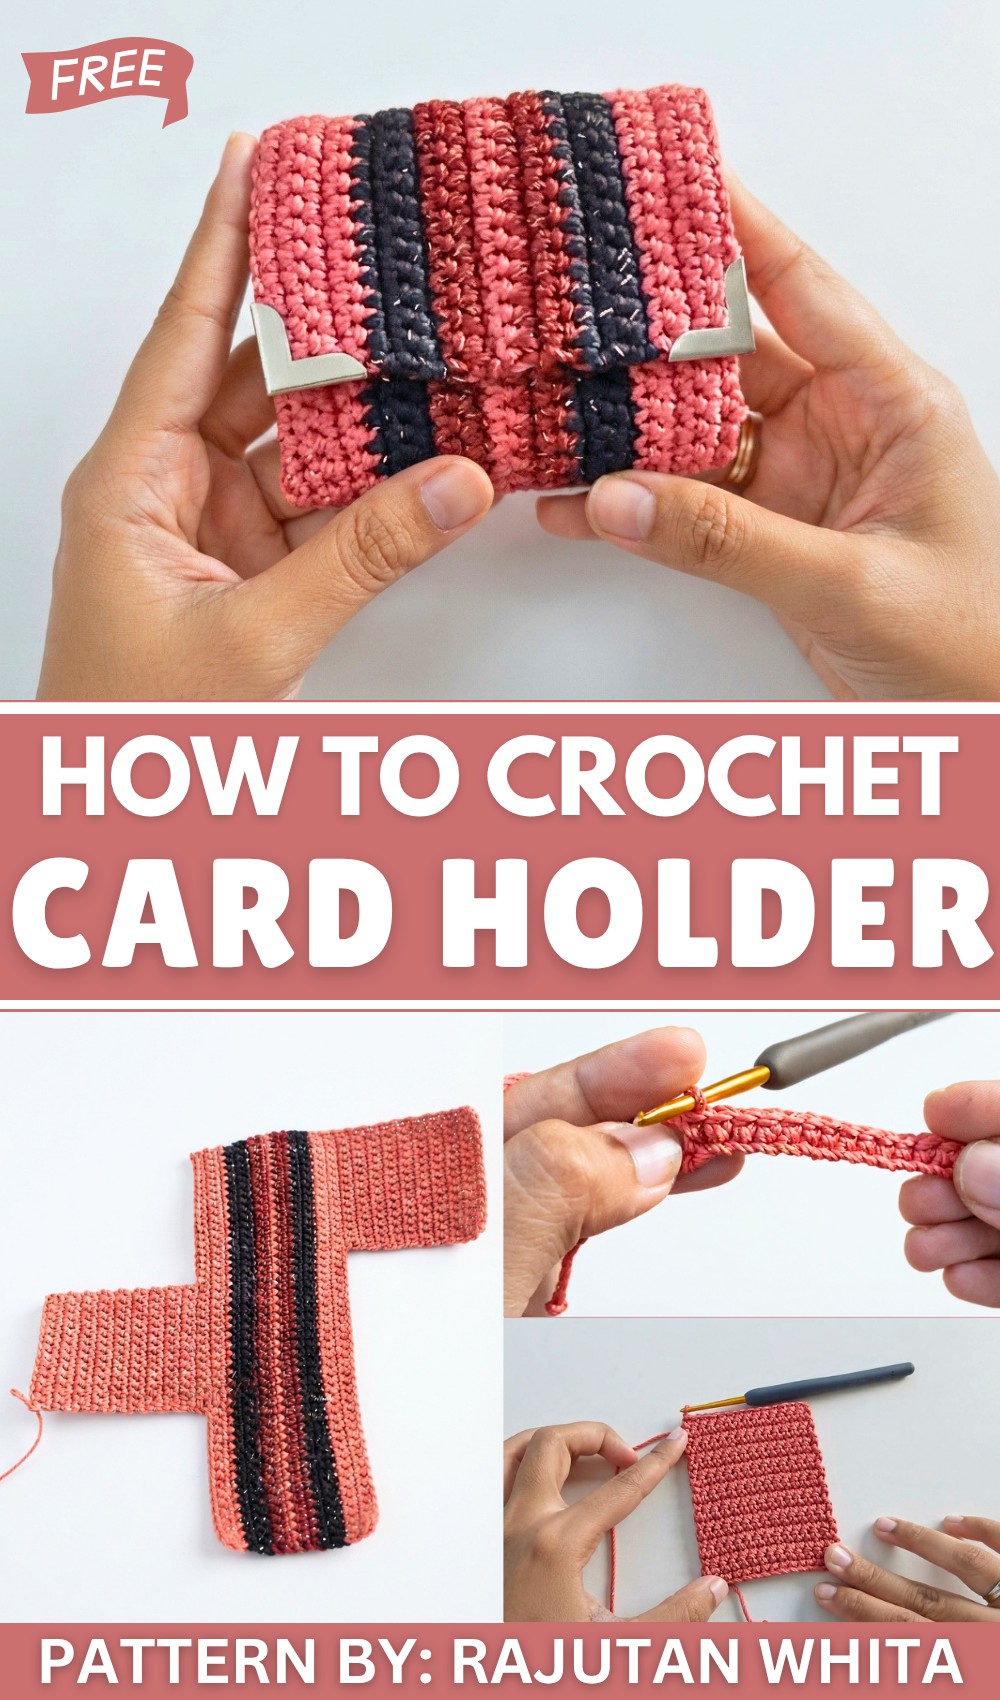
Whether you’re using it to declutter your main purse or as a standalone wallet for a quick outing, this crochet card holder is a must-have. Its lightweight design makes it easy to carry, while its unique handmade style is sure to catch everyone’s eye.
By following the step-by-step guidance on Rajutan Whita’s YouTube tutorial, you’ll master the process in no time—even if you’re a beginner! This project is fun, creative, and a great way to use up leftover yarn from previous works. Treat yourself or surprise a friend with this thoughtful and practical creation.
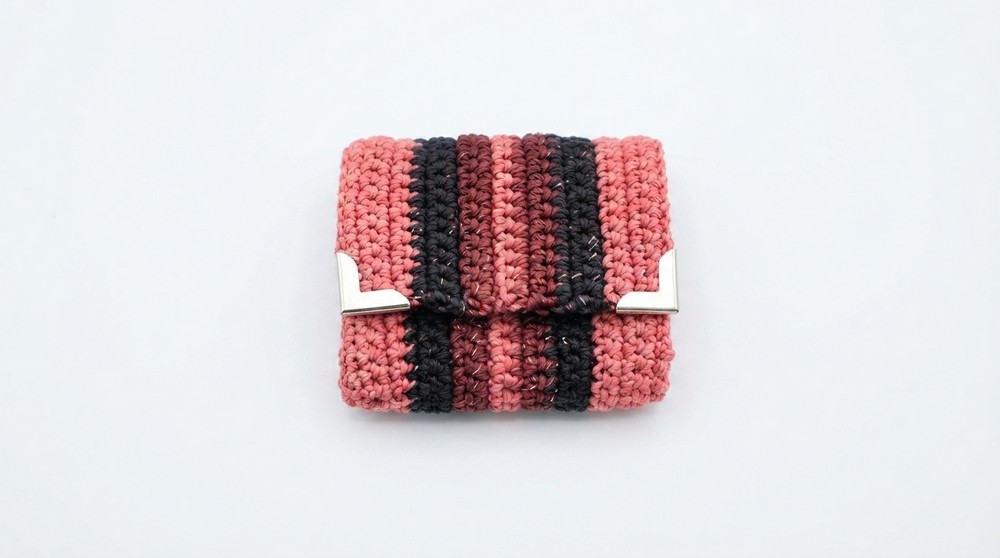
Get ready to impress with your crochet skills and create something that’s not just functional but also one-of-a-kind! Try out the pattern today and enjoy making a lovely little masterpiece with heart and flair.
Crochet Card Holder / Small Wallet Pattern (9.5 x 9 cm Folded)
This crochet tutorial teaches how to create a practical and stylish card holder or small wallet using poly-glitter yarn. Designed with a base color and decorative stripes, this piece involves color changes, slip stitch edging to form a hinge, and a second flap for extra storage. The finished wallet measures approximately 9.5 cm wide by 9 cm high when folded. The pattern combines simple stitches like single crochet and slip stitch with basic sewing for assembly, making it an enjoyable project for crocheters looking for a functional accessory with a bit of flair.
Quick Overview of the Pattern
- Start by creating a rectangular base panel with single crochet stitches worked back and forth.
- Build the main body, incorporating horizontal color stripes for decoration.
- Add an edging and second flap by slip stitching and working additional rows of single crochet.
- Final assembly includes folding and stitching the edges to create pockets and attaching a snap button and metal corner guard for finishing.
Notes
- This project is worked entirely in rows (back and forth), not rounds.
- Use stitch markers to mark important places such as the beginning of the second flap and the hinge gap.
- Color changes are made between rows, carrying yarn loosely along the edge or fastening off and rejoining.
- Sewing is done after completing all crochet to assemble the wallet edges and pockets.
- The metal corner guards and snap button add durability and a polished look.
- Keep tension even during crochet to maintain correct dimensions.
Skill Level
Beginner to Intermediate:
You should be comfortable with chaining, single crochet (SC), slip stitch (sl st), basic color changes, and simple hand sewing stitches like whip stitch and running stitch.
Materials
- Yarn: Poly-glitter yarn in three colors:
- Terracotta (base)
- Maroon
- Black
- Hook: 3.0 mm (Size 5/0 crochet hook)
- Tools:
- Scissors
- Lighter (used carefully to secure yarn ends)
- Tapestry needle for weaving ends and sewing
- Stitch markers
- Measuring tape
- Snap button (kancing jepret)
- Metal corner guards
Measurements / Sizing
- Finished Size (folded): Approximately 9.5 cm wide x 9 cm high
- Base Panel Size: Approximately 9 cm high and 14 stitches wide (single crochet stitches)
- Width of final body after chaining and working rows is about 47 stitches to accommodate cards
Gauge
- Gauge is based primarily on stitch and row counts for this small accessory, with flexibility tolerated in width and height due to its functional nature.
- Approximately 14 single crochet stitches per row in base foundation.
- 19 rows for base height (~9 cm).
Stitch Abbreviations
- ch = chain
- sc = single crochet
- sl st = slip stitch
Special Stitches or Techniques
- Color Change: At the end of a row, finish the last yarn over with the new color to start the next row smoothly.
- Slip Stitch Edging: Used to create both a clean edge and form a hinge/gap area for the wallet flap.
- Whip Stitch (jahit lilit): Sew stitches passing the needle around fabric edges in a spiral motion.
- Running Stitch (jelujur): Sew stitches with small straight stitches through the fabric edge for assembly.
The Crochet Pattern: Step-by-Step
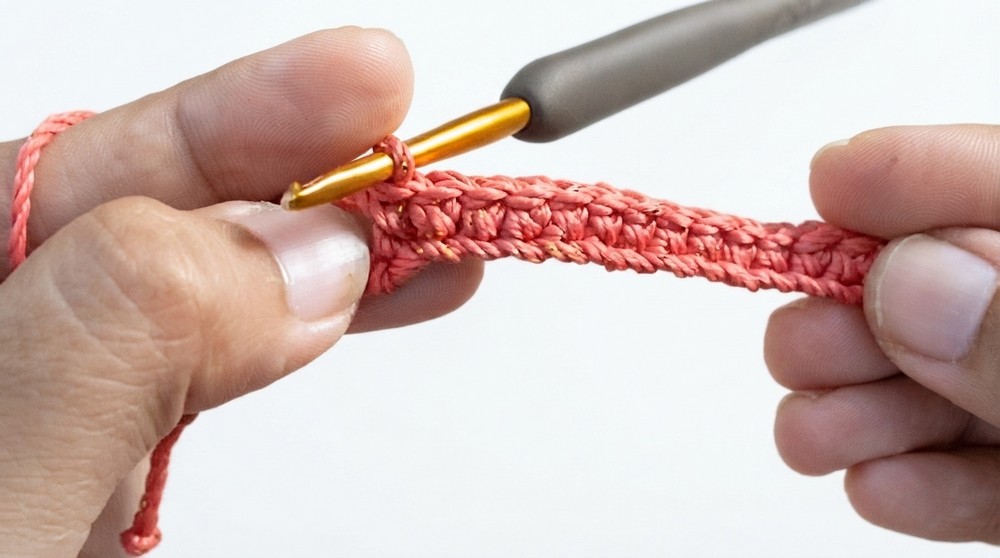
1. Base Foundation (Rows 1–19)
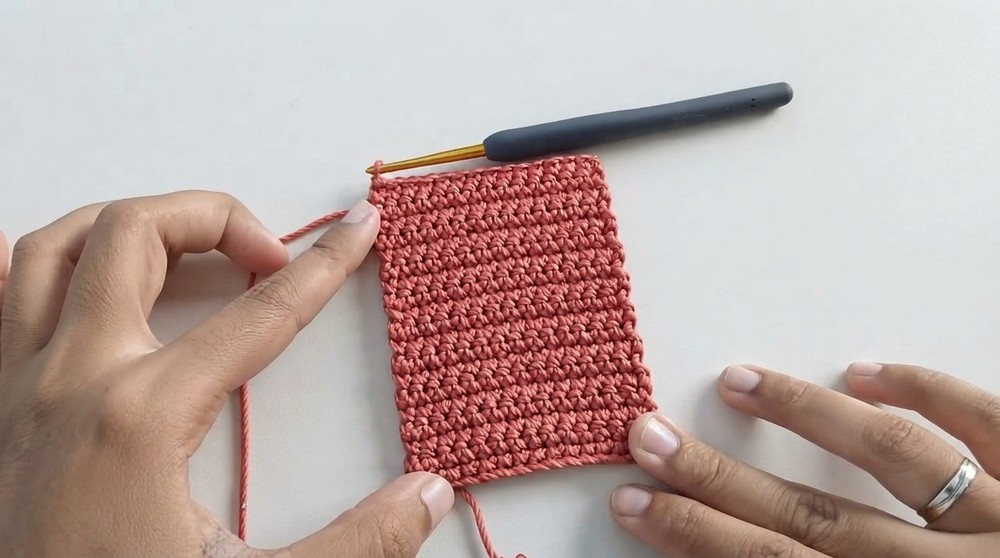
This forms the base rectangle for your wallet, measuring about 9 cm in height by 14 SC stitches wide.
- Chain 15.
- Row 1: Starting in the 2nd chain from the hook, work 14 single crochet (SC) stitches across this foundation chain. Turn.
- Rows 2–19: Work 14 SC in each row, turning at the end of each. Continue back and forth for a total of 19 rows. The piece should measure about 9 cm tall.
2. Main Body & Color Stripes (Rows 20–34)
Extend the body with color stripes for decoration while widening the width by chaining and combining stitches across the base.
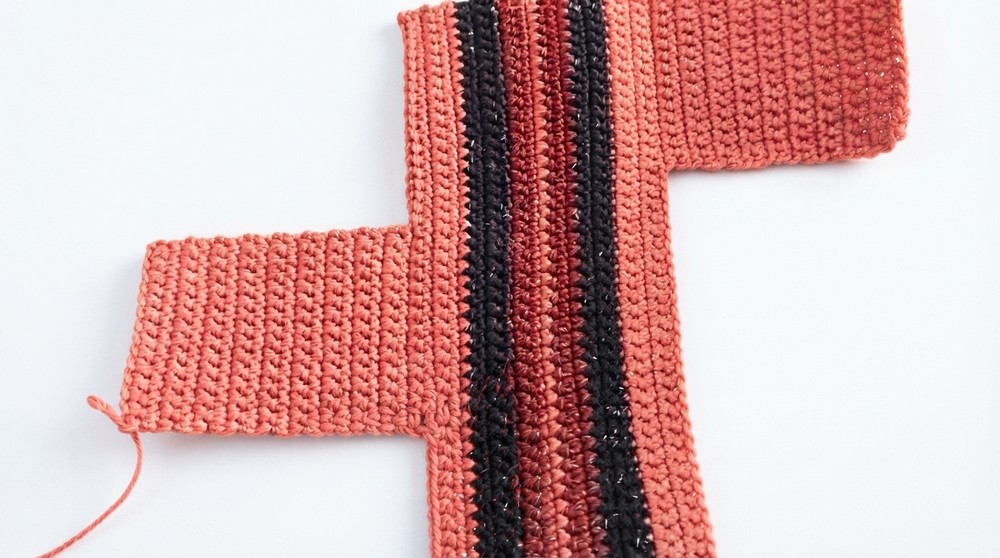
- Row 20: Chain 34, then turn your work. Work single crochet back across the 34 chains, then continuing across the previous base width (14 stitches), totaling 47 single crochet stitches on this row. Turn.
- Row 21–24: Work 4 rows of terracotta single crochet across all 47 stitches. This strengthens the base color. Turn after each row.
- Row 25–27: Change to black yarn. Work 3 rows of single crochet across whole row. Turn after each row.
- Row 28–29: Switch to maroon. Work 2 rows single crochet. Turn after each row.
- Row 30: Return to terracotta. Work 1 row single crochet. Turn.
- Row 31–32: Mirror pattern by working 2 rows maroon. Turn after each row.
- Row 33–35: Work 3 rows black. Turn after each row.
- Row 36–39: Finish this section with 4 rows terracotta. Turn after each row.
3. Edging and Second Flap (Rows 40–58)
Create the top edging and the second flap to serve as a pocket.
- Row 40: Work 14 slip stitches (sl st) evenly across the top edge from the previous row to create a neat border.
- Next, leave a gap by working 5 slip stitches without fastening off, which will form the hinge for the flap.
- Mark the first stitch of this row with a stitch marker (this helps track the starting point for the next flap section).
- From that first stitch, start a new section by working 14 single crochet (SC) back and forth for 19 rows, creating the second flap pocket layer.
4. Assembly
- Fold the completed piece so pockets align correctly: the base layer and the second flap should fold neatly over each other.
- Using a tapestry needle and yarn or appropriate sewing thread, sew the sides with either:
- Whip stitch (jahit lilit): Wrap the needle around edges continuously to bind sides.
- Running stitch (jelujur): In and out stitches along edges for firm attachment.
- Leave pocket openings free for card access.
- Secure stitching ends and weave in securely.
5. Finishing Touches
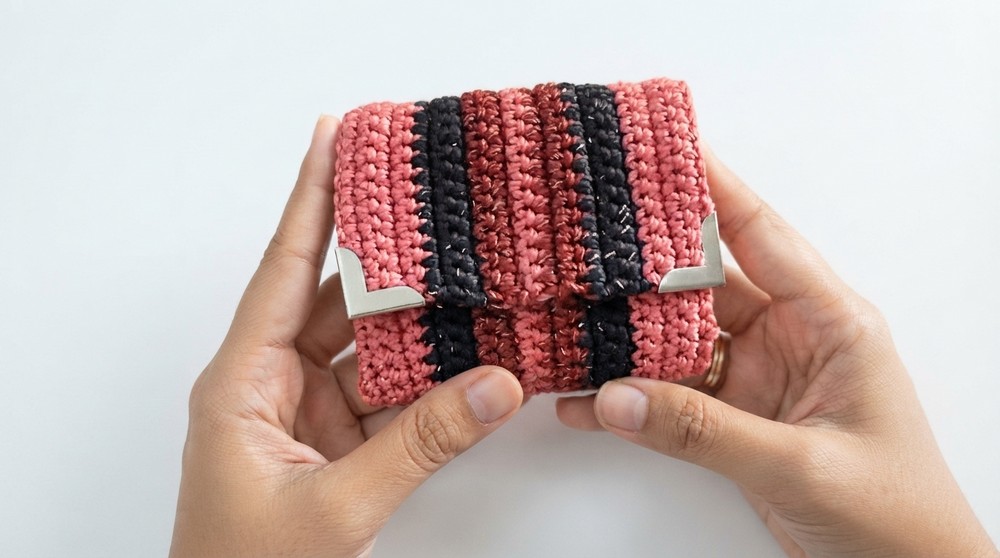
- Apply metal corner guards to the wallet corners for structure and style. Gently press and fix into place.
- Attach a snap button (kancing jepret) to the flap and body for secure closure.
- Weave in all yarn ends and trim securely. Melt ends carefully with a lighter to prevent fraying if using synthetic yarn.
Assembly & Finished Size
- Folded dimensions: Approximately 9.5 cm wide by 9 cm tall.
- Perfect size for standard business cards, credit cards, or folded notes.
- The wallet opens neatly with a hinged flap formed by slip stitch edging.
- Reinforced corners and snap ensure durability and secure storage.
Conclusion
This crochet card holder is a smart fusion of simplicity and style, achieved through basic stitch techniques and thoughtful color striping. Its compact size makes it practical for everyday use, while the glittery yarn adds elegance. The methodical pattern encourages practice of color changes and edging, plus basic sewing skills for assembly, making it ideal for crocheters developing intermediate skills.
Completed with a polished finish featuring metal corner guards and a snap button, your handmade wallet is a distinguished accessory ready to organize your cards with flair. This project reminds us that functional crochet can also be creative and stylish.