Free Crochet Cell Phone Bag Pattern
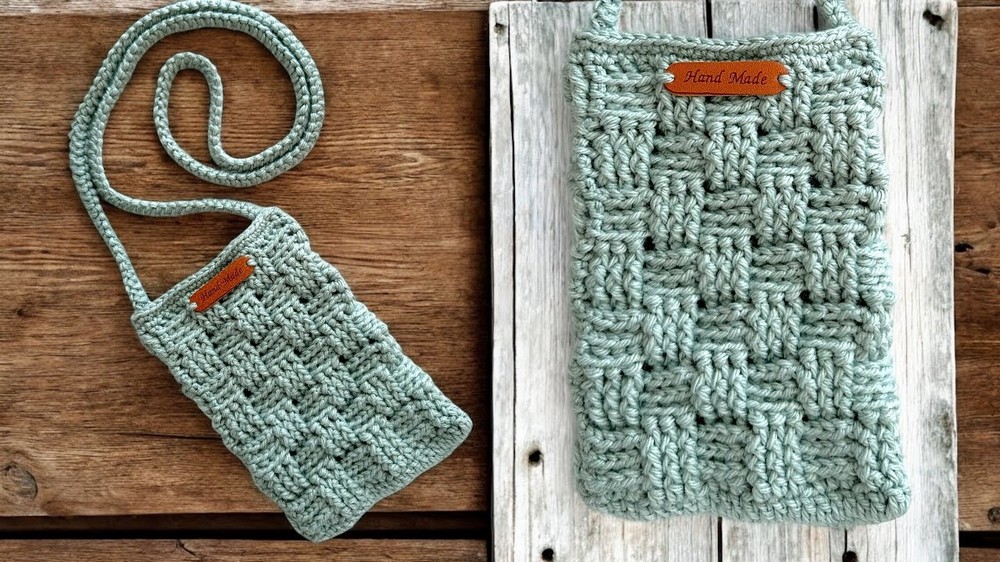
In this crochet tutorial, you’ll learn how to make a textured shoulder bag using the basket weave stitch with double crochets worked in front or back loops only. The tutorial also covers crocheting a durable strap and finishing techniques like invisible joins. By alternating front and back post double crochets, you’ll create a thick, textured fabric ideal for everyday use. Grab your hook and start creating!

This crochet tutorial teaches you how to create a textured shoulder bag using the basket weave stitch. The bag is versatile, functioning as a cell phone bag, everyday bag, or a compact shoulder accessory. The design features a sturdy strap, providing both durability and a stylish appearance. The instructor uses 100% cotton yarn paired with a 3mm crochet hook to achieve a thick, texturized fabric perfect for the project’s intended use.
Free Crochet Cell Phone Bag Pattern
Materials
- Yarn: 100% cotton yarn (worsted or aran weight recommended for thickness and durability; DK/light can also be used for a lighter bag)
- Hook: 3 mm crochet hook (you may use 3.5 mm or 4 mm for a looser, drapier fabric, but 3 mm is recommended for a sturdy bag)
- Notions: Stitch marker, tapestry needle, scissors (optional: handmade tag or button for embellishment)
Key Abbreviations (US Terms)
- ch: chain
- sl st: slip stitch
- sc: single crochet
- dc: double crochet
- fpdc: front post double crochet
- bpdc: back post double crochet
- st(s): stitch(es)
Special Notes
- The bag is worked in rounds and is seamless once joined.
- The “basket weave” effect is created by alternating groups of front post and back post double crochets.
- The strap is a type of sturdy cord formed by turning and crocheting along two edge “bumps.”
- Adjust the length of the strap to your preference.
- The pattern includes an invisible join for a neater finish.
- Pattern is customizable for size by adjusting starting chain (in multiples of 3).
Pattern Instructions
Bag Body
Set-Up / Foundation Row
- Make a slip knot.
- Ch 24 (or adjust as needed for your desired bag width; multiple of 3).
- Ch 3 more (counts as turning chain).
- Dc into the 25th chain from the hook.
- Mark this first dc with a stitch marker. Also, mark the foundation ch at the base.
- Dc in each chain across (working back along foundation), until end.
- In final ch, work 2 dc into same st (for corner).
- Continue to the other side of chain (working into the unused side of the foundation chain):
- Work dc in each st across.
- In the last st (marked), work 2 dc (creates the other bottom corner).
- Sl st into first marked dc to join and close the round.

Round 2 (Set-Up for Basket Weave)
- Ch 3 (counts as first dc).
- Dc into next st (not into the base of the ch-3).
- Dc into next st.
- Ch 1, skip next st, then 3 dc (one in each of the next 3 sts).
- Ch 1, skip 1 st, 3 dc.
- Repeat sequence (3 dc, ch 1, skip 1) around until back to the start.
- Sl st into top of ch-3 at the round’s beginning to close.
Round 3 (Begin Basket Weave)
- Ch 2 (does NOT count as a stitch; for height only).
- Work 3 fpdc (front post double crochet) around the next 3 dc.
- (Insert hook from front to back and back to front around dc post, work dc as usual.)
- Ch 1.
- Next, work 3 bpdc (back post double crochet) around following 3 dc.
- (Insert hook from back to front and front to back around dc post, work as dc.)
- Ch 1.
- Alternate 3 fpdc, ch 1, 3 bpdc, ch 1 around the bag, matching clusters from previous rounds.
- Sl st into the first fpdc to join.
- Repeat steps 1-7 for two more rounds (Rounds 4 and 5), always stacking fpdc on fpdc and bpdc on bpdc, separated by ch-1 spaces.

Alternating the Basket Weave Pattern
- After three rounds, alternate the placement:
- Where you previously worked fpdc, switch to bpdc.
- Where you previously worked bpdc, switch to fpdc.
- Continue this 3-round repeat, alternating every three rounds, until your bag measures desired height.
- In the sample, a total of 21 rounds (7 pattern repeats; 3 rounds each) is made for a standard phone bag.
Top Edging
- After final basket weave round, sl st to join.
- Ch 1.
- Sc in every st around the top edge.
- Be sure to sc into each dc and ch-1 space from previous rounds.
- Sl st into first sc to join.
- Repeat for one more round.
- Finish with invisible join (see “Finishing” below).
Finishing with Invisible Join
- Thread the tail on a tapestry needle.
- Insert needle from front to back under BOTH loops of the next stitch to the left (not the very first sc, but the next one).
- Insert needle from back to front into the back loop of the last sc made.
- Pull snug so this “stitch” sits like a normal sc.
- Weave in end to secure.
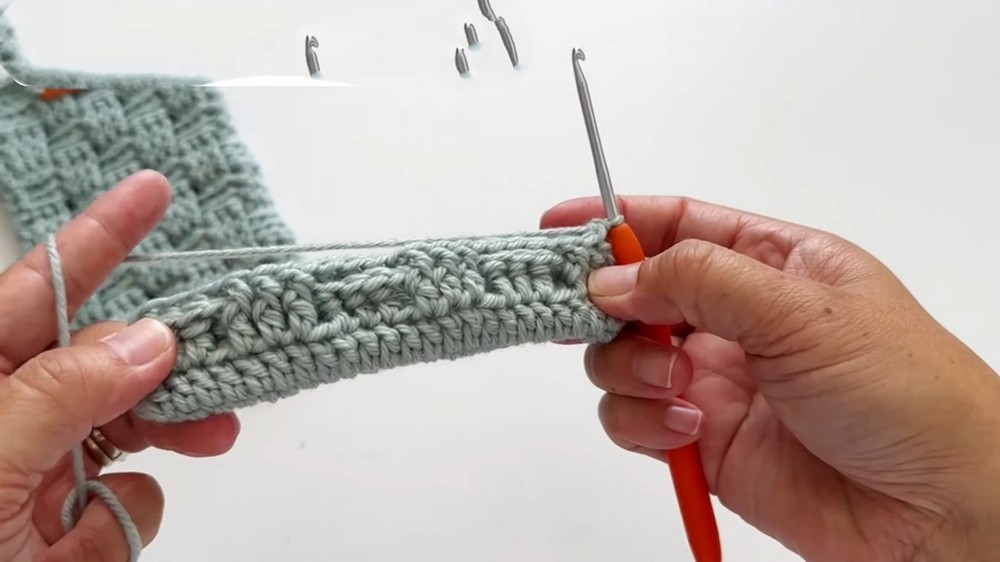
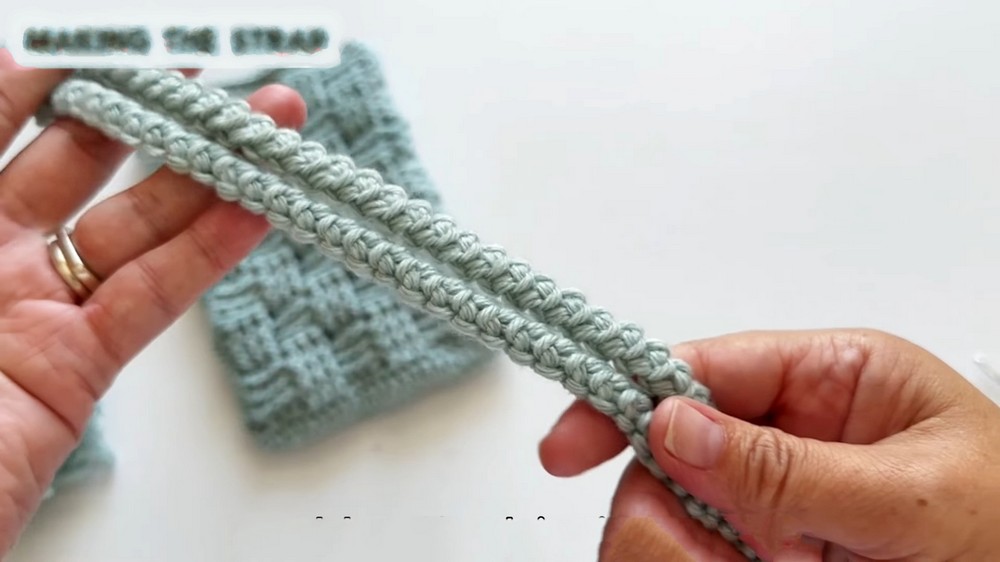
Strap
Simple Cord Strap
- Leave a tail (for sewing to bag).
- Make a slip knot; ch 2.
- Insert hook into first ch, pull up a loop (2 loops on hook).
- Yarn over, pull through both loops (sc made).
- Turn work. You’ll see a bump/“knob” on the edge.
- Insert hook into side bump, pull up a loop (2 loops).
- Yarn over, pull through both.
- Repeat:
- Turn, insert hook under both bumps at edge, pull up a loop, yarn over, pull through both loops.
- Continue in this way, always turning and working under the side bumps.
- Continue until the strap measures desired length (sample: 48″ or 122 cm for crossbody; shorter for shoulder).
- Leave long tails for attaching to the bag.
Attaching Strap
- Insert one end of strap to inside of bag edge (about 1 cm from top/side).
- Thread tail through a needle and sew securely into bag between stitches, working up and down for strength.
- Repeat for other side of bag with other end of strap.
- Weave in excess yarn through thickness of the strap for concealment.

Conclusion
You now have a sturdy, highly textured, and stylish everyday bag worked with the basket weave stitch! The bag is strong enough for daily use, convenient for carrying your cell phone, and the simple cord strap provides both stretch and durability.
Pattern Correction
- After each fpdc/bpdc round, ensure fronts are aligned (“stacked”) for three rows, then switch.
- Be cautious not to miss sc into chain-1 spaces at the top edging; missing them will cause the edge to shrink.
Tips
- Keep strap tension even, and avoid crocheting too tightly, especially for the strap.
- Add a decorative button, tag, or lining for a custom touch.
- Make bag bigger by adjusting starting chains in multiples of three.