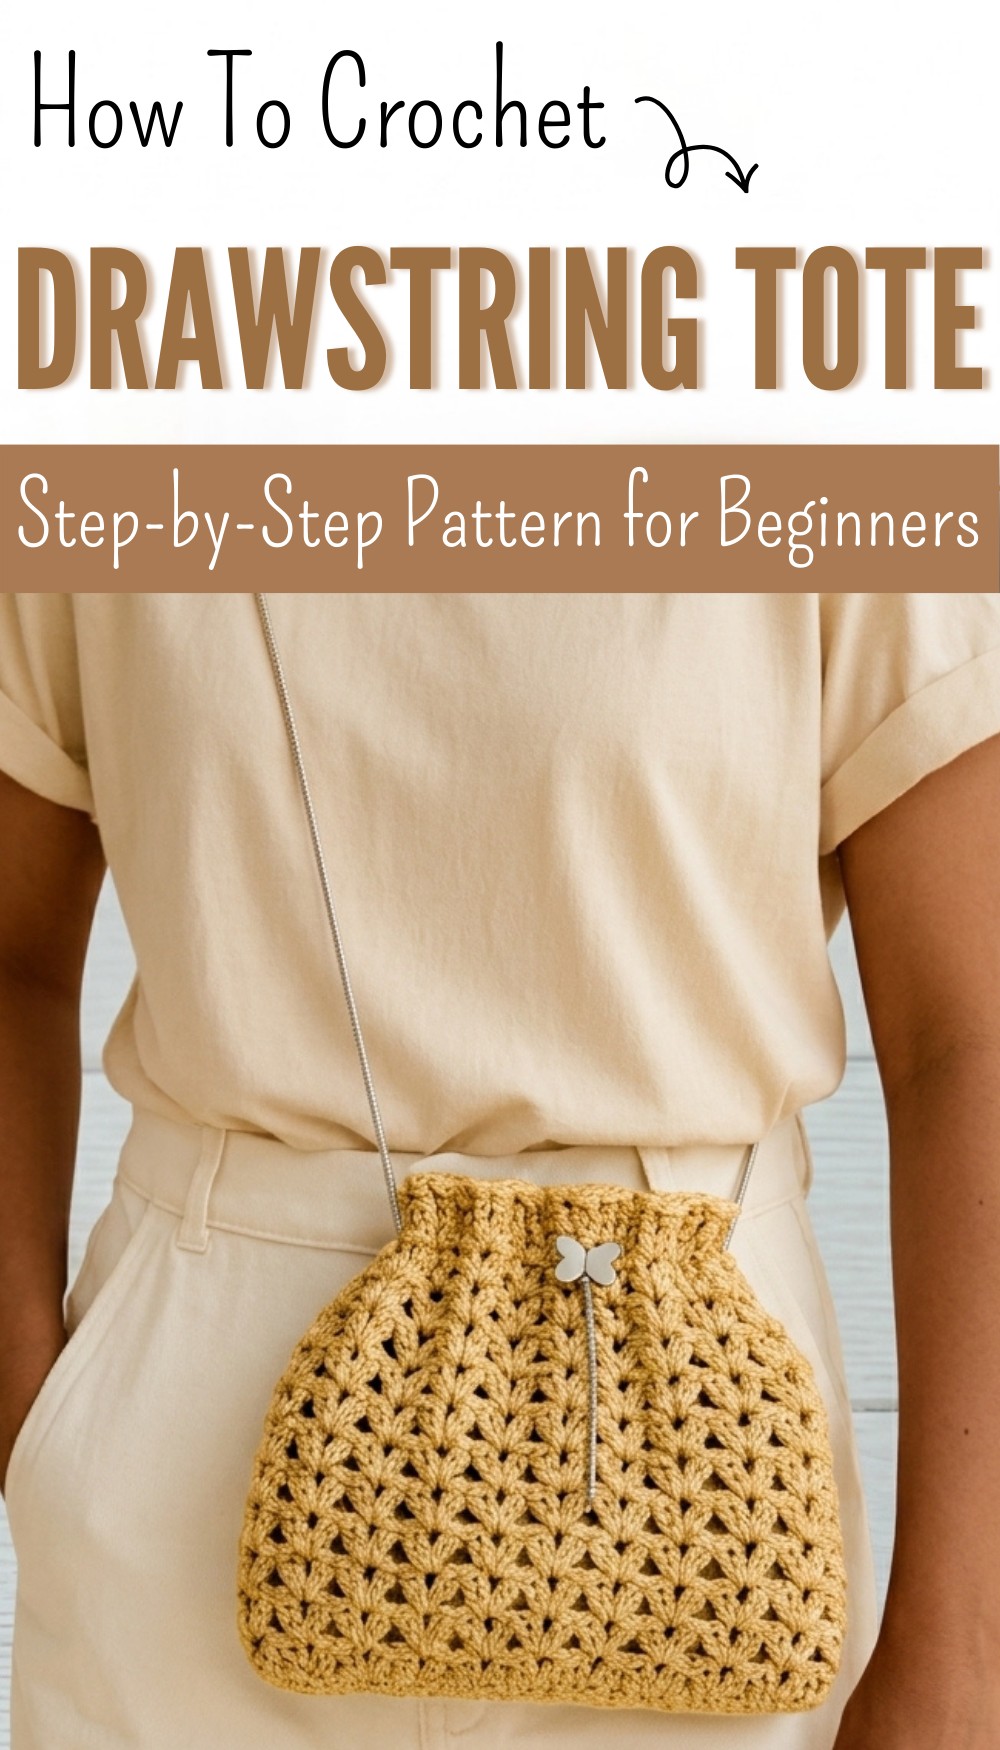
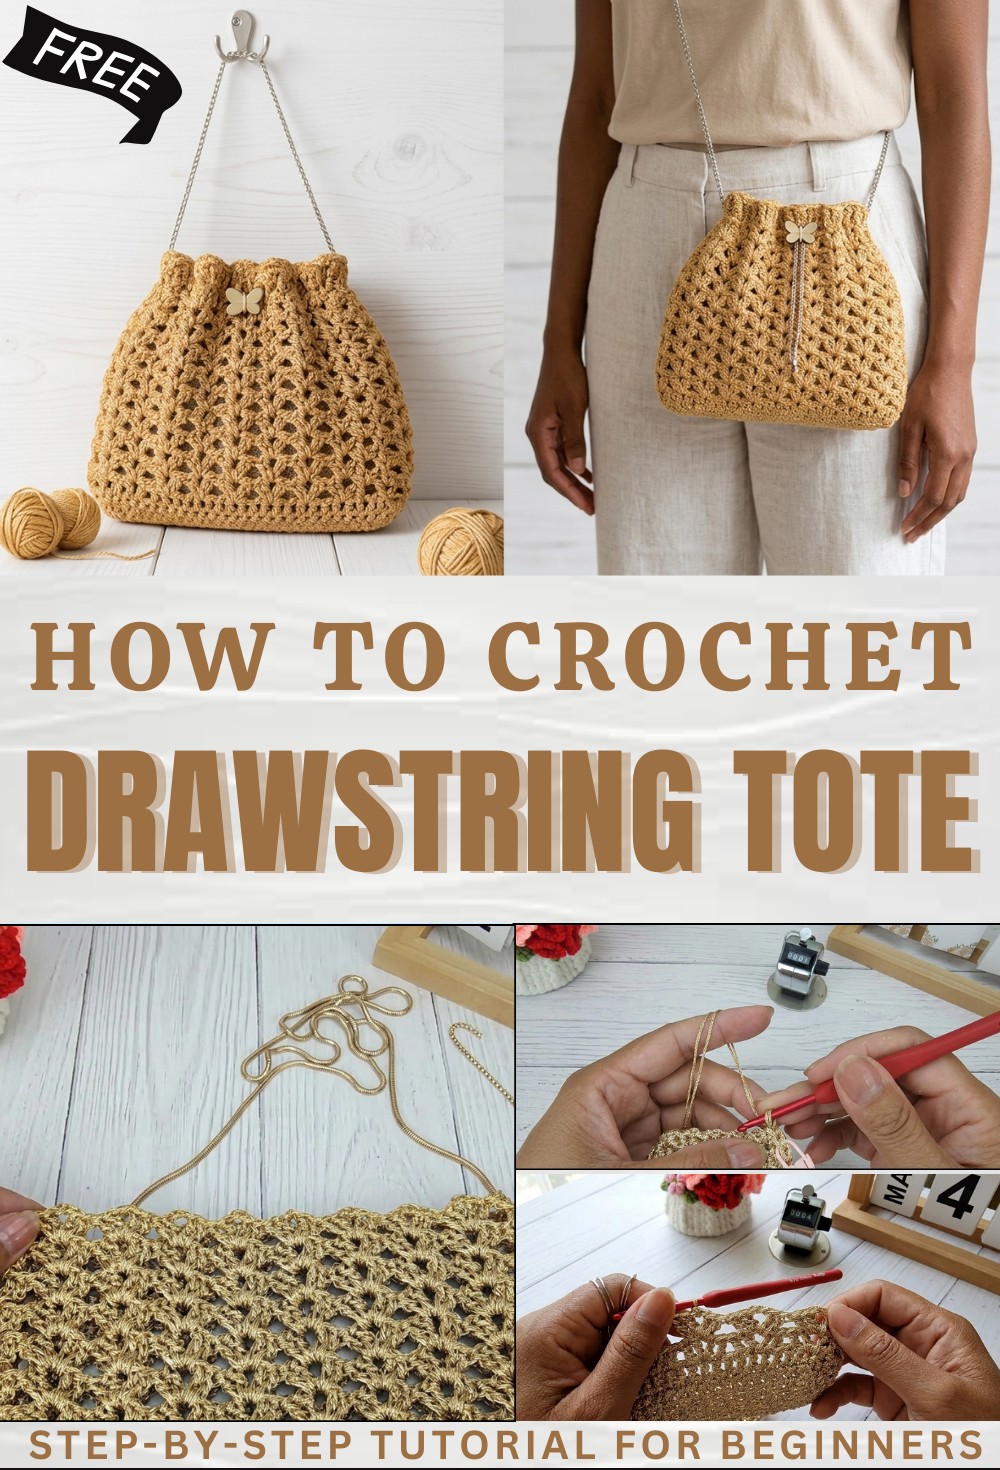
Free Crochet Drawstring Tote Bag Pattern for Fashion and Function
Snag your free crochet drawstring tote bag pattern for effortless style and handy storage that adds charm and color to every outing & errand.
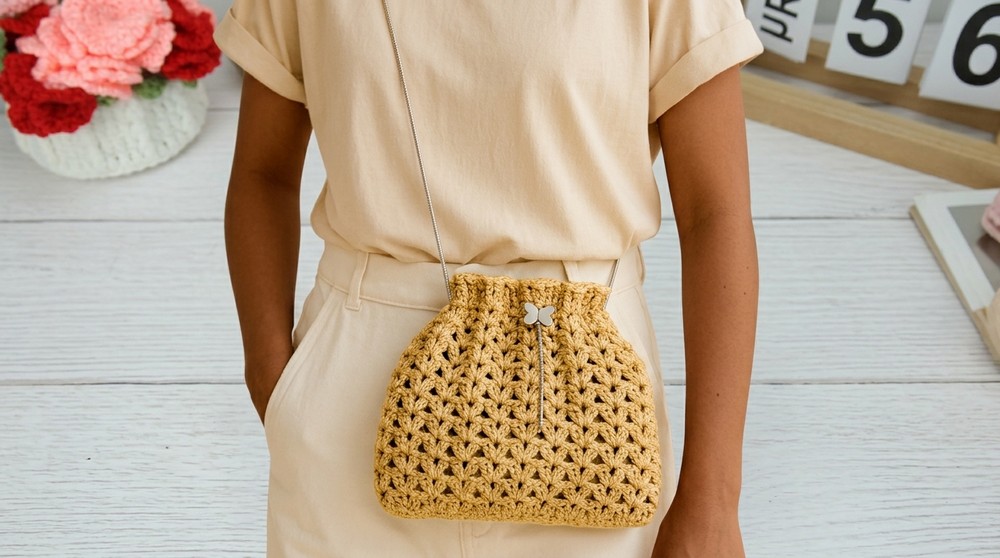
A soft yarn and a simple crochet hook together can make a tote bag that does more than just carry things, it adds beauty and style to any day. It is easy to grab and go whether heading to the market, school, or a picnic. Bright colors and gentle designs give the bag a joyful appearance and make it pleasant to use. The sturdy shape means you can put books, clothes, food, or toys inside without worry.
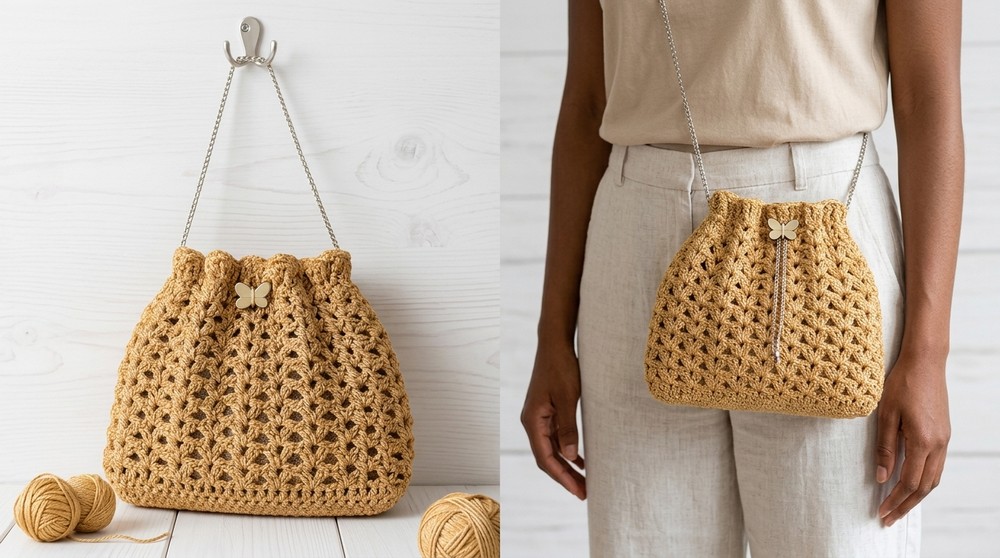
Free Crochet Drawstring Tote Bag Pattern With Trendy Style
One special feature is the drawstring at the top. This helps keep belongings safe and makes closing the bag simple. With a crochet drawstring tote bag pattern, even someone new to using yarn and hooks can make their own bag easily. No need for hard steps or special tools. The finished result is both useful and charming, bringing the warmth of homemade care to every outing and showing off personal style in a practical way.
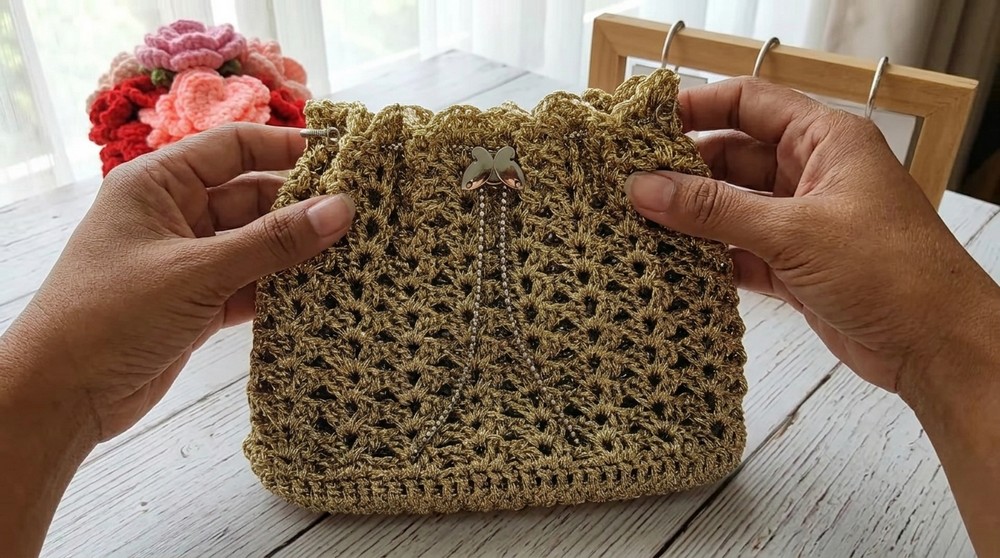
Round Crochet Bag Pattern
Materials
- Yarn: Three strands of 1 mm yarn (held together for a sturdier fabric; cotton is recommended for bags)
- Hook: 3.5 mm crochet hook
- Notions: Scissors, tapestry needle, stitch markers (recommended)
- Optional: Lining fabric, zipper or snap for closure, decorative elements
Key Abbreviations
- ch – chain
- sc – single crochet
- dc – double crochet
- sl st – slip stitch
- rep – repeat
- st(s) – stitch(es)
Special Notes
- Always hold three strands of yarn together as you crochet, unless otherwise noted.
- Keep your chains and tension even for a neat finish.
- Stitch markers are strongly recommended at corners and at the start of rounds to help you stay on track.
- The bag is crocheted in the round and forms an oval/round shape.
Pattern Instructions
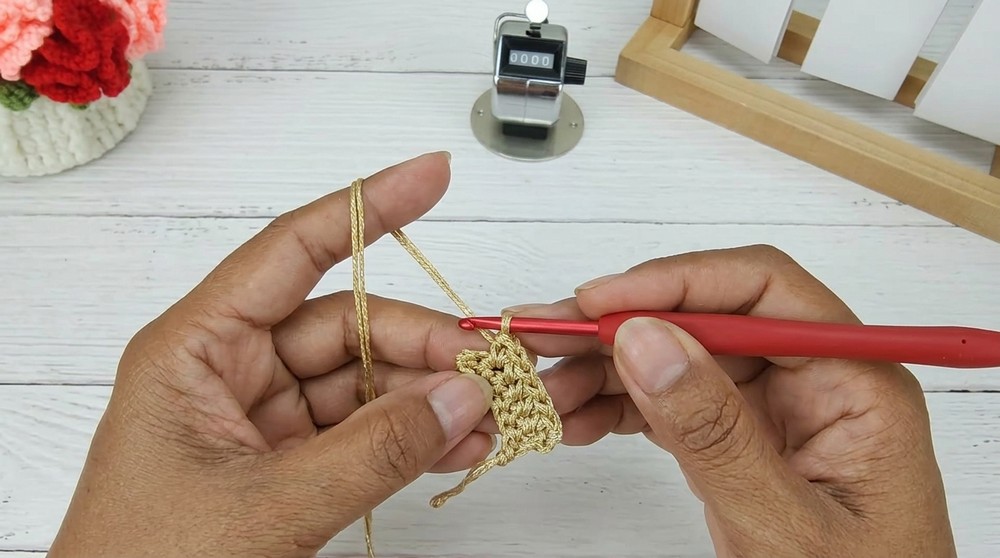
1. Bag Base
- Foundation:
- Ch 7.
- Row 1:
- Working into the back bump of each chain, sc in 2nd ch from hook and each ch across (6 sc).
- Rows 2–30:
- Ch 1, turn, sc in each st across (6 sc).
- Rep this process until you have 30 rows.
- Tip: Always count to make sure you have 6 sts in every row.
You have now created a sturdy rectangle for the base. Do not fasten off.
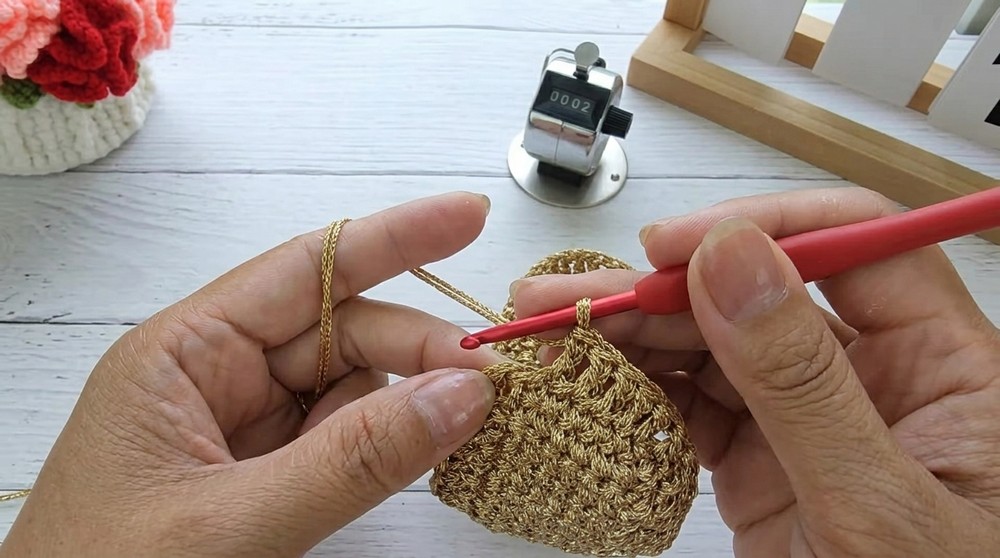
2. Bag Body Setup
- Body Round 1:
- Ch 1, work 72 sc evenly around all four edges of the rectangle. Place 3 sc in each corner if desired for a rounder edge.
- Join with sl st to the first sc.
- Tip: Place stitch markers at each corner to help you track the beginning and end of your rounds.
3. Body Round 2
- Ch 2 (counts as first dc), dc in each st around (72 dc total).
- Join with sl st to the top of the first dc.
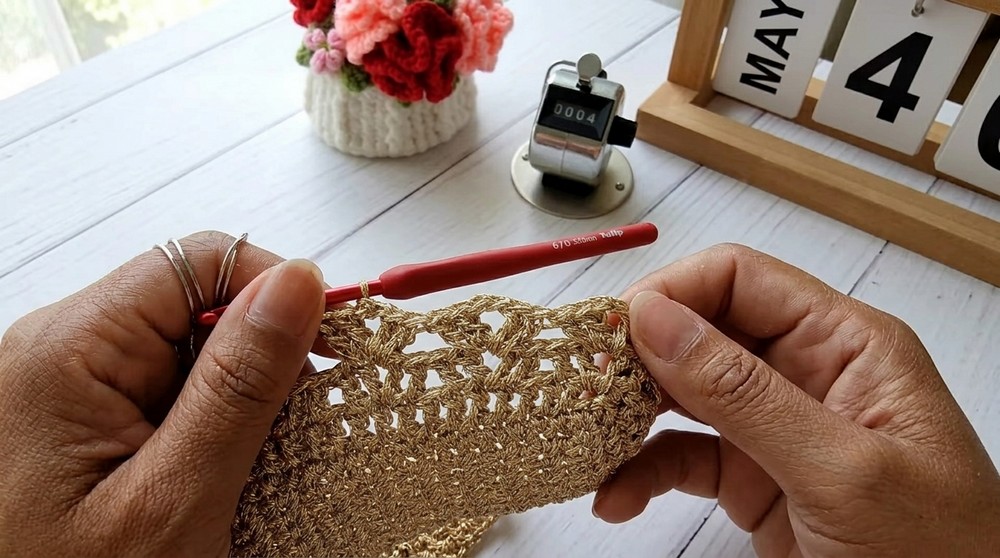
4. Body Round 3
- Ch 2, [dc, ch 2, dc] all in same st, skip next st, dc, ch 2, dc in next st, skip 1 st;
- Rep [dc, ch 2, dc in next st, skip 1 st] around.
- Join with sl st to the first dc.
5. Body Rounds 4–15
- For each round:
- Ch 2, in each ch-2 space: 2 dc, ch 2, 2 dc.
- Continue around, placing the (2 dc, ch 2, 2 dc) cluster in each ch-2 space from the previous round.
- Join with sl st at the end of each round.
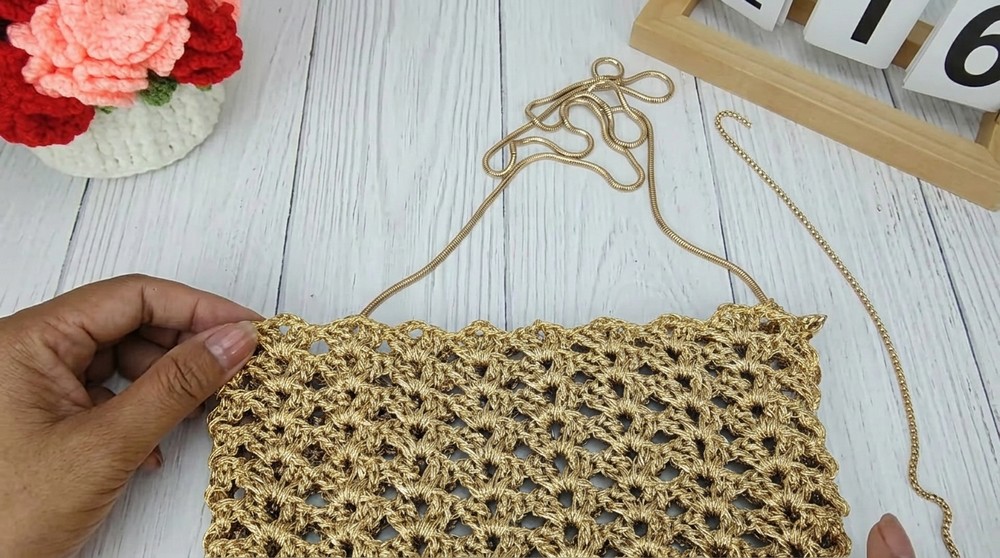
6. Finishing
- Fasten off your yarn and weave in all ends securely with the tapestry needle.
- Optional: Attach a zipper or sew in a lining for extra durability.
- You can also crochet a strap or use a purchased chain/handle as desired.
Conclusion
You have now completed a beautiful, sturdy round crochet bag perfect for daily use or gifting. This project is simple to construct and features a classic round shape that complements many outfits and styles.
Pattern Correction & Tips
Correction
- Always ensure you are working into the correct spaces (ch-2 spaces) on Rounds 4–15 to maintain a round shape.
- Adjust the stitch count for the base as needed based on your desired bag size, but always match up the body round stitch counts for a smooth shape.
Tips
- Keeping tension even (especially with multiple strands held together) results in a neater, more durable bag.
- Use stitch markers at corners and on the first st of each round for better accuracy.
- If your rounds are ruffling or curling, adjust your hook size or the number of stitches to maintain flatness.
- For a more professional finish, consider adding a fabric lining or inner pocket.
- The bag can be easily embellished with tassels, buttons, or embroidery for extra charm.