Free Crochet Maple Leaf Pattern for Beginners
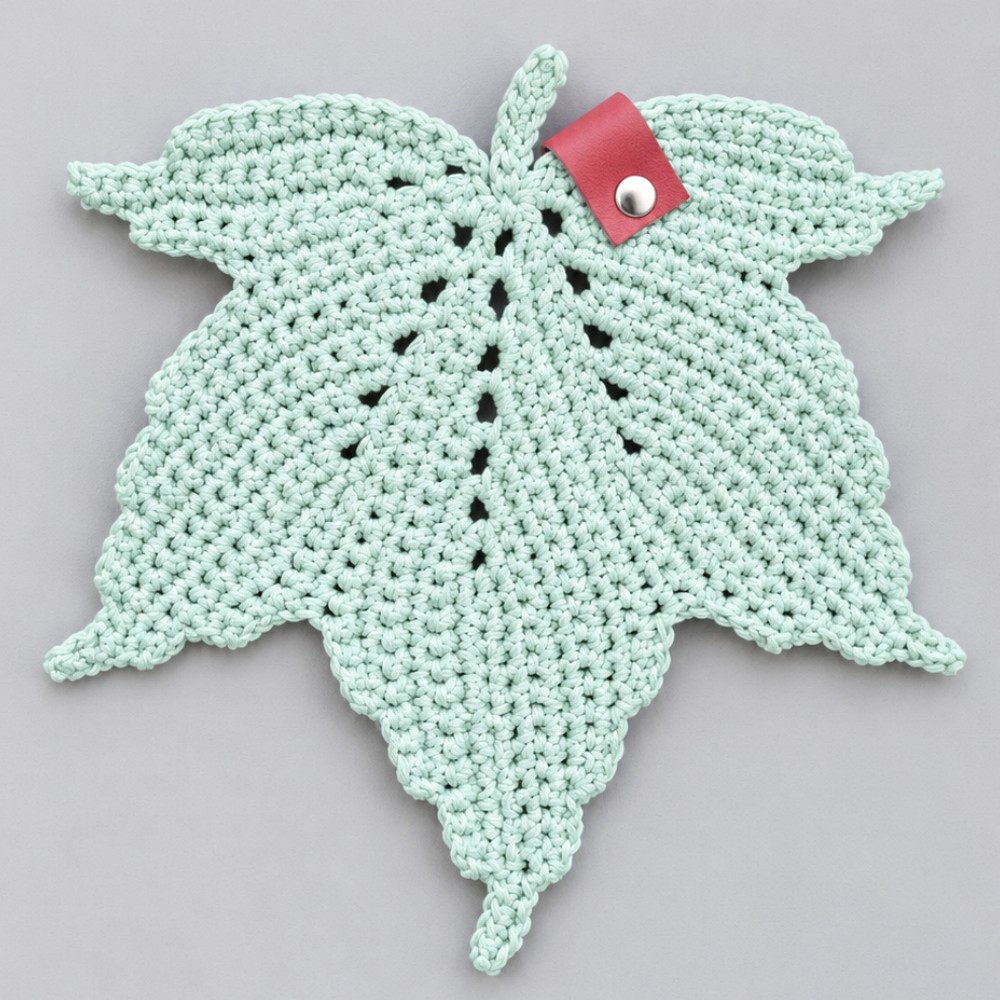
Decorate your space effortlessly using this free crochet maple leaf pattern that blends simplicity and warmth, ideal for cozy, nature-inspired designs.
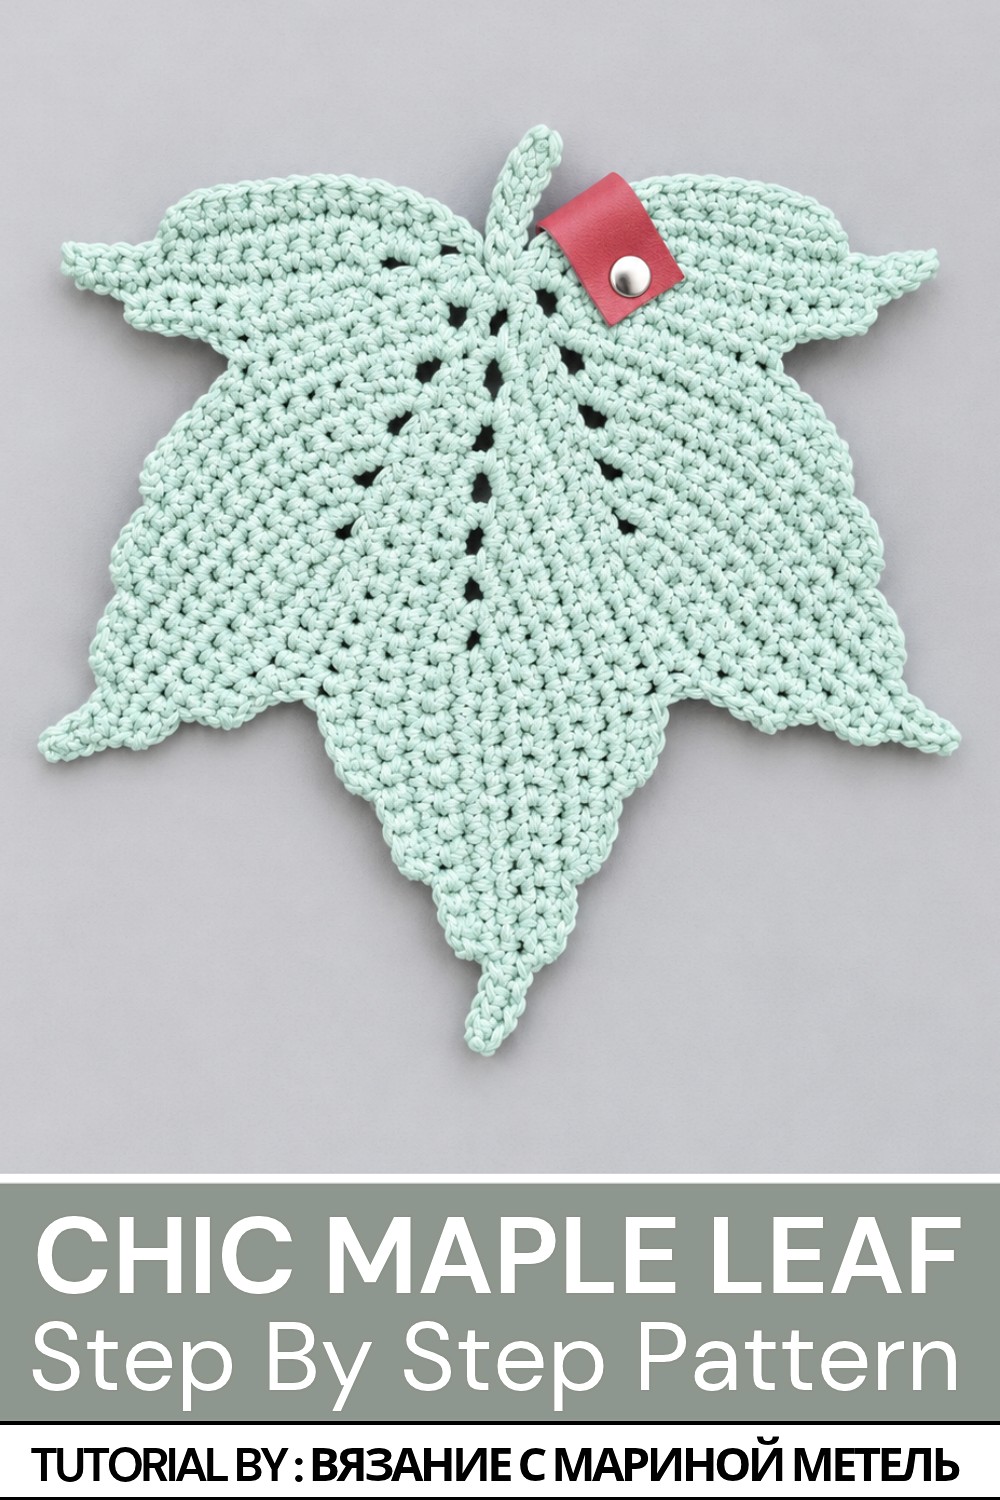
Bring the beauty of autumn into your crochet projects with a lovely handmade leaf! The Free Crochet Maple Leaf Pattern is a fun way to make a leaf decoration using yarn and a crochet hook. It is inspired by the maple leaf, known for its pointed edges and pretty shape. If you enjoy learning new crochet ideas through videos, visit the YouTube channel Вязание с Мариной Метель for knitting and crochet inspiration. This project is a great choice for anyone who loves nature-inspired project and wants to create something beautiful with their own hands.
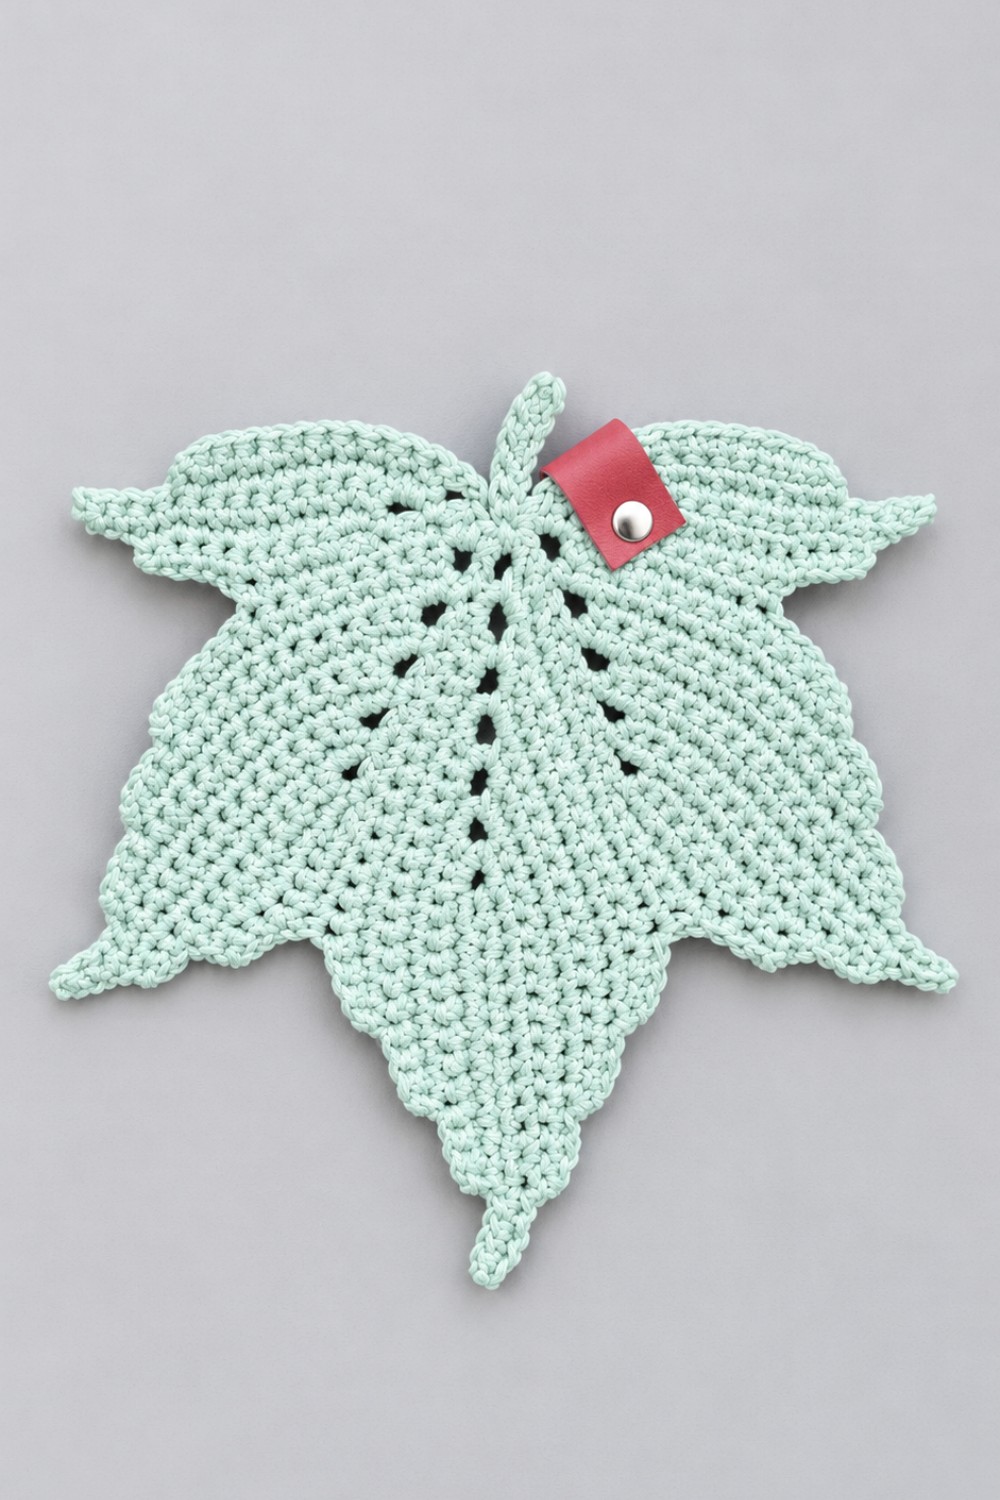
The best part of this crochet maple leaf is its natural beauty and lovely shape. Its pointed tips make it look like a real maple leaf, while the yarn stitches give it a soft, cozy texture. You can use bright red, orange, yellow, or brown yarn to create a warm autumn look. Green yarn is also a nice choice for a fresh style.
Free Crochet Maple Leaf Pattern for Home Decor
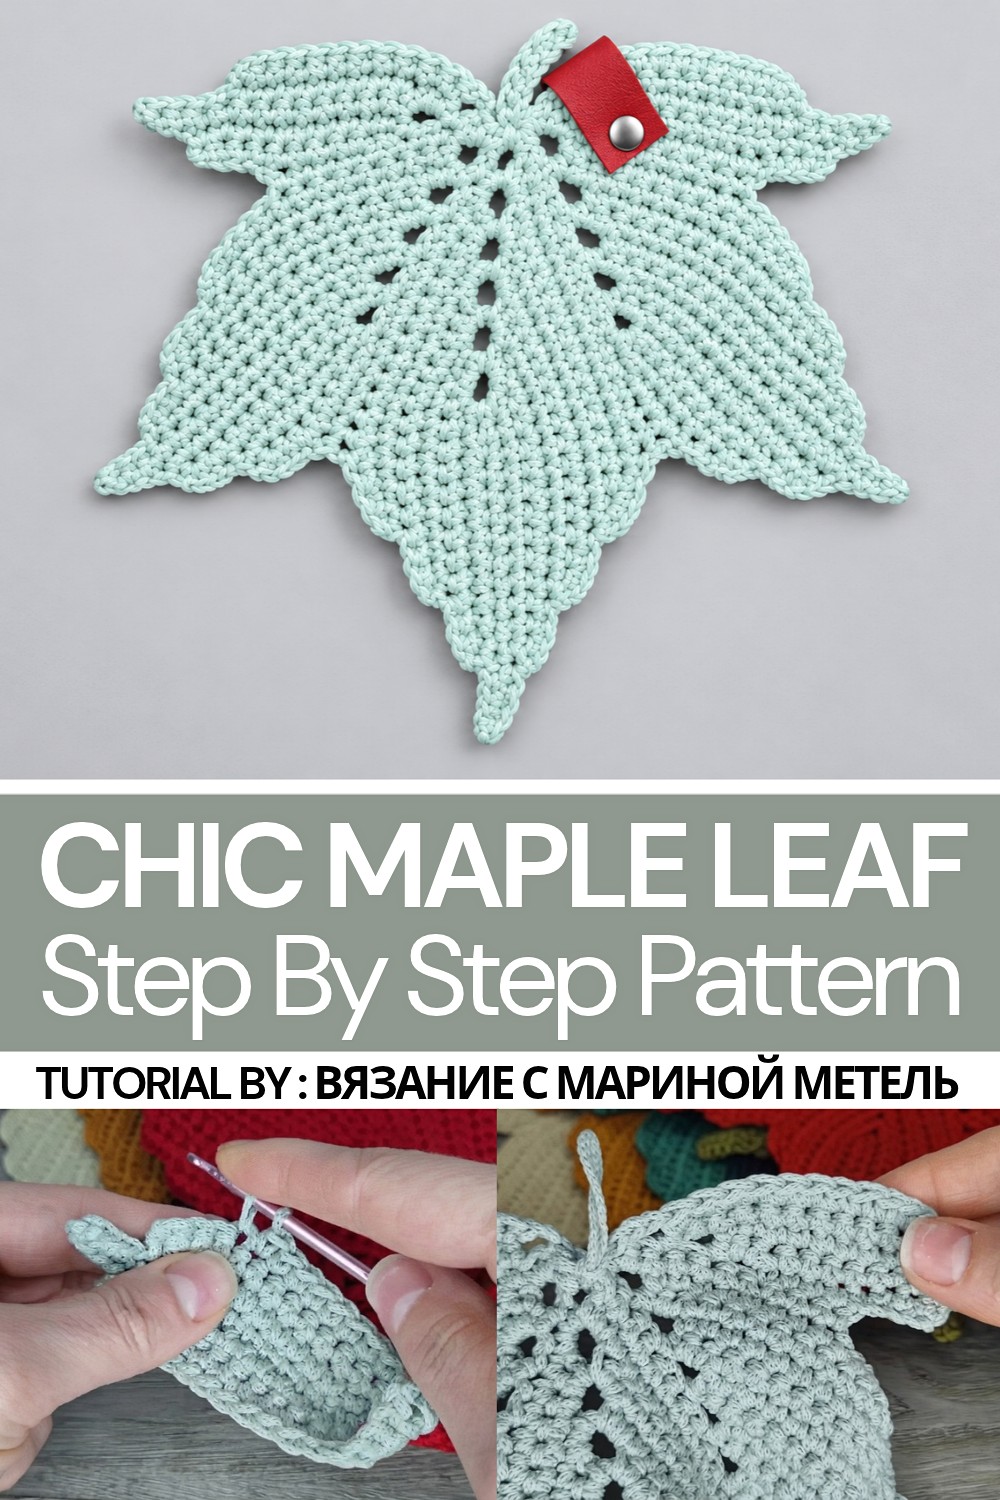
The clear edges and small details make this handmade leaf stand out. You can make each leaf look different by changing the yarn color and texture. This free crochet leaf pattern can be used in many creative ways. Add your finished maple leaf to scarves, bags, hats, gift wraps, or handmade cards. It can also look beautiful as a table decoration or part of an autumn wreath. Make several leaves in different colors to create a lovely fall display.
This crochet project is a fun way to practice your skills while making something useful and pretty. Choose your favorite yarn, pick up your crochet hook, and enjoy creating a charming maple leaf. Whether you use it for home decor or as a handmade gift, this little leaf can add a special touch to your handmade collection.
Crochet Maple Leaf Pattern – Easy Step-by-Step Guide
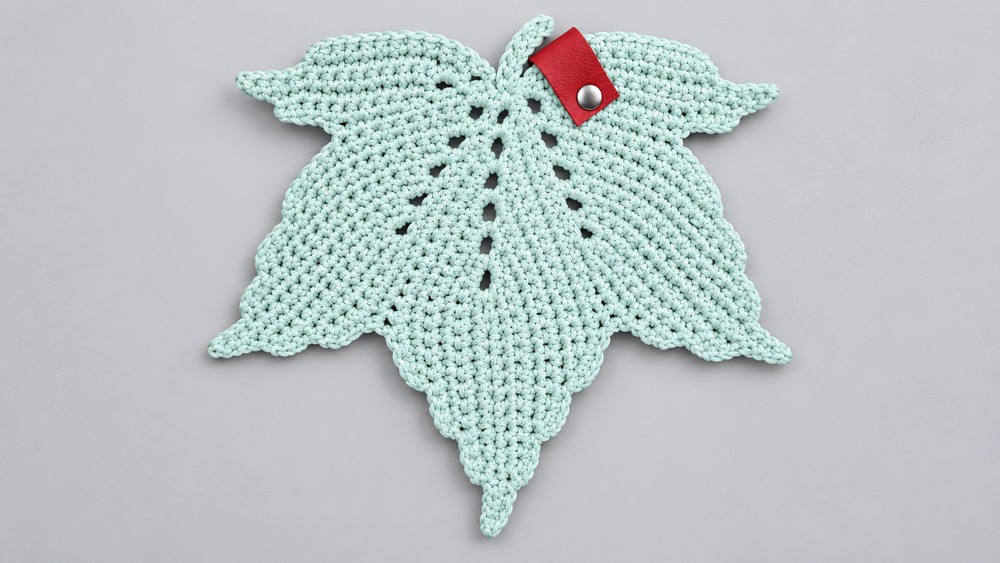
This pattern teaches you how to crochet a beautiful maple leaf using polyester cord or yarn. The leaf’s distinct pointed lobes and jagged edges are formed through carefully placed single crochet stitches and chain arches. This decorative piece can be used as an appliqué, embellishment, or seasonal decor. This guide breaks down each step clearly, making it simple for beginners to follow and create a lovely leaf.
Pattern Highlights
- Central motif with 7 pointed arches made from chain stitches
- Jagged side lobes shaped by strategically skipping and working single crochet (sc) stitches
- Leaf stem created by chaining and working single crochet back down the chain
- Stitches worked into the back bumps of chains for crisp edges
- Recommended steam blocking to flatten and shape the finished leaf
Notes
- Working stitches in the back bumps of chains helps create sharp edges for the leaf points.
- Blocking your finished leaf with steam will help it lay flat and show off the points clearly.
- Carefully secure and melt polyester cord ends with a lighter to prevent fraying.
- Maintain consistent tension throughout for even shaping.
- This pattern primarily uses single crochet (sc) stitches and chain stitches.
Skill Level
Suitable for beginner to intermediate crocheters who:
- Are comfortable with chain (ch) and single crochet (sc) stitches
- Can follow step-by-step instructions for shaping
- Are familiar with working into the back bumps of chains
- Know how to finish and secure ends properly
Materials
- 2 mm polyester cord or yarn (about 37–40 meters)
- 3.5 mm crochet hook (or appropriate size for your cord/yarn)
- Scissors
- Lighter (to seal ends)
- Optional: smaller hook or needle for weaving in ends
Measurements / Sizing
- Finished leaf size varies depending on yarn thickness and tension, generally similar to a medium-sized maple leaf.
- Using 2 mm cord and a 3.5 mm hook creates a small, delicate leaf perfect for appliqué or decoration.
Gauge and Stitch Pattern
- Gauge is flexible; tension should be consistent to keep shaping neat.
- Pattern uses mostly single crochet (sc) stitches worked into the back bumps of chains and a series of chain arches (chains of 2 or 4 stitches) to create lobed edges.
Stitch Abbreviations
| Abbreviation | Meaning | Description |
|---|---|---|
| ch | Chain | Basic foundation stitch |
| sc | Single Crochet | Tight, basic stitch |
Special Techniques
Single Crochet in the Back Bump
- Insert your hook into the small ridge at the back of the chain stitch instead of the top loops.
- This results in neater edges with sharper points on the leaf.
Chain Arches
- Chains of 2 or 4 stitches made between sections of single crochet to form scalloped points on the leaf lobes.
The Crochet Pattern!
Step 1: Foundation and Starting Row
- Make a slip knot and place it on your hook.
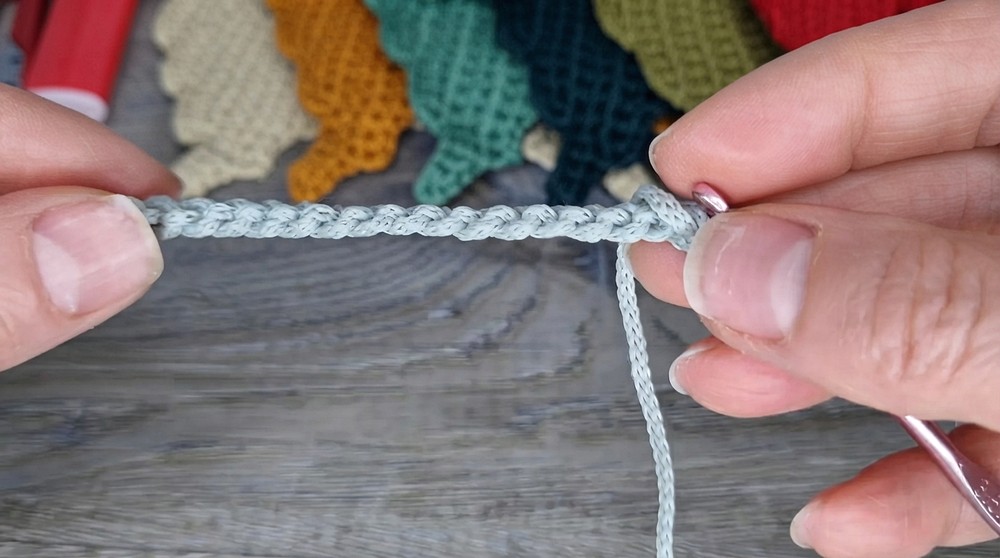
- Chain 17 stitches evenly (do not twist your chain).
- Skip the first loop closest to the hook.
- Work 16 single crochet (sc) stitches into the back bumps of the chain starting from the second chain from the hook. This creates a firm, neat foundation row.
Step 2: Form 7 Central Arches
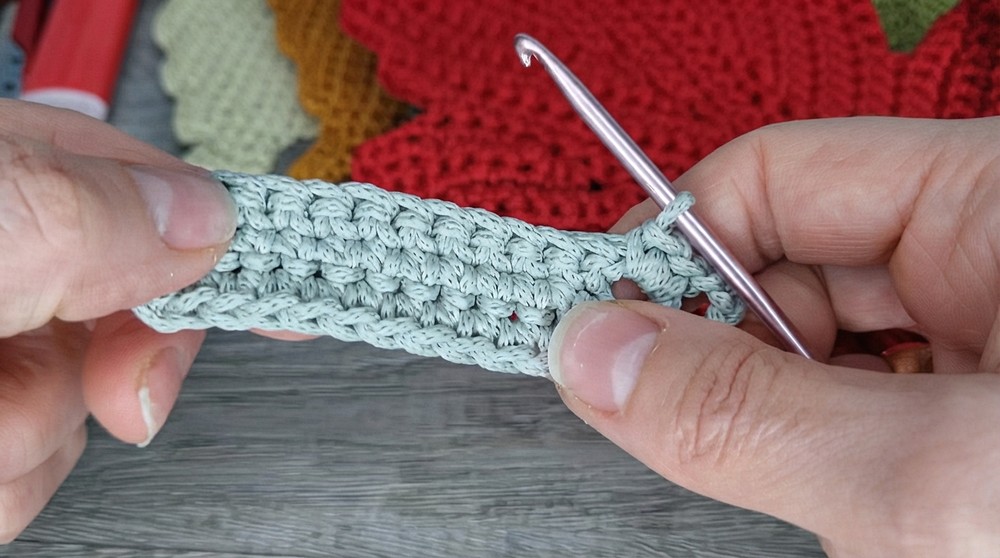
- The main part of the leaf is made of 7 arches built using chains of 4 stitches each.
- Work rows that combine single crochet (sc) stitches and chain arches.
- For each arch, chain 4 to make the “point” of the leaf, then continue working single crochet stitches between arches.
- Use increases and decreases by adding or skipping stitches strategically to shape sharp lobes for the leaf.
- Follow the pattern row by row, carefully counting stitches to maintain symmetry.
Step 3: Create Jagged Side Lobes
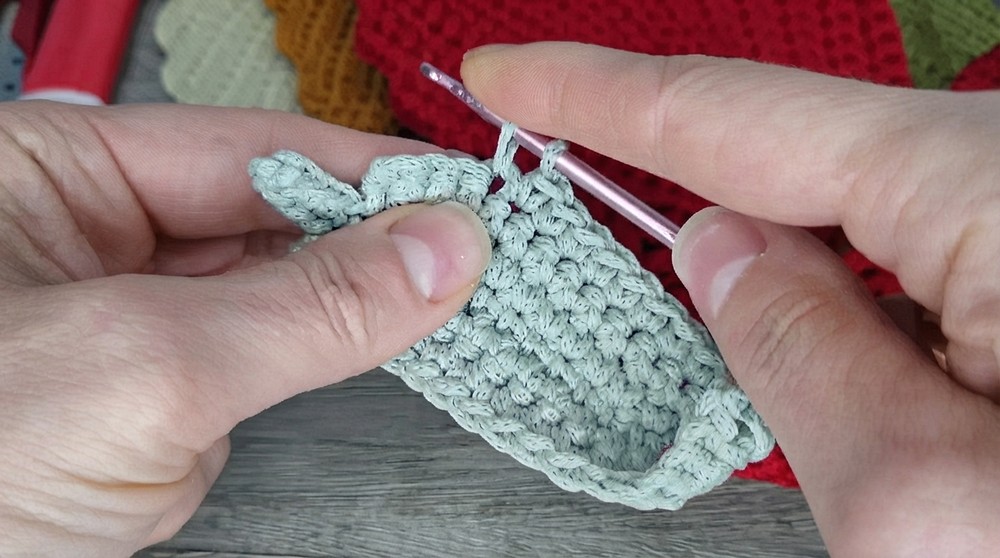
- Work alternating rows on right and left sides to build smaller lobes of the leaf with jagged edges.
- Use single crochet (sc) stitches leaving certain stitches unworked to create serrations.
- Chain arches of 2 or 4 stitches serve as turning points and create the lobe shapes.
- Continue alternating sides until both leaf edges have defined points.
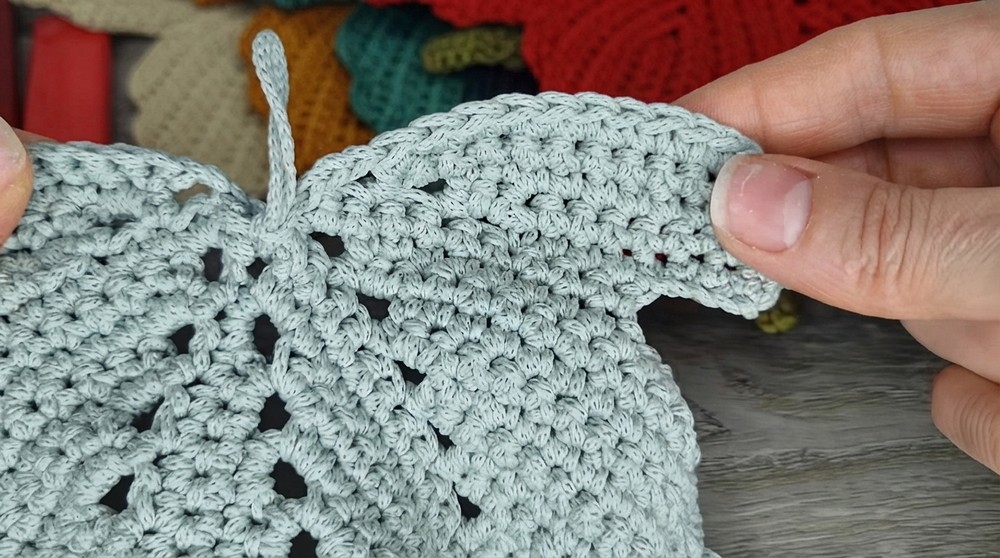
Step 4: Finish Leaf Shape and Add Stem
- Complete the final rows of single crochet (sc) stitches to refine leaf shape and pointed lobes.
- To make the stem:
- From the base of the leaf, chain 7 to 10 stitches depending on desired length.
- Work single crochet (sc) stitches back down the chain to the base, forming a sturdy stem.
Step 5: Final Touches
- Fasten off your yarn or cord by pulling the tail through the last loop and securing it on the back side of the leaf.
- Use scissors to trim the tail neatly.
- Melt the cut end gently with a lighter to avoid fraying (only if using polyester cord).
- Weave in any loose ends with a small hook or needle.
Optional: Steam Blocking
- Lightly steam block the finished leaf to flatten and define its sharp points.
- Hold a steaming iron or fabric steamer close but without touching the leaf directly.
- Pin the leaf flat on a surface if needed to hold its shape while drying.
Assembly & Finished Size
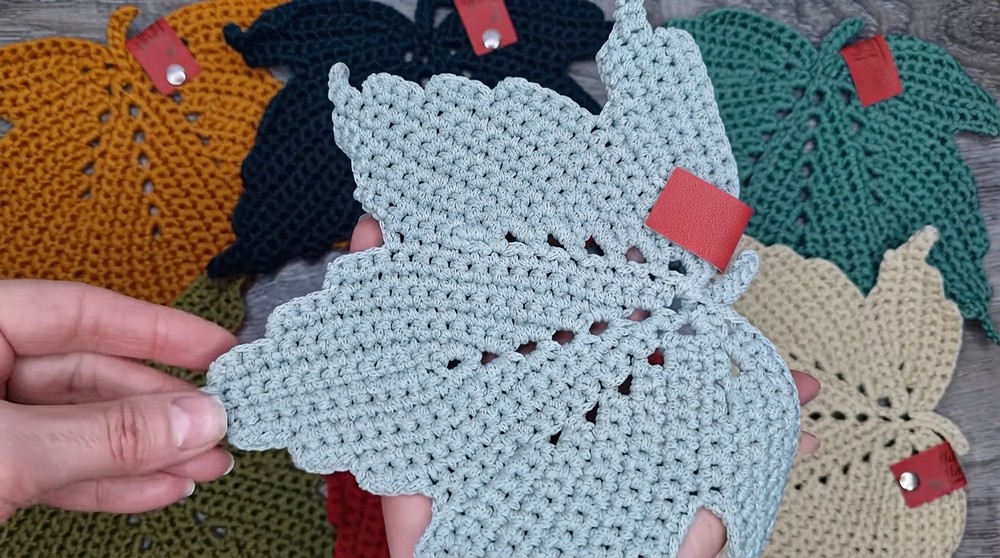
- This maple leaf has a well-defined central body with characteristic pointed lobes and jagged side edges.
- The curled stem completes the shape, making it perfect as applique or a decoration piece.
- Size will vary by yarn and tension but should be proportional to an average maple leaf when following materials and instructions.
- Blocking improves flatness and enhances sharp edges.
Conclusion
This crochet maple leaf pattern breaks down intricate shaping into simple steps using mostly single crochet (sc) stitches and chain arches. Working in the back bumps of chains and strategically placing chain arches gives the leaf its characteristic sharp points and textured lobes. The stem extension ties the motif together beautifully. Beginners and intermediate crocheters can easily follow this pattern to create a charming natural accent that can add a handmade touch to your projects. Proper finishing and steaming grant professional polish to your leaf.