Free Crochet Pansy Flower Granny Square Pattern for Blankets
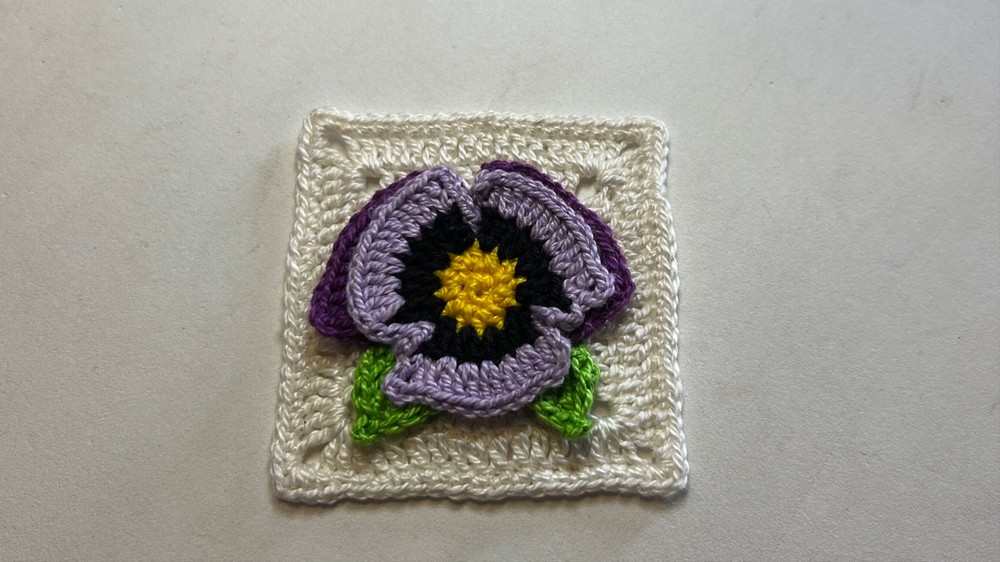
In this post, you’ll learn how to crochet a pansy flower granny square for spring with a step-by-step tutorial for beginners. The tutorial explains how to construct the pansy flower in seven rounds, followed by crocheting two leaves. Finally, it demonstrates forming the granny square around the flower over four rounds, concluding with a seamless finish. Follow through with us for the complete tutorial!
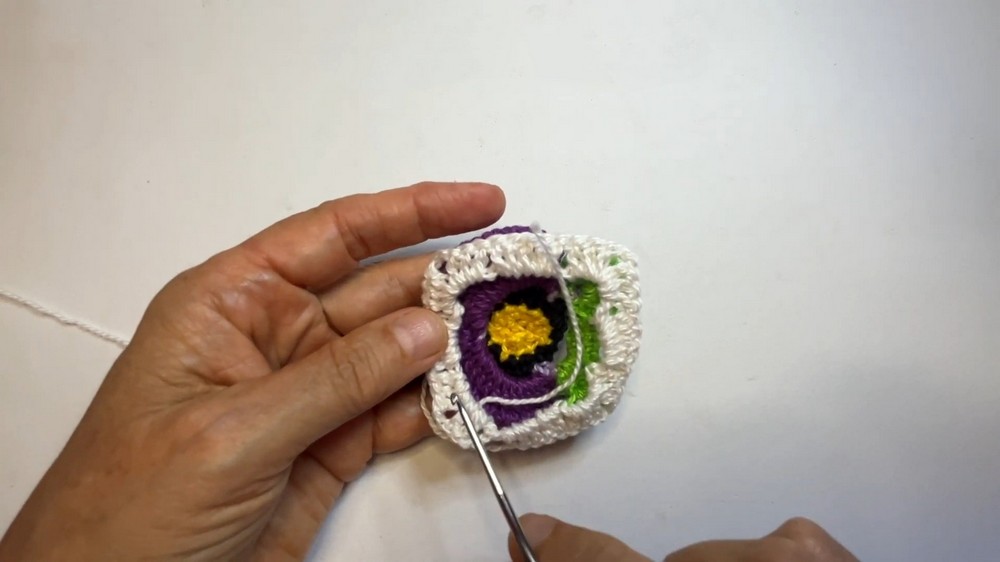
The video begins by showcasing the completed pansy flower granny square, highlighting its intricate design and vibrant colors. It emphasizes the potential for using this square in various crochet projects, such as blankets, garments, or decorative items.
Crochet Pansy Flower Granny Square – Step-by-Step Pattern
Materials
- Yarn: 6 different colors 100% cotton yarn, light or sport weight recommended
- Hook: 2.0 mm crochet hook
- Notions: Scissors, tapestry needle
Key Abbreviations (US Terms)
- ch: chain
- sl st: slip stitch
- sc: single crochet
- hdc: half double crochet
- dc: double crochet
- tr: treble (triple) crochet
- st: stitch
- sp: space
- rep: repeat
Special Notes
- Change colors as indicated for each flower/petal/leaf section.
- Stitch counts at the end of essential rounds for reference.
- Work Rounds 1–7 for Flower/Petals, Leaf section, then Square Rounds.
- Read instructions fully before beginning each section.
Pattern Instructions
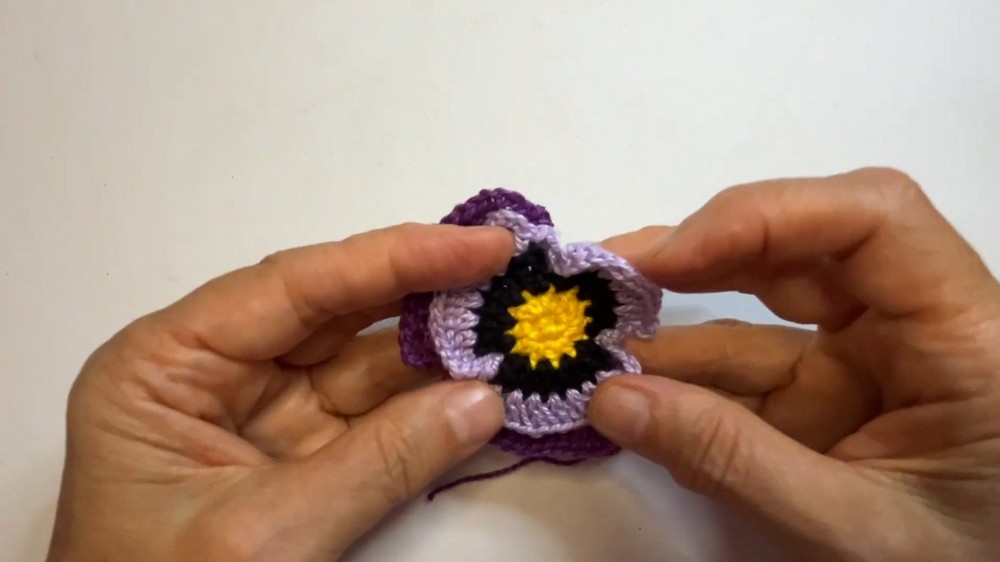
The Flower
Round 1
- Start with a magic ring.
- Ch 1 (does not count as a st), then work 6 sc into the ring.
- Pull ring closed, sl st into the first sc to join. (6 sc)
Round 2
- Ch 2 (counts as first hdc), 1 hdc in the same st.
- Work 2 hdc in each st around. (12 hdc)
- Join with a sl st on top of the beginning ch-2.
- Ch 1, fasten off, and cut yarn.
- Weave in the tails.
Round 3 (1st Set of Petals)
- Join new color. Into any st: 1 sc, ch 3, 1 dc in same st.
- In each of the next 2 st: 2 dc in each (4 dc total).
- In next st: 1 dc, ch 3, 1 sc in same st (completes petal).
- Repeat from the beginning 2 more times to form 3 petals (in total: 3 petals).
- Sl st to join, ch 1, fasten off, cut yarn.
Round 4 (Makes Large Petals)
- Join new color between two petals with 1 sc.
- Ch 3, 1 sc on top of the next ch-3, ch 3.
- 1 dc in same st.
- 2 dc in each of next 6 st.
- In last st: ch 3, 1 sc between petals.
- Ch 3, 1 sc on top of ch-3 from previous round, ch 3.
- Repeat steps to make a total of 3 wide petals (leaving spaces between petals).
- Ch 3, sl st to join.
Round 5 (Foundation Loops for Petal Division)
- Ch 7, turn.
- Working behind the petals, sl st through 2 loops of the next petal.
- [Ch 7, sl st] at the ends of each petal/leaf.
- Repeat this step for each petal (total 8 chain-7 spaces).
- Ch 1, fasten off, cut yarn.
Round 6 (Forming Petal Ridges)
- Join new color in any ch-7 space: sc, ch 3.
- 12 dc in the same space.
- 1 sc in same space.
- Repeat for the next chain space: sc, ch 3, 12 dc, sc in same sp.
- Repeat in remaining chain spaces for all petals.
- For the final space, after last sc, ch 3, turn.
Round 7 (Final Petal Detailing)
- Sc, ch 3 in first st of next petal.
- 11 dc.
- Ch 3, 1 sc on top of the last dc.
- Sc, ch 3 between petals.
- Repeat step for each petal.
- Sl st, fasten off, weave ends.
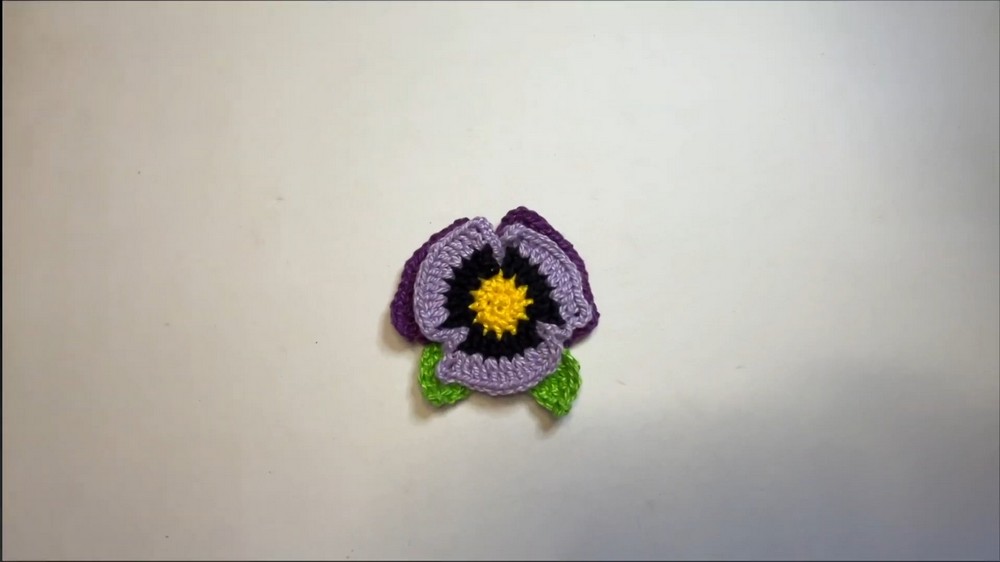
The Leaves
- Into available space between petals, work two leaves:
- Sc, ch 4, sc.
- 5 sc, ch 4, sc.
- Sc, ch 4, sc.
- Ch 3, turn work.
- In next ch-4 sp:
- Dc, 2 tr, picot (ch 3, sl st into front loops of last tr), 2 tr, 2 dc.
- 5 sc.
- Repeat for second leaf.
- Ch 3, sl st.
- Sl st, ch 1, fasten off, cut yarn.
The Square
Round 1 (Foundation for Square)
- Turn flower over to wrong side.
- Attach yarn through one or two center loops at the back of any petal.
- Ch 5, sl st at the end of petal.
- Continue: [ch 5, sl st] at beginning/end of each petal and leaf as instructed.
- After all petals/leaves, you will have 8 ch-5 spaces.
Round 2 (Forming Square)
- In first ch-5 sp: ch 3 (counts as dc), 2 dc, ch 2, 3 dc (corner made).
- 5 dc in next ch-5 sp.
- Continue the pattern: [corner in next space, followed by 5 dc in next space] for all 4 corners and 4 sides.
- Sl st on top of ch-3 to join.
Round 3
- Sl st in next 2 st to bring yarn to corner.
- At each corner: 3 dc, ch 2, 3 dc.
- Across each side: 1 dc in each st (11 dc should be there by now).
- Repeat for all sides.
- Sl st on top of starting ch-3.
Round 4 (Single Crochet Border)
- Sc in same st, sc in next 2 st.
- Corners: 2 sc, ch 1, 2 sc.
- Sides: 1 sc in each st (17 per side).
- Repeat around.
- Pull up a loop, cut yarn, and work a seamless join if desired.
Conclusion
With careful stitch work and color changes, you have completed a beautiful Pansy Flower Granny Square. These motifs are ideal for assembling into larger projects such as blankets, bags, or garments. Try joining squares of different color combinations for a vibrant finished piece.
Pattern Correction
- In forming leaves and attaching the square framework, ensure your slip stitches are secure and that chain spaces are even—this will help the square lay flat and join nicely to others.
- For Round 3 (Square), each side must total 11 dc (count to avoid mistakes).
Tips
- Use a tapestry needle to neatly weave in all yarn ends for best results and durability.
- Block finished squares with gentle steam and pins for sharp edges and defined corners.
- For easier assembly, ensure all squares are the same size and lay flat before joining.