Free Crochet Scrunchie Pattern (Fast + Easy)
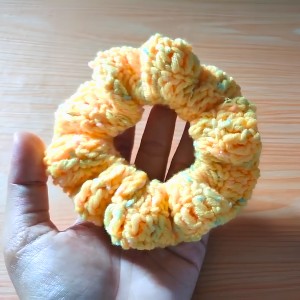
Boost everyday style effortlessly with a free crochet scrunchie pattern that combines soft texture and playful colors for charming hair accessories.
Crochet Scrunchie: Free Pattern You’ll Reuse
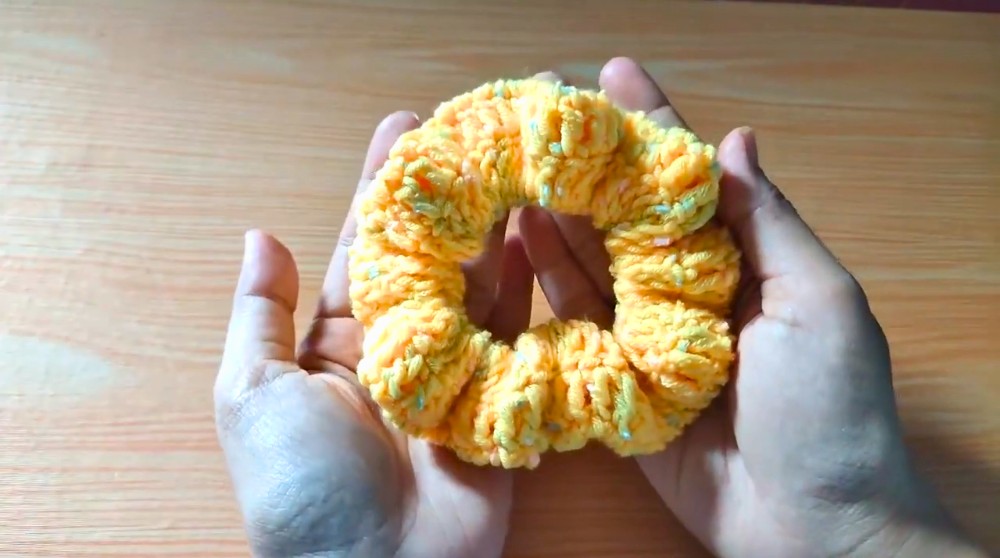
You can wear this wonderful item every single day at school, work, or casual weekend outings to add a cheerful pop of bright color to your daily look. It holds hair gently without pulling, offering great comfort and style while brightening up your entire wardrobe with lovely handmade beauty and joyful energy.
Beginner-Friendly Crochet Scrunchie Pattern by Rajutan Whita
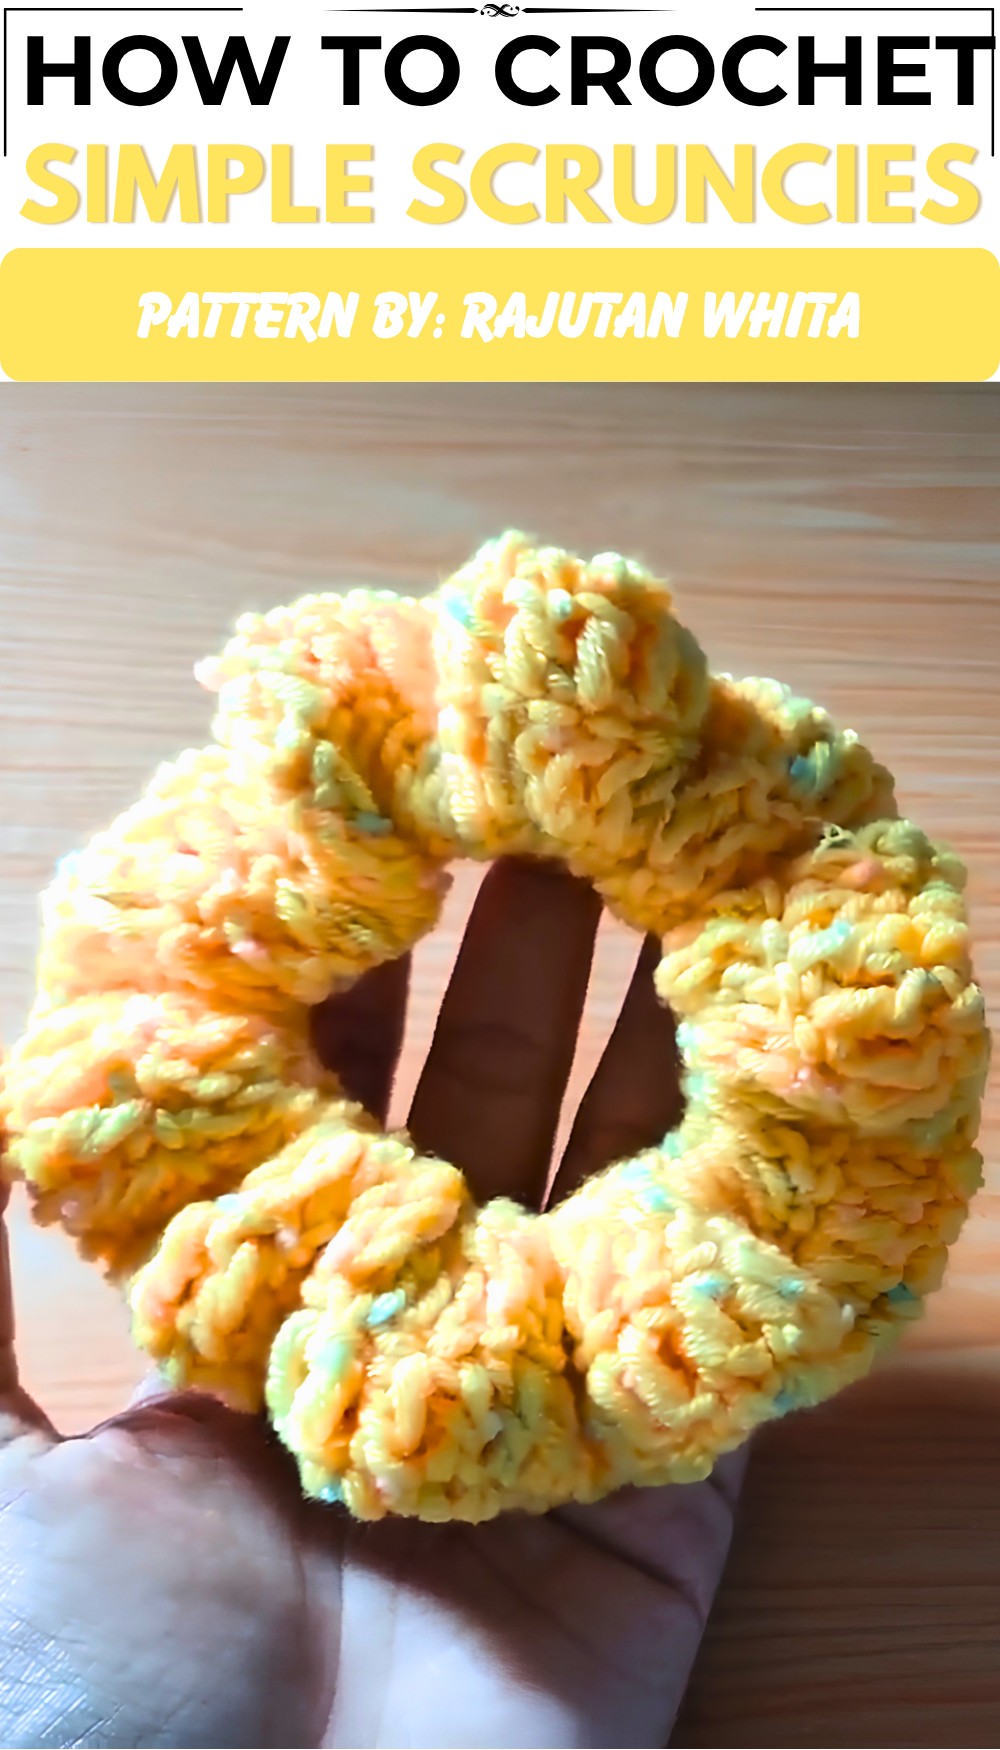
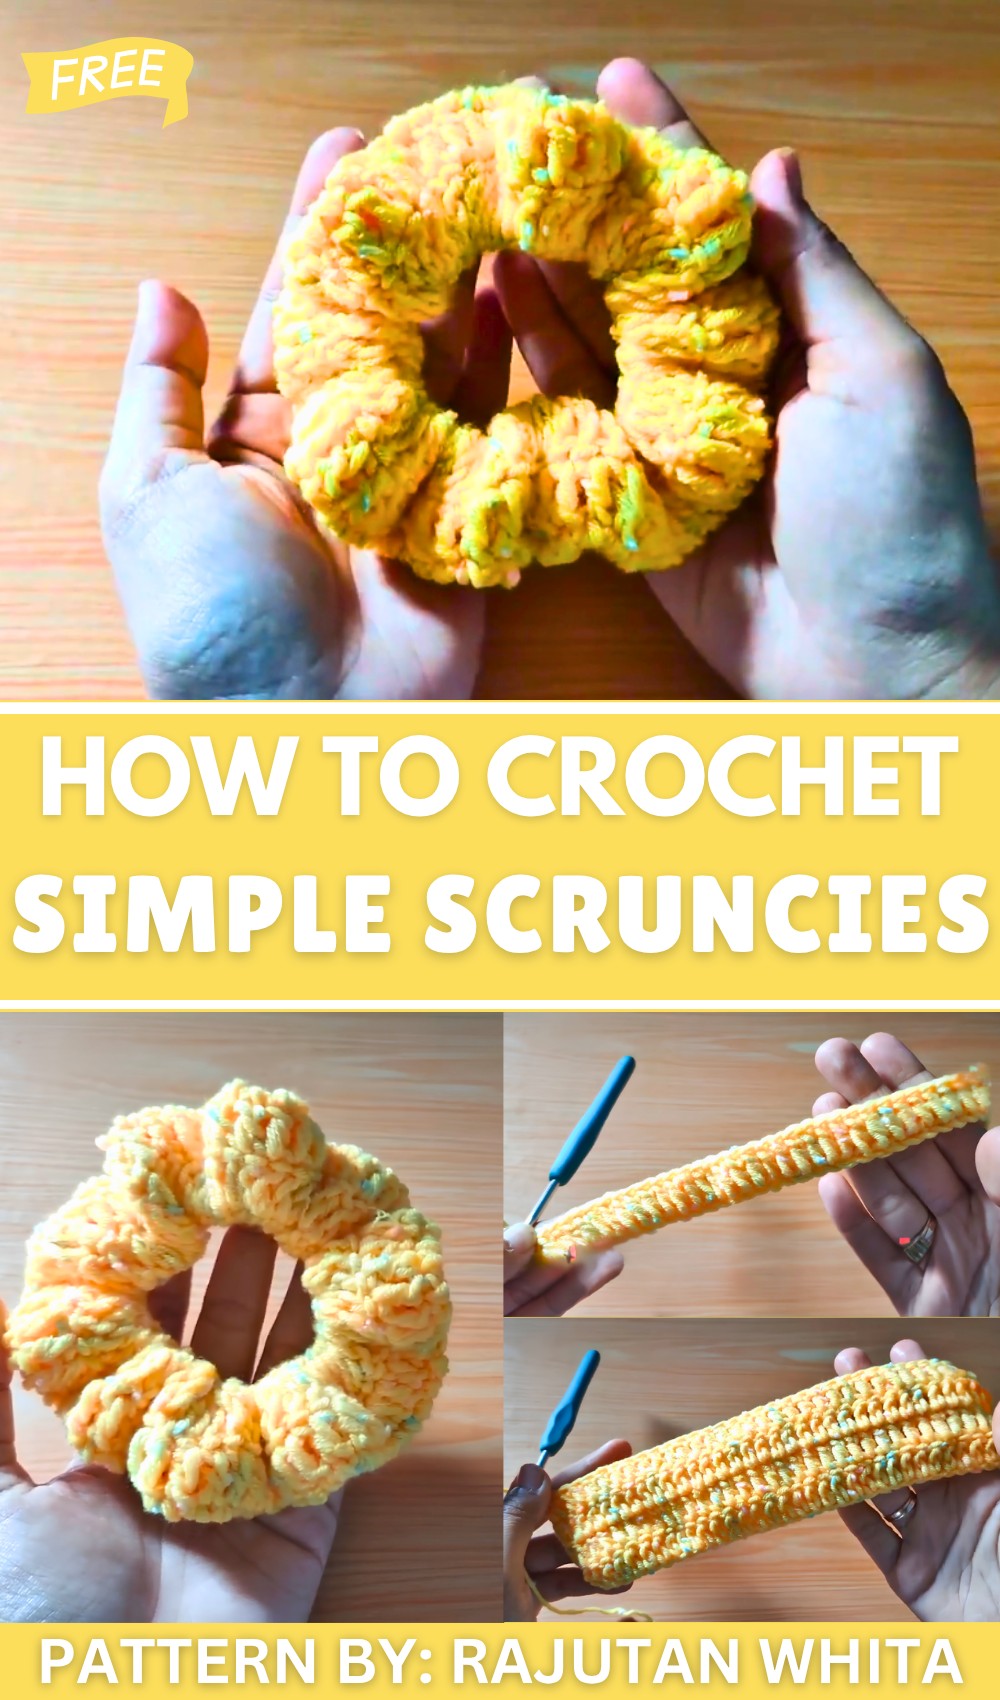
This easy and fun crochet scrunchie tutorial is perfect for beginners. You will learn to crochet a soft, beautiful scrunchie cover using double crochet (DC) stitches around a standard hair tie. The scrunchie is made with milk cotton yarn, which is soft and comfortable for everyday wear.
Quick Overview of the Pattern
- Measure your hair tie
- Crochet a rectangular piece using double crochet stitches
- Wrap the rectangle around the hair tie
- Sew the edges together using a whip stitch
- Weave in the ends for a neat finish
Notes for Beginners
- Maintain even tension while crocheting for consistent stitch size and scrunchie elasticity.
- When changing yarn colors or sewing edges, take your time to make smooth joins.
- Use a measuring tape to get accurate chain length matching your hair tie circumference.
- A tapestry needle is needed for sewing the edges of the crocheted piece neatly.
- Milk cotton yarn is ideal because it feels soft and gentle on hair.
Skill Level
Great for beginners who are comfortable with:
- Chain (ch) stitch
- Double Crochet (DC) stitch
- Working in rows and turning work
- Basic sewing – whip stitch for joining edges
- Weaving in yarn tails
Materials Needed
- Milk cotton yarn (65% cotton, 35% milk fiber)
- Crochet hook – 4.0 mm (size 7/0)
- Standard elastic hair tie/scrunchie base
- Scissors
- Measuring tape
- Tapestry needle for sewing and finishing
Measurements / Sizing
- Hair tie circumference: approximately 14 cm
- Foundation chain length: approximately 42 cm (three times the circumference for stretch)
- Number of chains in tutorial: 80 chains (to achieve ~42 cm length)
- Number of rows: 4 rows of double crochet (DC) for thickness
Gauge and Stitch Pattern
- Stitch used: Double Crochet (DC) row pattern
- Maintain an even, moderate tension. Gauge is flexible based on yarn thickness and hook size.
- Finished strip stretches around the elastic base comfortably.
Stitch Abbreviations
| Abbreviation | Meaning |
|---|---|
| ch | Chain |
| dc | Double Crochet |
| st(s) | Stitch(es) |
Special Stitches
- Whip Stitch: Used to sew crocheted edges together by wrapping the yarn around the edges in a spiral motion, creating a secure seam.
The Crochet Pattern!
Step 1: Measure Your Hair Tie
- Use a measuring tape to measure the circumference of your hair tie.
- For this tutorial, it is about 14 cm.
- This measurement determines the length of your foundation chain.
Step 2: Make the Foundation Chain
- Multiply your hair tie circumference by 3 to allow enough fabric for elasticity.
- For example: 14 cm × 3 = 42 cm chain length.
- Using your crochet hook and milk cotton yarn:
- Chain approximately 80 stitches (or enough to measure 42 cm when slightly stretched).
- Lay the chain flat to ensure it is not twisted before starting the next row.
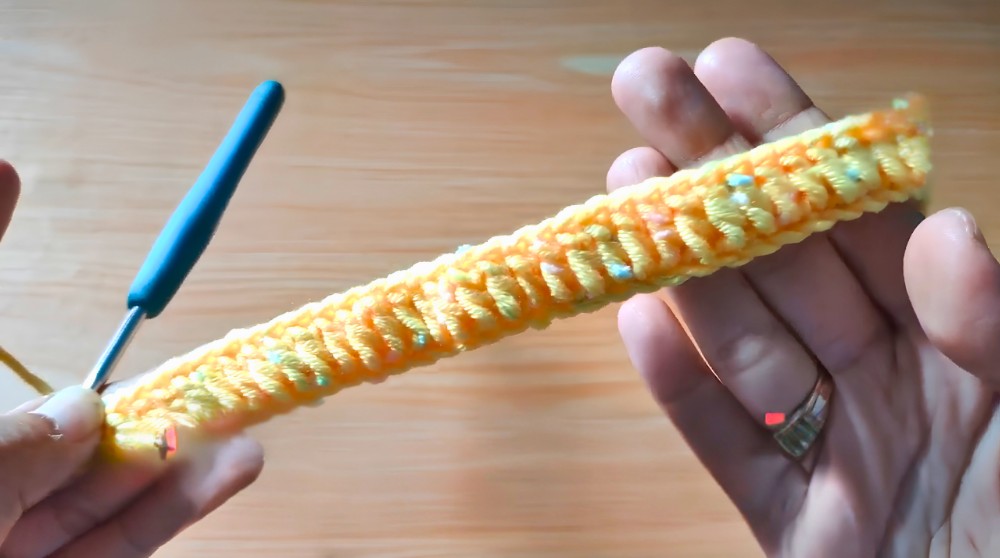
Step 3: First Row – Double Crochet
- Chain 3 extra stitches at the beginning—the first of your double crochet (DC) stitches.
- Skip the next 4 chains from the hook (the 5th chain will be your first working stitch).
- Work 1 double crochet (DC) in the 5th chain from the hook.
- Continue to work 1 DC in every chain across the row until you reach the end.
Step 4: Work Rows 2 to 4 – Double Crochet
- Chain 3 to start the new row (counts as the first double crochet (DC)).
- Turn your work.
- Work 1 DC into the second stitch from your hook (skip the first stitch after chain 3).
- Continue with 1 DC in each stitch across the row.
- Repeat this process until you have completed 4 rows of double crochet total.
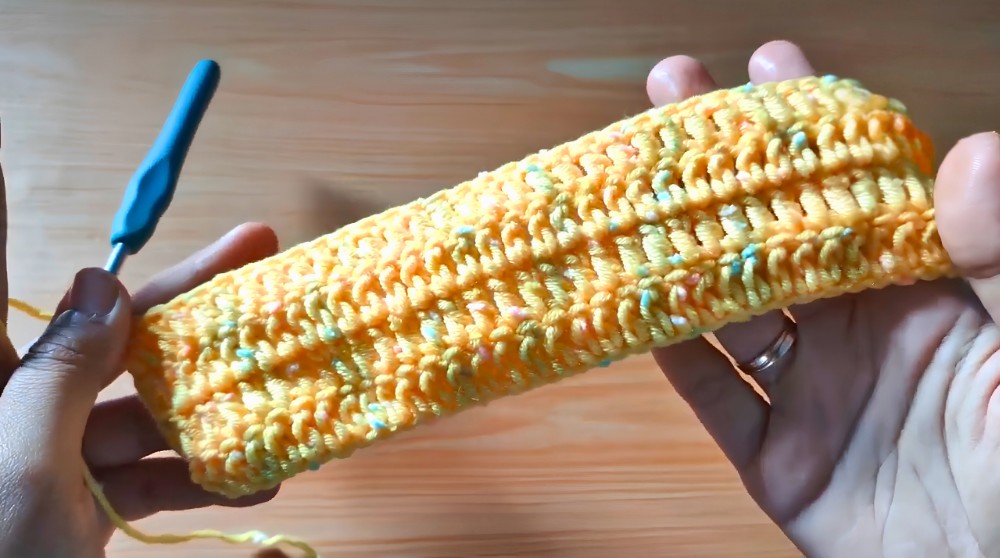
Summary of Rows:
- Row 1:
- Ch 3 (counts as first DC)
- DC in 5th chain from hook
- DC in every chain across
- Rows 2 to 4:
- Ch 3 (counts as first DC)
- DC in each stitch across
Step 5: Cut Yarn and Prepare to Assemble
- After finishing your last row, cut the yarn leaving a long tail (about 30 cm) for sewing.
- Thread this tail into a tapestry needle.
Step 6: Assemble the Scrunchie
- Wrap your crochet rectangle around the elastic hair tie, making sure it covers the entire tie neatly without creases.
- Using your tapestry needle and yarn tail, begin sewing the two narrow edges of the rectangle together with a whip stitch:
- Insert the needle under both fabric edges and pull the yarn through.
- Continue sewing around the edge in a spiral motion to join the sides and create a loop.
- Once edges are joined, sew the starting and ending overlap securely to close the loop fully.
Step 7: Weave in Ends
- After closing the loop, weave in all yarn ends neatly inside the scrunchie to hide any loose threads.
- Trim any excess yarn for a clean finish.
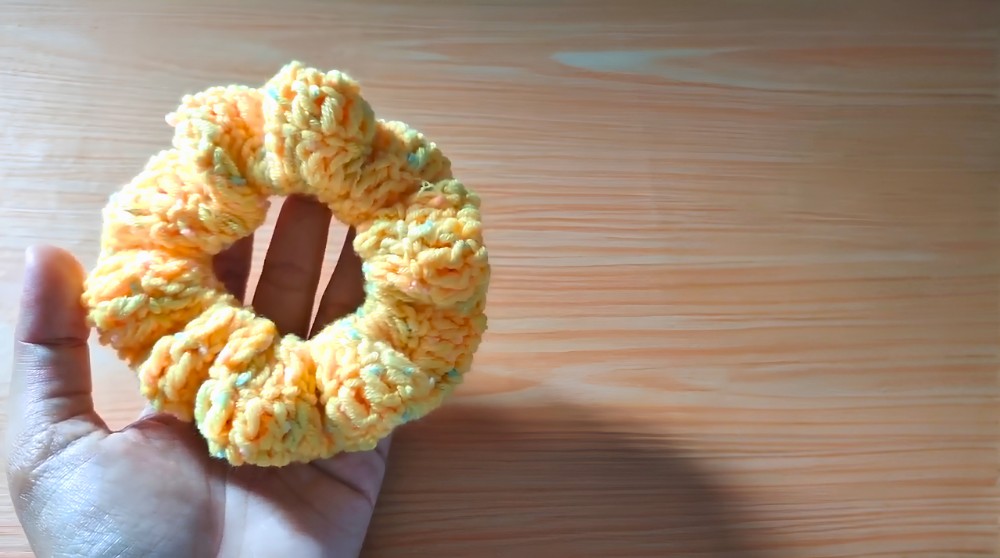
Assembly & Finished Size
- The size of your finished scrunchie depends on your chain length and hair tie circumference.
- This pattern’s example made a scrunchie with a 14 cm elastic covered by a 42 cm crocheted strip, folded and sewn into a stretchy loop.
- The 4 rows of double crochet (DC) create a thick enough band to give the scrunchie volume and durability while remaining comfortable.
- The finished scrunchie fits snugly and comfortably around hair, holding styles gently yet securely.
Conclusion
This beginner-friendly crochet scrunchie pattern is a quick and enjoyable project that teaches essential crochet skills, including making chains, working double crochets, and basic sewing techniques. Using soft and breathable milk cotton yarn adds to the scrunchie’s comfort and wearability.
By following this clear step-by-step guide, you’ll create a handmade accessory that is both adorable and practical. Customize it by changing yarn colors, thickness, or the number of rows to create scrunchies tailored to your style and hair needs.