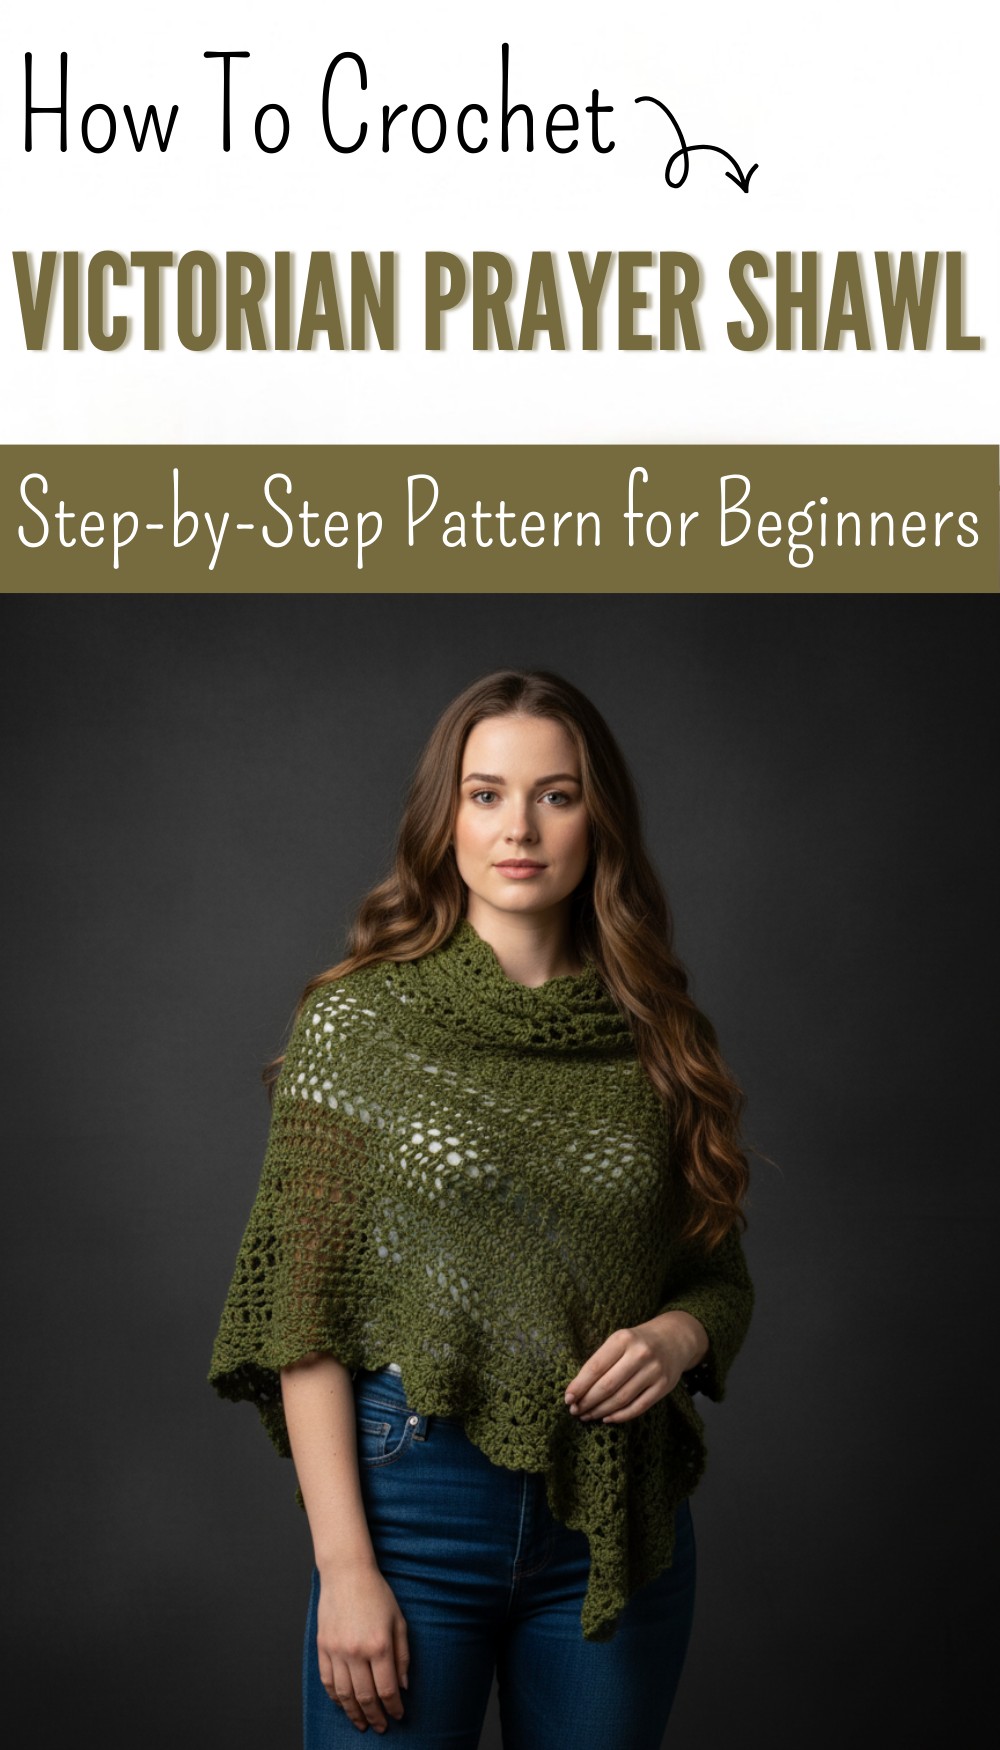
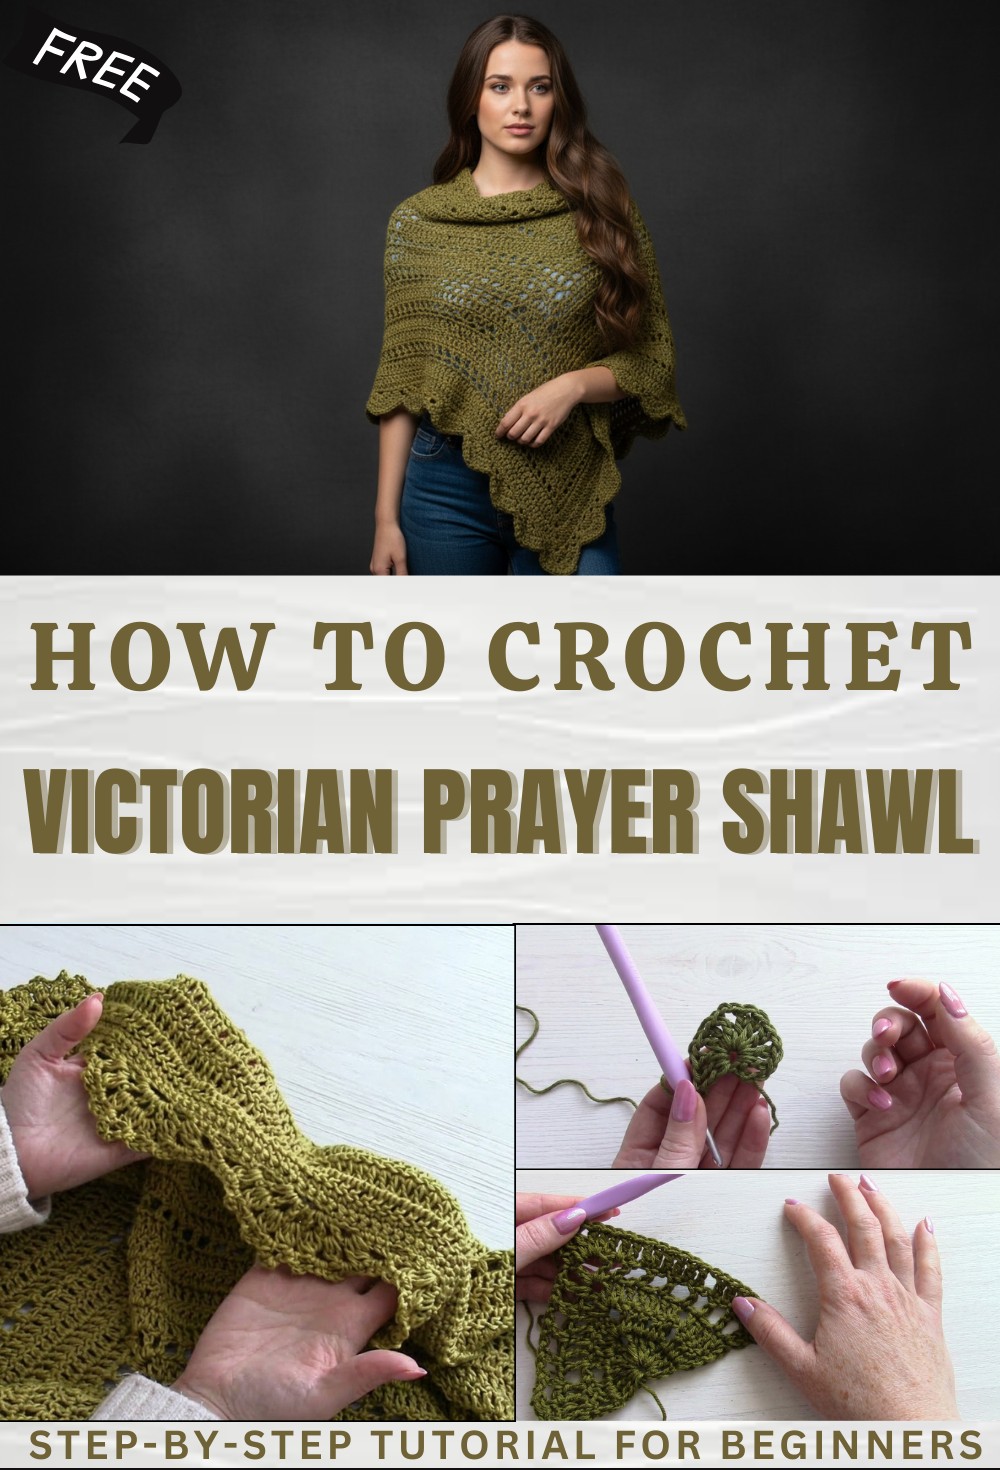
Free Crochet Victorian Prayer Shawl Pattern With a Vintage Flair
Warm your nights in style with this Free Crochet Victorian Prayer Shawl Pattern perfect for cozy evening and thoughtful gifts for loved ones.
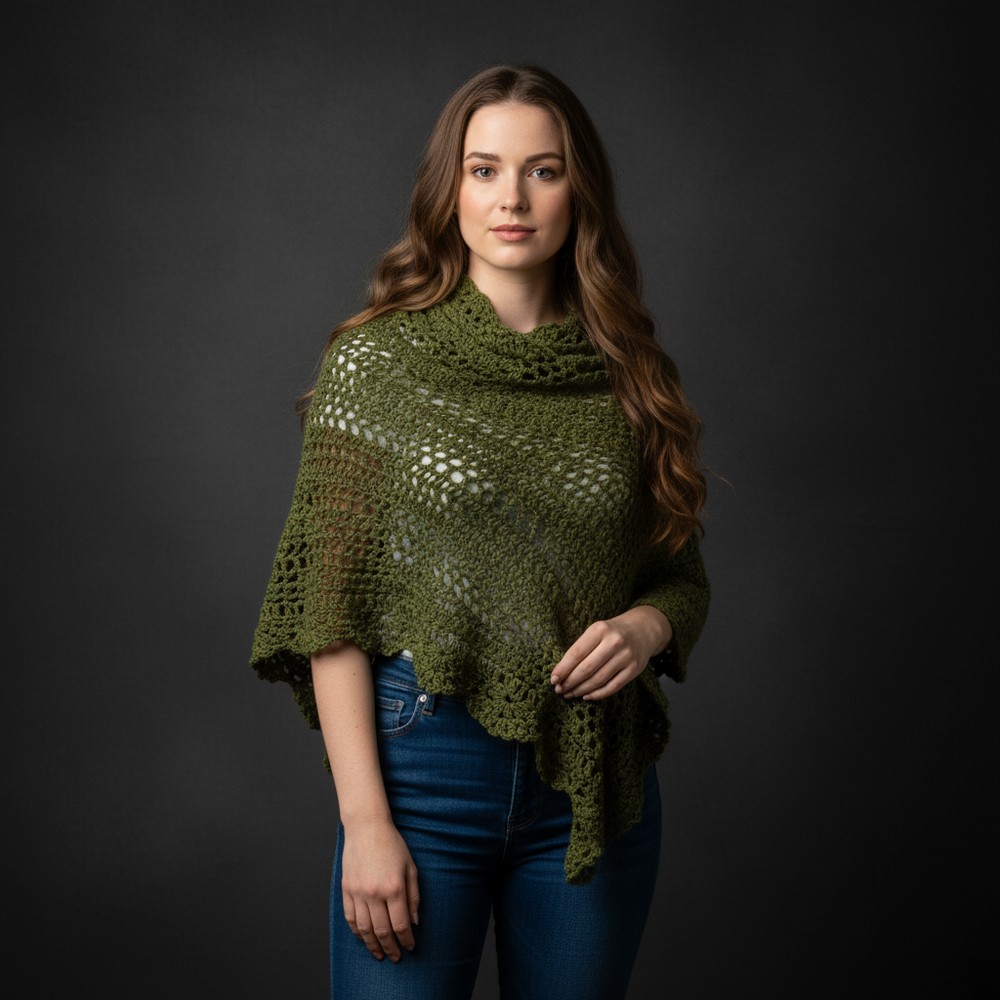
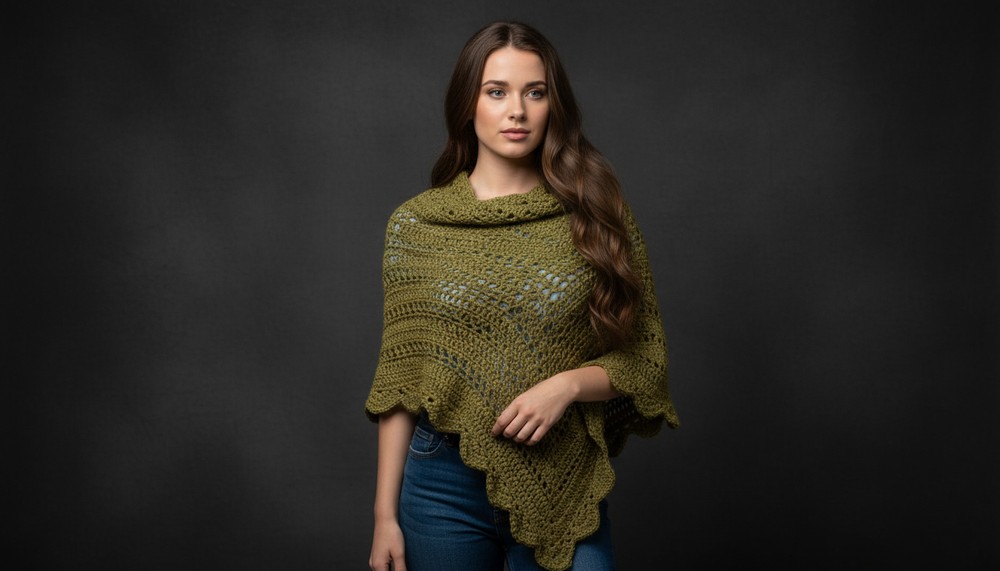
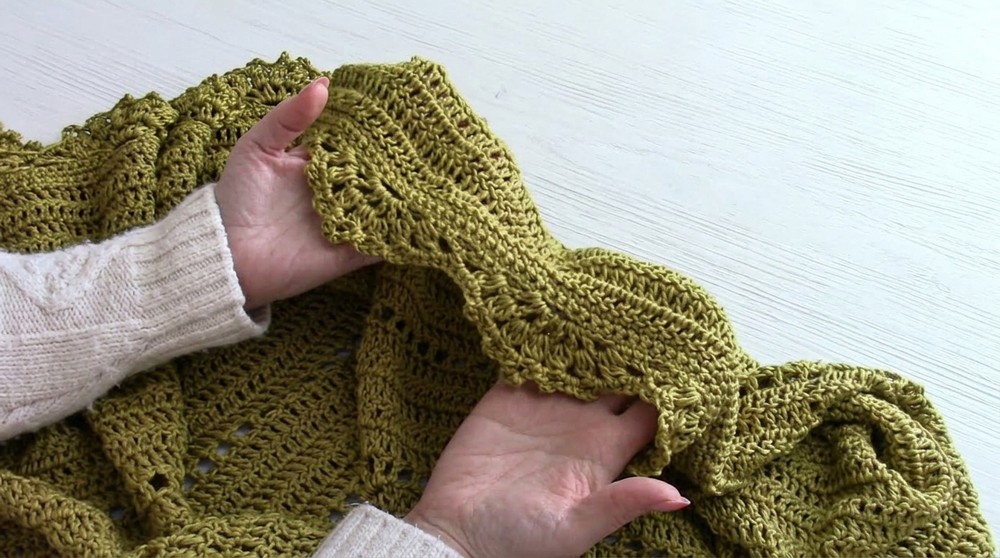
Rich textures and graceful curves create a look that captures attention and warms the spirit. The Crochet Victorian Prayer Shawl pattern blends delicate lacework with classic features, turning simple yarn into a masterpiece anyone can enjoy. Its wide shape wraps easily around shoulders, offering gentle warmth during quiet times or making a thoughtful gift for those who need a little comfort.
Regal Free Crochet Victorian Prayer Shawl Pattern for a Royal Touch
Beautiful edges and intricate stitches bring a touch of old-world charm, making the shawl perfect for dressing up any outfit or enhancing your living space. With the Crochet Victorian Prayer Shawl pattern, even someone new to crochet can feel proud of crocheting a piece that shares kindness and care. The elegant design makes every day feel special and adds cozy beauty to wherever it is used.
Vintage Triangle Shawl Crochet Pattern
Materials
- Yarn: Universal Yarn “Vo” (Aran weight/medium #4, 80% tencel, 20% wool) or any equivalent Aran/medium #4 weight yarn.
- Yardage: Approximately 5 balls (check ball band for meterage/yardage per ball).
- Hook: US 5mm (H-8) crochet hook.
- Tapestry needle for weaving in ends.
- Scissors
Key Abbreviations (US Terms)
| Abbreviation | Meaning |
|---|---|
| ch | chain |
| sl st | slip stitch |
| dc | double crochet |
| hdc | half double crochet |
| sc | single crochet |
| st | stitch |
| sp | space |
| rep | repeat |
Special Notes
- Pattern is written in US crochet terms.
- Shawl is worked top-down in rows, growing into a triangle.
- The body uses “felt” rows (mesh/space-filled rows) every 5 rows for visual interest.
- References to “felt” or “flea” rows refer to mesh rows — the translation varies.
- The border creates a distinctive vintage trim.
- Finished size will vary by personal tension and yarn choice; adjust yarn/hook for your needs.
Pattern
Shawl Body
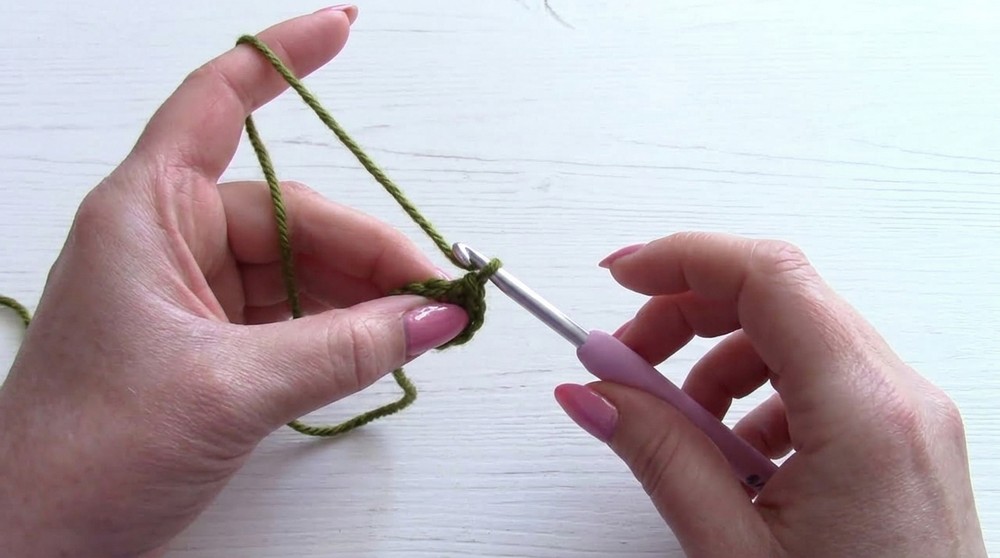
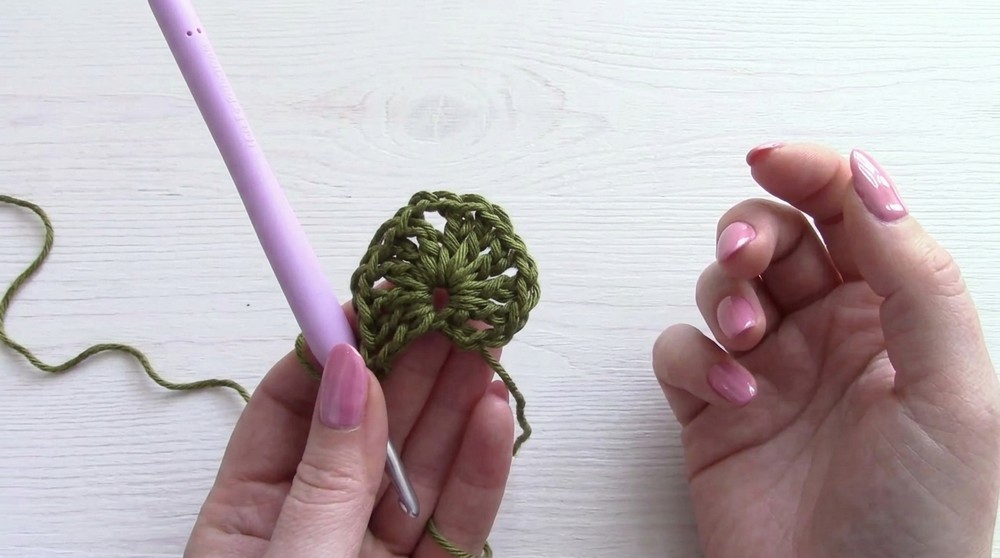
Foundation Ring
- Ch 4, sl st to 1st ch to form a ring.
Row 1
- Ch 3 (counts as dc).
- 2 dc into center of ring.
- Ch 1, 3 dc into center of ring.
- Ch 2, 3 dc into center of ring.
- Ch 1, 3 dc into center of ring.
(You now have a small triangle with ch-1 spaces on two sides and a ch-2 at point.)
Row 2
- Ch 3, turn (counts as dc); dc in same st (increase made).
- Dc in next 2 sts.
- Ch 1, skip ch-1 sp, dc in each of next 3 dc.
- In ch-2 point: Work (2 dc, ch 2, 2 dc) all in ch-2 sp.
- Dc in each of next 3 dc.
- Ch 1, skip ch-1 sp, dc in each of next 2 dc.
- 2 dc in last st (top of ch-3 from previous row).
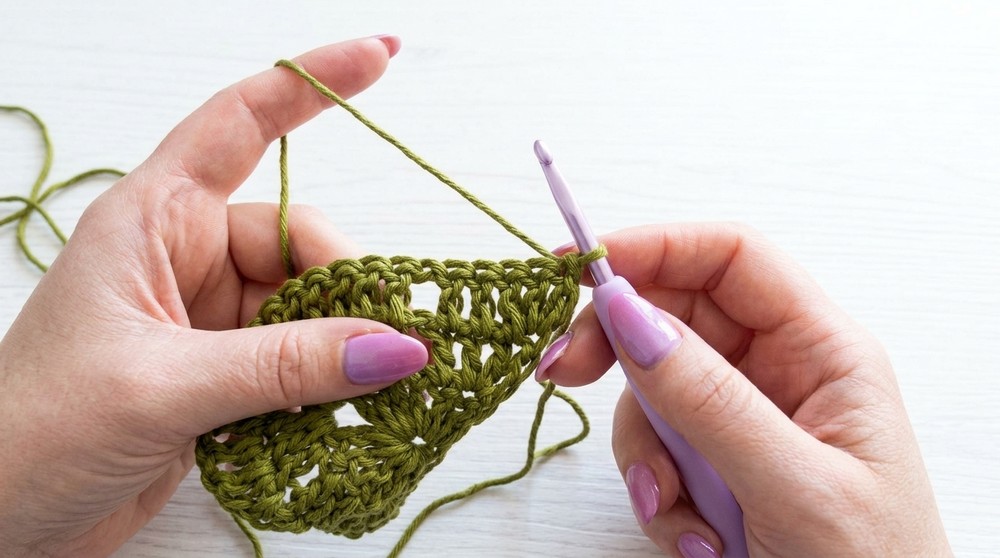
Row 3 (and ALL dc rows; keep established increases)
- Ch 3, turn; dc in same st.
- Dc in each dc to next ch-1 sp.
- Ch 1, skip ch-1 sp, dc in each dc to center ch-2 sp.
- At center ch-2 sp: (2 dc, ch 2, 2 dc) in ch-2 sp.
- Dc in each dc to next ch-1 sp.
- Ch 1, skip ch-1 sp, dc in each dc to last st.
- 2 dc in last st.
Repeat Row 3 until you have completed 15 rows in total.
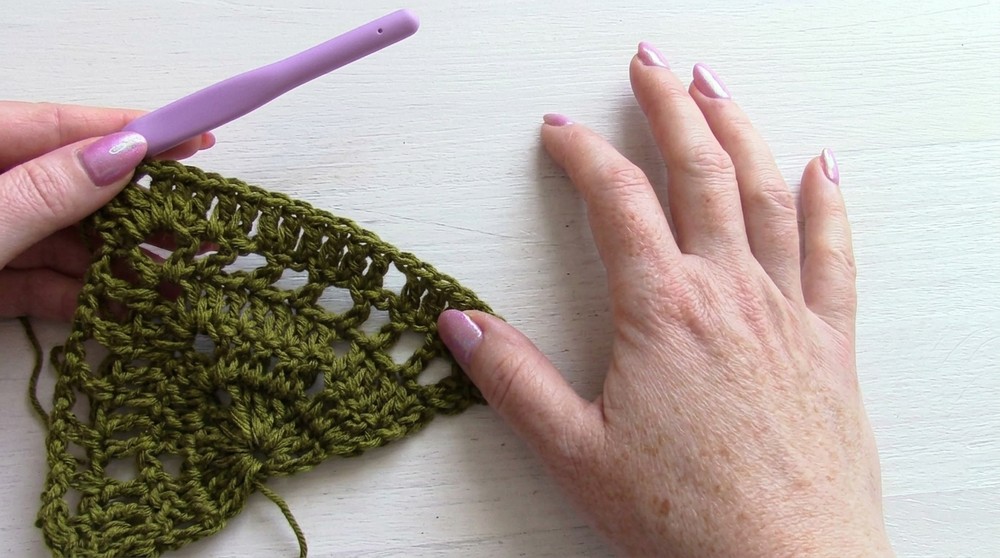
Felt (Mesh) Row (Row 16 and every 6th row after, or every 5 full dc rows)
- Ch 3, turn; dc in same st.
- Ch 1, skip next st, dc in next st.
- Repeat: [Ch 1, skip 1 st, dc in next] to ch-2 at center.
- At center: Ch 1, dc into ch-2 sp, ch 2, dc into ch-2 sp, ch 1.
- Repeat [skip 1 st, dc in next, ch 1] to last st.
- At end: 2 dc in last st.
After a Felt/Mesh Row
For the next row and the 4 rows following, return to the main dc pattern:
- Ch 3, turn; dc in same st.
- Dc in each dc and in each ch-1 sp across, following the regular increase pattern.
- At ch-2 point: (2 dc, ch 2, 2 dc) in ch-2 sp.
- Continue dc in each dc and ch-1 sp along side.
- At end: 2 dc in last st.
Pattern Sequence
- Work 15 rows in the main stitch (Rows 1-15).
- For Row 16: Felt/Mesh Row
- Work 5 rows in dc pattern.
- Felt/Mesh Row again.
- Repeat as established.
- Continue until you have 45 rows in total, ending with a section of 5 full dc rows.
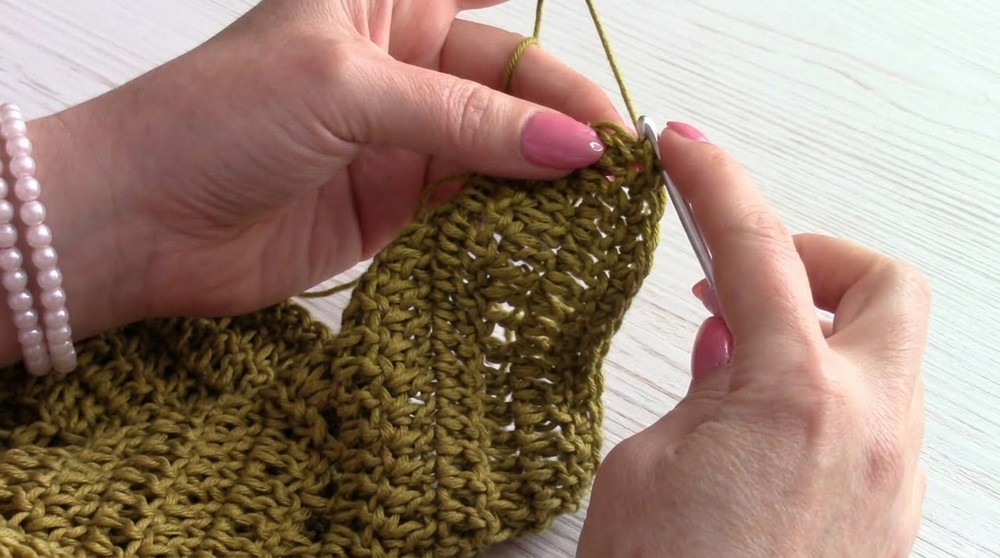
Border/Edging
You will be working along the two sides of the “V” shape.
Border Row 1
- Ch 1 (does not count as a st), sc in each st along side to ch-2 at center.
- At center ch-2, ch 3, sc in next st (down the opposite side).
- Continue sc along other side.
- At end of row, sc in top of ch-3.
Border Row 2
- Ch 1, turn; sc in each sc across.
- At center ch-3, ch 3, sc in next st, continue to end.
Border Row 3
- Ch 1, turn.
- Sc in next 8 sts, ch 4, skip next 3 sts, sc in next (creates a loop).
- Sc in next 13 sts (14 sc total), ch 4, skip 3, sc in next; repeat to last 11 sts.
- Ch 4, skip next 3, sc in next 8 sts.
- At center: ch 3, sc in next st.
- Mirror on the next side as above.
Border Row 4 (Lace Fans & Bubble Edging)
- Ch 3 (counts as hdc, ch 1), hdc in 1st st, skip next 2 sts, sc in next 3.
- Ch 1, into ch-4 loop: (dc, ch 1)x6 (make 6 dc with ch-1 between in same loop).
- Skip next 3 sc, sc in next 3.
- Ch 3, skip 2, sc in next 3.
- Ch 1, (dc, ch 1)x6 into next ch-4 loop.
- Repeat pattern along both sides.
- At points where needed, work (hdc, ch 1, hdc) at the very tip.
Bubbles/Fans Border Row (as seen in video)
For the elaborate scalloped vintage edge:
- On ch-1 spaces along the previous border, work 7 “bubble” stitches into each loop.
- Bubble Stitch: Yarn over, insert into sp, draw up a loop, yarn over, pull through 2 (repeat this 3 times without finishing last pull through—4 loops on hook, yarn over pull through all).
- After each bubble, ch 2.
- Between fans, sc or as demonstrated for your edge.
Continue as shown in video for both sides, working up around the V and down the other side.
At center tip, work into ch-3 space as needed for symmetry.
Finishing
- Fasten off, weave in all ends with tapestry needle.
- Block your shawl gently to open up the lacy spaces and shape the triangle.
- Enjoy your stunning, vintage-inspired wrap!
Conclusion & Tips
- This vintage shawl grows by increases at the edges and center; marking your center st/ch-2 spaces helps maintain symmetry.
- You can use any yarn weight and corresponding hook—your size will vary.
- Correction: “Felt crochet” refers to mesh or openwork rows; these are rows where you ch 1, skip sts, and dc in next for a lacy break in the fabric.
- Tip: When working bubble stitch edge, keep your tension even for consistent ‘bubbles’.
- Tip: If you lose count of your increases, double-check both sides are symmetrical before starting the border.
- Blocking is highly recommended for best results—wet block for tencel/wool blends if possible.