Hooded scarf crochet tutorial || Beginner friendly scoodie
In this post, the creator provides a detailed tutorial on making a cozy, oversized hooded scarf entirely from granny squares that is fun to wear and easy to carry. With a step-by-step approach, they guide you through crocheting the squares, assembling the hood and scarf, and adding a neat single-crochet border. The project is highly customizable, allowing viewers to adjust the size of the granny squares and colors of each granny square whether for fall or Chrsitmas for a tailored fit or experiment with different yarn colors and patterns.
Perfect for beginners, this beginner-friendly project results in a stylish and comfortable accessory. The creator encourages viewers to share their creations and enjoy the fun of crocheting along.
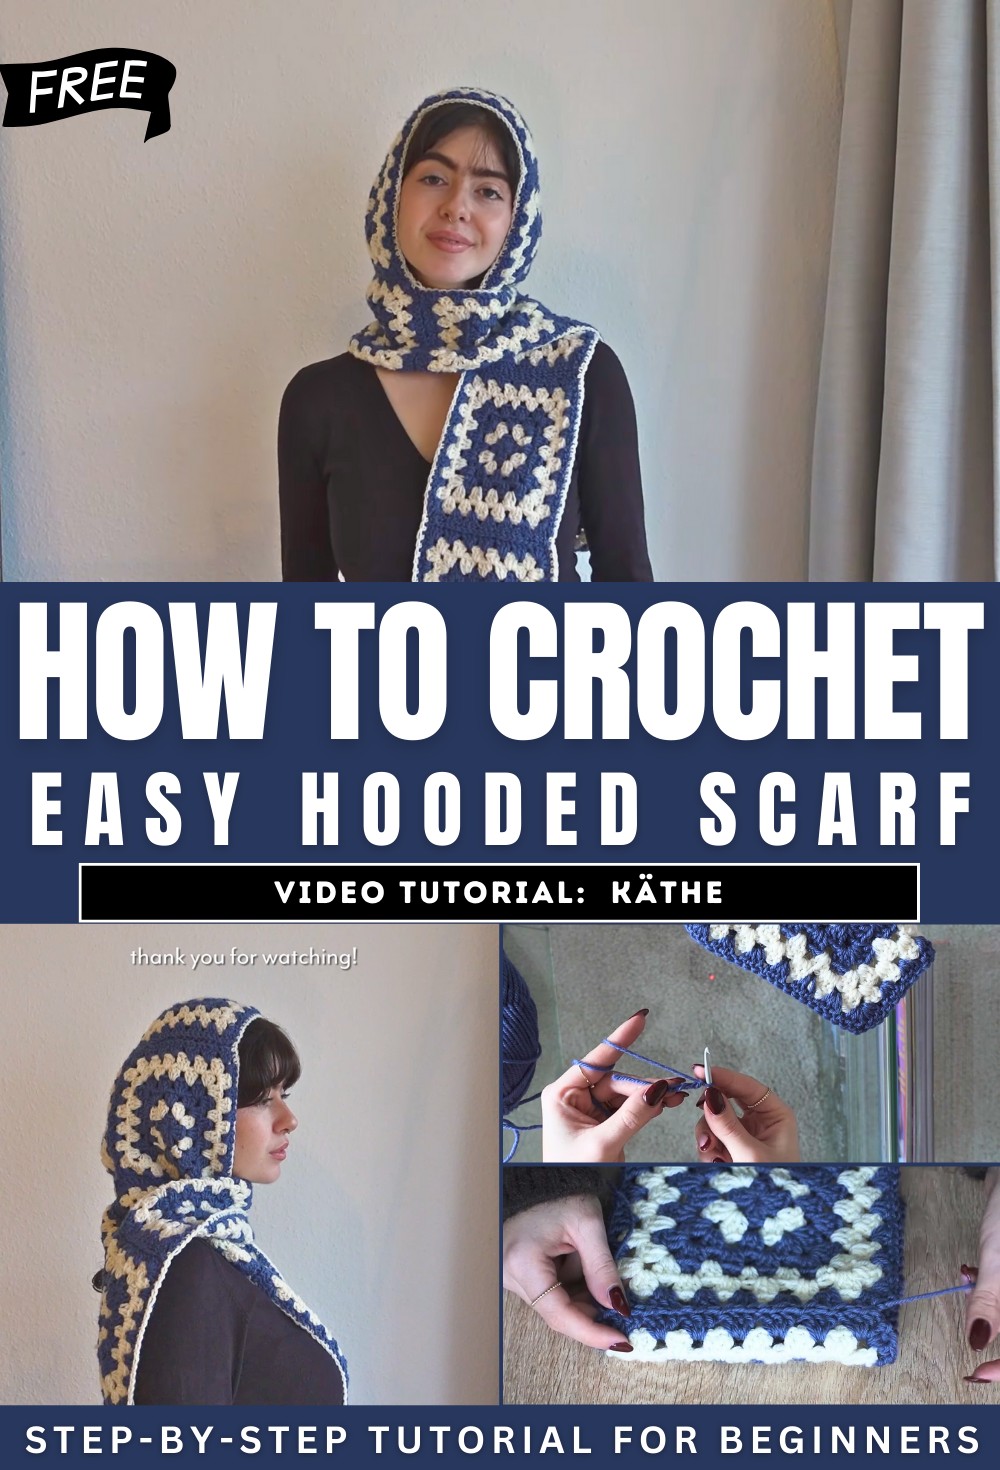
How to Crochet a Hooded Scarf with Granny Squares
In this video, the creator provides a step-by-step tutorial for making a hooded scarf entirely out of granny squares. The project is beginner-friendly, requiring basic knowledge of granny square construction, and offers easy customization options. This cozy and stylish hooded scarf is perfect for beginners and seasoned crocheters alike, with each step explained in detail.
Introduction
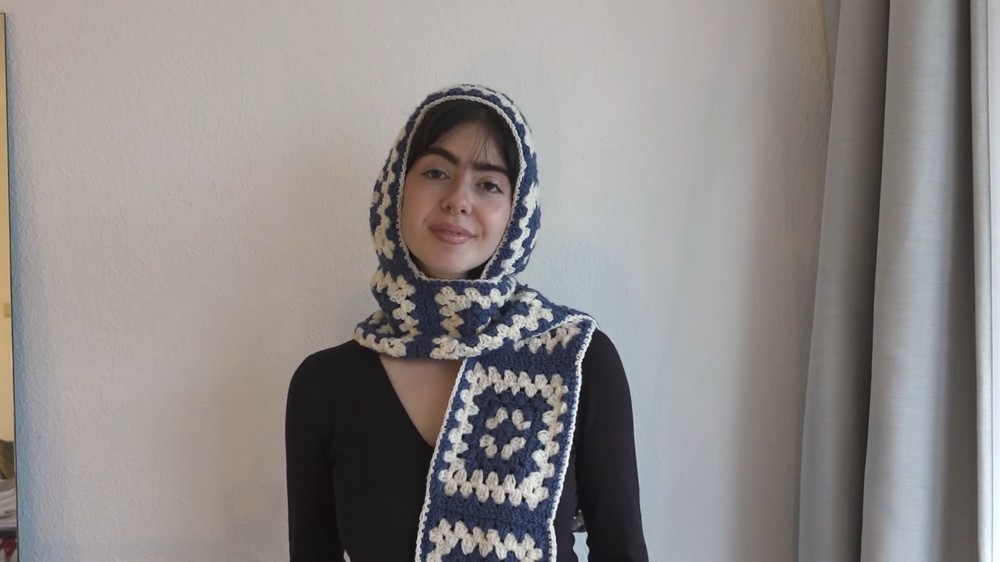
- The creator introduces the project as a hooded scarf made from granny squares, emphasizing its simplicity and creativity.
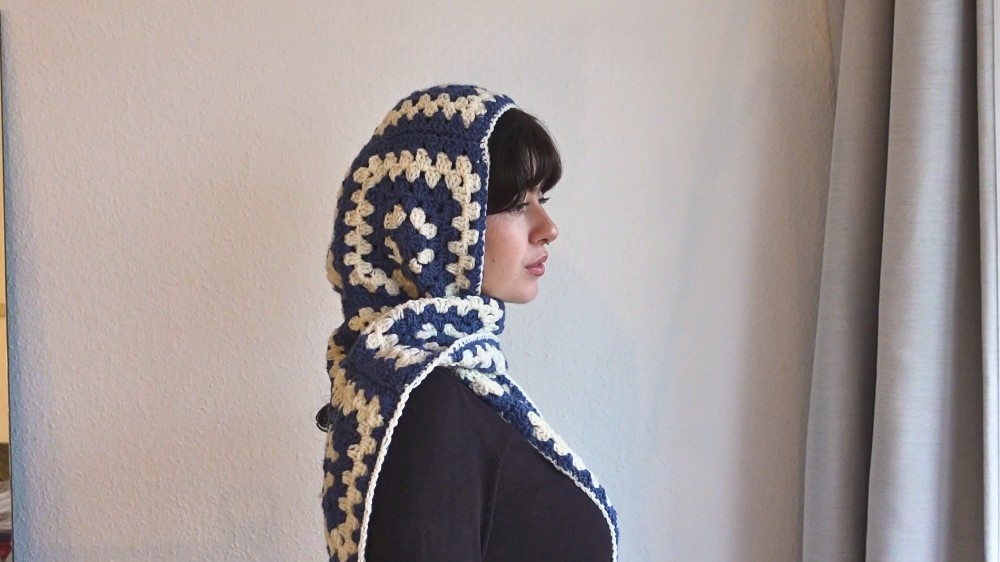
- Viewers are shown what the finished product looks like, with the creator describing it as cozy, oversized, and adorable.
- The project allows for customization of yarn thickness, granny square size, and colors to suit individual preferences. Adjustments can be made to ensure the hood fits properly based on head size or personal style.
Materials Needed
- Yarn: Approximately 300 grams of yarn in two colors (blue and off-white in the tutorial), but the user can choose any number of colors.
- Hook Size: A crochet hook one size smaller than recommended for the yarn; the creator uses a 4mm hook for medium-weight yarn to make the stitches tighter.
- Other Tools: Stitch markers (optional), scissors, and a yarn needle for assembly and finishing.
Steps to Create the Hooded Scarf
1. Making Granny Squares
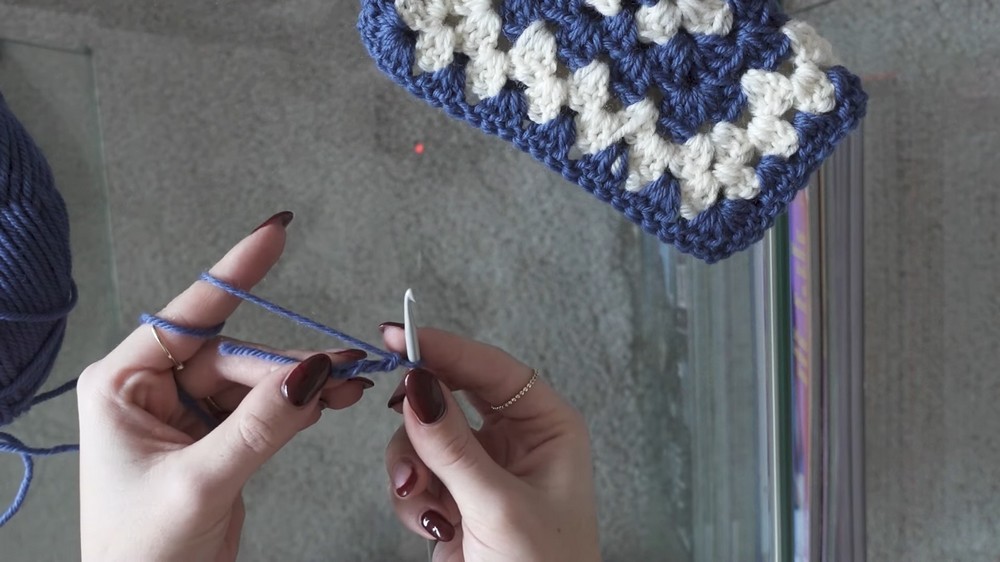
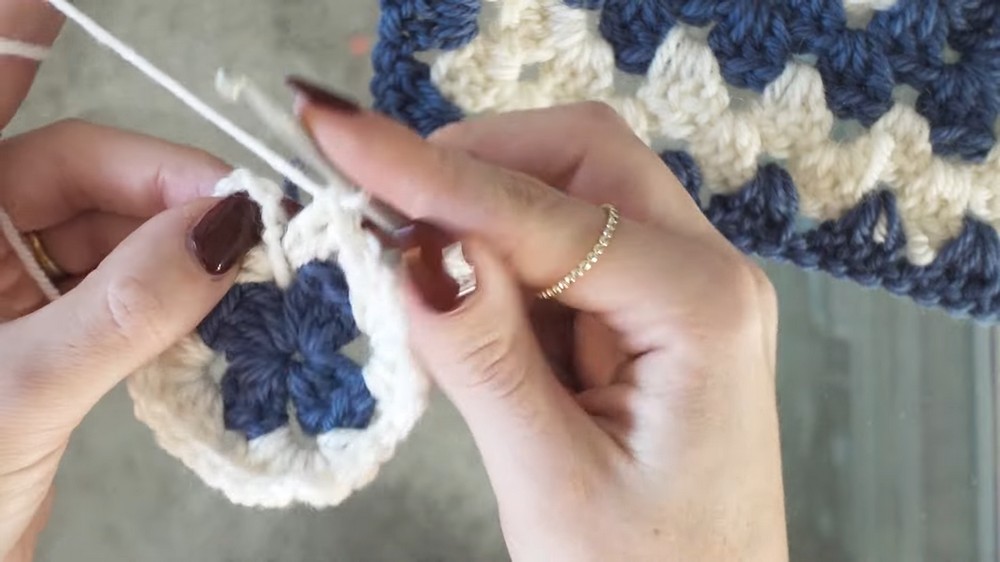
- Granny squares form the main components of the hooded scarf. The tutorial begins with instructions for creating granny squares, including how to start, how to change colors, and how to finish rounds.
- The creator demonstrates how to construct clusters and corners, emphasizing important techniques like color changes and movement between spaces for even stitch distribution.
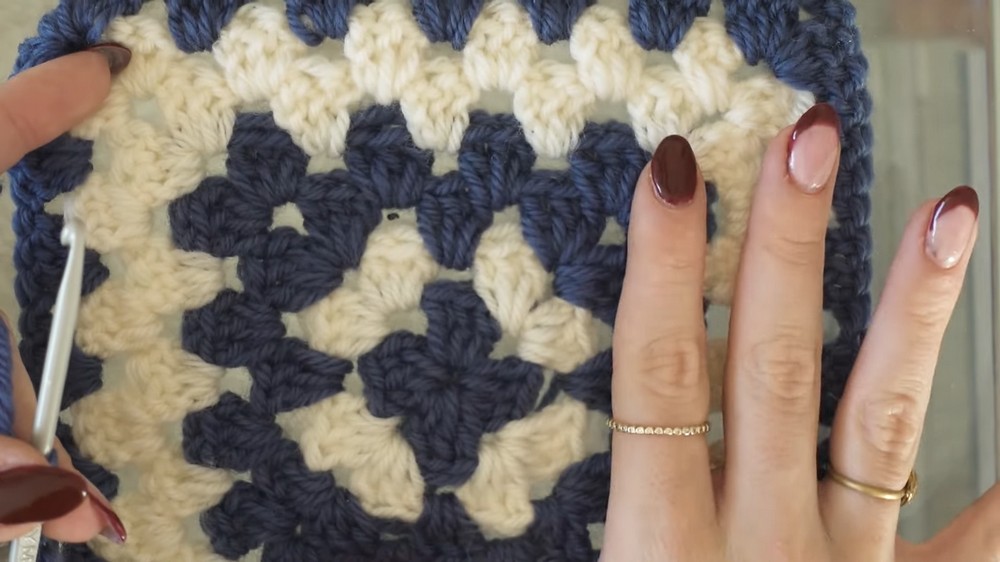
- A total of 13 granny squares are crocheted for this project, but the number can be adjusted based on the desired scarf length.
2. Connecting the Granny Squares
- For the hood, four granny squares are used: one at the top and three forming the sides. The squares are sewn together using an invisible seam.
- The creator explains how to line up the granny squares, ensuring their right sides face each other before sewing the back loops to achieve a seamless finish.
- The remaining granny squares are connected in a straight line to form the scarf portion of the project.
3. Final Assembly
- The scarf is attached to the hood section at the bottom, completing the overall shape of the hooded scarf.
4. Adding a Border
- To give the hooded scarf a clean and polished look, the creator adds a single crochet border around the entire piece.
- This final step helps straighten edges and ensures the scarf looks professional and neat.
Tips and Recommendations
- Customizations: The creator emphasizes adjusting the size of granny squares before completing all of them to ensure the hood fits as desired. Testing the fit with two squares on the head can help determine the ideal measurements.
- Creative Freedom: Viewers are encouraged to play around with color combinations, patterns, and yarn types to make the design their own.
Final Thoughts
- Finished Look: The creator expresses satisfaction with the oversized, cozy style of the scarf and invites viewers to make adjustments based on their preferences.
- Encouragement: Viewers are encouraged to share their finished creations on Instagram, showcasing their creativity.
- Closing Remarks: The creator thanks viewers for following the tutorial and encourages them to subscribe for more content.