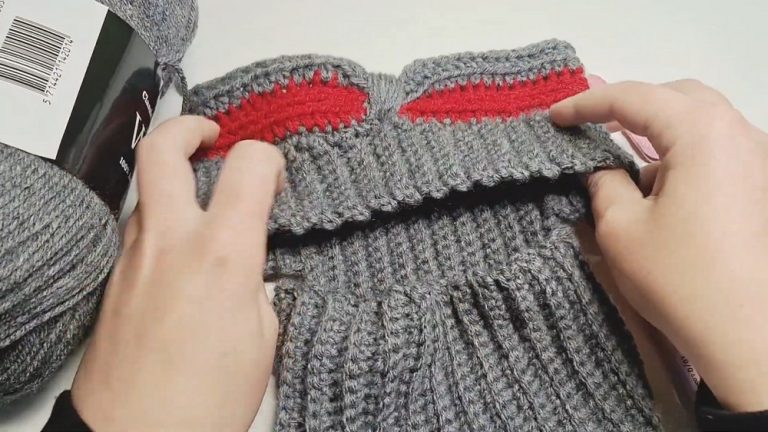
How to Crochet Checkered Bucket Hat for Beginners
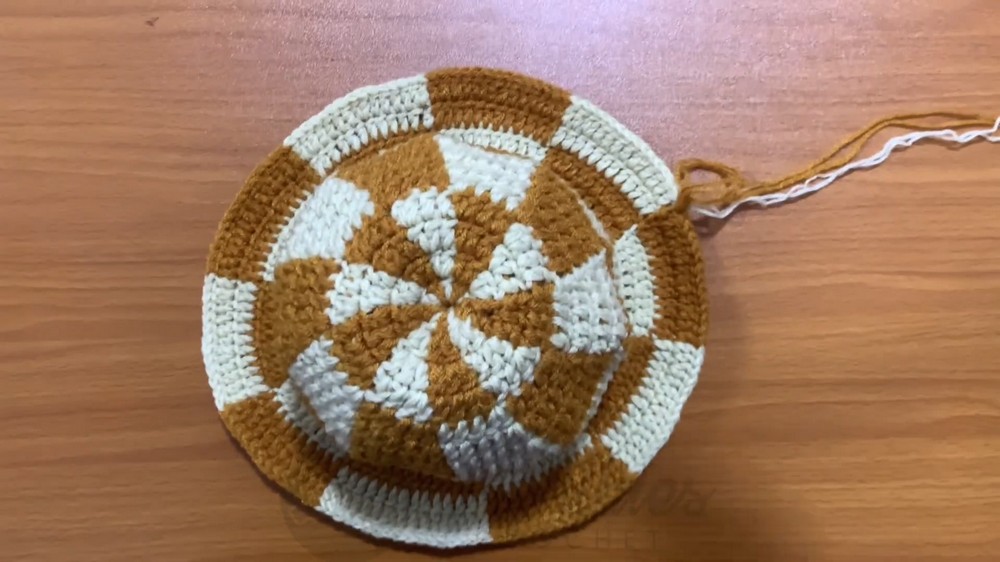
With a step-by-step tutorial, learn how to crochet a beautiful checked bucket hat for a pet that’s perfect for beginners. The creator explains the process step by step, starting with the materials needed, such as a 4mm crochet hook, two strands of yarn in different colors, scissors, and more. The tutorial covers the magic ring technique, changing colors, and alternating stitches to create the checked pattern. The video also demonstrates how to increase stitches for shaping the hat and creating the brim.
It’s designed for crochet enthusiasts of all skill levels, ensuring clear instructions for an enjoyable crafting experience. So, follow through with us for the complete tutorial.

Crochet Checked Pet Bucket Hat Tutorial
The tutorial teaches how to crochet a checked bucket hat for pets. It is beginner-friendly, with detailed step-by-step instructions. The creator emphasizes simplicity, making it accessible even for crochet newcomers.
Materials Needed
- 4mm crochet hook.
- Two yarn strands in contrasting colors.
- Scissors.
- Tape measure.
Starting the Base
Creating the Magic Ring
- Begin with a magic ring and secure it with a chain.
- Establish the pattern by alternating yarn colors.
- Carry the second color along for seamless transitions.
Adding the First Round
- Use double crochet stitches to form the first round.
- Alternate yarn colors again at appropriate intervals.
- Close the round with a slip stitch.

Increasing Rounds
Round 2
- Begin with a chain and treat it as a stitch.
- Add two double crochets per stitch in this round.
- Continue to carry the second yarn color along for each row.
Round 3
- Alternate between:
- Two double crochets in one stitch.
- One double crochet in the next stitch.
- Emphasize even increases for a circular shape.
- Maintain the pattern of alternating yarn colors.

Round 4 and Beyond
- Adjust the increase pattern:
- Alternate with two double crochets in one stitch and one double crochet in the following two stitches.
- As the rows progress, increase spacing between double crochets evenly.
- Ensure the project remains flat or slightly curved at the edges.
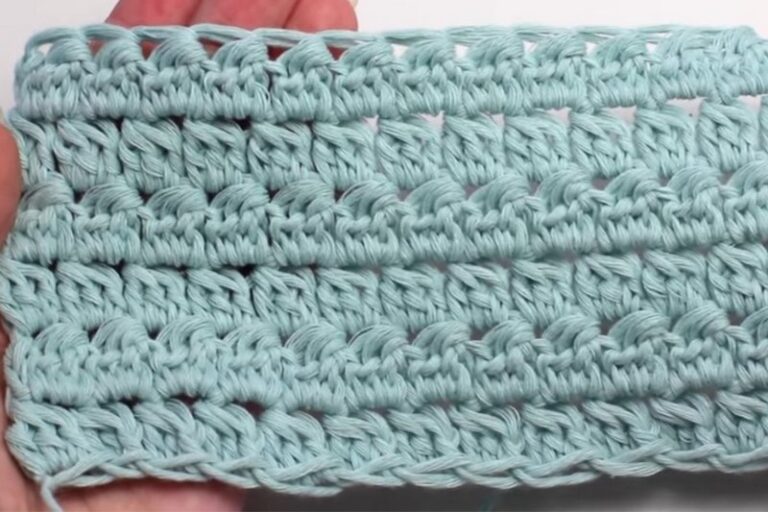
Body of the Bucket Hat
- After completing the increases, begin the body of the hat without adding further stitches.
- Each stitch gets one double crochet, maintaining a consistent rhythm with no increases.

- Alternate the yarn colors to maintain the checked pattern.
- Repeat rounds until the hat reaches the desired height, ensuring it fits just over the pet’s ears.
Creating the Brim
- Begin row one of the brim with slight increases:
- Alternate between adding two double crochets in one stitch and one double crochet in the next.
- For subsequent rows, reduce increases gradually:
- Add two double crochets in one stitch, followed by single double crochets in three or more stitches.
- Adjust the number of rows based on the preferred width of the brim.

Final Touches
- Shape the brim to curve naturally.
- Optional: Add more rounds to extend the brim for a more dramatic look.
- Test the fit and make final adjustments as necessary.
Conclusion
- The finished hat is a stylish and functional accessory for pets.
- The creator encourages viewers to experiment with color combinations or adjust the design to suit their needs.
https://youtu.be/zJXF3q71uy8