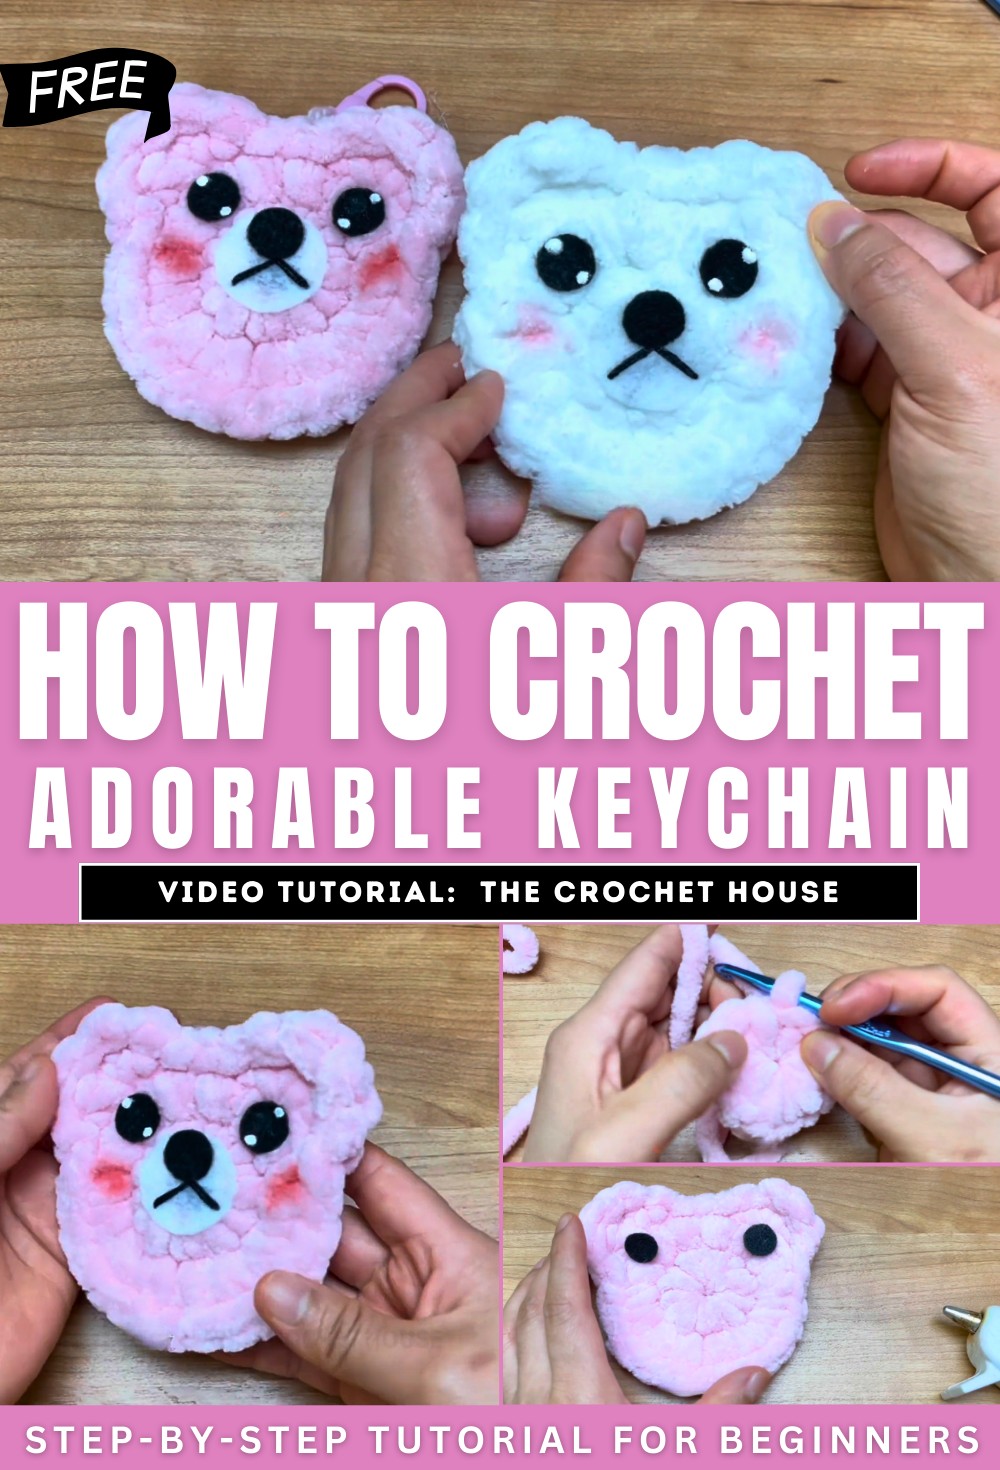
How To Crochet A Plush Bear Face Keychain for Beginners

In this post, you’ll learn how to crochet an adorable plush bear keychain, complete with ears and facial details. Using yarn (size 7), a 6.5mm crochet hook, and felt for the eyes and nose, the keychain is crocheted with a magic ring and single crochet stitches. The tutorial includes adding a bracelet for functionality and crocheting intricate details like ears using double crochets.
To finish, facial features are attached with hot glue and nail polish for added details. The end result is a charming keychain, perfect for gifting or personal use! So, follow through with us for the complete tutorial.
Crochet Keychain Tutorial
This YouTube tutorial walks viewers through the process of creating a charming crochet keychain, complete with ears and facial details. The project is beginner-friendly, with clear instructions and visuals. Below is a structured summary based on the tutorial.
Introduction
- The creator showcases the finished keychain design, explaining that this is the project viewers will learn.
- Viewers are encouraged to like, share, subscribe, and leave feedback about the video.

Materials Required
To create the crochet keychain, the following materials are needed:
- Yarn: Number seven yarn is used for the project.
- Hook: A 6.5mm crochet hook.
- Tools & Accessories: Scissors, a needle, stitch marker, hot glue gun, felt for crafting the eyes and nose, and nail polish for detail work.

Step 1: Creating the Base
- The tutorial begins with the formation of a magic ring, which serves as the foundation for the keychain.
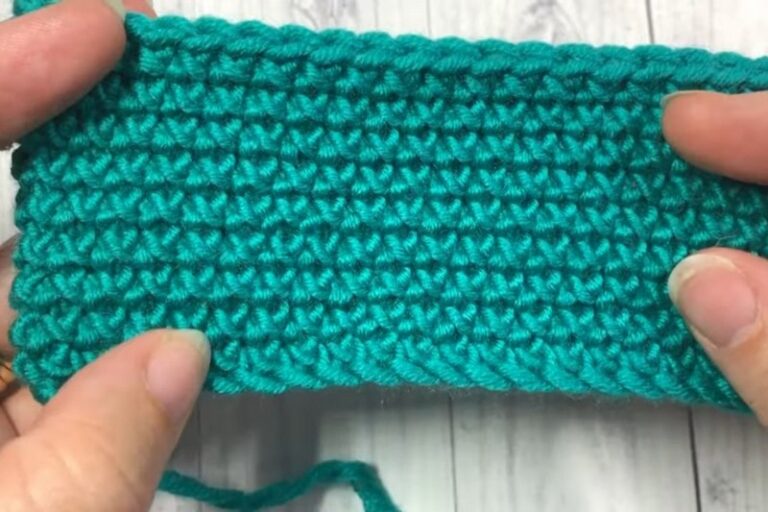
- Once the magic ring is complete, the creator transitions into creating the base of the design with a series of single crochet stitches.
Step 2: Adding the Bracelet
- A bracelet is incorporated into the project to function as the keyring.
- The creator demonstrates how to securely attach the bracelet during the crochet process.

Step 3: Forming the Body
- The body of the keychain is built by continuing with crochet rounds.
- The creator ensures viewers understand how to achieve a uniform design by maintaining proper tension when crocheting
Step 4: Creating the Ears
- The next step involves crafting two cute ears for the keychain.
- Double crochet stitches are used to form the ears, with slip stitches securing them in place.
- A simple pattern of skipping certain stitches and crocheting in specific ones is utilized.

Step 5: Finalizing the Crochet Design
- After the ears are completed, the yarn is trimmed, and the loose ends are hidden by weaving them through the stitches.
- All crochet work is now complete, leaving the base ready for embellishment.
Step 6: Adding Facial Features
- To enhance the design, facial features are added:
- Eyes and Nose: Created using felt and attached with a hot glue gun.
- Lines and Mouth: Simple details are drawn onto the keychain structure for the mouth.
- Dots for Eyes: Small dots are added using nail polish to give the design a polished finish.

Final Result
- The completed keychain is displayed with its adorable ears and expressive facial details.
- The creator emphasizes how the keychain makes a lovely gift or personal accessory.

Conclusion
- The creator ends the video by thanking viewers for their time and encouraging them to like, share, and subscribe for more tutorials.
- A quick preview or mention of future crochet projects might be included as a closing note.