How To Crochet A Skull Applique for Beginners
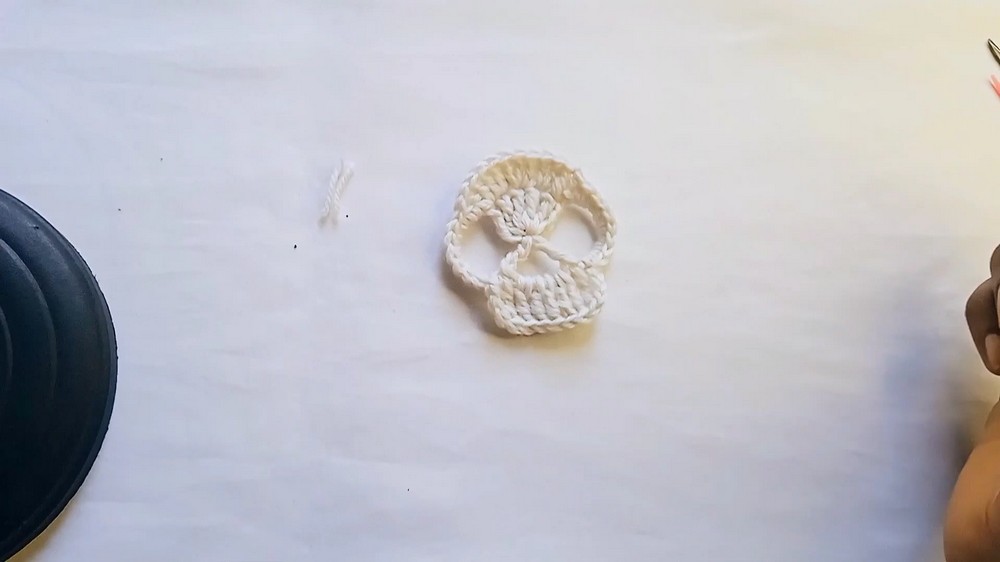
With a step-by-step tutorial, learn how to crochet a skull applique, making it a creative and beginner-friendly project. Using lightweight yarn, a 3 mm hook, she starts with a magic ring, guiding viewers through treble crochet stitches, chain spaces, and shaping techniques to form the skull design. She shares tips for keeping stitches tight and neat while customizing the yarn or hook size.
After finishing the skull, she explains how to weave in loose ends to ensure a clean finish. So, follow through with us for the complete tutorial!
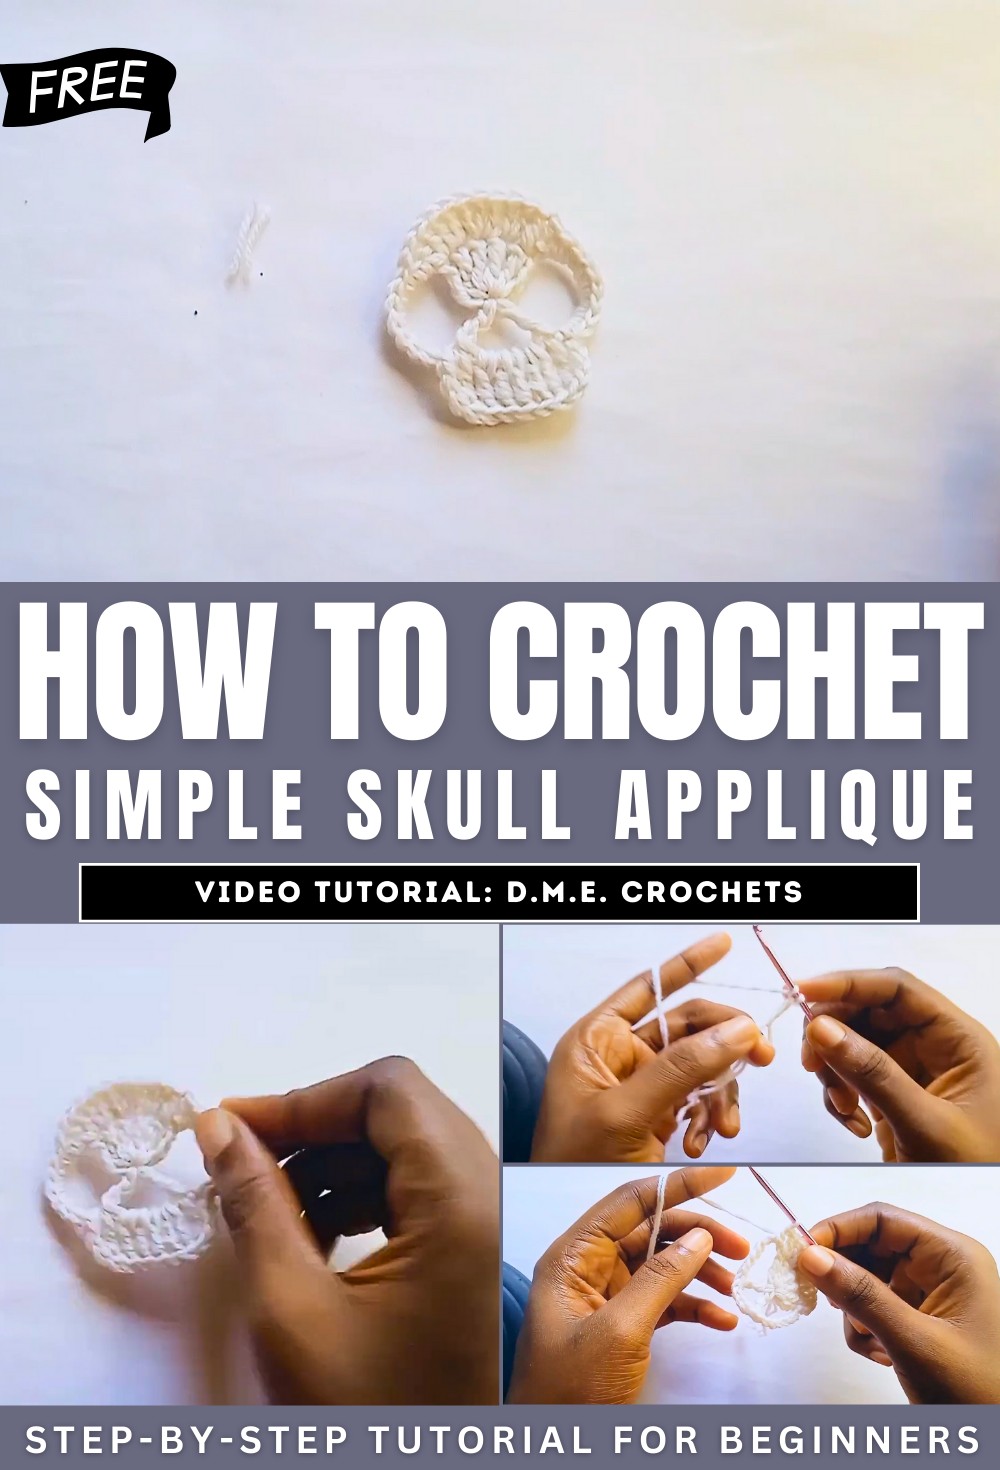
Crochet Skull Applique Tutorial
Favor’s tutorial provides a detailed step-by-step guide to crocheting a skull applique, perfect for Halloween decorations, customizing projects, or exploring fun crochet designs. This tutorial is accessible for beginners and showcases how to creatively use crochet techniques to produce this unique appliqué.
Materials Needed
- Crochet hook (3 mm size, though hook size is flexible based on yarn type).
- Light fingering-weight yarn (two strands used for this tutorial; other yarn types are optional).
- Scissors.
- Yarn needle.
Getting Started
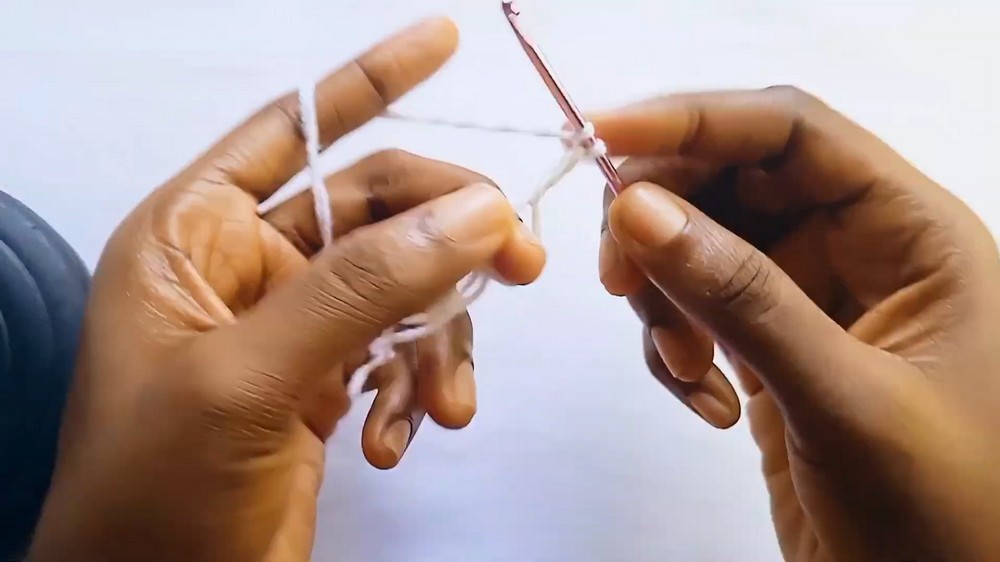
Magic Ring Foundation
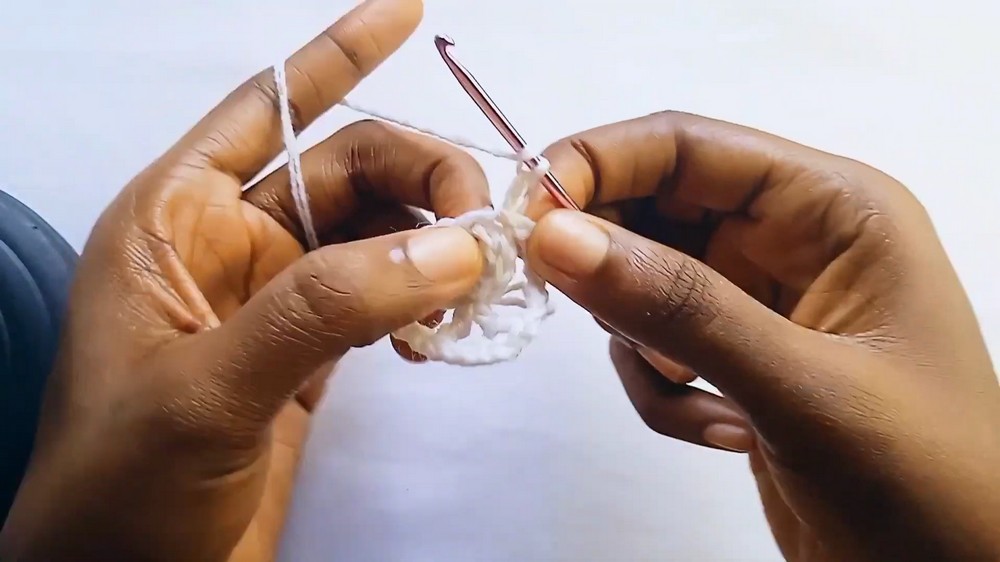
- Favor begins by demonstrating how to create a magic ring, explaining the proper technique to wrap the yarn around the fingers, insert the hook, and pull the loop through to form the base ring. This forms the foundation for the skull applique.
Main Structure of the Skull
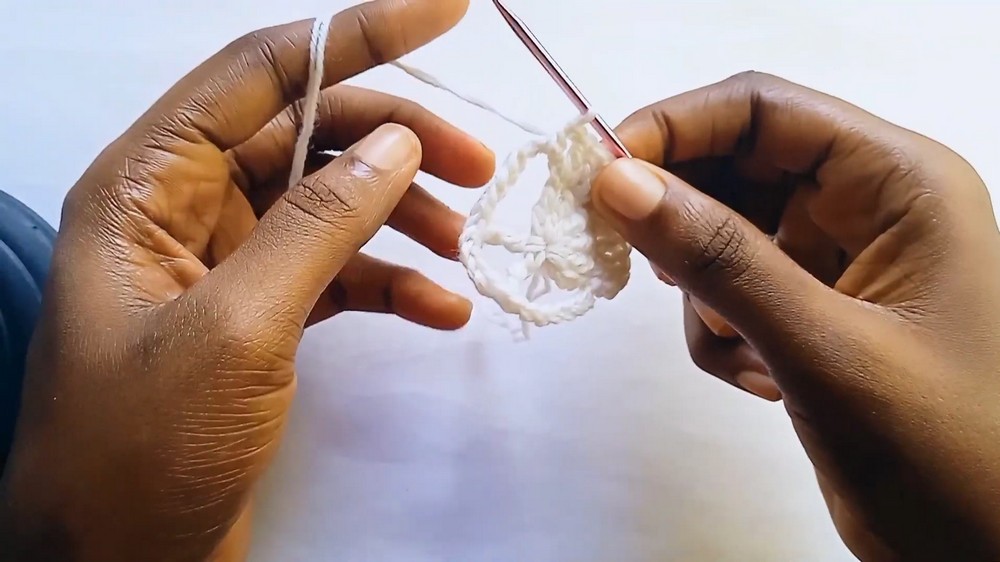
1. Building the Skull Shape
- Using a combination of treble crochets, chains, and other stitch techniques, the skull shape begins to take form.
- Favor emphasizes maintaining tight but consistent tension while crocheting to produce a neat finish.
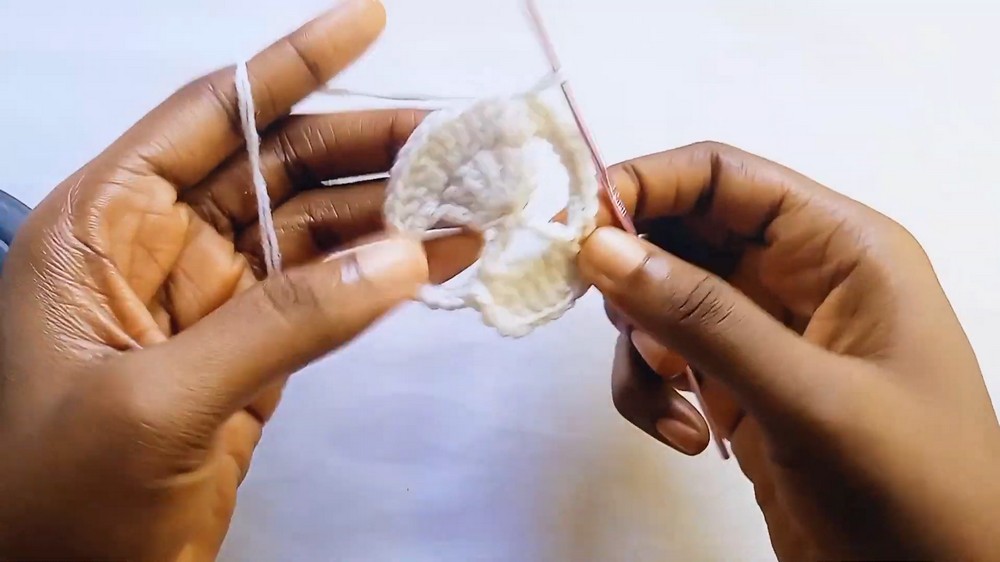
2. Closing the Ring
- The tutorial shows how to pull the yarn tail tightly to close the magic ring, ensuring the foundation is secured and ready for further detailing.
3. Adding Details
- The skull design is enhanced with various stitch placements, including double crochets and single crochets worked into strategic spaces. This process adds texture and dimension to the applique.
Finalizing the Skull Design
Shaping the Top and Features
- Favor shares tips for adding definition and shaping to the skull’s top and other features using chains and calculated stitches.
- Strategic placement of stitches gives the applique its unique skull-like appearance.
Weaving Ends
- To finish the project, Favor demonstrates how to weave in loose ends for a clean, polished look.
- She explains how to use a yarn needle to secure the ends properly without disrupting the overall design. She ensures all weaving is done on the wrong side to avoid visibility on the right side.
Additional Tips
- Viewers are encouraged to customize the yarn type and hook size for their personal preferences.
- Favor provides reminders to keep stitches uniform and explains how to make adjustments for any errors along the way.
Conclusion
Favor ends the tutorial by showcasing the finished skull applique—a creative and versatile design suitable for various projects. She invites viewers to share their experiences, leave feedback in the comments, and explore her other tutorials for more crochet inspiration. Her cheerful personality and clear instructions make this tutorial an excellent resource for crochet enthusiasts of all levels.
This easy-to-follow guide allows viewers to create a spooky yet charming crochet design while learning foundational techniques and gaining confidence in their craft.