How to Crochet Christmas Tree for Easy Stackable Fun

Learn how to crochet adorable mini Christmas trees, perfect for decoration or gifting, with a tutorial for beginners. Using yarn, a crochet hook, the project is built in five sections, each increasing in size. The tree starts with a magic ring and progresses through rounds of single crochet, back-loop stitches, and reverse single crochet for an elegant trim.
The size and design can be customized using different yarn types and colors. The tutorial offers clear instructions, ensuring a fun, creative experience for crocheters of all skill levels. Enjoy crocheting these festive, colorful trees. So, follow through with us for the complete tutorial.

Crochet Christmas Tree Tutorial
This tutorial provides a step-by-step guide to crocheting adorable, textured Christmas trees using simple techniques. The project is perfect for beginners and intermediate crocheters, as it involves straightforward stitches and thoughtful detailing to create a festive decoration.
Materials Needed
- Yarn: Any yarn can be used, though thicker yarn produces larger trees. The tutorial uses a medium-weight #4 yarn.
- Hook: Adjust the hook size according to your chosen yarn.
- Accessories:
- Stitch marker
- Scissors
- Darning needle for weaving in ends.

General Overview
The crochet Christmas tree consists of five sections, each becoming progressively larger by adding rows. The tree is completed with a decorative reverse single crochet trim at the bottom edge of each section. The instructor recommends experimenting with different yarn colors to achieve a playful and creative look.
Foundation: The Magic Ring
- Start by making a magic ring. This creates a sturdy and clean center for the tree.
- Work single crochets into the magic ring to begin.

Tree Construction
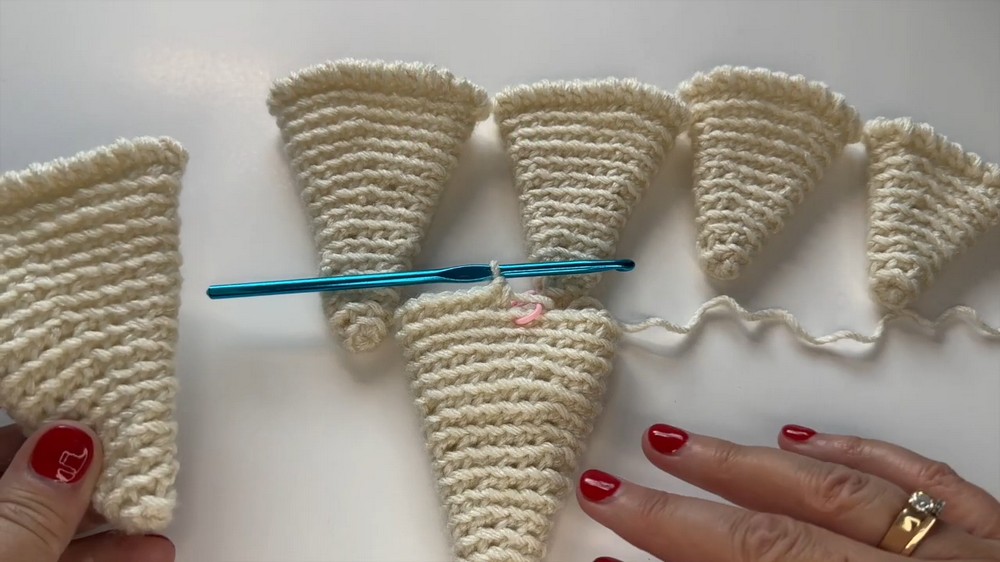
The tree is worked in rounds with increases to shape the sections into cones. Each section of the tree is the base for stacking, with the following structure:
Section 1
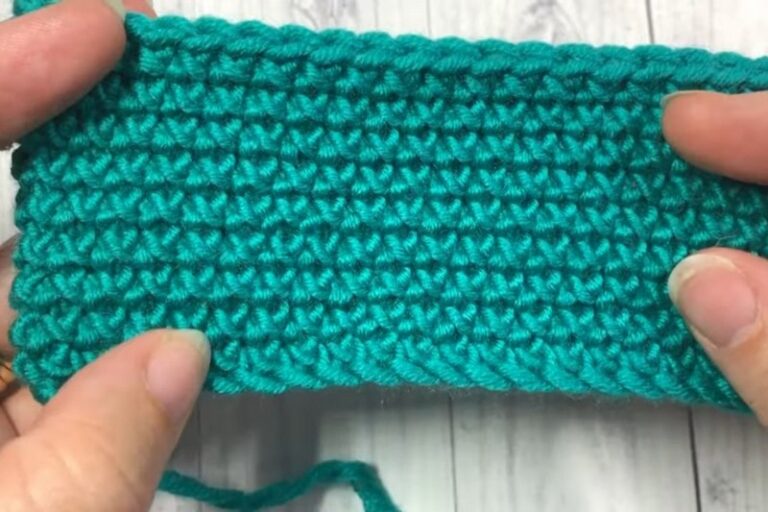
- Begin the first section using a few rounds of single crochet.
- Stitches are worked into the back loop only to create texture.
- After each round, use a stitch marker to identify the first stitch for precision.
- Add increases evenly to expand the section.

Section 2
- This section follows the same process as Section 1.
- Add two additional rows (compared to Section 1) to make Section 2 slightly larger.
Sections 3, 4, and 5
- Each subsequent section adds two extra rows beyond the previous section to ensure the tree increases in size proportionally.
- Work in back loops throughout for a consistent textured appearance.
Reverse Single Crochet Border
- At the bottom of each section, add a reverse single crochet trim.
- Reverse single crochet involves working stitches backward to create a neat, rope-like edge.
- This trim adds structure and enhances the decorative appeal of the tree.
Assembly and Finishing
- Once all sections are complete, stack them from largest to smallest, resembling a tree shape.
- Use a darning needle to weave in ends and secure the magic ring. The instructor emphasizes properly securing the magic ring to prevent unraveling over time.
- Adjust any uneven areas by weaving the yarn ends back and forth for a polished finish.

Customization
- Experiment with different yarns and colors to create unique trees.
- The size of the tree depends on the yarn thickness, hook size, and number of sections you create.
Conclusion
This tutorial offers a fun, creative project suitable for all skill levels. The detailed instructions and tips ensure ease of understanding while allowing room for customization. The final product is a festive crochet tree that can be used for decoration, gifts, or stacking displays during the holiday season.