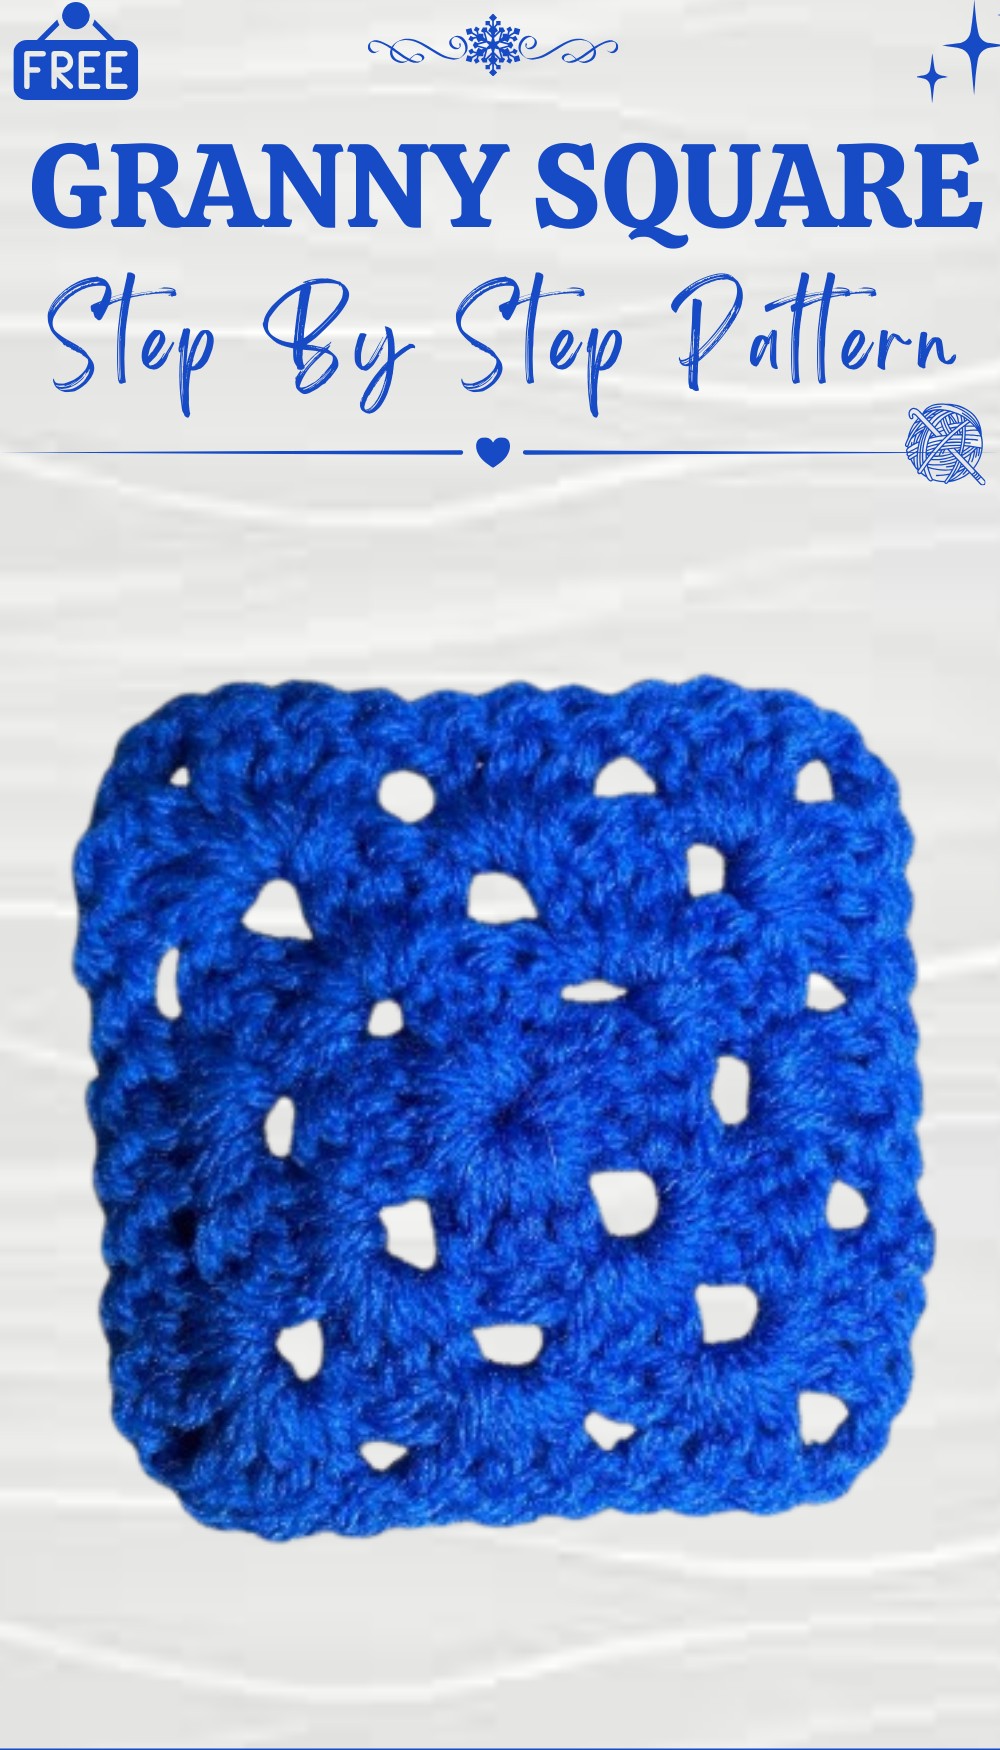
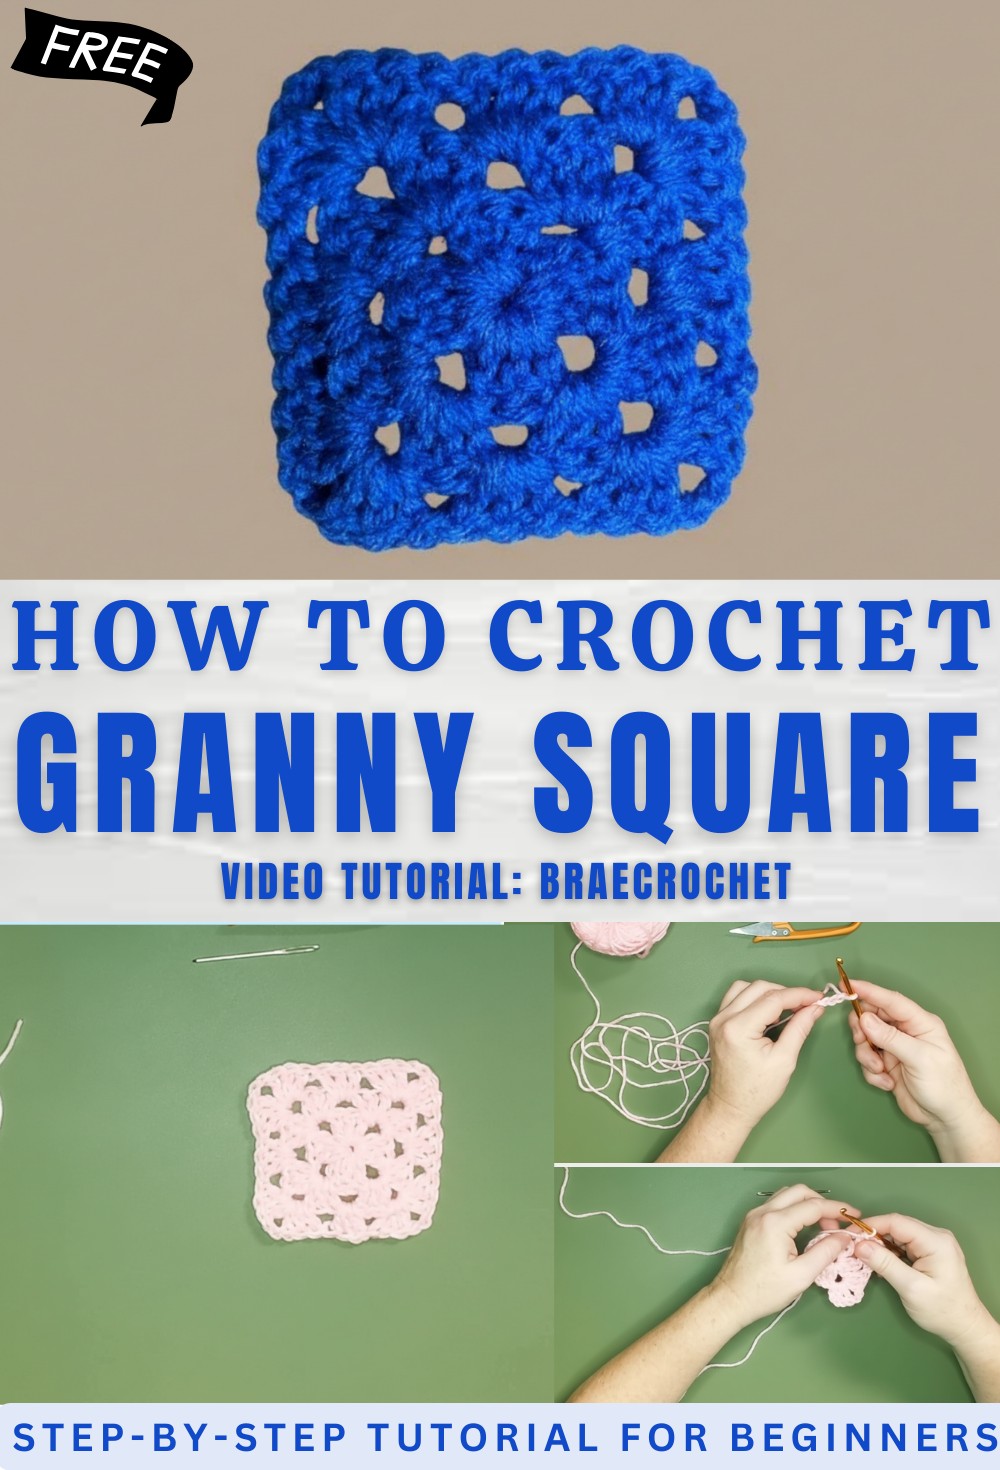
How to Crochet Granny Square Pattern For All Skill Level
Energize your projects with this free Crochet Granny Square Pattern, perfect for beginners and experts to add vibrant charm to every creation.
What can you create with just some yarn, a crochet hook, and the classic granny square pattern? The answer is endless possibilities! Crochet granny square projects start with simple stitches but quickly blossom into colorful, cheerful blocks that anyone can enjoy making. Select your favorite yarn colors and watch each granny square develop its own personality and charm.
Easy Crochet Granny Square Free Pattern
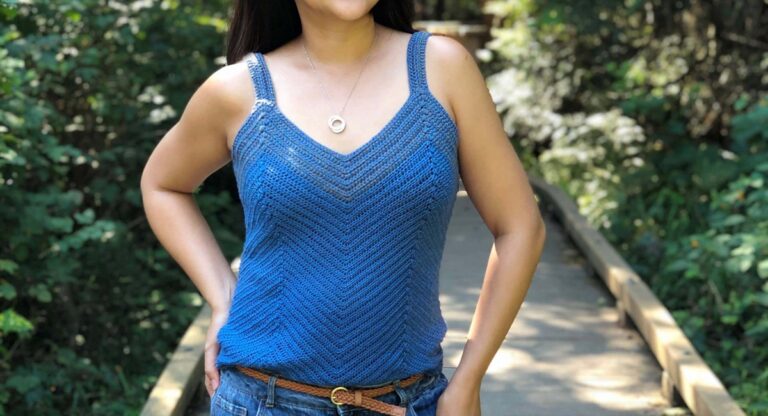
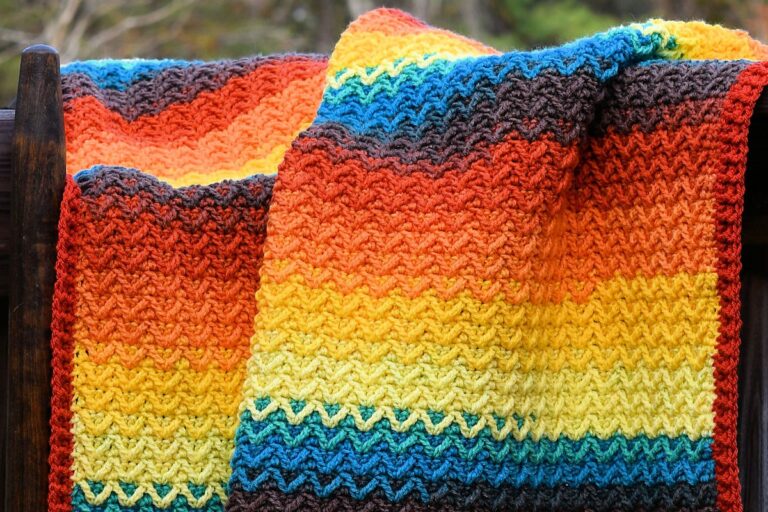
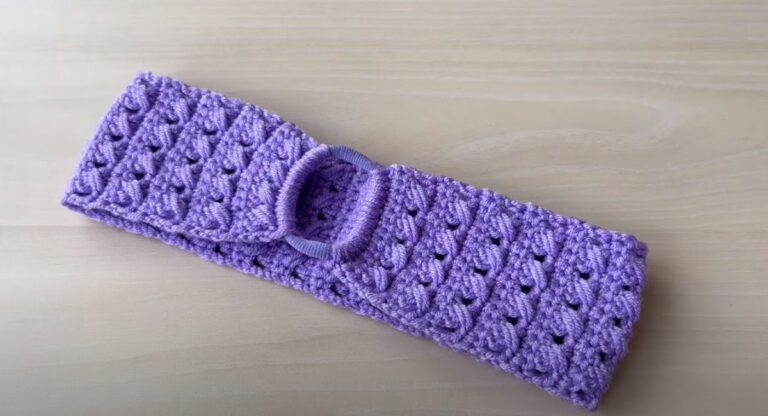
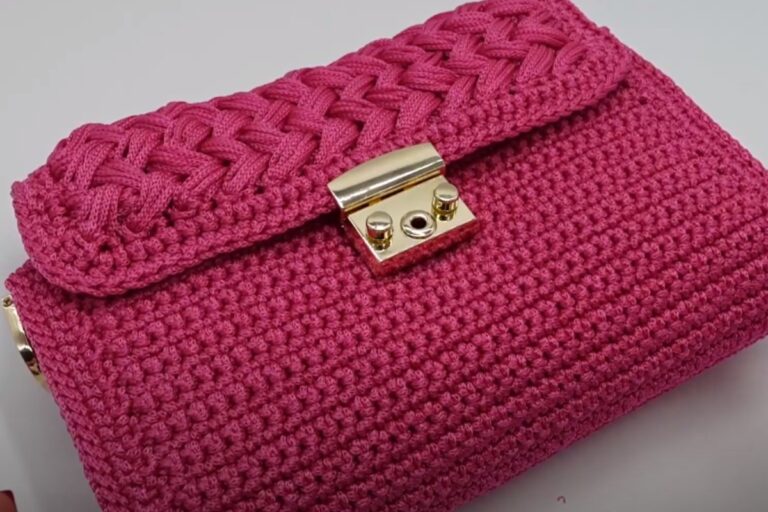
This versatile crochet square can be joined together to create cozy blankets, stylish bags, or decorative pillows—whatever suits your style and needs. No need for complicated techniques: even if you’re a beginner, you can follow along and enjoy the relaxing rhythm of crochet. With every granny square you make, you’re not just crafting; you’re building warmth, comfort, and treasured handmade creations for your home or for thoughtful gifts.
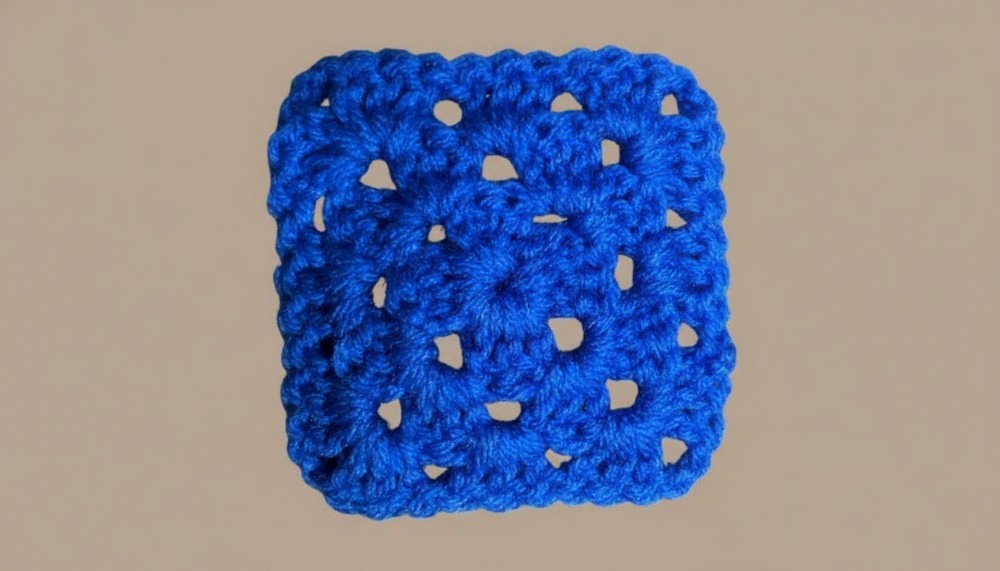
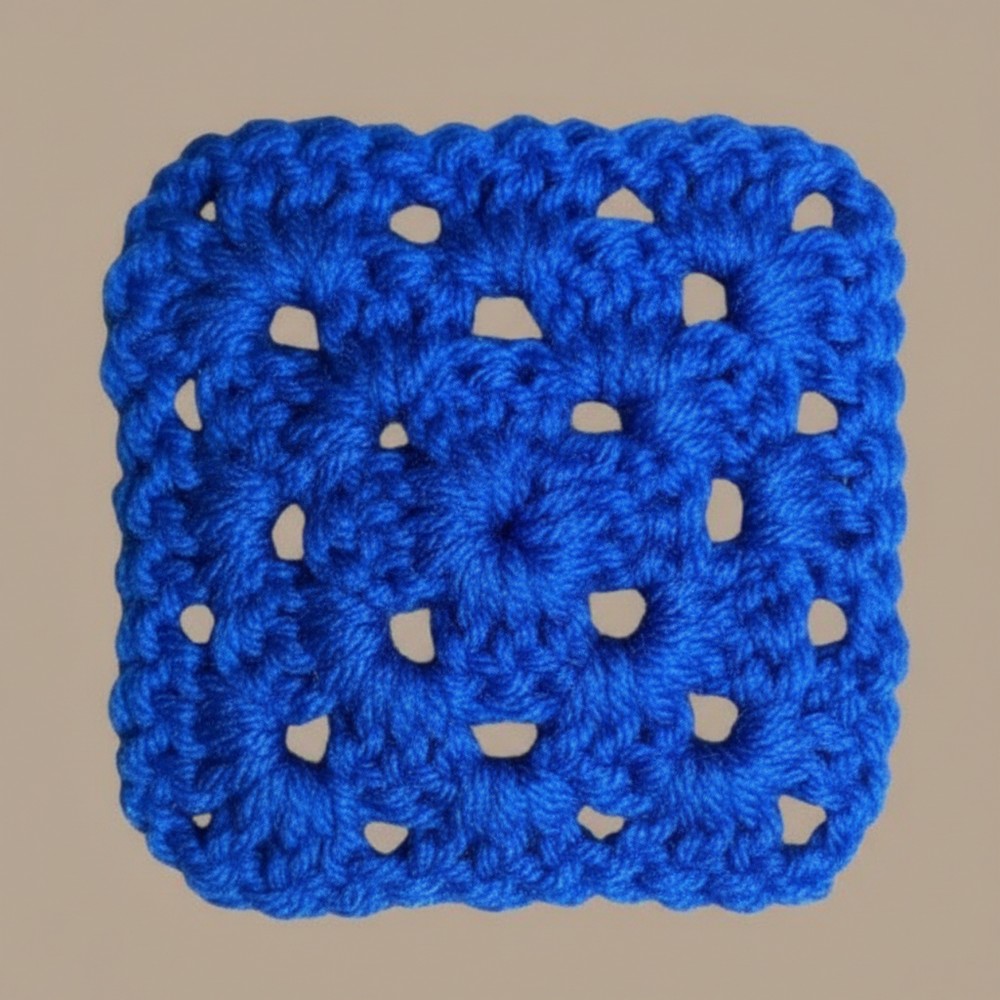
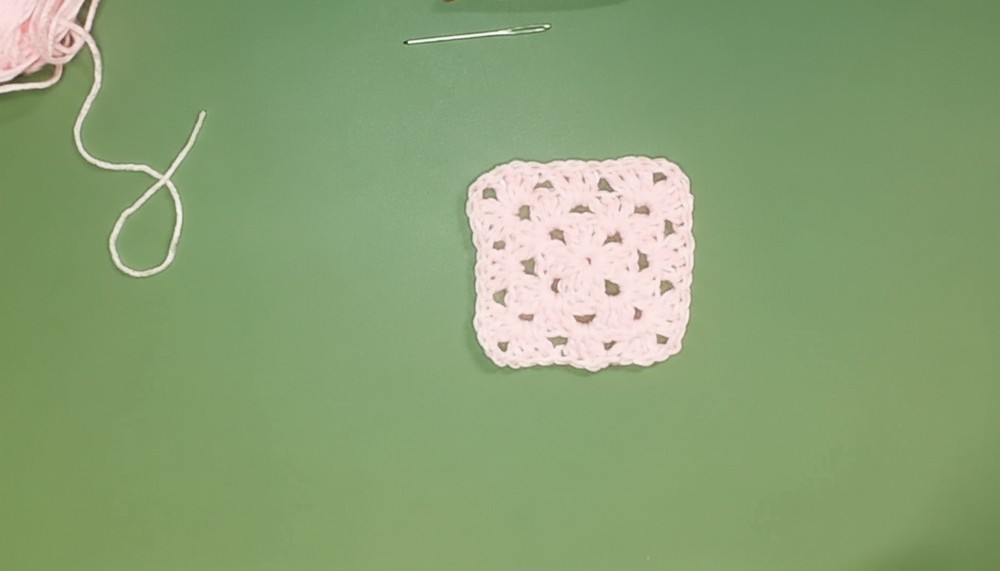
Classic Free Crochet Granny Square Pattern
Materials List
- Yarn: #4 medium-weight acrylic yarn (or any desired fiber)
- Hook: 5 mm (H-8) crochet hook
- Darning needle: For weaving in ends
- Scissors: For snipping yarn
Key Abbreviations
| Abbreviation | Meaning |
|---|---|
| ch | chain |
| dc | double crochet |
| sl st | slip stitch |
| sp | space |
| st(s) | stitch(es) |
| yo | yarn over |
Special Notes
- US crochet terminology is used.
- The chain-3 ring creates a tighter center than a chain-4 ring or magic ring.
- The beginning ch-3 always counts as your first dc.
- The standard for corners is “ch 2,” but you may use ch 1 or ch 3 based on tension or personal preference.
- Work over yarn tails to secure them and minimize weaving ends.
Pattern
Round 1: Center Ring
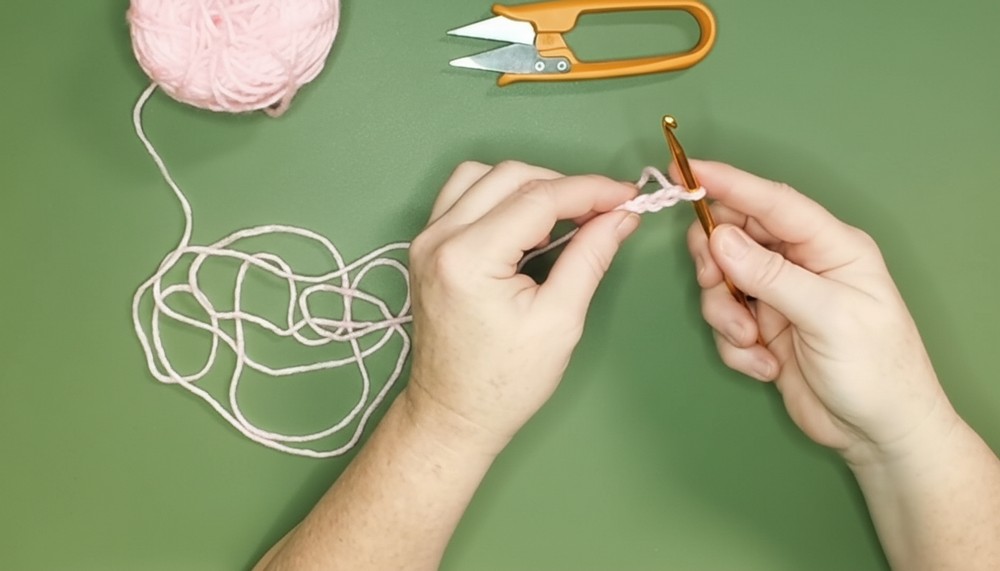
- Make a slip knot and place it on your hook.
- Ch 3 (chain 3).
- Note: The loop on the hook doesn’t count as a chain; count only completed chains.
- Sl st into the first chain to form a ring.
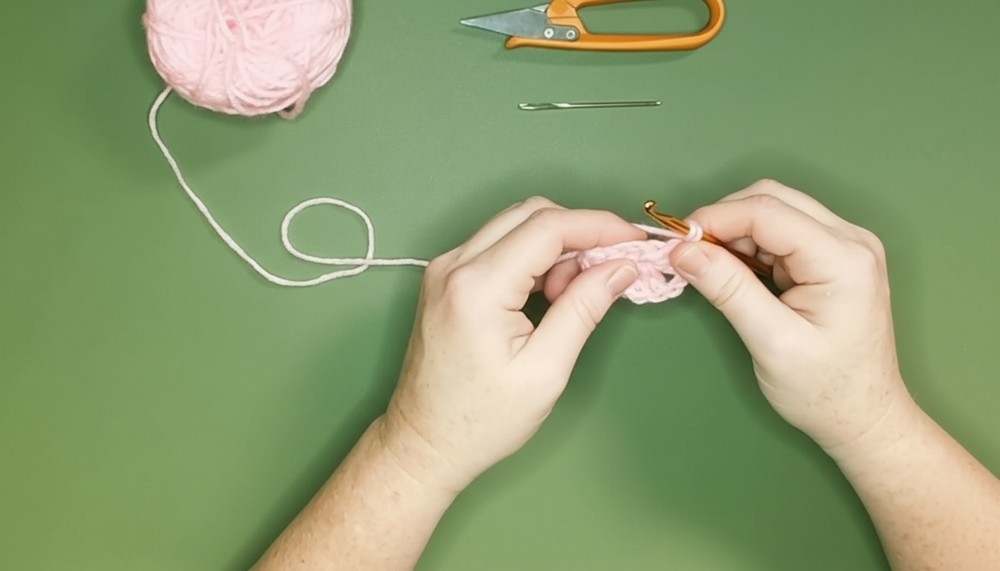
- Ch 3 (counts as first dc).
- Work 2 dc into the ring.
- Ch 2 (corner).
- (3 dc into ring, ch 2) three more times (you should have 4 groups of 3 dc, each separated by ch-2).
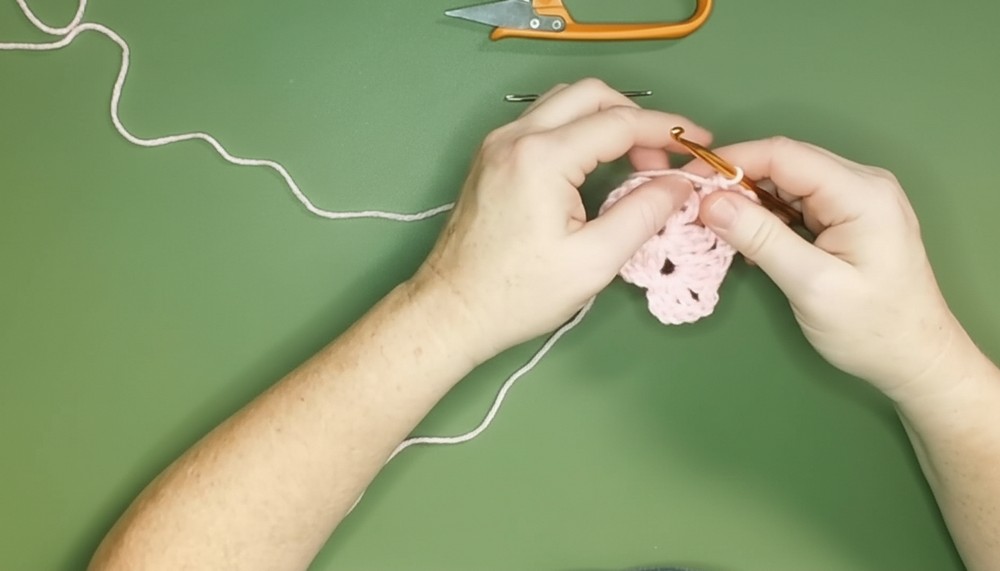
- Sl st to the top of the beginning ch-3 to join the round.
Round 2: Establishing Corners
- Sl st in the next 2 dc and into the first ch-2 space (corner).
- Ch 3 (counts as first dc), 2 dc in same ch-2 sp.
- Ch 2, 3 dc in same ch-2 sp (first corner complete).
- Move to next ch-2 corner space, and in each:
- (3 dc, ch 2, 3 dc)
- Continue in this manner around to all four corners.
- Sl st to top of starting ch-3 to join the round.
Note: No chain between sets along the side—move directly into the next corner space.
Round 3: Begin Standard Repeats
- Sl st in next 2 dc and into the next ch-2 corner space.
- Ch 3 (counts as dc), 2 dc in same corner, ch 2, 3 dc in same corner.
- For each side space (between corners):
- 3 dc in space
- For each corner ch-2 space:
- (3 dc, ch 2, 3 dc)
- Continue around: Sides get 3 dc in space. Corners get (3 dc, ch 2, 3 dc).
- Sl st to top of starting ch-3 to close round.
Additional Rounds (To Desired Size)
- For all additional rounds:
- Corners: (3 dc, ch 2, 3 dc) in each corner ch-2 space.
- Sides: 3 dc in each space (between sets from previous rounds).
- No chains between side groups; only chain 2 at corners.
- Repeat the established pattern, growing your square with each round.
Finishing
- Fasten off yarn at end of last round:
- Yarn over, pull through, cut yarn, and pull tail through the final loop.
- Use a darning needle to weave in ends securely on the reverse side.
Pattern Corrections
- The original transcript sometimes refers to “slip stitch over” as working into the “V” of the stitch; simply slip stitch across the next dc(s) to reach the next corner space.
- The transcript mentions “no chain spaces between these”; this is standard for classic granny squares—do not add chains between side clusters.
Tips
- If the square starts to pucker or ruffle:
- Ensure you are not adding chains between the side clusters.
- Check that you are consistently making 3 dc in each space/cluster.
- You can use ch 3 at corners for a looser square or ch 1 for a firmer corner depending on yarn weight and tension.
- Always join new rounds in the top of the ch-3, not in the chain space.
- Use a stitch marker if you find it hard to spot the first stitch for joining.
Conclusion
This pattern demonstrates a classic granny square using the chain-3 ring method for a tighter center. This technique creates compact motifs perfect for blankets, bags, scarves, and home décor. Continue adding rounds and experiment with color changes as desired.