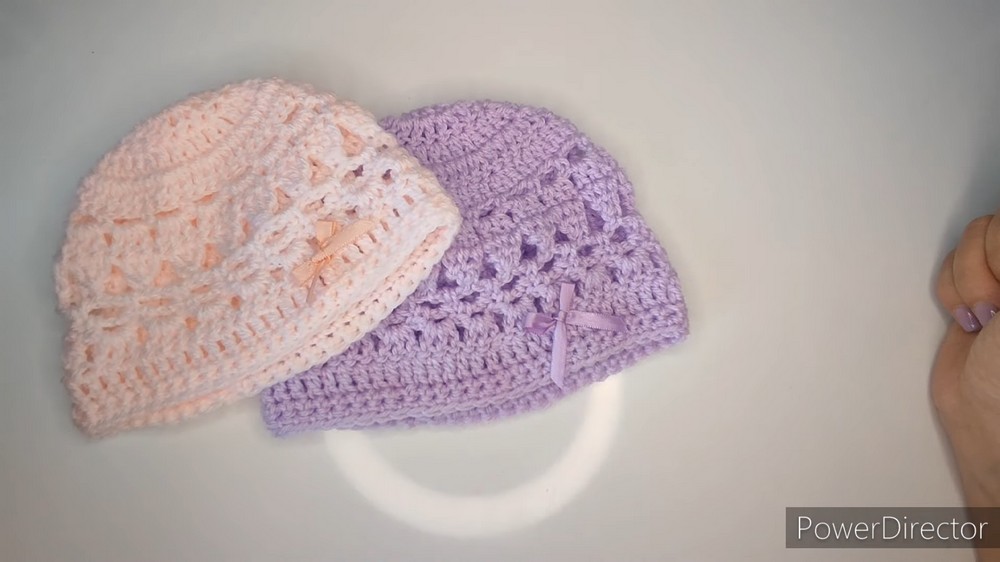
How To Crochet Mesh Baby Hat for Baby Shower
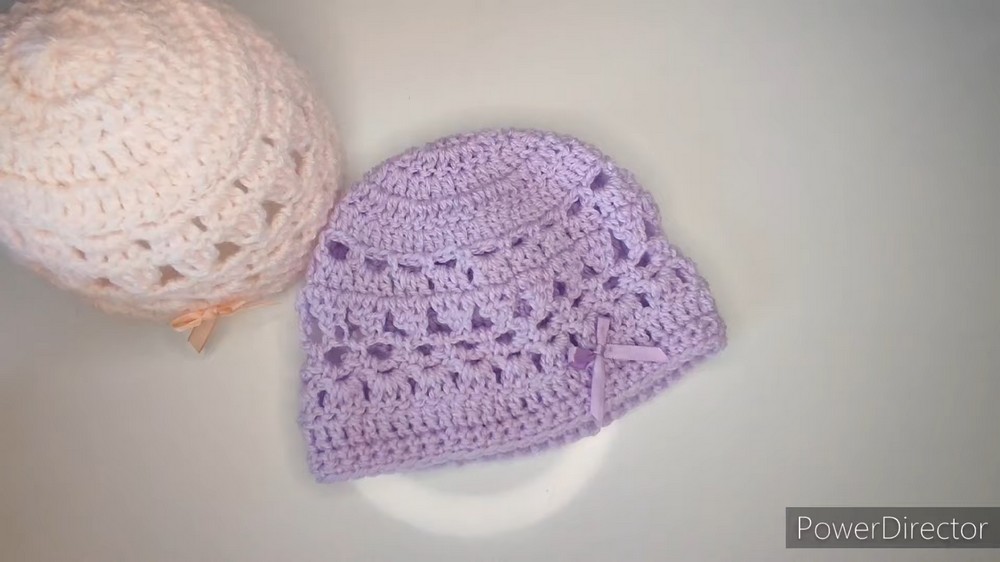
To gift at a baby shower, learn how to crochet a baby hat suitable for a beginner, and it is special because it can be made to match a previously created cardigan. The pattern is available for three different sizes, from 0 to 12 months. The tutor suggests using a medium or DK-weight yarn with a 4mm hook.
The tutorial also provides a useful tip on how to decrease stitches if the hat becomes too wide and a clear demonstration on how to secure the yarn tail in the center of the magic circle to prevent it from coming undone. So, follow through with us for the complete tutorial for beginners.
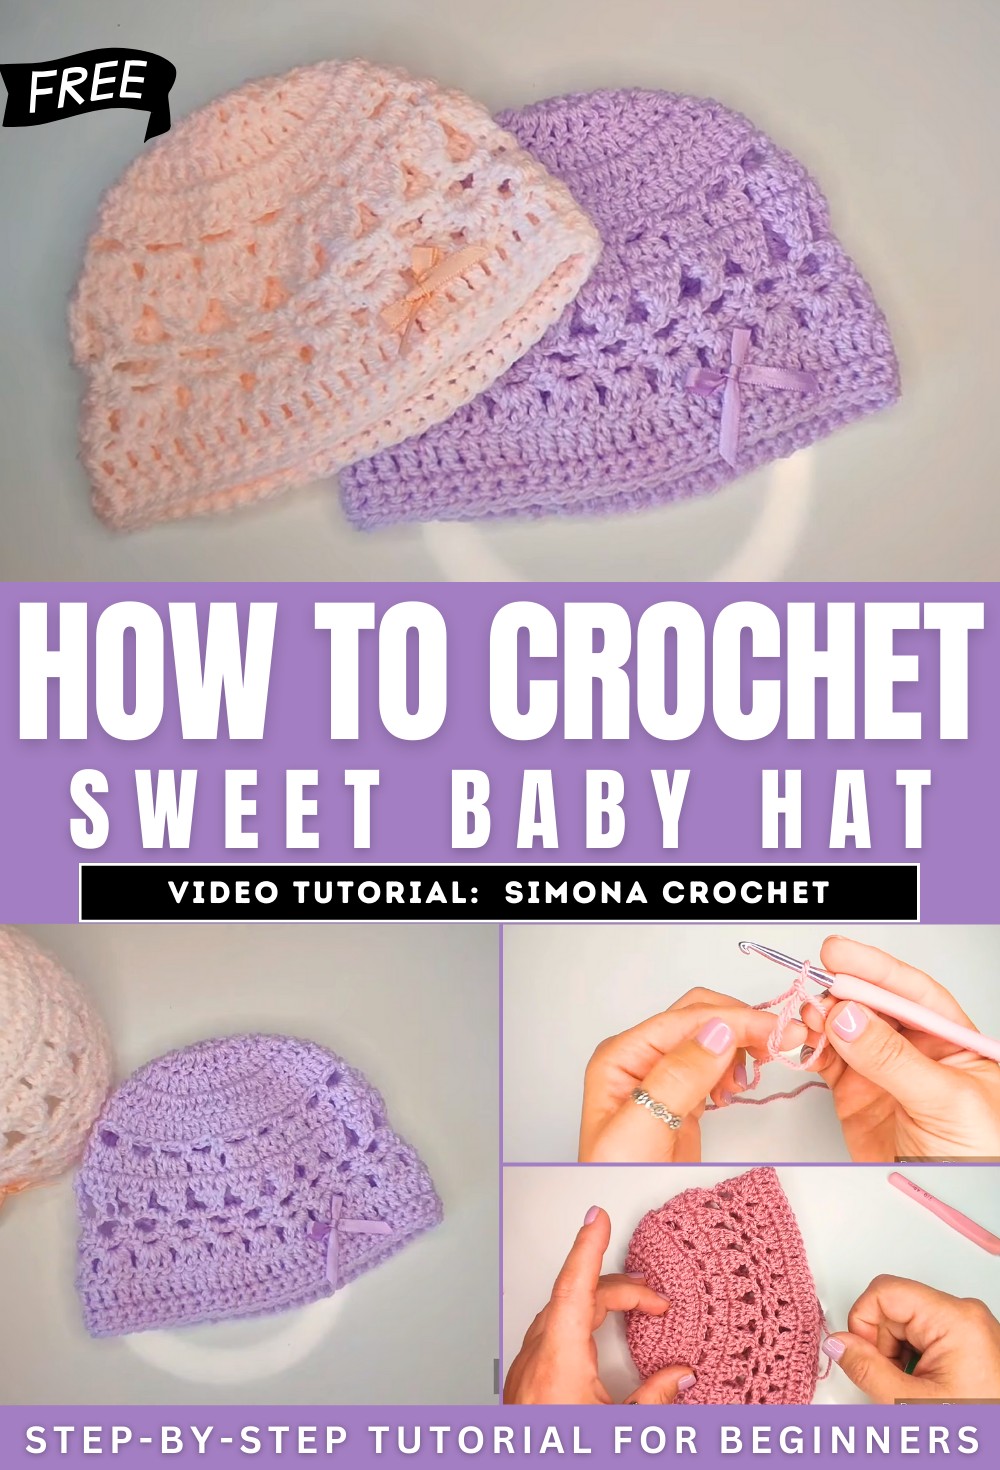
Baby Crochet Hat Tutorial
This tutorial walks viewers through a step-by-step process for crocheting a baby hat, with sizes for 0-3 months, 3-6 months, and 6-12 months. The crochet project features a simple pattern with decorative options, making it customizable and beginner-friendly. The instructor explains every step, ensuring viewers can follow along easily.
Materials Needed:
- Hook: A 4mm crochet hook (or a hook that matches your selected yarn).
- Yarn: Medium-weight yarn or DK weight yarn in your desired color (approximately 20-30 grams).
- Additional Tools:
- A measuring tape (preferably measuring in centimeters).
- A stitch marker (optional).
- A sewing needle to hide the tails and attach decorations.
- Decorative items such as bows (optional).
Preparation:
The tutorial begins by explaining how to measure the baby’s hat based on the baby’s age. A chart for head circumferences is used to determine the dimensions for each size (0-3 months, 3-6 months, and 6-12 months). The instructor emphasizes the importance of stopping increases at the correct measurement for each size and reviews how to check the hat’s diameter and height.
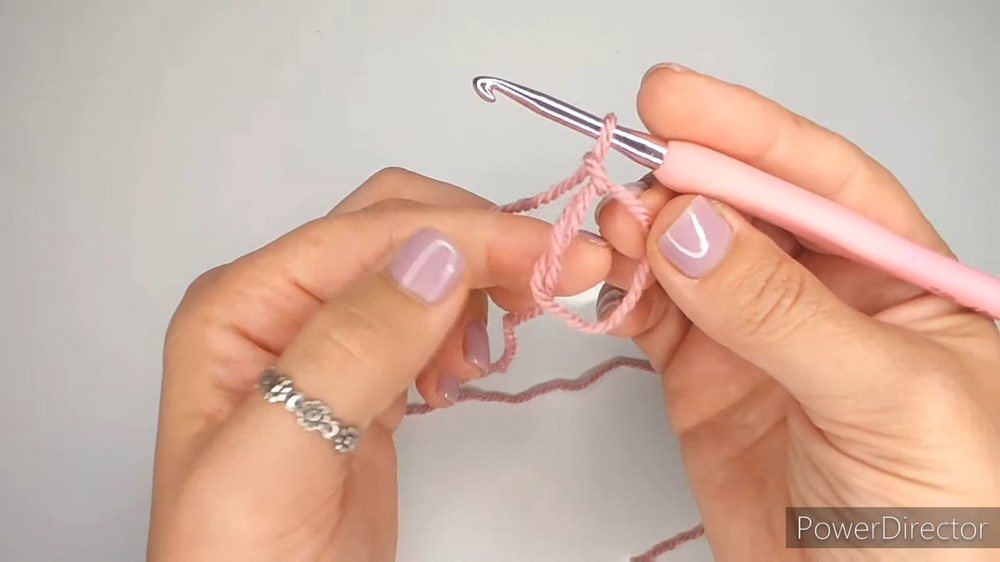
Step 1: Starting with the Magic Circle
- Magic Ring Foundation:
- The hat begins with a magic circle, which is a foundational technique for crocheting in the round.
- The instructor demonstrates how to create the magic circle in multiple attempts to ensure clarity.
- The Base:
- After creating the magic circle, the project starts with rows of double crochet stitches. As the rows build, increases are introduced to create the right diameter for the hat size being made.
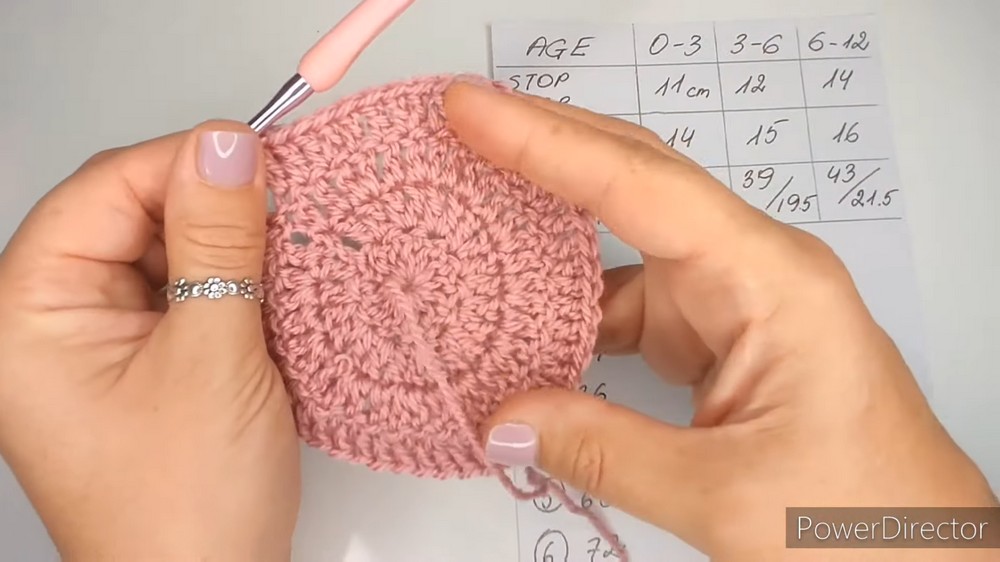
Step 2: Adding Patterns and Adjustments
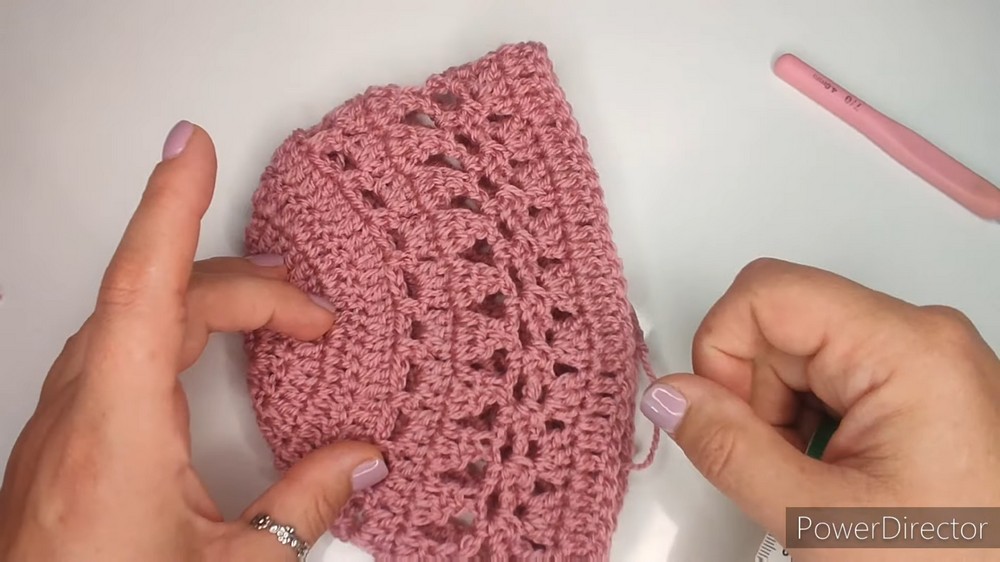
Once the correct diameter is achieved, the instructor adds decorative patterns to the hat using chain and single crochet stitches. These create unique textures and visual interest. Specific adjustments, such as increasing or measuring between rows, ensure the hat fits the intended size properly.
- Pattern Rows:
- Chain spaces form an attractive point design across the hat.
- Rows with grouped stitches, such as double crochets crocheted together, create prominent decorative elements.
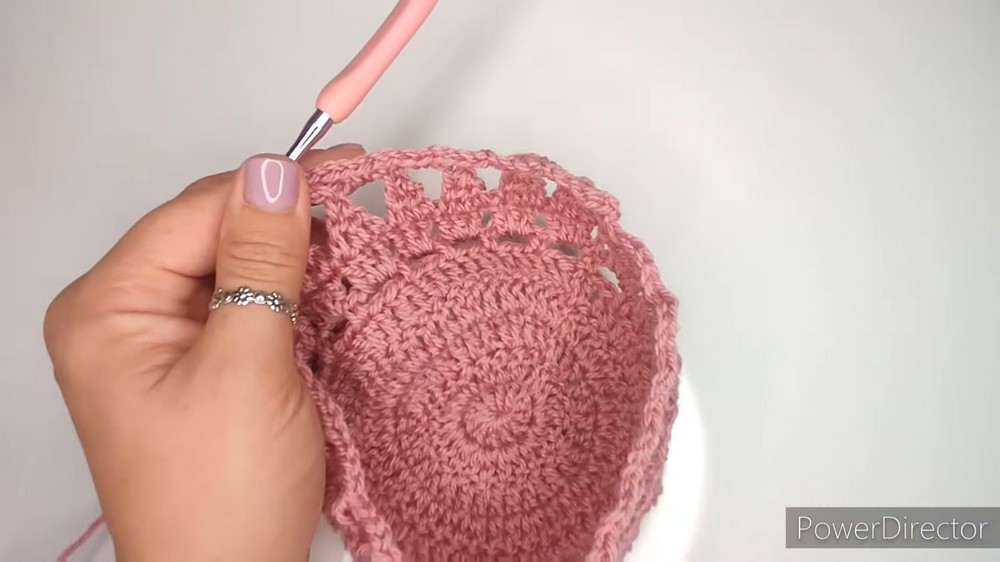
- Final Row Adjustments:
- Single crochet rows are used in the final stages to achieve the desired height while also refining the circumference for a proper fit.
- Any necessary decreases are made by skipping stitches strategically to reduce the width of the hat.
Step 3: Finishing Touches
- Securing Loose Ends:
The tutorial stresses the importance of securing the magic circle tightly and hiding loose yarn tails to ensure durability and a polished look. - Decoration:
The instructor demonstrates adding a bow to the hat, emphasizing that personal decorations are optional and customizable.
Conclusion:
This baby crochet hat tutorial is beginner-friendly and allows for creative customization with various sizes and decorative options. The detailed explanations ensure viewers can successfully create a beautiful hat that pairs well with other projects, such as matching cardigans. This step-by-step guide makes the process simple and enjoyable for crocheters of all skill levels.