
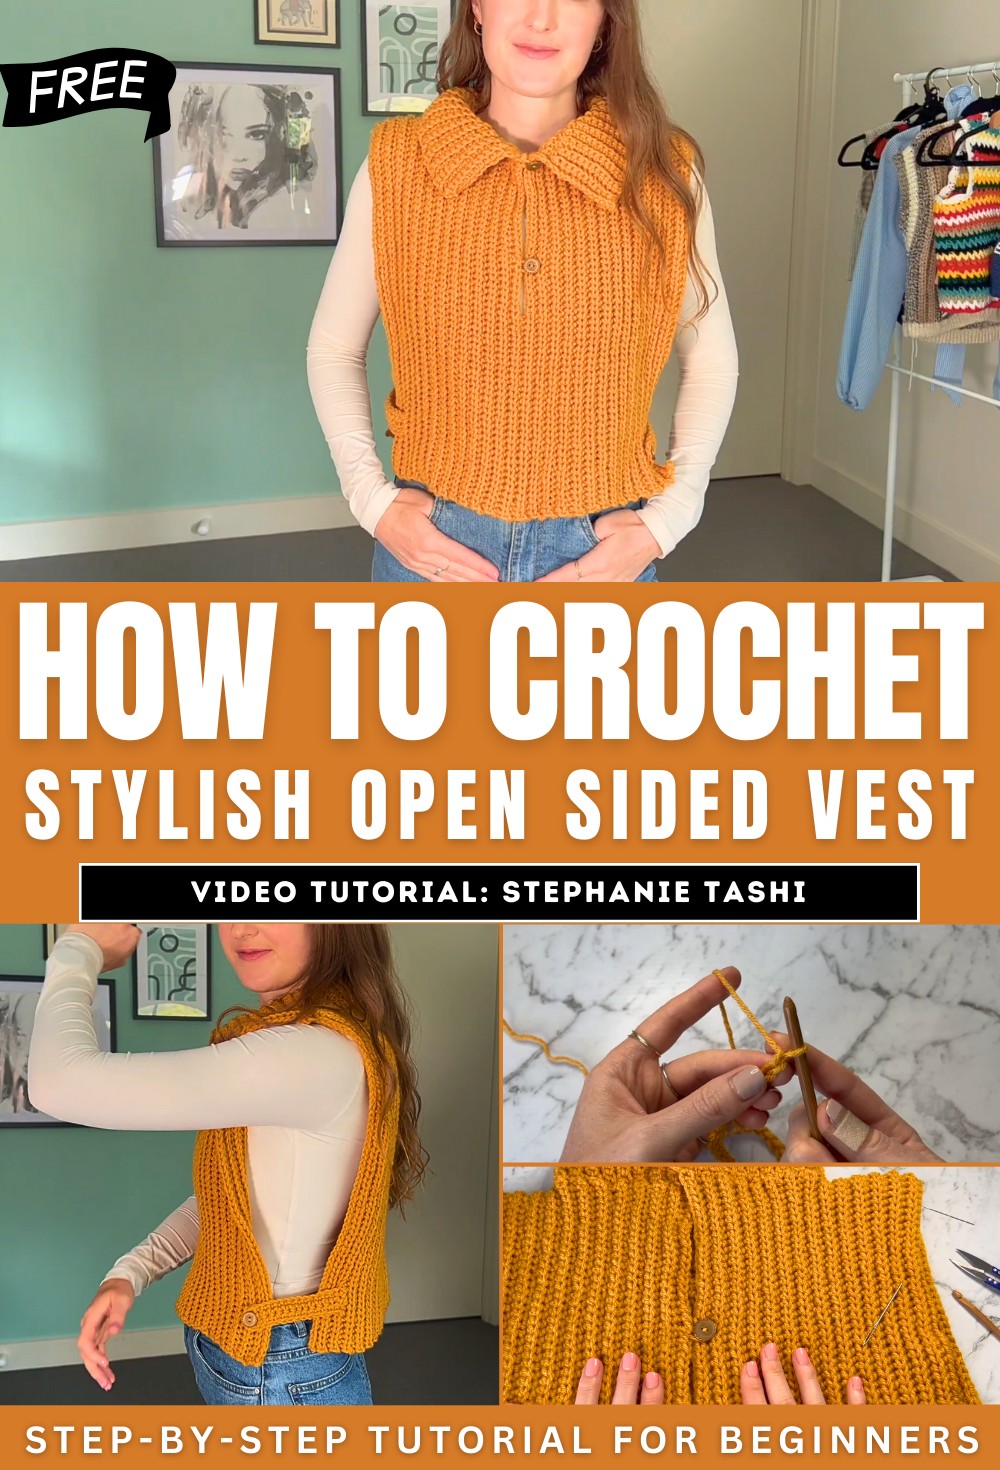
How to Crochet Open-Sided Vest for Beginners

In this detailed tutorial, learn how to crochet an adjustable open-sided vest using approximately 300 grams of medium-weight yarn, a 6mm crochet hook, stitch markers, scissors, and buttons. The vest features back loop camel stitches to create its panels, a ribbed collar, and optional side tabs secured with buttons for versatility.
The instructor provides measurements in both centimeters and inches, making the pattern adaptable to various sizes, yarn types, and hook choices. With clear step-by-step instructions, this project is ideal for crocheters looking for a practical yet stylish garment. So, follow through with us for the complete tutorial.
How to Crochet an Adjustable Open-Sided Vest
This tutorial provides a step-by-step guide for making an adjustable open-sided vest. The design allows for customization in size, enabling crafters to use different yarn weights and hook sizes while following the provided inch and centimeter measurements. The vest features elegant camel stitches, a ribbed collar, and side tabs with optional buttons, giving flexibility in style and wear. Below is a structured summary of the tutorial.
Materials Needed
- Yarn: Medium-weight yarn (approximately 300 grams).
- Crochet Hook: 6mm crochet hook recommended.
- Tools: Stitch markers, scissors, darning needle, buttons (2 for the collar, 4 for the open sides).
Project Overview
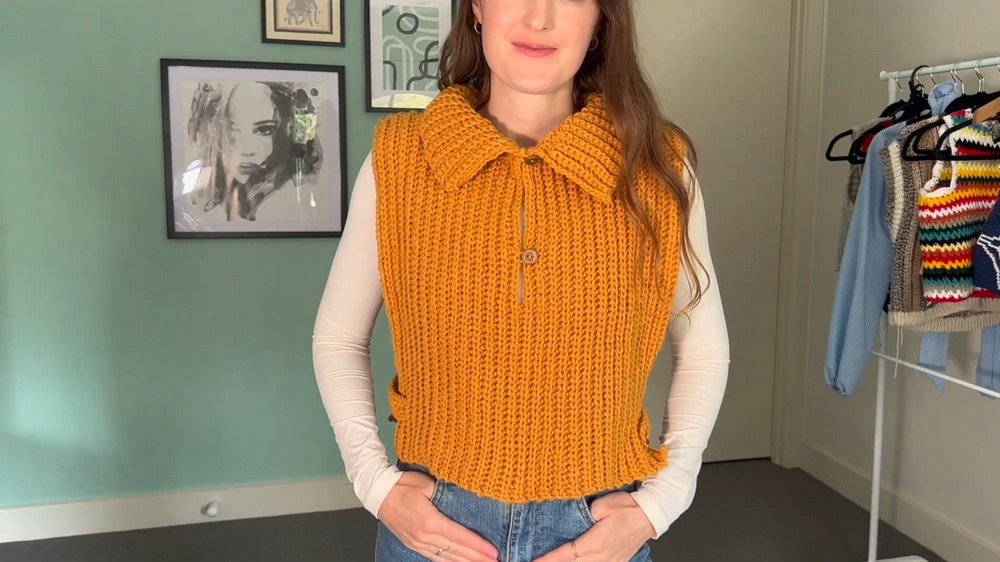
- The vest is designed to be versatile. It can be worn with the collar buttoned for a clean, classy look or left open for a relaxed vibe.
- Its open-sided panels hang freely but can be connected with side tabs and buttons, offering flexibility in fit.
- Customization is central to this tutorial; measurements in both inches and centimeters are provided to adjust for size, yarn type, or hook choice.
Key Crocheting Techniques
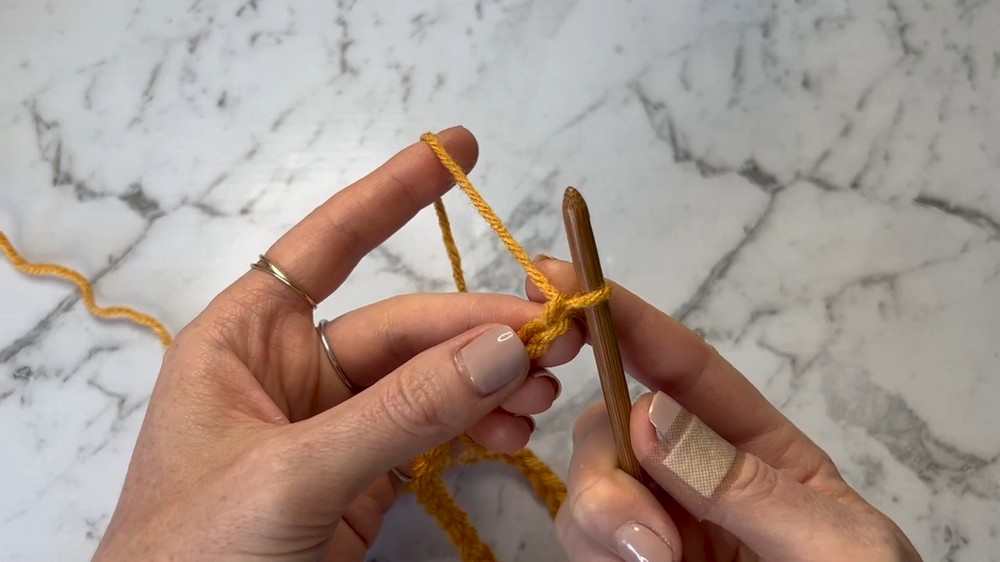
Camel Stitches
- The central stitch used throughout the vest is the camel stitch. This stitch creates a clean and textured look, and the instructor explains its placement into the back loops for added neatness.
- While the entire back and most of the front panels use camel stitches, the neckline collar uses back-loop single crochets for contrast.
Back-Loop Work
- The tutorial emphasizes working into the back loops for each row, which creates the ribbed pattern consistent throughout the vest.
Step-by-Step Process
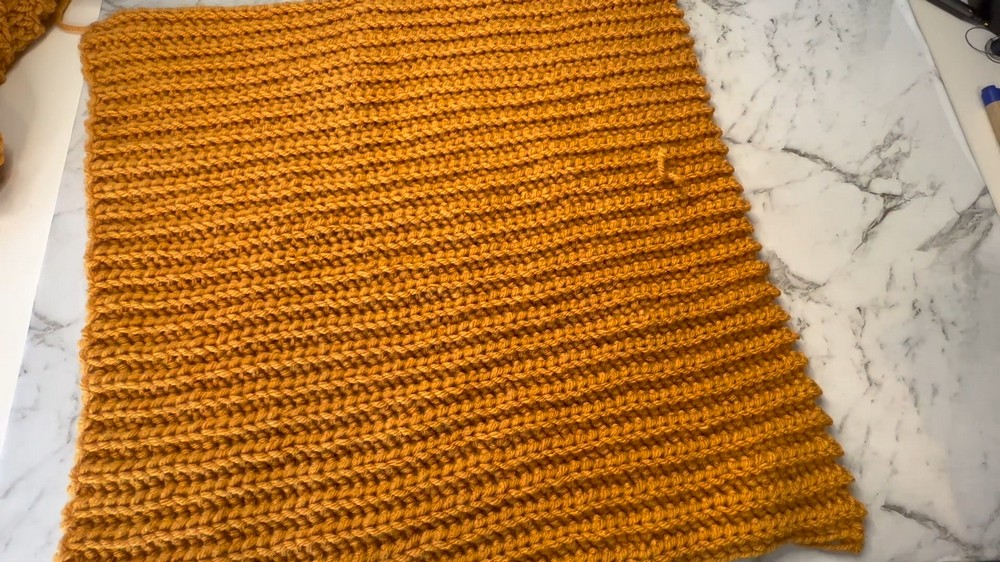
Back Panel
- Begin by chaining according to the measurements for your desired size.
- Crochet rows of camel stitches back and forth until the required number of rows for your size is completed.
- This forms the back panel, which serves as the foundation of the vest.
Front Panels
- The front panels are created similarly to the back panel, starting with chains and camel stitches.
- The front panels are shorter, approximately half the number of rows as the back.
- A key step involves leaving a portion of stitches unworked to shape the neckline. You’ll chain over this gap, forming the curves of the panel where the collar will later be attached.
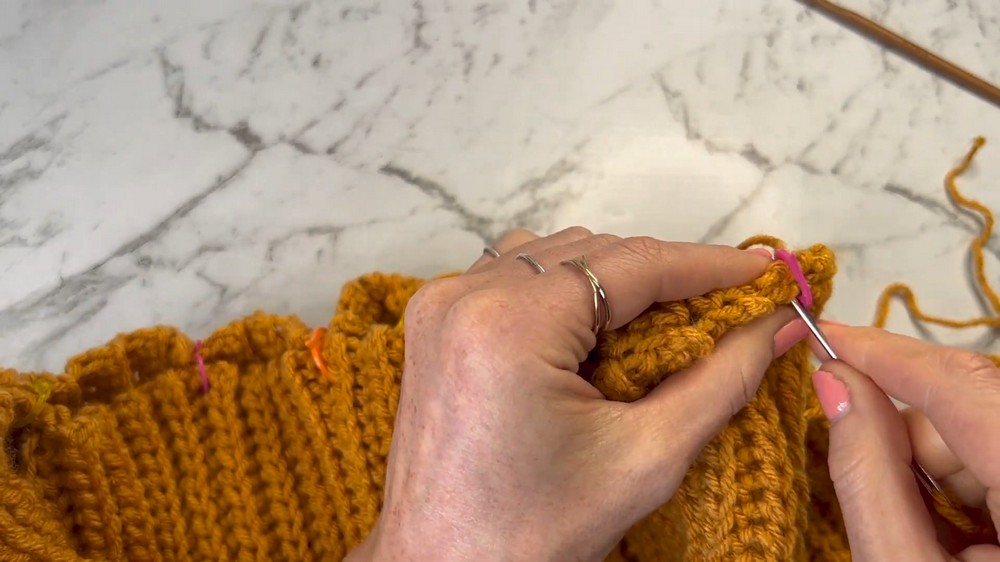
Assembling the Panels
- The front and back panels are joined at the shoulders using a darning needle.
- Stitch markers help align the rows during assembly, ensuring the vest fits correctly.
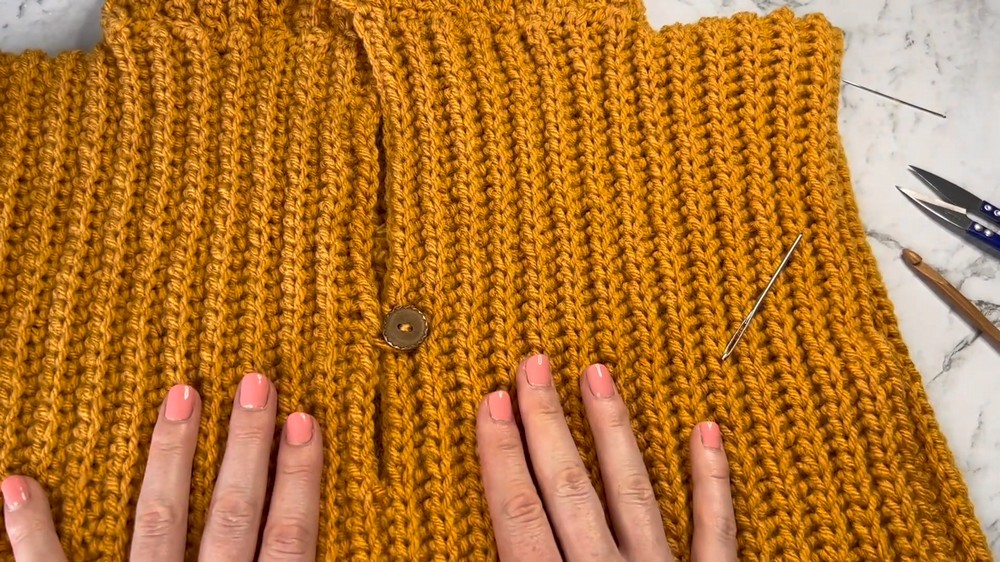
Adding the Collar
- Create the collar by working rows of back-loop single crochets to form a ribbed texture.
- The collar is stitched onto the neckline, aligning with the shoulder seams for an even finish.
- Stretching techniques ensure the ribbing fits snugly around the neckline without puckering.
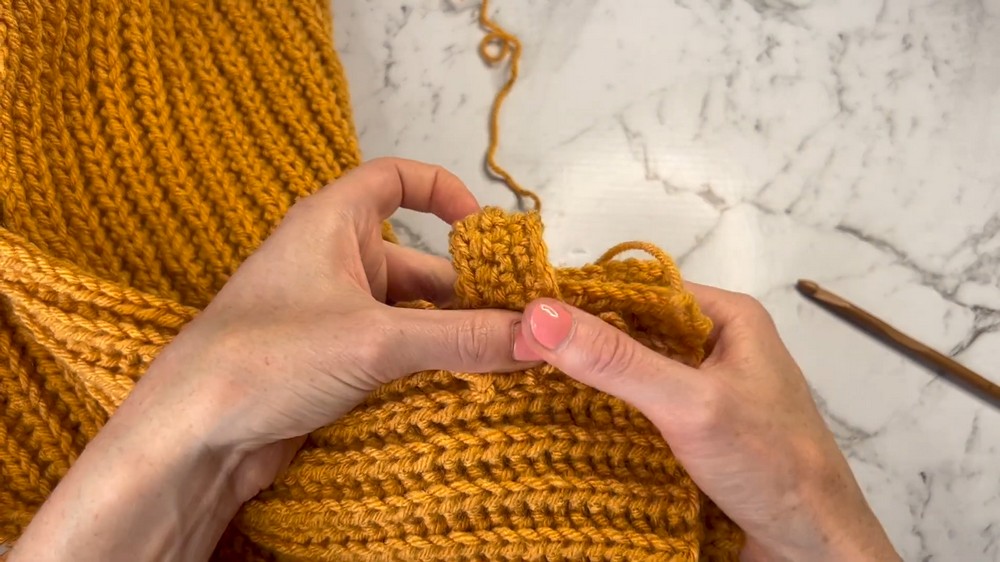
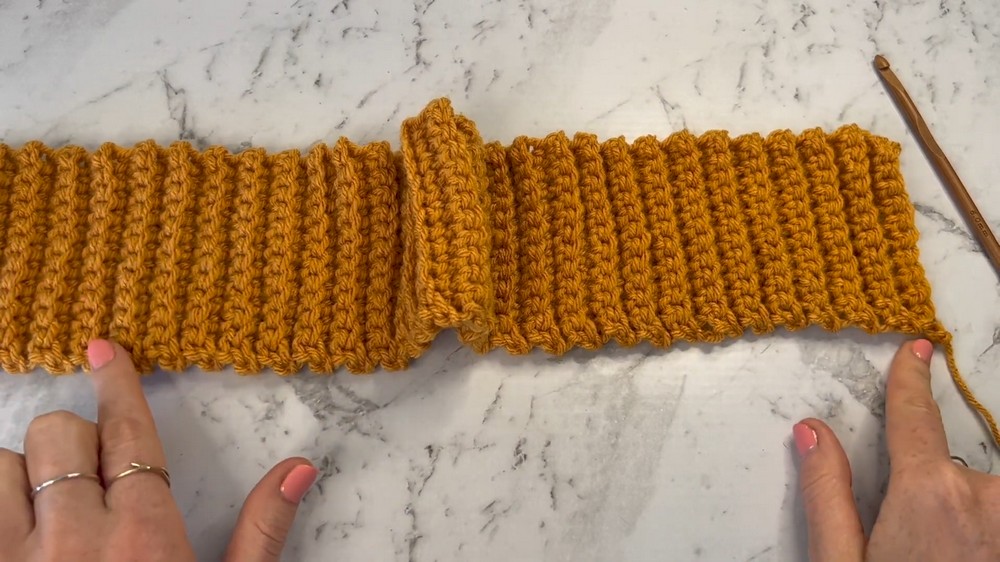
Side Tabs and Buttons
- Tabs are crocheted with optional button holes for attaching the front and back panels.
- Buttons are added to either side of the vest, offering functionality and decoration.
- If desired, tabs can be permanently stitched to the panels instead of using buttons.
Final Touches
- Buttons are sewn onto the collar at the neckline for additional closure options.
- The final product is versatile: dress it up by buttoning the collar or wear it open for a causal look.
- Optional loops can be crocheted to secure the collar buttons, adding a polished touch.


