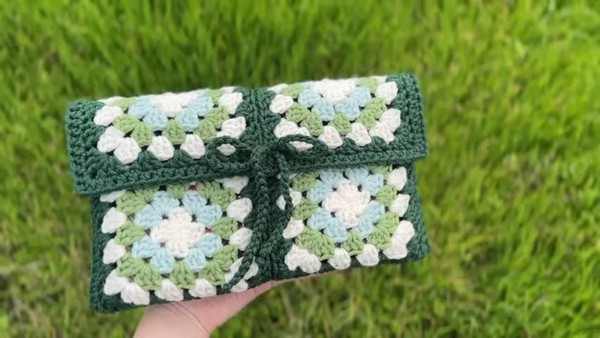
How to Crochet Shoulder Or Cross Bag With Macrame Thread

Learn how to crochet a shoulder or crossbody bag using macrame thread with a step-by-step tutorial for beginners. The tutorial covers everything from the materials needed to the finishing touches. The project starts with creating an oval-shaped base for the bag, followed by building the height of the bag by working a set number of rows without increasing or decreasing stitches.
The video also provides instructions on how to add decorative elements like a central line and how to attach the handles and flap. Finally, the creator demonstrates how to add a lining, a zipper, and a magnetic clasp to the bag for a professional and finished look. So, follow through with us for the complete tutorial.
Crochet Crossbody Bag Tutorial
This video is a detailed tutorial on how to crochet a stylish and functional crossbody or shoulder bag using macrame thread. The project is broken down into clear steps, from creating the bag’s foundation to adding professional finishing touches like a zipper and lining.
Bag Base and Body
The tutorial starts with a focus on the bag’s foundation. The creator demonstrates how to crochet an oval-shaped base for the bag. This involves starting with a chain and then working in rows around the chain to create the oval form. The use of macrame thread gives the bag a sturdy and structured feel. The video also shows how to add a decorative line in the middle of the base using a separate piece of thread, which adds a unique design element.
After the base is complete, the tutorial moves on to building the height of the bag’s body. The creator provides instructions on how to work a set number of rows without increasing or decreasing stitches. This ensures that the bag maintains its shape and dimensions as it grows in height. The careful construction of the base and body is essential for the bag’s overall durability and appearance.
Handles, Flap, and Finishing Touches
The tutorial then shifts to the bag’s accessory elements, including the handles and the flap. The video explains how to attach metal rings and handles to the bag, which are crucial for its function as a crossbody or shoulder bag. The creator also provides a detailed guide on how to crochet the bag’s flap, which serves as a closure. This flap is created separately and then attached to the main body of the bag.
Finally, the tutorial covers the essential finishing touches that give the bag a polished and professional look. The creator demonstrates how to add a lining to the bag, which provides a smooth interior and protects the contents. Instructions are also given on how to install a zipper and a magnetic clasp, which are key to securing the bag’s contents and adding to its overall functionality.


