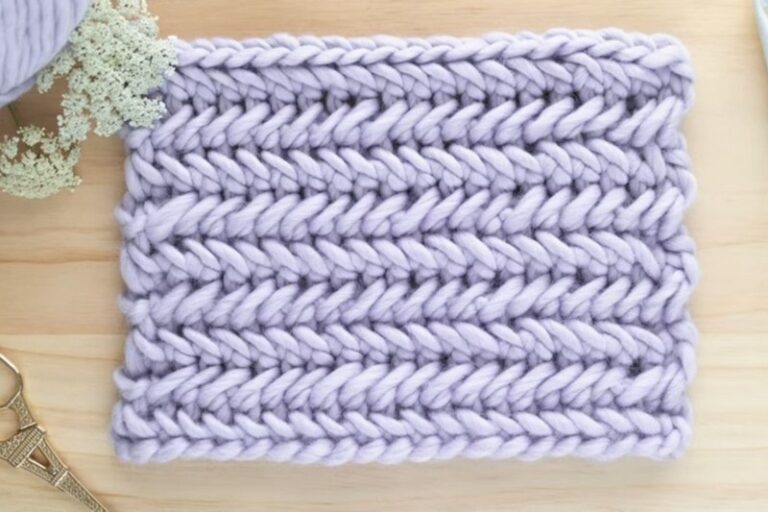
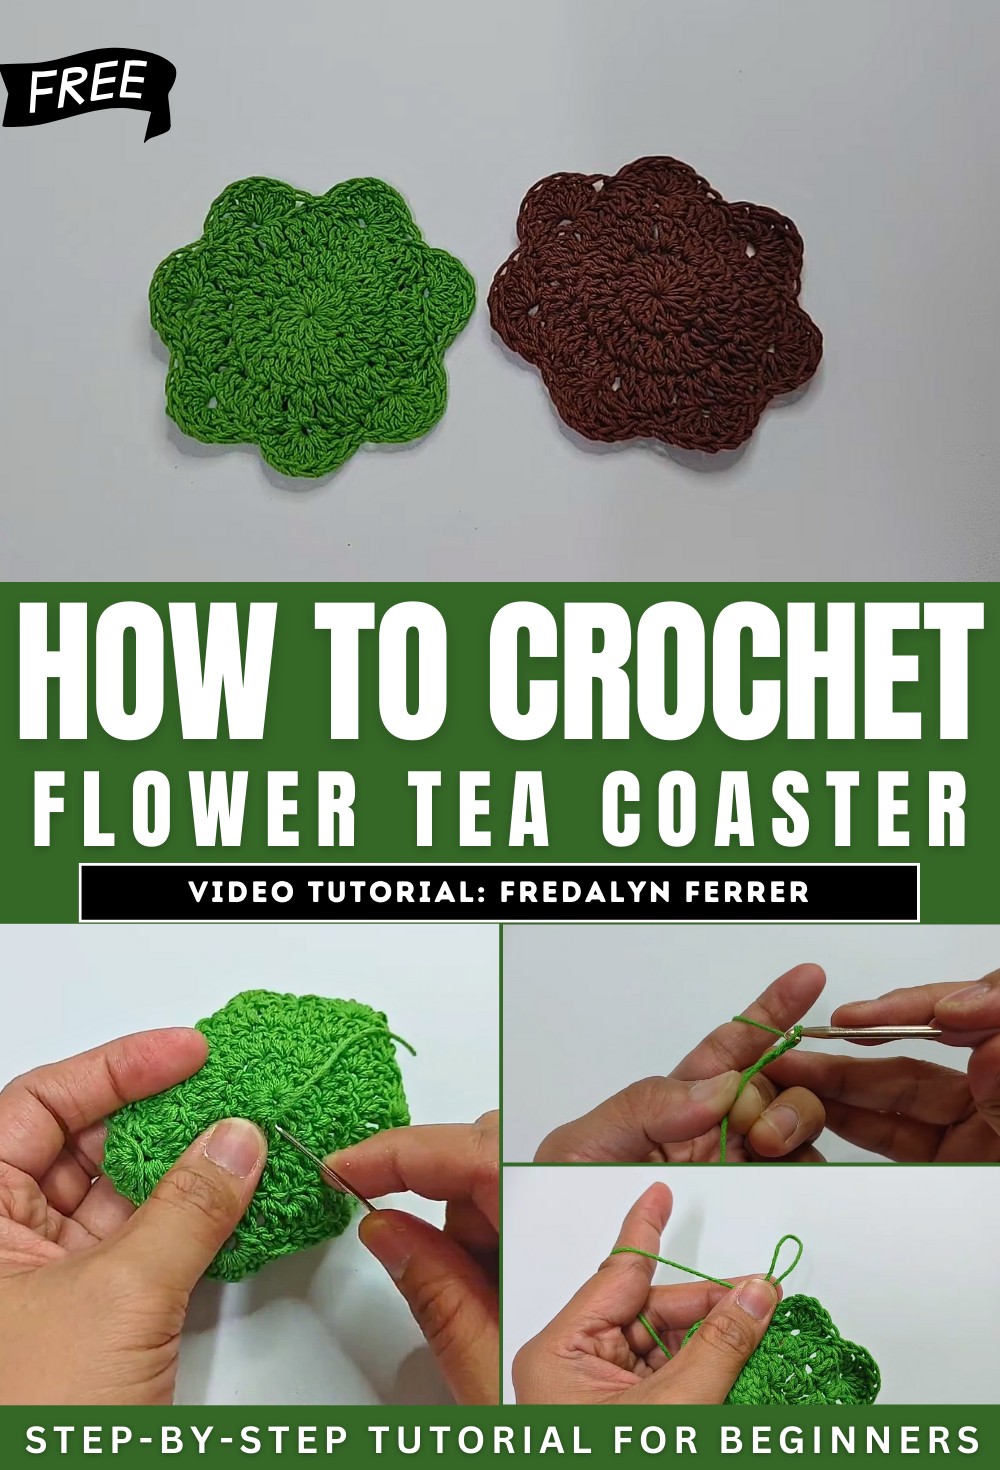
How to Crochet Simple Flower Tea Coaster for Beginners

With a step-by-step tutorial, learn how to crochet a simple flower tea coaster using green cotton yarn and a 4.0mm hook. It begins with a magic ring, followed by chaining and rounds of double crochets to form the base. Subsequent rounds alternate single and double crochets, gradually increasing stitches for a circular shape. The fourth round introduces petal-like designs, created by skipping stitches and working six double crochets in one stitch.
The final product is a decorative and functional flower-shaped coaster. The tutorial is easy to follow, making it suitable for beginners. So, follow through with us for the complete tutorial.
How to Crochet a Simple Flower Tea Coaster
This tutorial provides a step-by-step guide to creating a beautiful and functional flower-shaped tea coaster. Using green cotton yarn and a 4.0mm crochet hook, the creator demonstrates how to complete this project through clear instructions and simple techniques. Below is a detailed overview of the tutorial:
Materials Needed
- Green cotton yarn.
- 4.0mm crochet hook.
- Scissors

Section 1: Creating the Magic Ring and First Round
- Foundation with Magic Ring: The tutorial begins with a magic ring to create the coaster’s center.
- Building the First Round:
- Chain a small number of stitches to form the base.
- Work several double crochets into the magic ring to create a circular foundation.
- Completing the Round: The first round ends with a slip stitch to join the last double crochet to the starting chain, ensuring a closed loop.

Section 2: Second Round
- Starting the New Round: Begin with a small chain to raise the work and get ready for the second row.
- Increasing the Stitches:
- Work one double crochet into each stitch of the previous round.
- Add increases by placing two double crochets into certain stitches, as demonstrated in the tutorial. These increases help expand the circle evenly.
- Joining the Round: Complete the second round with a slip stitch in the starting chain to maintain the circular shape.
Section 3: Third Round
- Building the Third Layer:
- Start with a chain to begin the new round.
- Follow the same principle of alternating single and double crochets with calculated increases in specific stitches to further expand the circle.
- Maintaining Shape: Ensure a flat and even surface by spacing stitches correctly.
- Finishing the Round: Join the end of the round to the starting chain using a slip stitch.

Section 4: Fourth Round – Creating the Petals
- Petal Formation:
- Skip the required number of stitches (demonstrated in the tutorial), then work all petal stitches (double crochets) into the same stitch.
- This creates the petal structure, clearly visible as a scalloped edge.
- Repetition for Petals:
- Continue the pattern by skipping stitches in between and then repeating the same petal-making process.
- Maintain consistent spacing between petals for a symmetrical design.
- Completing the Round: Finish with a slip stitch to join the last petal with the starting point.

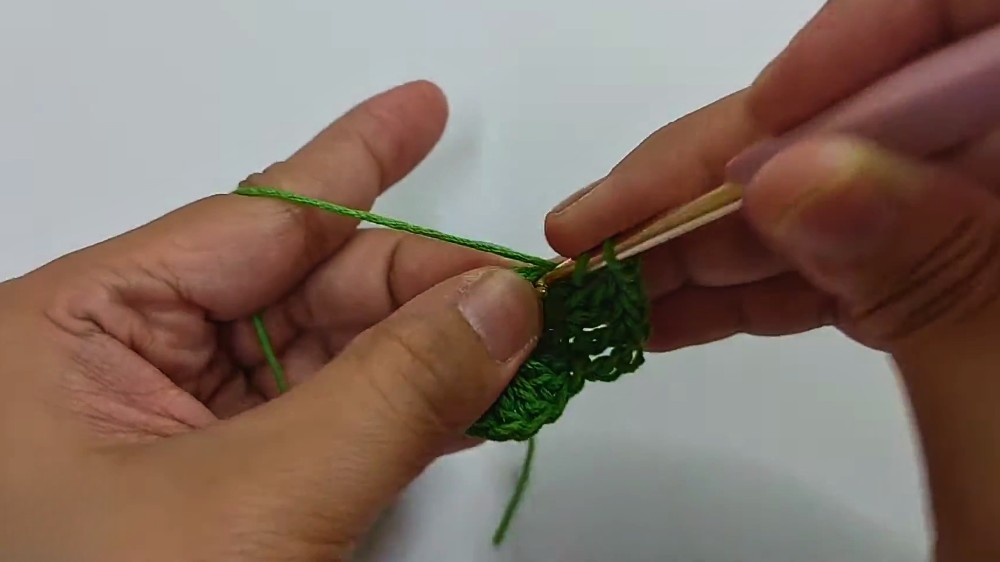
Section 5: Final Touches
- Securing the Yarn: Chain a few additional stitches before cutting the yarn to secure all work.
- Weaving in Ends: Use the crochet hook or a needle to weave in any loose ends for a clean and polished look.
Final Product
The finished project is a delicate and functional flower tea coaster with a charming scalloped edge. It is a quick and easy craft, making it suitable for beginners or anyone looking for a simple crochet project.

Conclusion
This tutorial is straightforward and well-suited for crocheters of all levels. The project allows for customization in color and size, making it a versatile design. The creator’s clear instructions ensure viewers can follow along effortlessly.