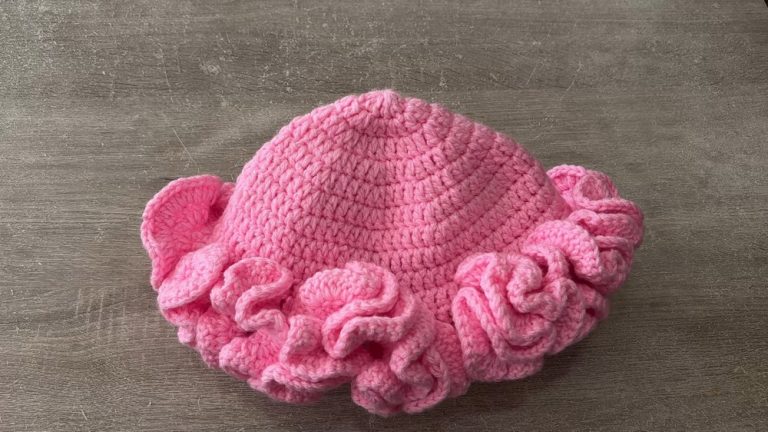
How To Crochet Spirals in 1 to 4 Colors (Tutorial)

Spark your creativity and pride by making your own eye-catching Crochet Spirals in 1 to 4 Colors with our easy-to-follow pattern. Perfect for every skill level, our guide will lead you stitch by stitch to make these adorable accents for your home or wardrobe.
Crochet Spirals in 1 to 4 Colors

As you loop the yarn over the hook and pull it through, a spiral begins to emerge. Start with a single color. Bit by bit, as you become more skilled, weave in additional shades, introducing as many as four. With every turn and twist, your work of art starts to pulsate with life – different colors intertwining in harmony. It feels almost like a trick, taking basic yarn and making intricate, playful designs.
Free Crochet Spirals in 1 to 4 Colors Pattern
Materials
- Yarn: Any type or weight (use smooth yarn in various colors; worsted or DK recommended)
- Hook: Size suitable for your yarn (e.g., 4.0 mm/G or 5.0 mm/H)
- Scissors
- Stitch markers (helpful for tracking spiral rounds)
- Tapestry needle (for weaving in ends)
- Optional: Pen and paper to track color order (especially for 3–4 colors)
Abbreviations (US Terms)
- ch – chain
- sc – single crochet
- hdc – half double crochet
- dc – double crochet
- sl st – slip stitch
- inc – increase (2 sts in same st)
- st – stitch
Special Notes
- Foundation Ring: Start with a magic ring or ch-4 (or ch-5 for 4-color spiral); sl st to form a ring.
- All spirals use multiples of 12 per round.
- Each “color” segment in the first round uses the sum of 12 divided by number of colors.
- The first round blends sc, hdc, and dc for smooth spiral effect.
- Use plenty of stitch markers—one for the start of each segment.
- For more than one color, begin each round with the same color used in that segment previously.
Pattern

1. One-Color Spiral Circle
Round 1
- Begin with a magic ring or ch 4, join with sl st to form a ring.
- Into the ring, in order:
- 2 sc
- 2 hdc
- 8 dc
(12 sts total; use a stitch marker in 1st st.)
Round 2
- 2 dc in each st around (inc in every st; 24 sts).
Round 3
- (1 dc in next st, 2 dc in next st) repeat around (1, inc) (36 sts).
Always end with an increase.
Round 4
- (1 dc in next 2 sts, 2 dc in next st) repeat around (2, inc) (48 sts).
Circle Finish (Taper)
(Tapers edge for a smoother finish)
- 2 hdc
- 2 sc
- Sl st to finish.
2. Two-Color Spiral Circle
Round 1
- With color A:
- 1 sc, 1 hdc, 4 dc into ring.
- Mark last st or leave active loop.
- With color B:
- 1 sc, 1 hdc, 4 dc into ring. (12 sts total)
- Pull ring closed.
Round 2
- With color A, then B:
- 2 dc in each st around (inc in every st; 12 per color, 24 total).
Round 3
- With color A, then B:
- (1 dc, inc) x 6 per segment (each color); 18 per color (36 total).
Round 4
- With color A, then B:
- (1 dc in next 2 sts, inc) x 6 per segment; 24 per color (48 total).
Circle Finish
- For each color:
- 2 hdc
- 2 sc
- sl st to finish.
3. Three-Color Spiral Circle
Round 1
- Each color:
- 1 sc, 1 hdc, 2 dc into ring (×3 = 12 sts total).
Round 2
- With each color:
- 2 dc in each st (8 per color, 24 total).
Round 3
- With each color:
- (1 dc, inc) x 4 per segment (12 per color, 36 total).
Round 4
- With each color:
- (1 dc in next 2 sts, inc) x 4 per segment (16 per color, 48 total).
Circle Finish
- For each color:
- 2 hdc
- 2 sc
- sl st to finish.
4. Four-Color Spiral Circle
Round 1
- Each color:
- 1 sc, 1 hdc, 1 dc into ring (×4 = 12 sts total).
Round 2
- With each color:
- 2 dc in each st (6 per color, 24 total).
Round 3
- With each color:
- (1 dc, inc) x 3 per segment (9 per color, 36 total).
Round 4
- With each color:
- (1 dc in next 2 sts, inc) x 3 per segment (12 per color, 48 total).
Circle Finish
- For each color:
- 2 hdc
- 2 sc
- sl st to finish.

5. INCREASING Your Spiral
- To make your spiral larger:
Continue increase rounds with the next logical sequence:- Round 5: 3 dc, inc repeat
- Round 6: 4 dc, inc repeat
- …and so forth.
Tip: You always end with an increase. If not, recount!
6. Transform Circle to Square
This can be done at any round (must be a multiple of 12).
- Mark Corners:
- Divide total st count by 4 (if 48 sts, mark every 12th st for corners).
- Corners:
- In each marked st, work [3 dc] (alternative: [dc, ch 1, dc, ch 1, dc] to soften corner).
- Sides:
- Between corners, work side sequence for even curve.
- Example for 48 sts (12 sts per side):
- From one corner to the next:
- 1 dc
- 2 hdc
- 5 sc
- 2 hdc
- 1 dc
- From one corner to the next:
- Repeat for all 4 sides.
- Finish: Sl st to beginning of round.
7. Color Changing Tips
- To use all spiral colors when squaring, at a corner:
- Before completing final dc of current color, pull through new color for last yarn-over, then continue in new color.
- For a solid-color square, fasten off all but one color and continue around.
Conclusion
You can easily work simple or multicolored spirals, and with the seamless increase strategy, convert them into squares for afghans, pillows, and more. Just keep stitch markers handy, respect your multiples of 12, and use the side/corner formulas to square off any round.
Pattern Corrections & Tips
- Correction: Always end increases on the last color segment. If your last segment ends before reaching the stitch marker, recount.
- Tip: Always use plenty of stitch markers; color transitions are easier to track this way.
- Tip: If your square curls, adjust the number of sc, hdc, or dc along sides.
- Tip: Use a tapestry needle to weave in all ends securely.
- Tip: If working with splitty yarn, be extra careful during color changes to avoid loose threads.
https://youtu.be/MwtTUMvkj58