How to Crochet Tiny Pumpkin Amigurumi for Beginners
Learn how to crochet an adorable crocheted pumpkin with a step-by-step tutorial for beginners. Using double-knit yarn in two colors, a 4mm hook, and toy stuffing, the presenter walks through the process, from starting with a slip knot and crocheting rows to shaping the pumpkin and adding a stalk with a magic loop technique. These pumpkins can be customized in various colors and are perfect as decorations or for garlands.
The instructions are beginner-friendly, clearly explained, and emphasize techniques that minimize sewing. By the end, you’ll have a charming handmade pumpkin for your seasonal decor! So, let’s get started!

Tiny Pumpkin Crochet Tutorial
This tutorial provides step-by-step instructions for making tiny crochet pumpkins, perfect for seasonal decorations or garlands. The process is beginner-friendly and uses UK crochet terms throughout. Below is a structured summary of the tutorial:
Materials Needed
To make the crochet pumpkin, gather the following items:
- Double-knit yarn: Two colors (one for the pumpkin and one for the stalk).
- Crochet hook: 4mm hook.
- Scissors.
- Darning needle.
- Toy stuffing: For filling the pumpkin.
Creating the Pumpkin Base
-
Chain Foundation
Begin by making a slip knot and crocheting a foundation chain using the yarn for the pumpkin. -
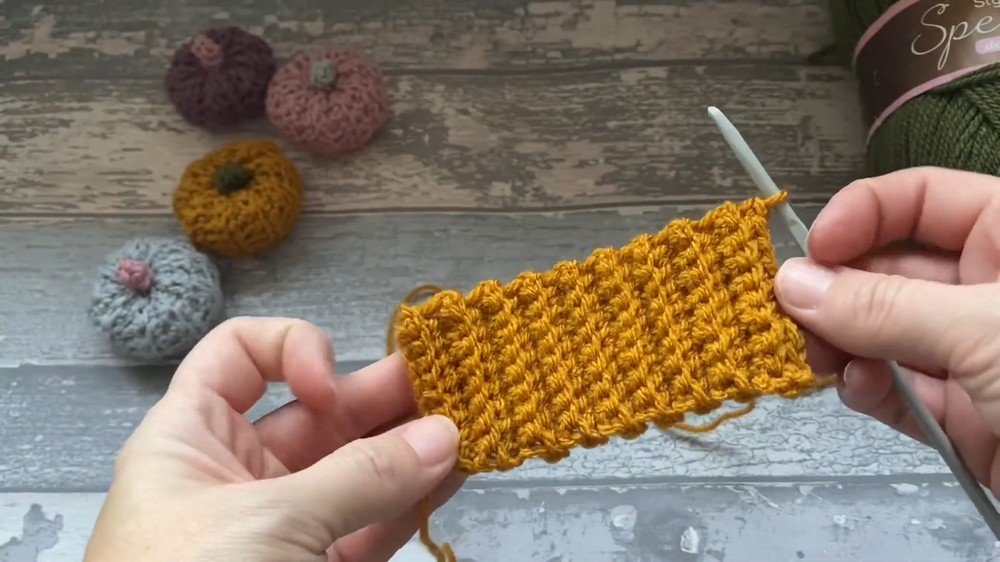
Crochet in Back Loops
Work rows of double crochet (UK terms) into the back loops of the stitches. This technique creates ridges, which add texture to the pumpkin. Continue working back and forth rows until reaching the desired number of rows. -
Forming the Tube
Once the rows are complete, fold the piece in half. Crochet along the edges to join the two sides, forming a tube. This method helps minimize sewing. -
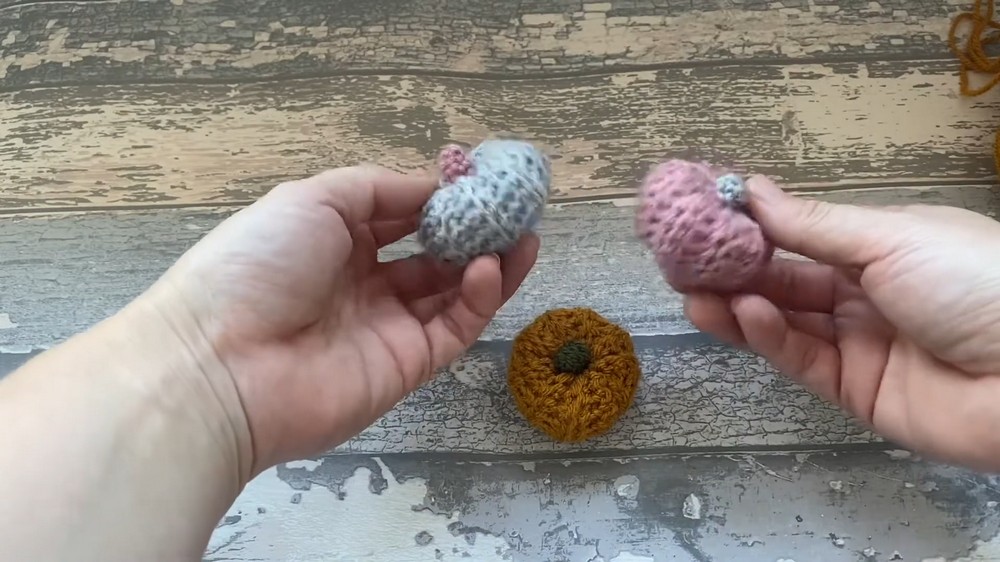
Gathering the Ends
Use the long yarn tail and a darning needle to weave through the ridges at one end of the tube. Pull the yarn tight to close the end and secure it with a knot.

-
Adding Toy Stuffing
Fill the tube with toy stuffing. Adjust the amount of stuffing to achieve the desired shape and firmness. -
Closing the Second End
Repeat the gathering process on the opposite end, pulling it tight to close and creating a dimple in the center of this side. Secure it with a knot and trim excess yarn.
Creating the Pumpkin Stalk
-
Magic Loop Technique
With the contrasting yarn color, create a magic loop that serves as the base for the stalk. -
Crocheting in the Round
Work in continuous rounds to create a cylindrical stalk. Adjust the stalk length based on personal preference. -
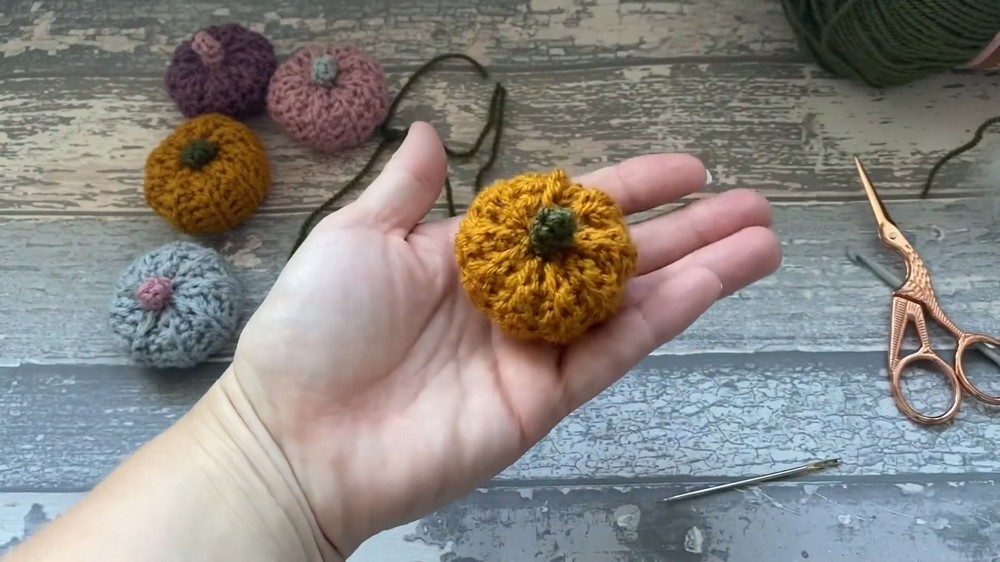
Securing the Stalk
Sew the stalk to the top of the pumpkin using the darning needle. Attach it securely by stitching around the base of the stalk, ensuring it is firmly attached to the pumpkin.

Finishing Touches
- Tie off and trim any loose ends.
- Adjust the shape of the pumpkin to achieve the desired look.
- Optional: Create additional pumpkins in various colors for decoration or garland.
Conclusion
This tutorial demonstrates how to make a simple yet charming crochet pumpkin with minimal sewing required. The clearly explained steps and techniques make it accessible to both beginners and experienced crocheters. With customization options for colors and combinations, this project is perfect for adding a handmade touch to your seasonal decor.